Learn the steps on how to reupholster a French chair from start to finish. This step by step series will show you how to reupholster a French chair the easy way. I hope you enjoy this French chair Makeover.
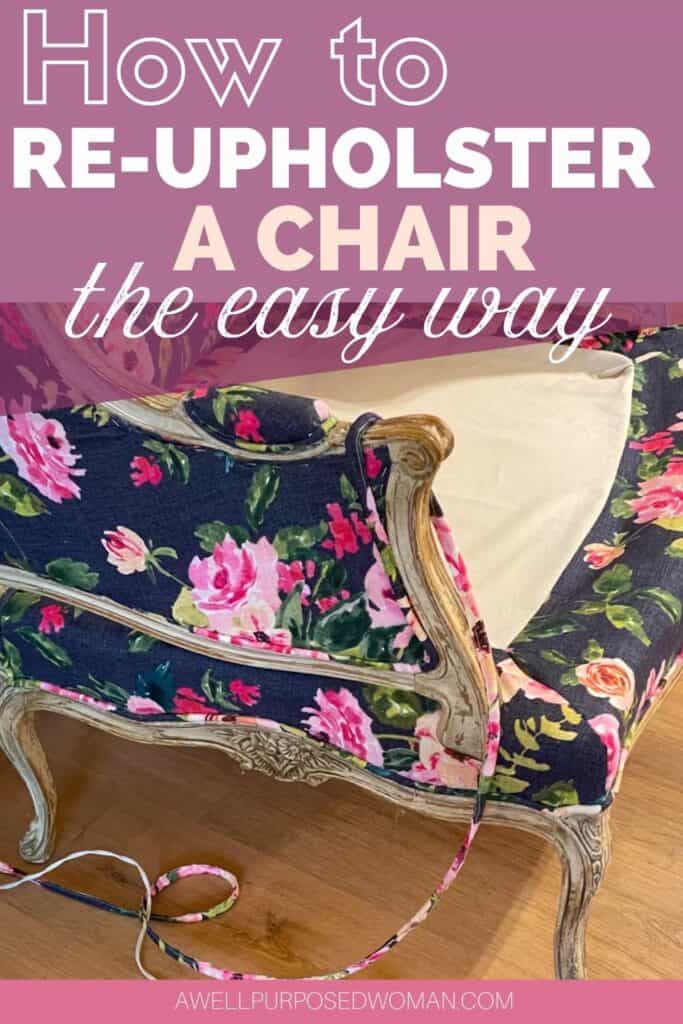
If you are just joining us for our series on How to Reupholster a French Chair, make sure to go back and start at the beginning. I never imagined that I would be writing a post on how to reupholster a French chair because I do not have any experience in upholstery. But after finding this French Bergere beauty I could not resist!
And after finishing this fun and at times frustrating upholstery job I am so excited for you to try it. But I will say because I was so new to upholstery I did not take enough pictures of the process. But I hope that it will help you get started with your own adventure in reupholstering. So let’s get started!
Here’s the supplies needed to re-upholster a French chair the easy way:
- Compressor tank and staple gun with staples
- 7-8 yards of upholstery fabric
- Piping cord
- Scissors or upholstery shears
- Hot glue gun and glue sticks
To complete this project I did purchase a compressor tank and a staple gun. It made the job a whole lot easier and I really can’t imagine doing this job without it!
Here are the steps on how to reupholster a French chair:
Step 1: Take the old fabric off the chair
The first step to upholstering your chair is to take off the original fabric from the chair. You can check out how to do that in depth in the beginning tutorial in this series on how to prepare a chair for upholstery.
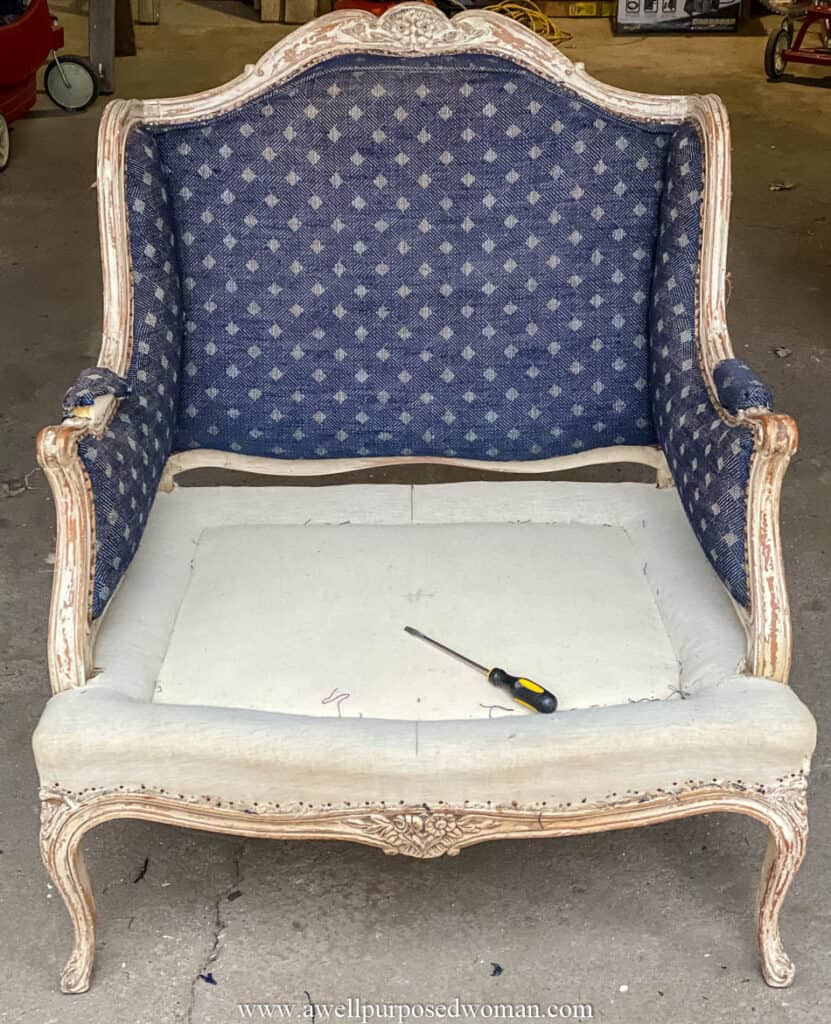
Step 2: Use the old fabric as a pattern for the new fabric
After the fabric is removed from the chair, you can use the original fabric as a pattern with the new fabric. Cut all the pieces of the new fabric from the old fabric pieces to use to re-upholster the chair. You can read more about how to make a pattern here.
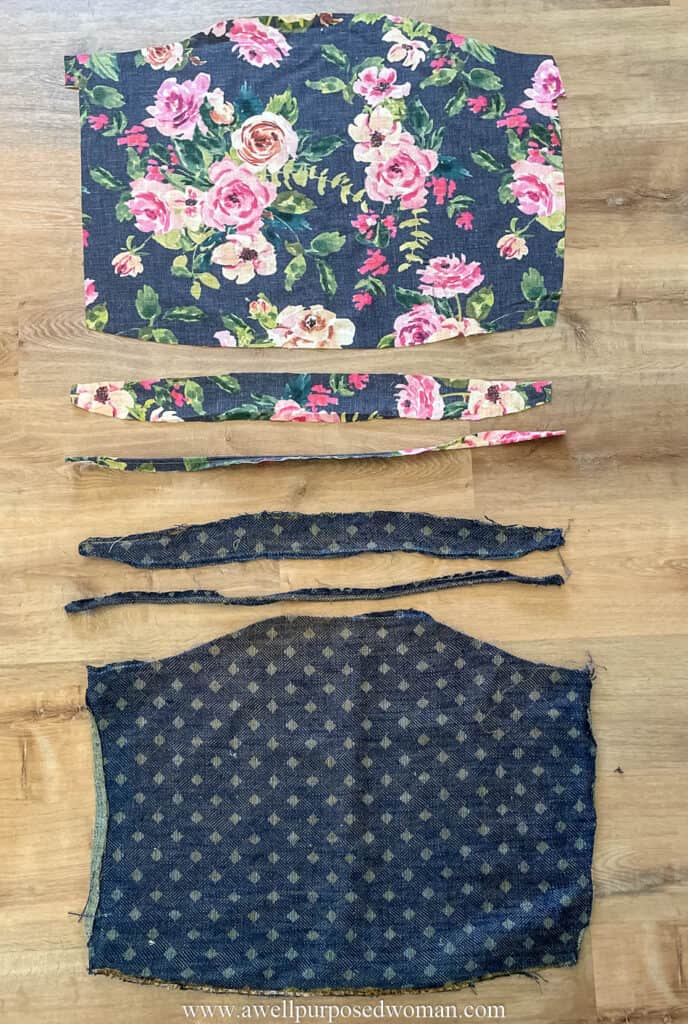
Step 3: Staple the new fabric on the chair
Sides of the Chair
The first step I took with the new fabric was to staple it onto the sides of the chair. I put a new layer of batting underneath the fabric. Then stapled the fabric onto the sides of the chair.
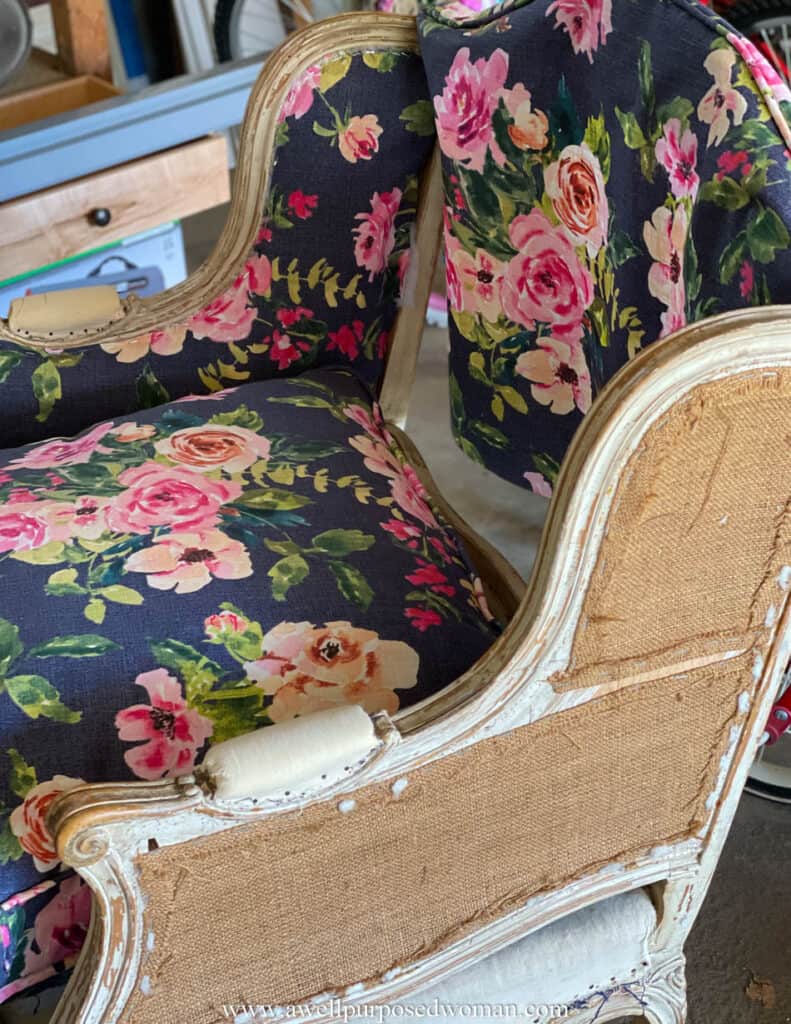
Staple the back of the chair in place
After the sides of the chair. We moved onto putting the back of the chair in place. At this point I was needing a little encouragement to keep going with my chair. So although I promise I put the majority of the chair back together on my own, at this point my husband jumped in and we worked together. We stapled the back by alternating staples in the top and bottom.
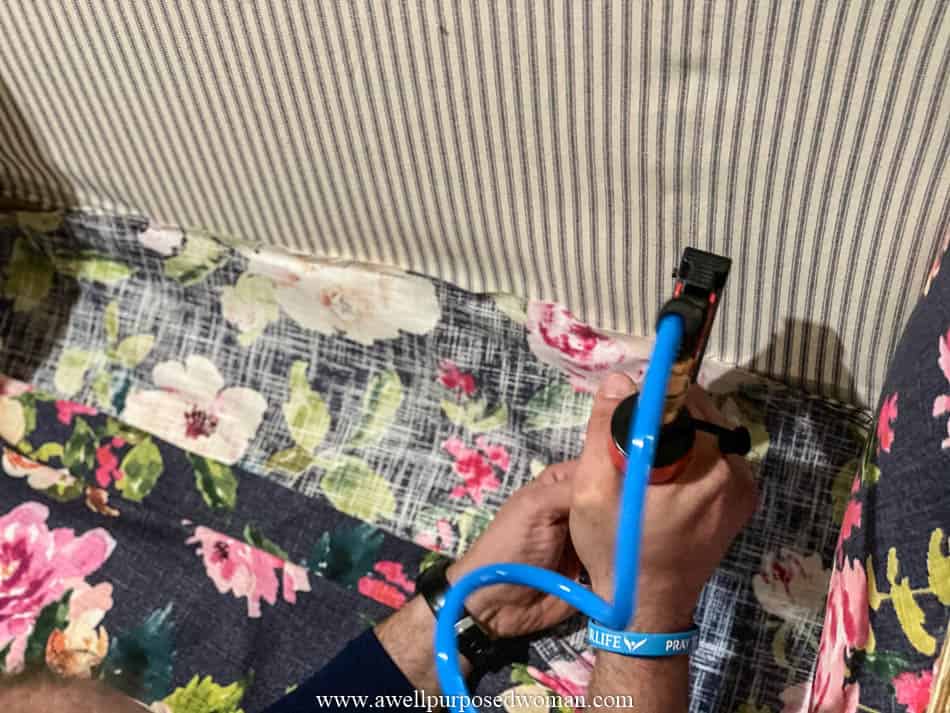
After we stapled the back, I put the foam and cushioning in place with the new front of the chair. Again alternating staples in the top and bottom to get an even fit.
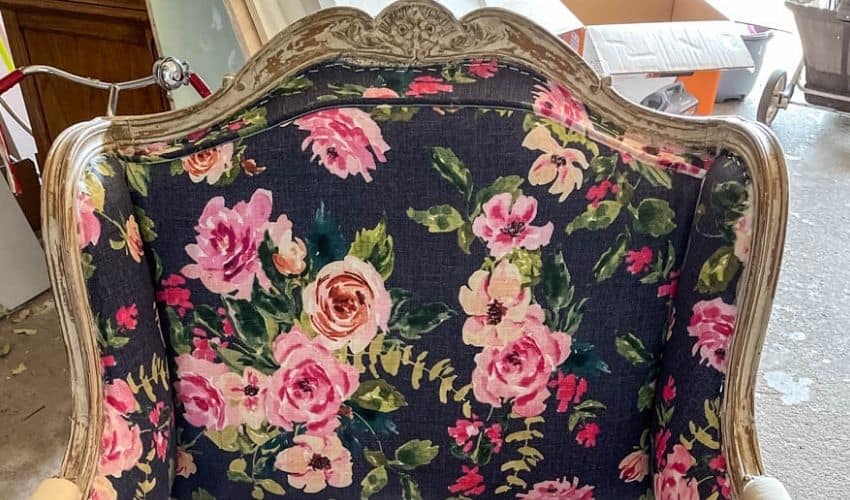
Step 4: Put the deck on the bottom of the chair
After making a pattern of the original deck from the chair. I sewed the new bottom of the chair together. After sewing it I also ironed it because as you can see in the picture below it was quite wrinkled.
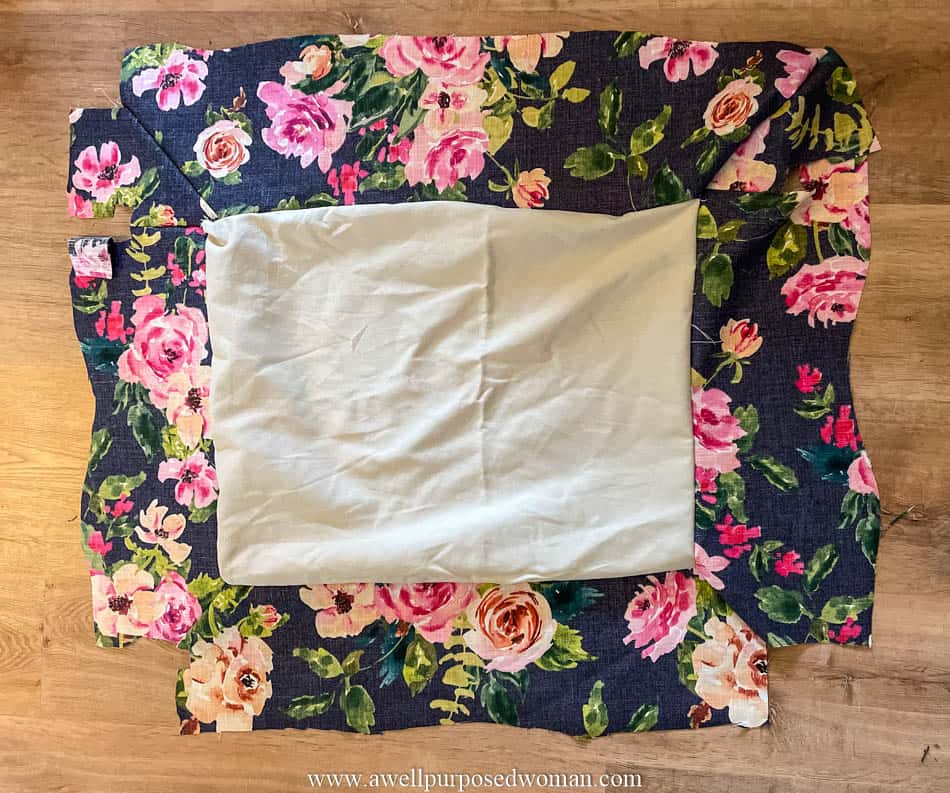
Then I re-attached it to the bottom of the chair with the staple gun. I was very pleased because it fit the chair very nicely.

Step 5: Re-upholster the cushion for your chair
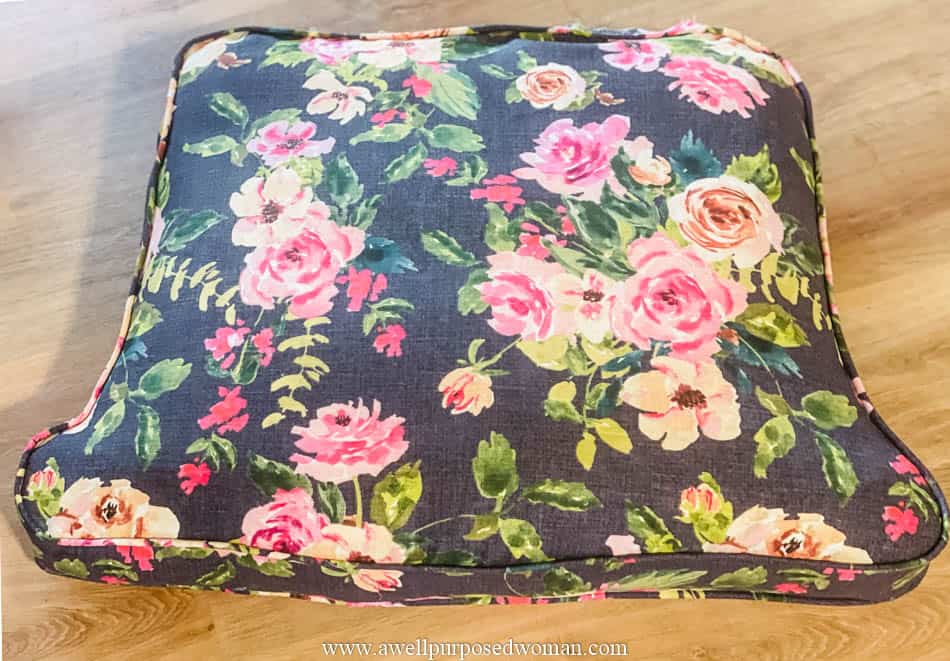
I showed you how to make the cushion in this tutorial on how to sew the cushion with piping for your chair. Because that was the next step in finishing this chair.
Step 6: Attach the piping on the chair
The last step to finishing the upholstery on this French chair is to attach the piping on the chair. If you are not familiar with sewing piping you can check out the full tutorial on how to sew piping. Once the piping is complete you will add it to the chair.
Attach the piping with the hot glue gun around any areas where it was originally. I added piping to the arm rests, sides of the chair, and around the deck of the chair. And although it seems odd, adding the piping was my least favorite part of this chair. (Please wear silicone gloves to avoid get burns.
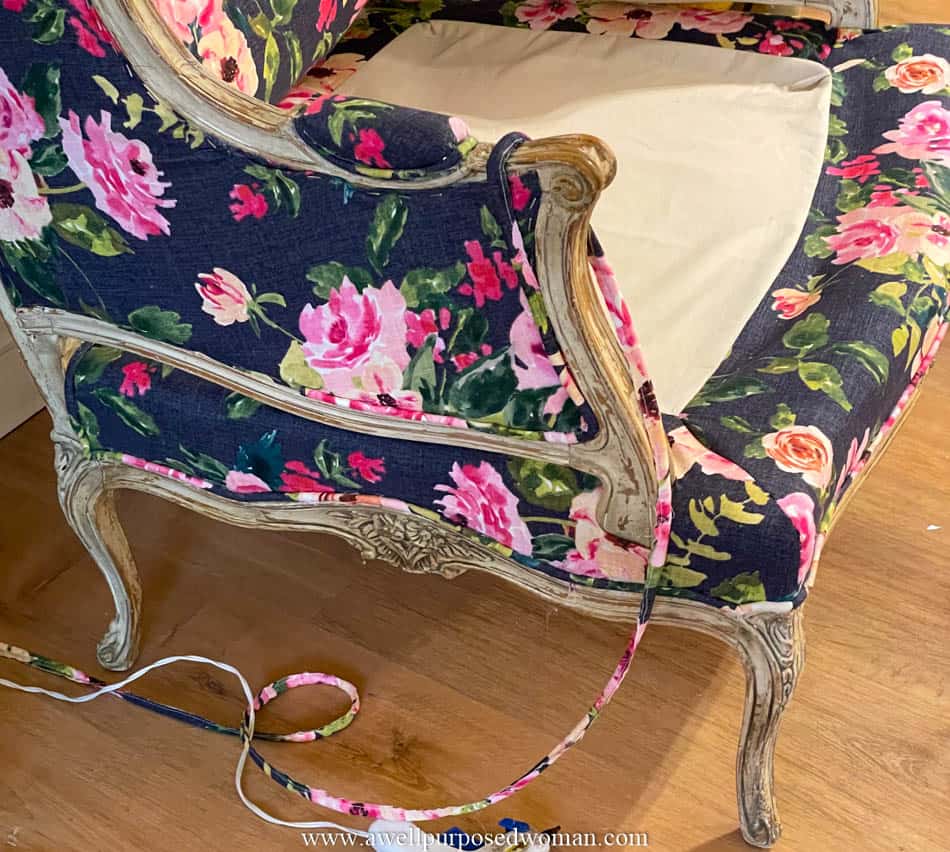
But that’s it! After three weekends, and countless hours of work, I finished it! Looking back I wish I would have stopped to take a few more pictures of the process but if you have any further questions always feel free to let me know.
Here’s the finished chair. And you can check out even more phots on the French Chair Makeover post.
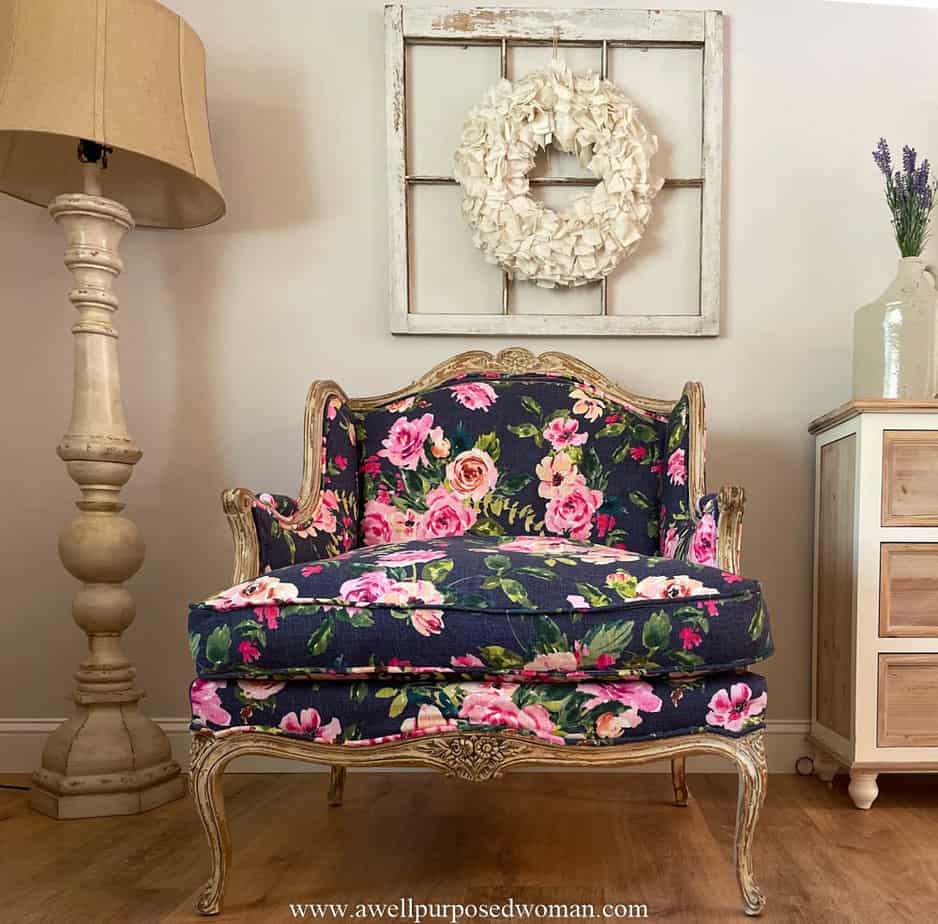
Learning how to upholster a French chair or any chair for that matter is quite a process, but with a little bit of patience and perseverance it can be done! Let me know in the comments below if you think it’s time to give upholstery a try!
Thanks for being here.
Take care and God bless,

If you liked this makeover, please pin it for later!

Leave a Reply