Learn how to caulk trim and baseboards. Caulking around trim and baseboards is simple and something anyone can learn. Find out how to caulk window trim, door trim and baseboards.
Does caulking seem like something only your husband or maintenance guy can do? Well let me be honest that was me until a few weeks ago. As you may have read, we have been painting the trim white in our home. And the secret to getting a beautiful, clean professional look is learning how to CAULK LIKE A PRO!
My husband is very handy and patient. Unfortunately that means he often gets the tasks around the house that are very repetitive and kinda boring (to me anyway). But the best part is he actually kinda enjoys them! So up until a few weeks ago caulking was strictly something he did in our home.
Learning How to Caulk Trim & Baseboards
But lately his work has been a lot more busy, and home projects haven’t been as appealing after a long day. So I decided it was time for me to take on a new task…learning how to caulk our trim and baseboards.
Even though I really enjoy DIY I find that with every new task I take on, I have some apprehension. But as in other areas of our life we grow the most by getting out of our comfort zones. And the more we do it the more we tend to learn and grow. So this week being really anxious to complete the trim in our home I decided it was time to take on caulking!
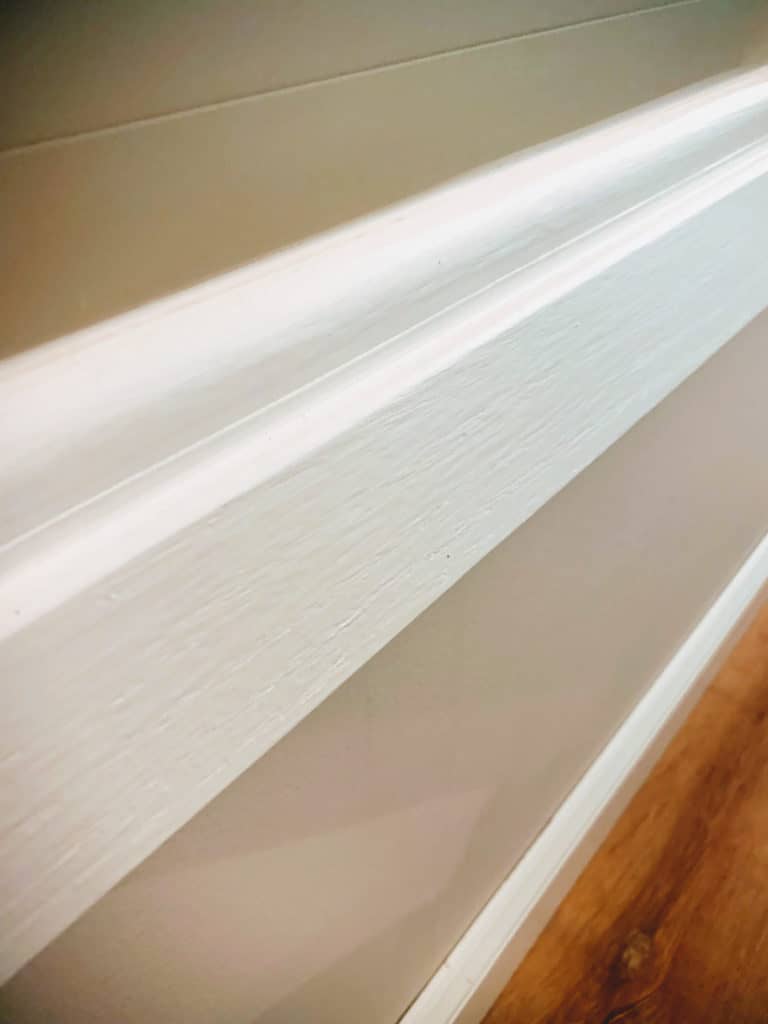
The good news, it is super easy! Even after doing a couple of pieces of trim or baseboards you will be able to do it confidently. Trust me if I can do it, you can too!
Although there are a lot of different types of caulk out there and probably just as many uses for it. The caulk I am showing you today is for trim and baseboards.
I have added affiliate links to this post to help you see which products I used. If you purchase a product through a link I receive a small commission with no extra charge to you! Thank you!
Here’s what you need to caulk trim and baseboards:
- Caulking Gun
- Acrylic Latex Caulk (I used the silicone kind to prevent mild-dew around windows)
- Wet wipes
- Painters Tape (optional but very helpful)
Here’s how to caulk trim & baseboards:
Step 1: Prepare the trim and baseboards you will be caulking
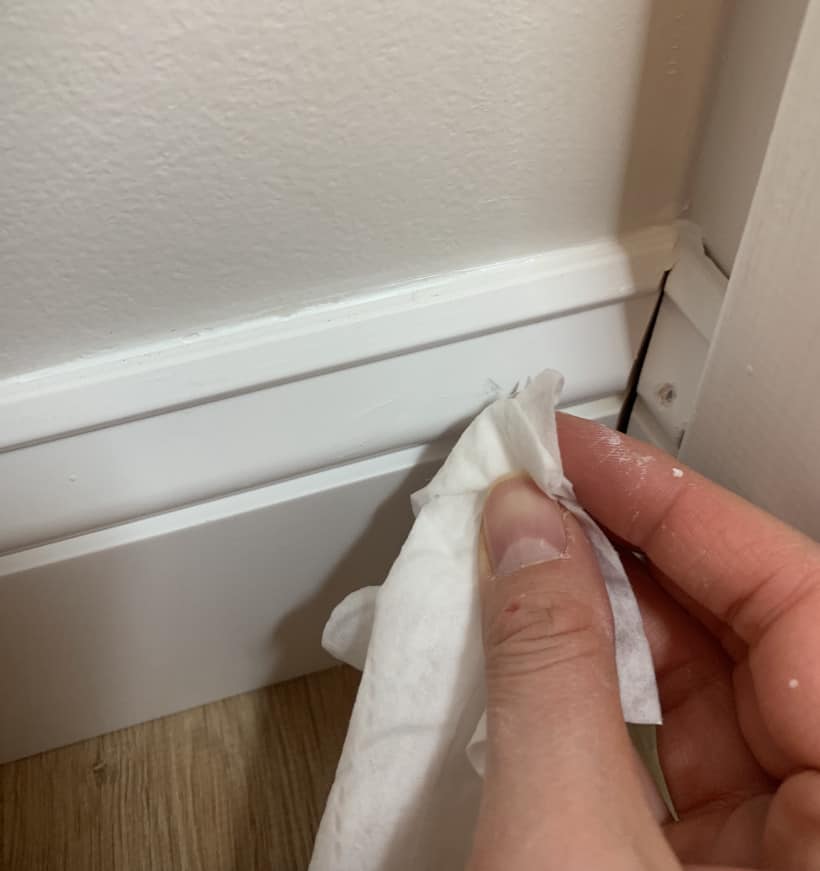
Clean the surfaces you will be caulking. Remove any old caulking. Make sure surface is clean and ready to caulk.
Step 2: Tape the boundaries where you want to caulk (optional but almost essential):
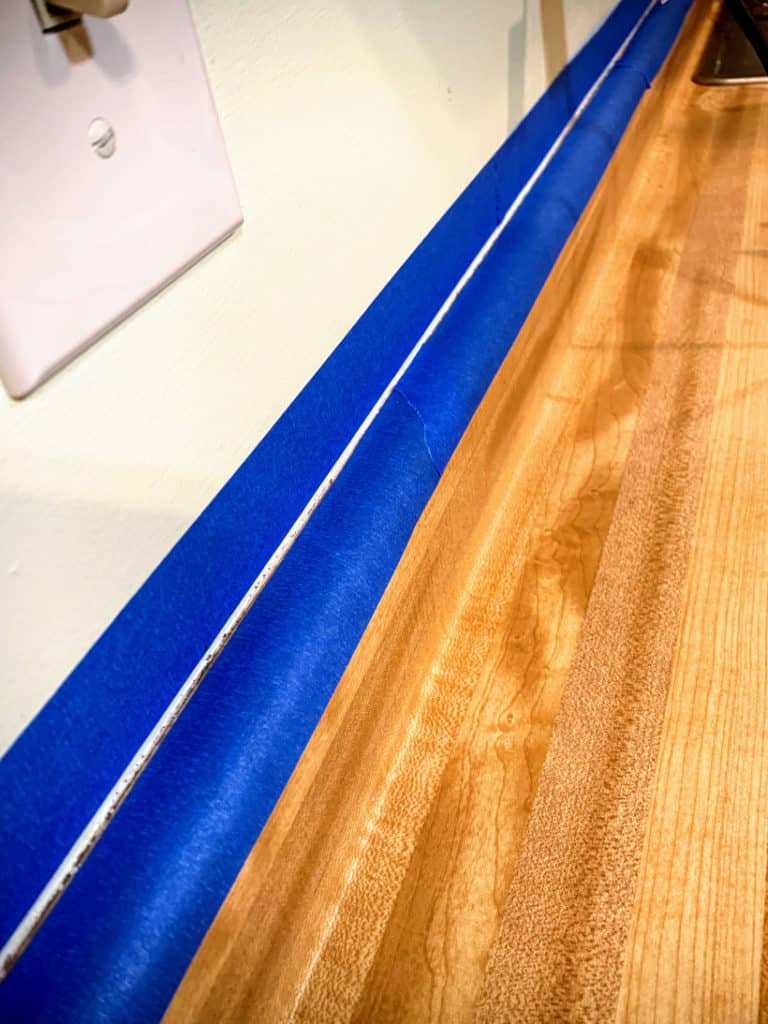
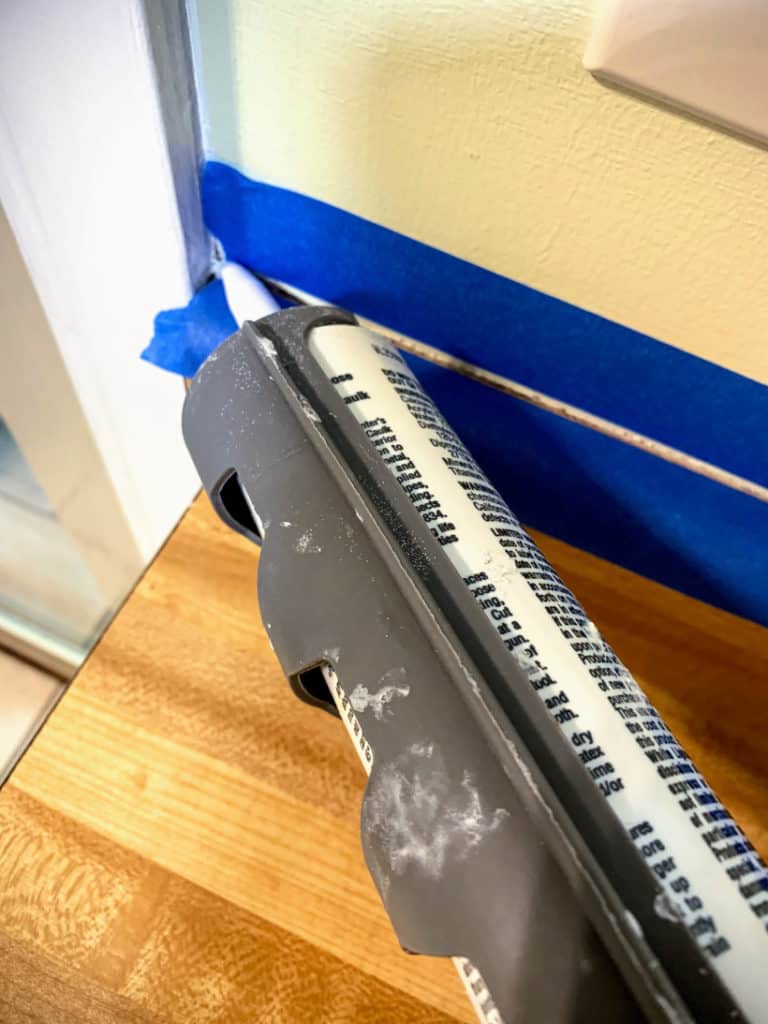
Although this step is not 100% necessary it is extremely helpful if you are nervous about your caulking being crooked. Tape the area of trim you are wanting to caulk. Taping above and below will provide the space for your caulking.
You will not need to worry as much about the caulking being straight because the tape provides the boundaries. I would always do this on surfaces that you want to be very precise. Like on counter-tops, or other very visible surfaces. I did not do this along all the baseboards in our home simply because we did our entire house. Doing it without tape works OK on not so visible surfaces.
Step 3: Cut your caulking tube at an angle
You will need to cut off the tip of the caulking tube in order for your caulk to come out. There will usually be a small guide on the tip: 1/8″, 1/4″, 5/16″. This is to help you decide how much of the tip to cut off. I recommend starting with the smallest tip 1/8″. If you need to fill a bigger space you can always cut off more of the tip.
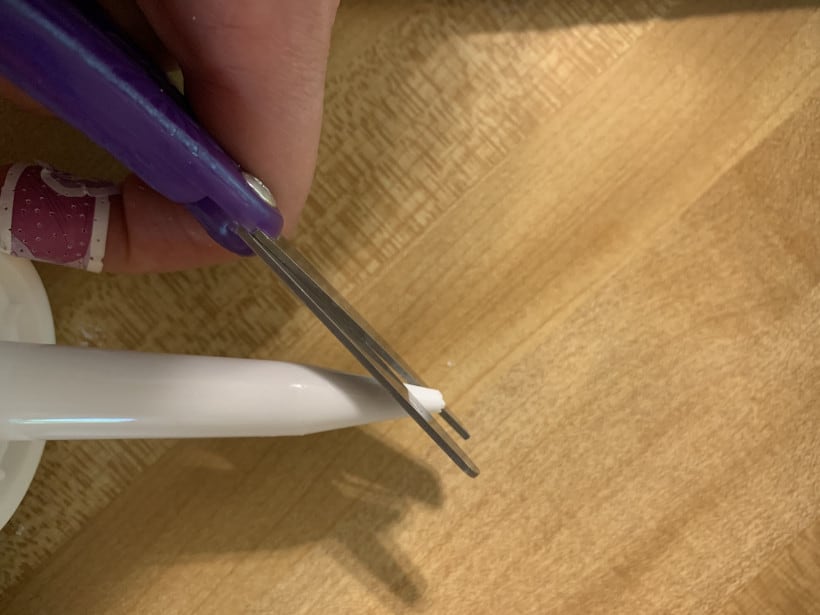
If you cut your caulking gun at a 45 degree angle it will work best. The top of the angle will help to even out the caulking as you drag it along your edge.
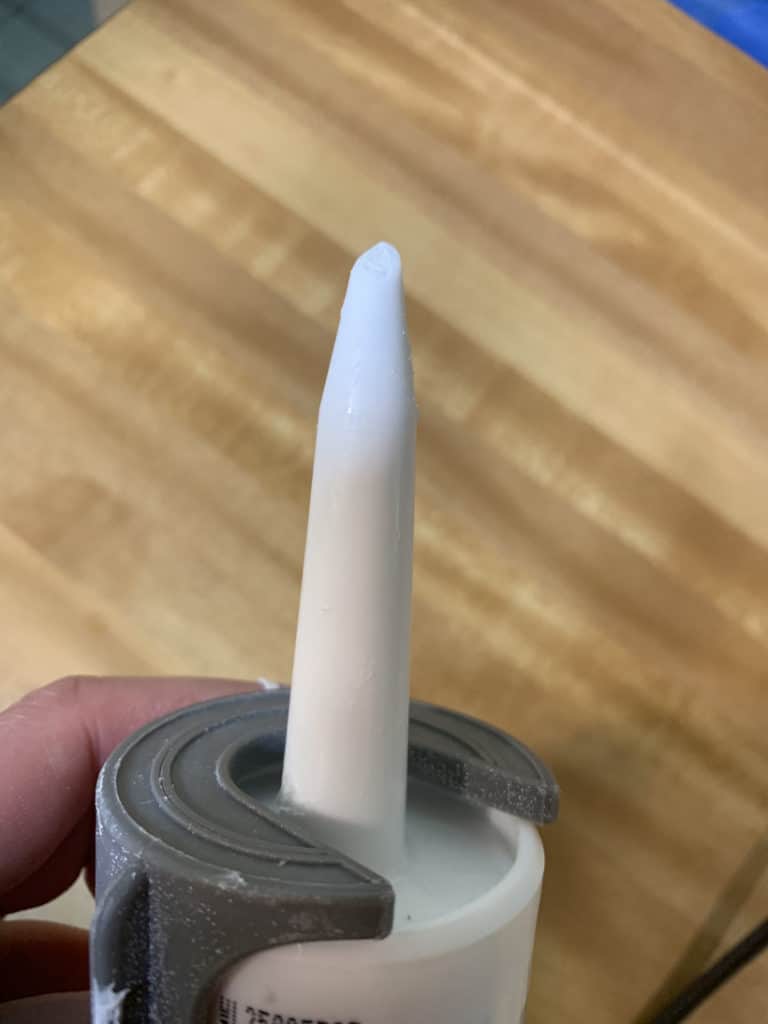
Step 4: Caulk at a steady pace
You may need to practice with the amount of pressure you use on your caulking gun. Put once you don’t want too much pressure or to little. Just a steady amount of pressure.
Also drag your gun along the edge at a steady pace. Pay attention to the tip and when if it gets clogged, wipe away the built up caulking.
Step 5: Use your finger to smooth out the caulking
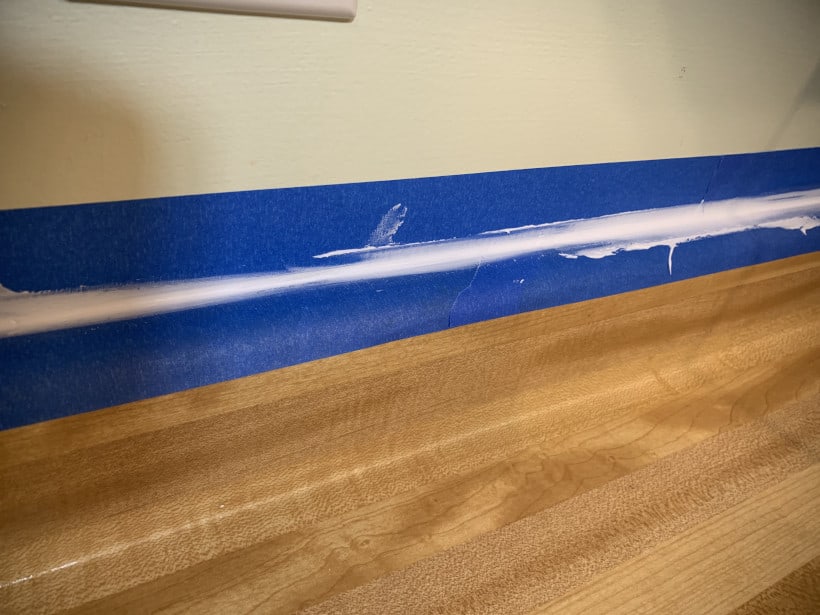
God made our fingers to be perfect tools for a lot of things and one of them is caulking. Drag your finger along the caulking to smooth it out. If you have taped this will be really easy. If you have not taped, just be careful. Wipe away any unwanted caulk with a towel or wet wipe (I use wet wipes as they are always handy in our home).
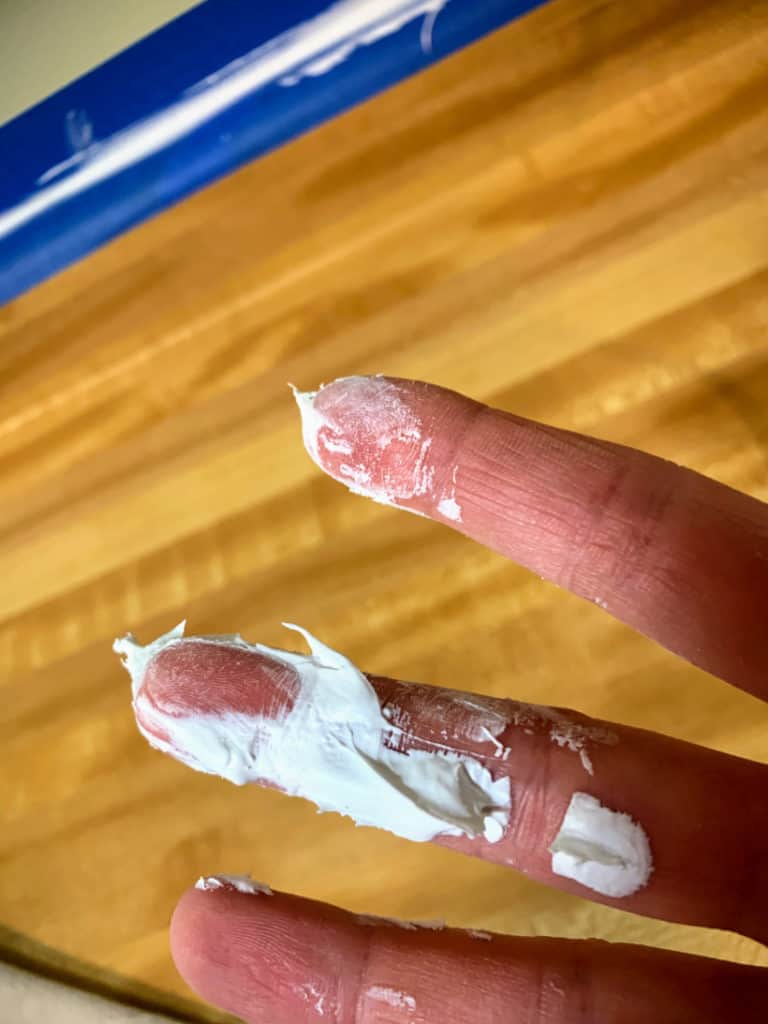
Step 6: Remove tape and wait for the caulk to dry
Wait about 10 minutes and then pull back the tape you have on. If you didn’t just wait according your pack instructions for the caulking to dry.
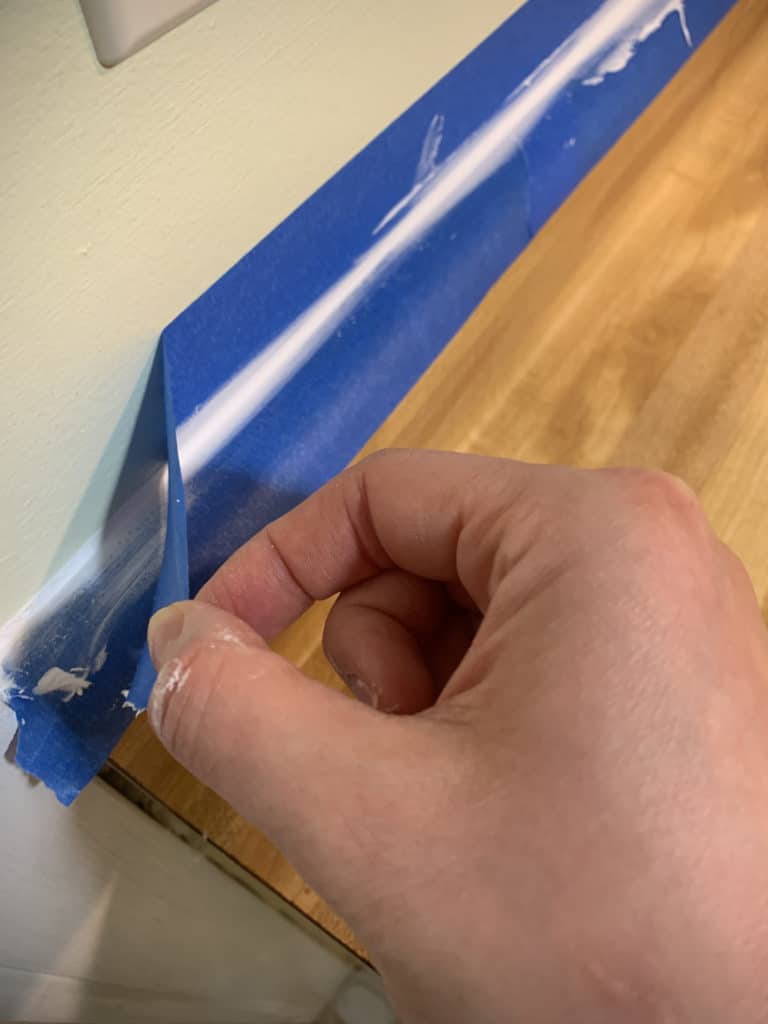
That’s it! Stand back and admire those beautiful clean edges. And the best part you did it yourself! It’s so empowering, to learn something new. To not always stay in lane but to get out of your comfort zone. Miter saw…here I come. (We’ll have to see about that one)!
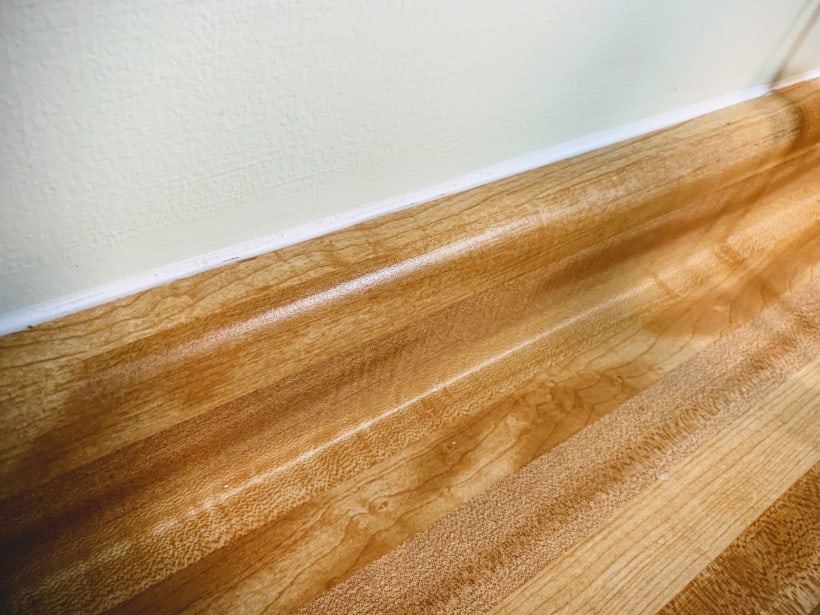
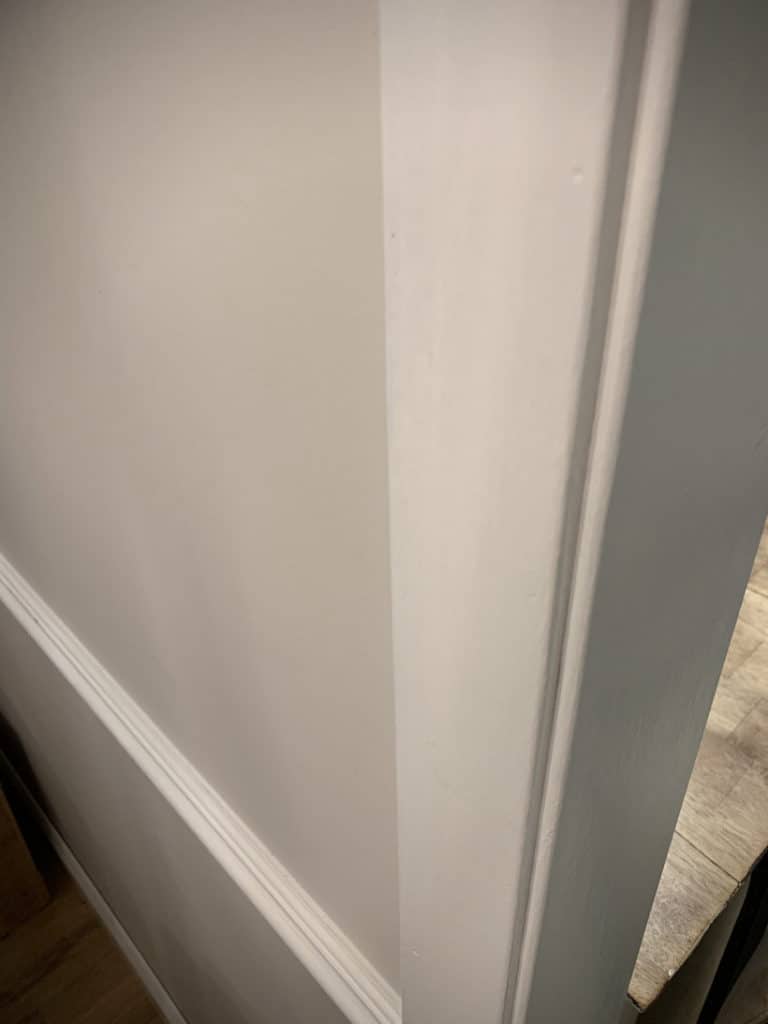
Let me know if you try this or if you have any tips for getting those nice clean edges! If you haven’t already, be sure to check out how to paint your trim like a professional.
For now have a fabulous weekend!

wetting your fingertips BEFORE smoothing out the caulk does an AMAZING job at smooth precise lines! 🙂
Great tip! Thanks Monica! Elizabeth
This beginner’s guide to caulking and trimming baseboards is excellent. If you read this guide thoroughly, you won’t need to know anything else for caulking. I am glad this was shared on this website.
Thank you Greg!
Thanks so much for the tutorial! Do you recommend caulking before or after painting the trim? I’m about to undertake painting all my interior trim white (fingers crossed!)
Hi Laura, how exciting! I would definitely caulk after you paint. Let me know how it turns out! Elizabeth
Elizabeth, Great job! I can only aspire to do such a precise job as you. You’ve inspired me to give caulking a try.
Thanks Again!
Hi Benita! Yay! Good for you. I am sure you will do a very nice job. Elizabeth
Question-If I were going to paint the baseboard after I caulk it, could I just leave the top tape there? The walls are already the color that I want and it seems wasteful of time and tape ($) if I have to remove the tape on the wall just to do it again to paint…? Would that work?
Hi Robin, I don’t think it would be a problem to leave the tape while you are painting and caulking. I would probably paint first but that might just be more of a preference. Let me know how it goes! Elizabeth
Thanks for mentioning that cutting your caulking gun at a 45-degree angle will help you evenly angle the caulking with the tip. My wife and I are excited to start remodeling our house, but we have started to notice that our caulk tube dries out overnight. It might be a good idea for us to find something that can help us preserve our caulk.
Hi Stefan, I am glad that was helpful! I am so excited for you and your wife. It is a big under-taking but so worth it! What will you all be doing to your home? Usually with my caulking I cover the end with a plastic bag and rubber band. I have not had problems with it drying out that quickly. I hope that might help preserve it longer. Thanks for stopping by!