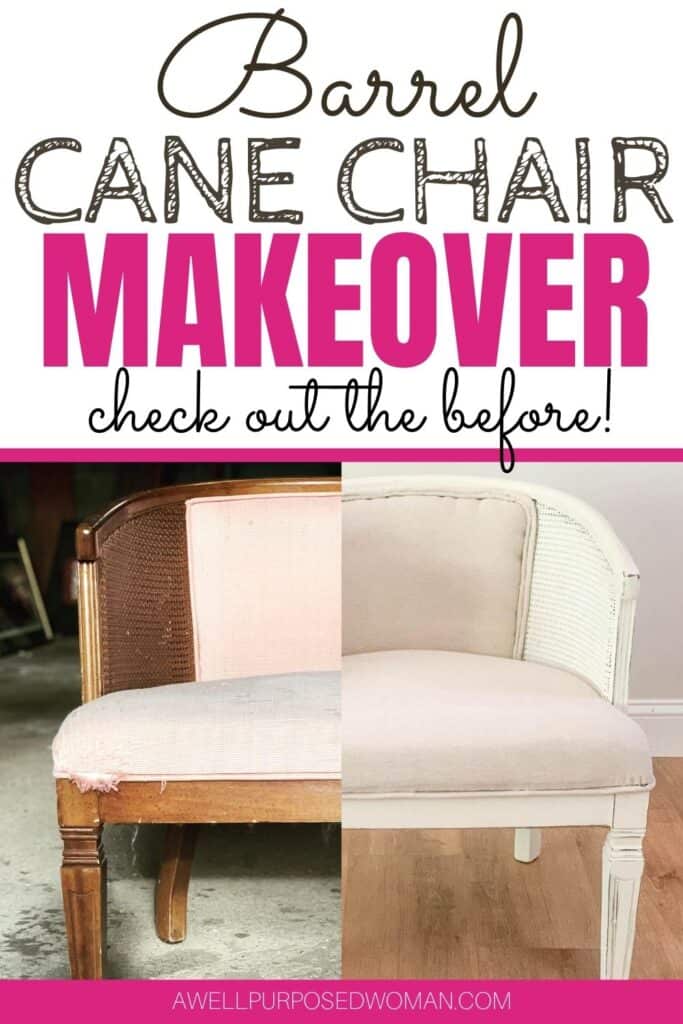
Last week I posted my barrel cane chair makeover! I was so excited to share the finished results that I skipped over the process of how the chair was re-upholstered. So today I wanted to share with you what I did so that it may inspire you in case you have your own barrel cane chair you would like to re-upholster. 🙂

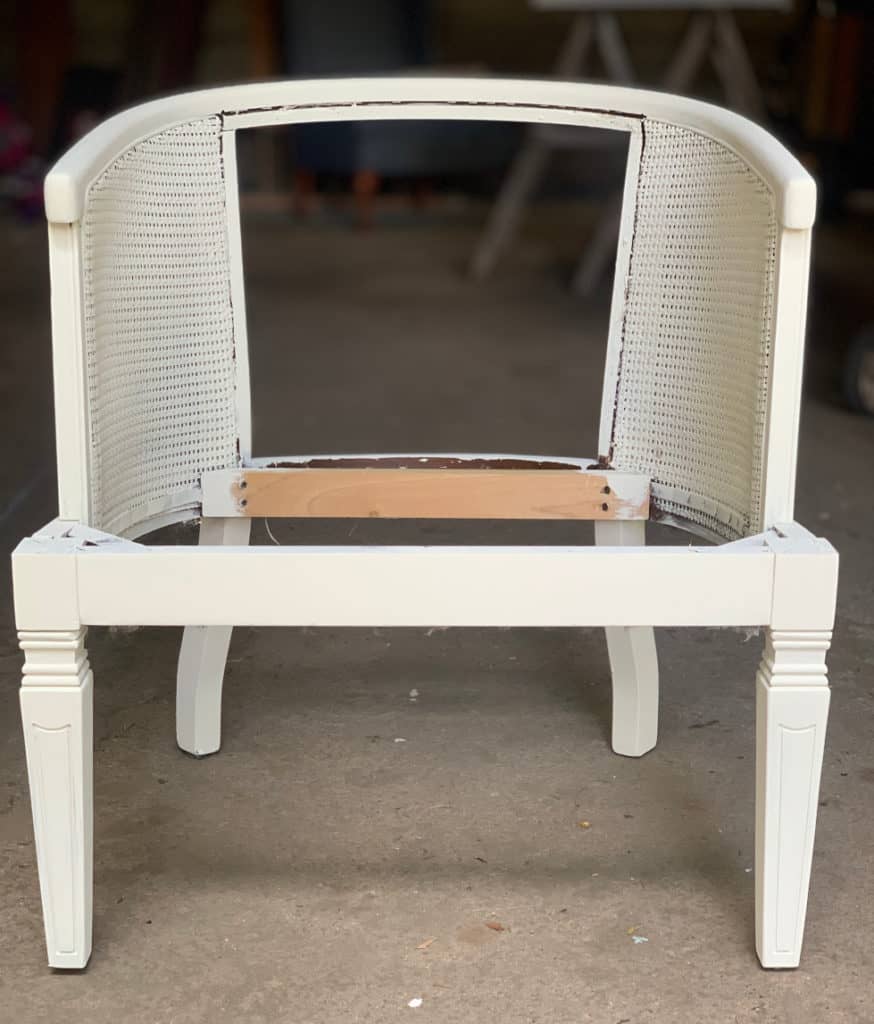
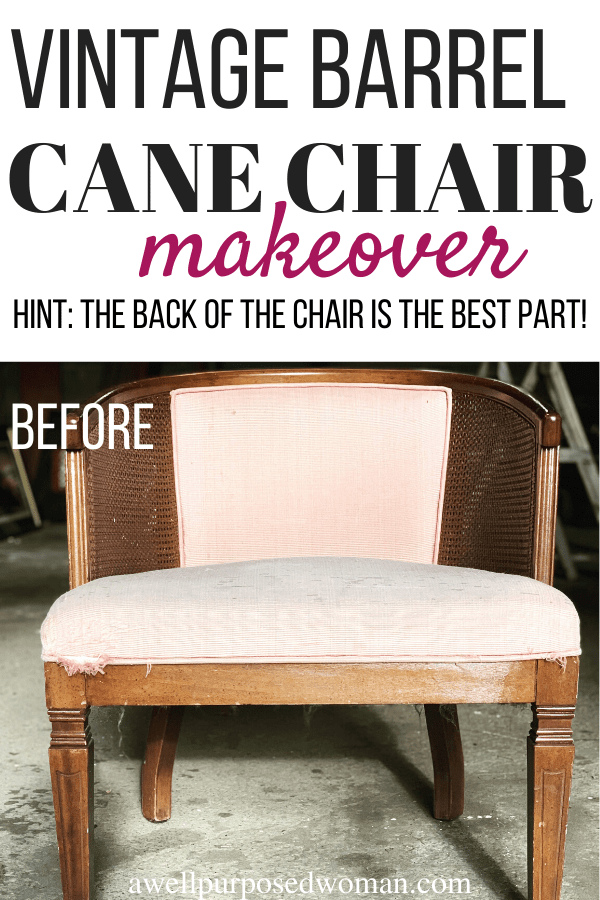
You can check out the before picture here.
If it is your first re-upholstering project I want to encourage you that it is possible to learn! To me it was a little intimidating at first but believe me if I can do it, I truly believe that you can too. Plus it is really cool to get to choose your own paint, and fabric and make it your own.
I also talked about how to remove the fabric from the chair last week, so today I want to talk about painting, distressing and waxing the frame of the chair.
So let’s get started.
Here’s what you will need to re-upholster a barrel cane chair:
- Chalk Paint
- Paint Brush
- Sandpaper (100 grit)
- Wax
- Wax brush or rag
Here’s how to re-upholster a barrel cane chair:
1. Prepare the barrel cane chair
Although I used chalk paint, which means you don’t usually need to do much to prepare the surface. You will still want to wash the chair and remove any grime. Wash and dry the chair with soap and water.

2. Paint the frame of the barrel cane chair
I used two coats of my own combination of paint colors. I mixed a less expensive white chalk paint with Annie Sloan’s Cream chalk paint together. I painted two coats of paint on all parts of the chair. I didn’t do a full tutorial on painting the chair. But I did a similar process as with my dining room chairs.
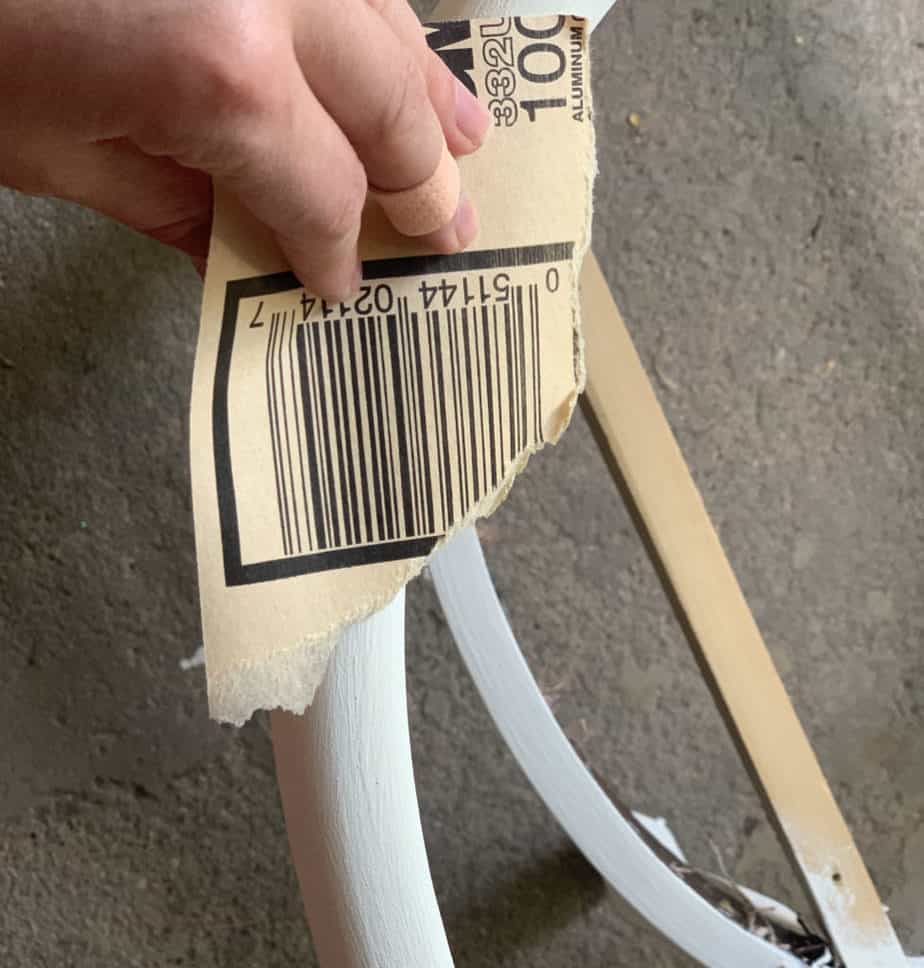
3. Lightly sand the barrel cane chair (optional)
After painting my chair I took 100 grit sandpaper and lightly sanded the chair. Although lightly sanding your chalk paint is not necessary. It gives your chair a nice soft finish. Since I used a less expensive chalk paint the surface was more rough than I wanted. So I sanded the chair lightly with sand paper.
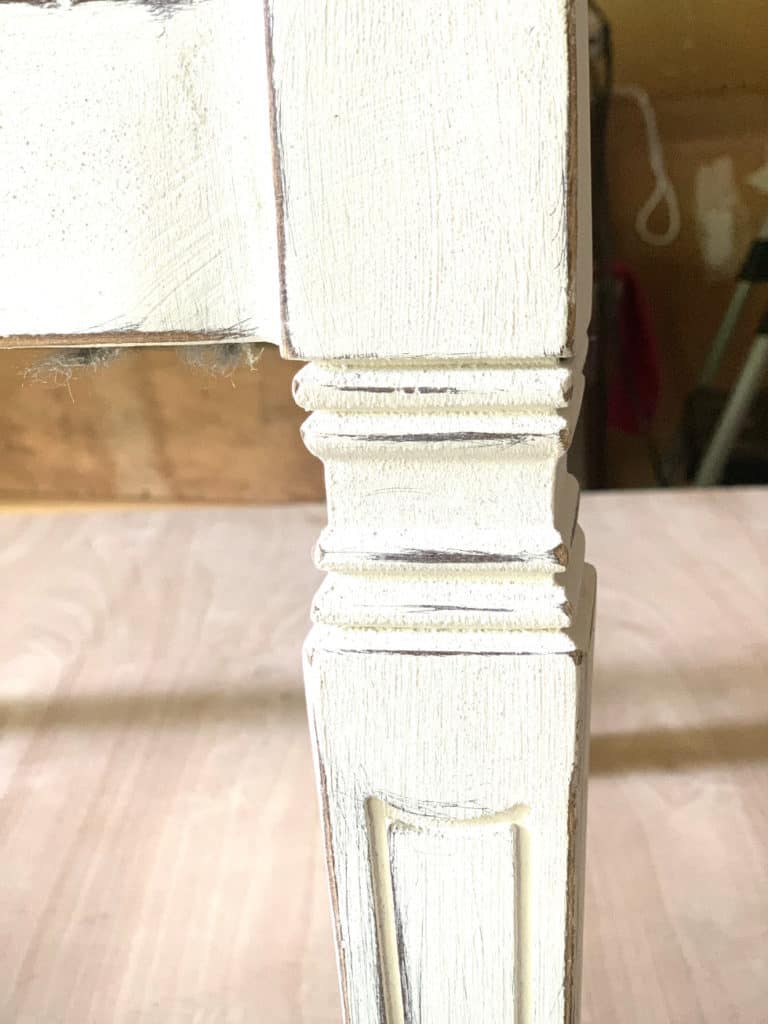
4. Distressing your chalk painted chair
If you are wanting to distress your chair like I did. Use your sandpaper and follow the tips below.
- Use the sandpaper along corners, edges, places where you would naturally see wear and tear over time.
- Use sandpaper on areas of natural interest or areas you want to accentuate. You can think of your sandpaper as a highlighter. As you distress areas, your eyes will be more drawn to those areas.
- Remember that if you plan to wax the chair afterwards. The distressed areas will darken with the wax.
- Unless you are heavily distressing a piece avoid areas in the middle of the piece of furniture, as this will be less natural looking.
Just a note sometimes distressing feels counter-intuitive. You have just spent all that time painting a piece of furniture, and it is unknown whether it will look better distressed.
Although I can’t make the decision about whether to distress or not, I am here to reassure you that every piece I have distressed I have loved! It adds a level of charm and rustic feel. Since I like all things rustic, it usually make me love the piece so much more.
Tip: Remind yourself if you don’t like the distressing you can always touch up with paint.
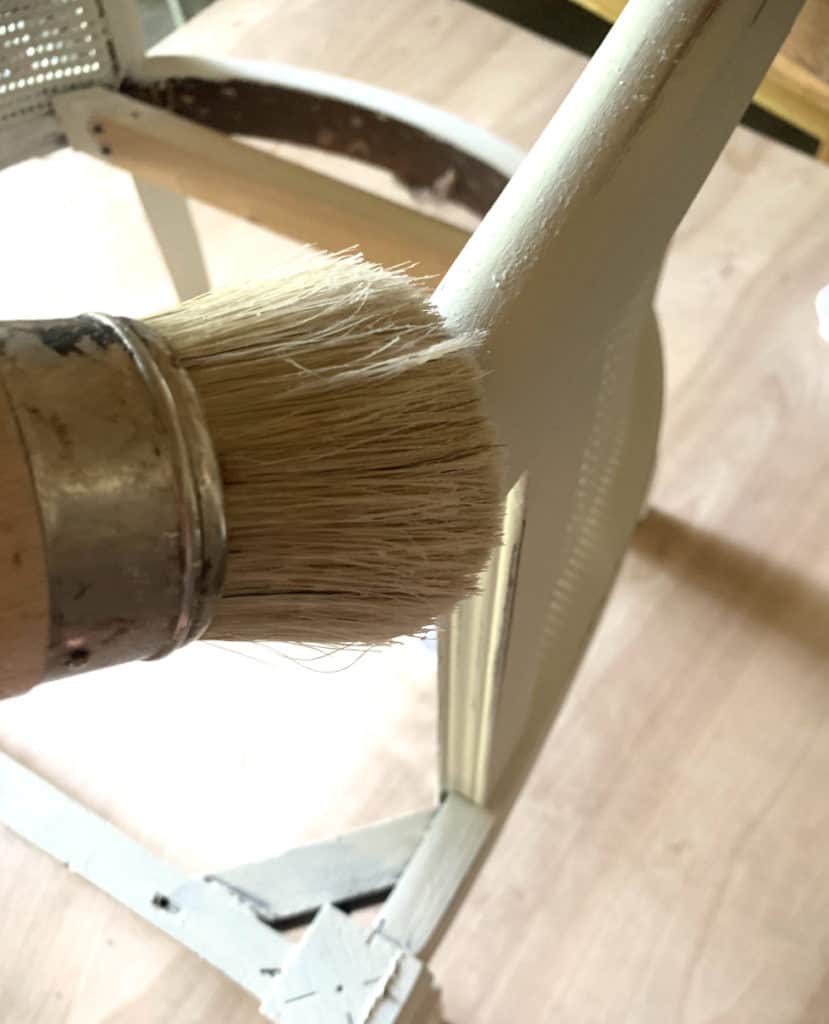
4. Wax the barrel cane chair
Use your wax brush and apply wax on your chair. Do small sections of 8-12″ areas at a time. Using a circular motion, rub in the wax with a rag after it has been applied. When the surface is no longer tacky, and feels smooth you have rubbed in the wax sufficiently.
The wax does take a few days to fully cure. If you are wanting a more durable sealer you could also use a polycrylic or polyurethane. For the purposes of this chair I felt wax was sufficient because it is more of an accent chair.
So that is the next step in re-doing your barrel cane chair. If you missed the first post how to remove the fabric go back to that post. I will post the next step I did, create re-upholstery piping in my next post.
Until then happy diy’ing!

If you want to remember these steps don’t forget to pin it for later!
Leave a Reply