Photo Idea to display Baby’s first 12 months
There’s nothing quite as special as a baby’s first year of life. First tooth, first holiday, first family trip, maybe first time walking. It’s a year full of firsts! When my daughter Emmie turned 1, I wanted to find a special way to display all of the photos from her first year (well not all because that would be over 1500!!). But at least some of them, so I came up with this cute first birthday party photo frame.
This is a super simple little project. It uses supplies you may already have on hand. And just adds something special to your baby’s first birthday. So hopefully all you will need to do is print a few of those precious pictures from your phone.
*And plus an added bonus about this project, you can continue to use the frame as home decor in your baby’s nursery. So this project is definitely worth the few minutes of time it takes to make!
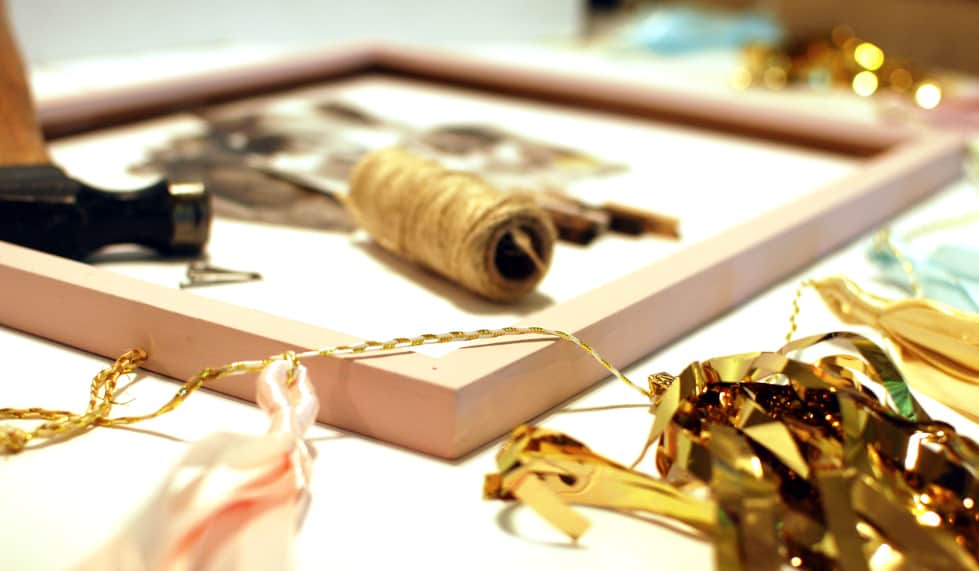
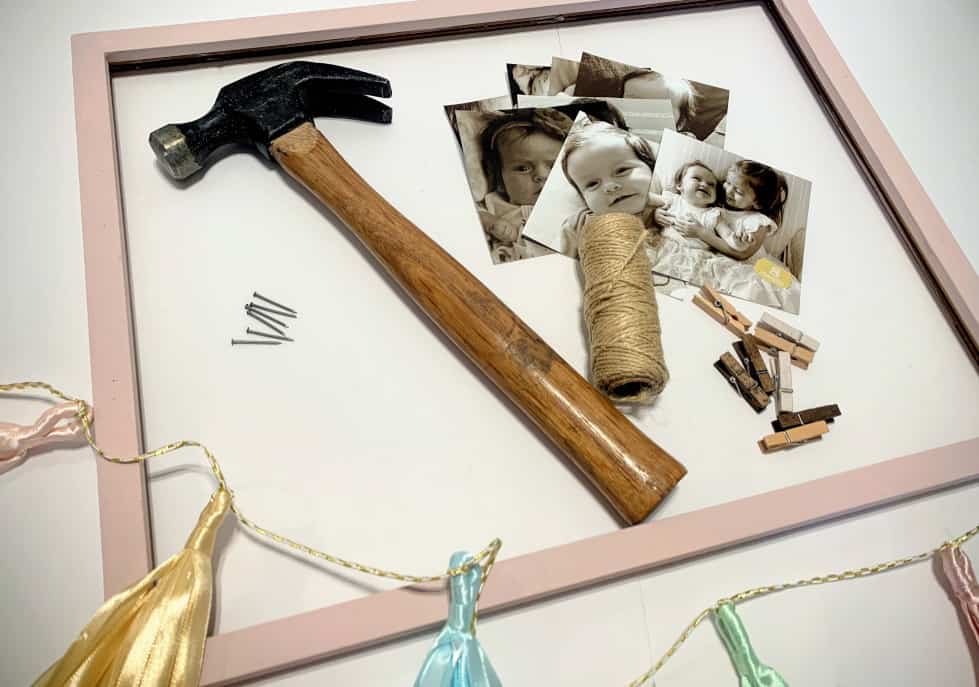
Here’s what you needed to get started:
- Old Frame (I used a 17″w x 15″ L frame)
- Paint & paintbrush (Optional)
- Hammer & 6 nails
- Twine
- 12 4×4 pictures (I did black & white)
- 12 clothespins
- Stickers of the #’s 1-12.
Here’s what you do:
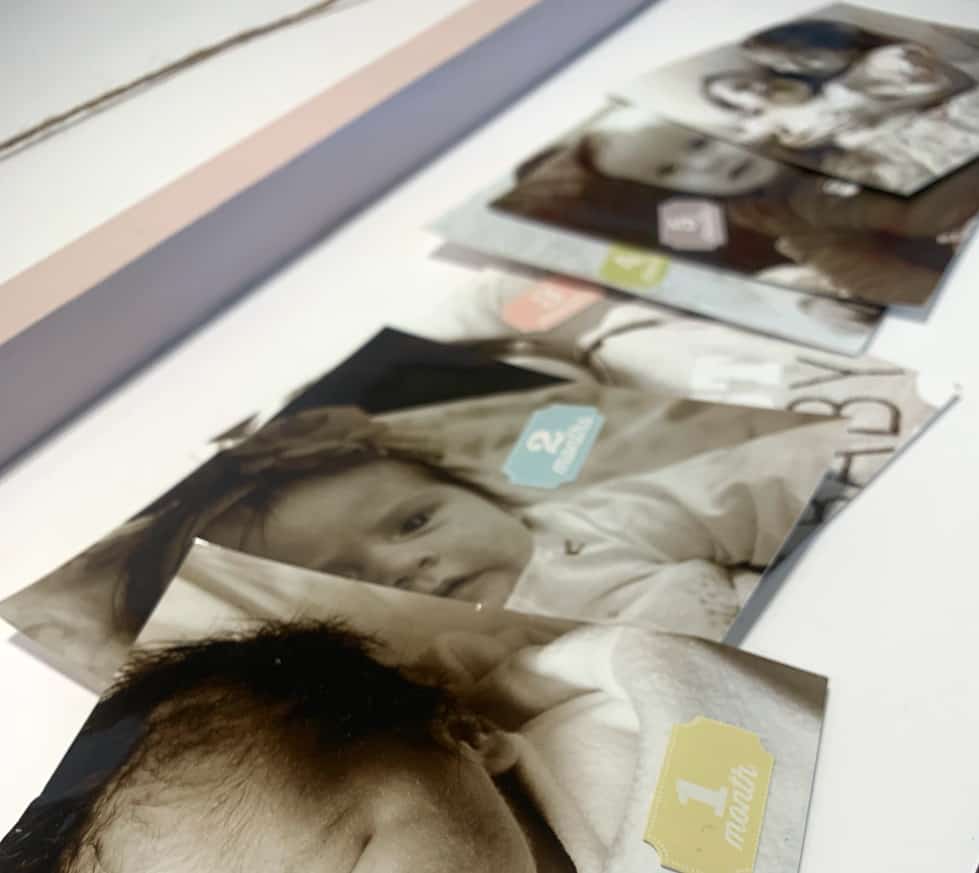
Step 1: Print off 12 pictures.
You will want to print off the right size pictures for your frame. For my 17″ wide frame four- 4″x4″ pictures fit perfectly across the frame. I just scrolled through my phone and printed a picture from each month for the first 12 months. I chose to do black and white pictures because I didn’t have to worry about colors clashing etc.
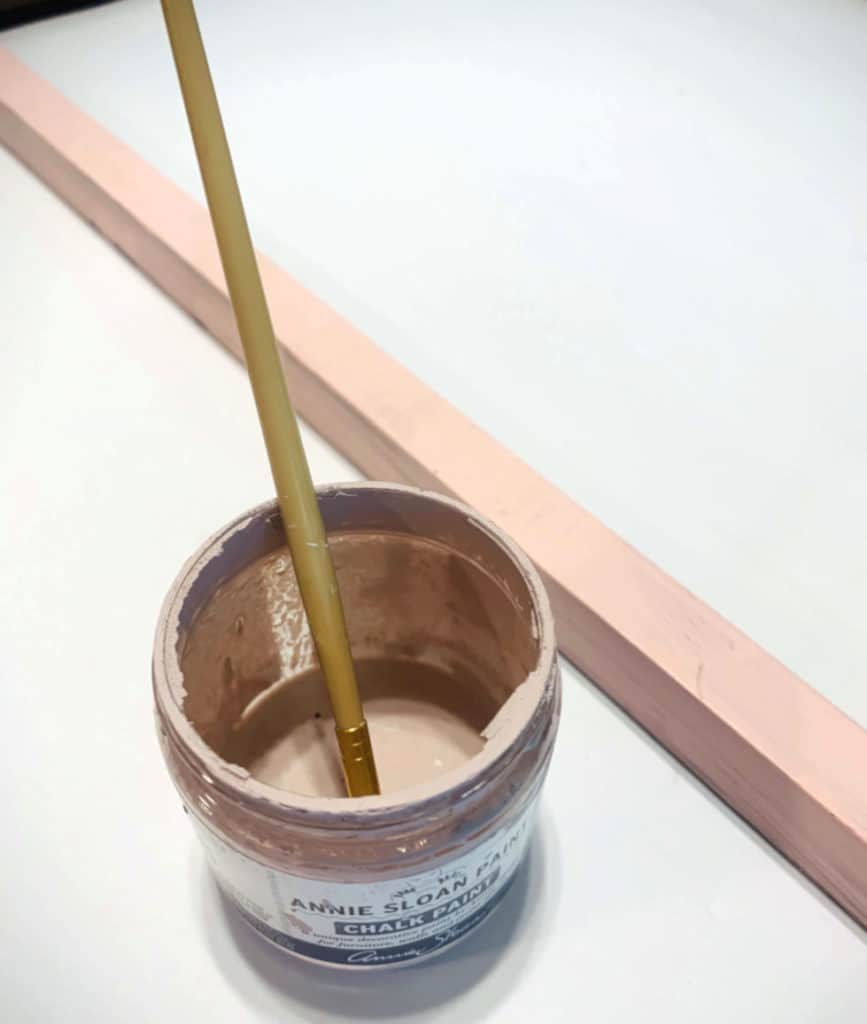
Step 2: Paint your frame (optional)
This step is optional because you may like the color of frame. But if you don’t like the color of your frame, or want it to better match the rest of your party decor, just paint the frame. I did mine in Annie Sloan’s Antoinette paint.
Step 3: Measure & place nails on frame
Now you will want to measure where you will place your nails. On my frame I did three rows of four photos. And since my frame was 15″ long. I measured and placed a nail every 5″. So the last nail was placed 5″ from the bottom of the frame.
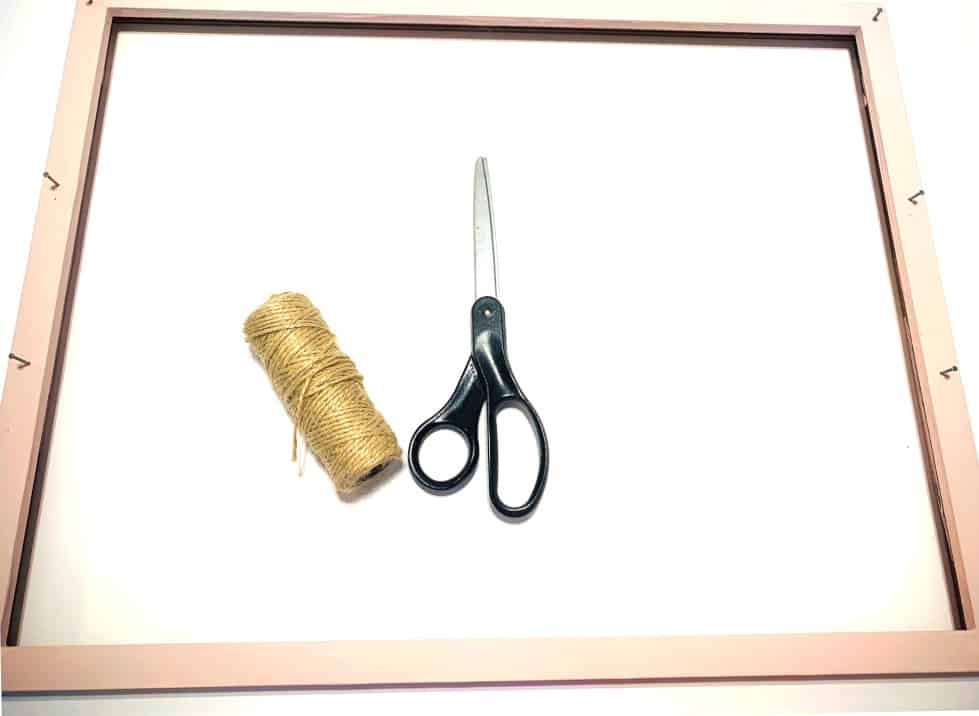
Step 4: Cut twine & attach to the nails
Cut your twine about 5″ longer than your frame. Since my frame was 17″ w I cut my twine about 22″ long. Tie the twine to the frame. You want to let the twine hang a little bit so don’t tie it too tightly. You may want to place your photos on the twine before cutting it. Just ensuring the twine hangs the way you want it to with the pictures. After you are satisfied cut off any remaining twine.
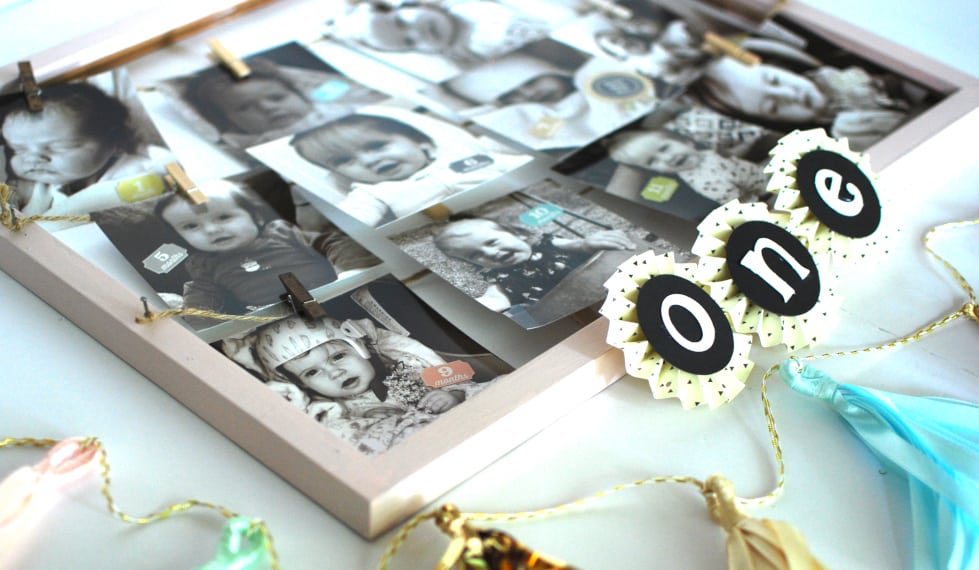
5. Add your pictures to the twine with clothespins
The last step is to attach the pictures. Use your clothespins and attach them to the twine. Also if you want to you can number each picture according to the month.
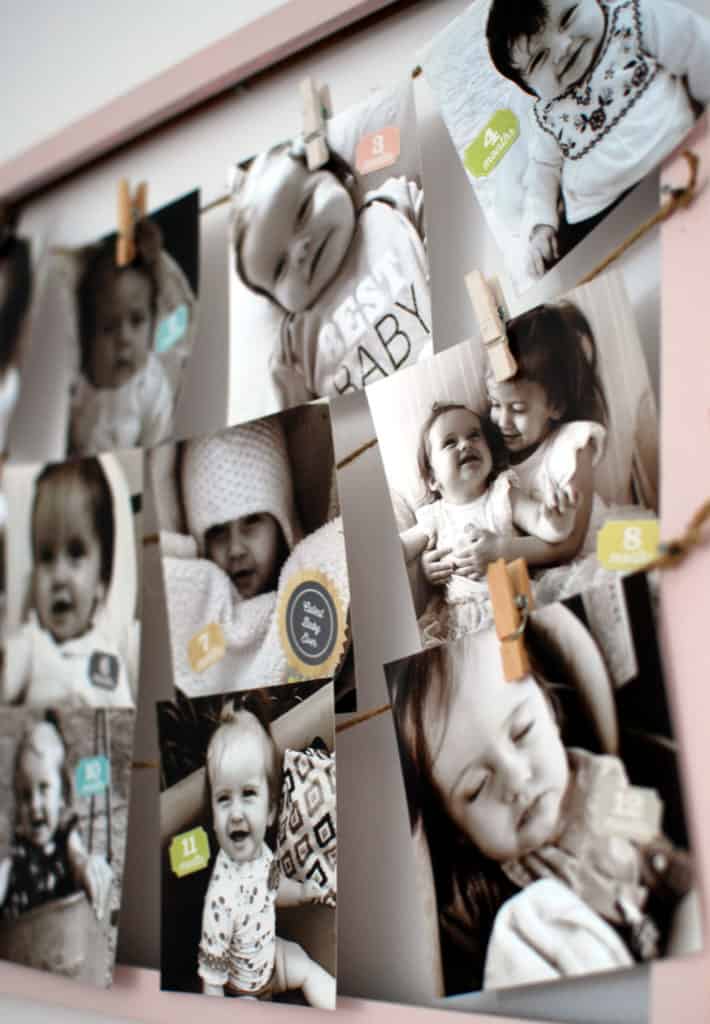
And that’s it! Now you have a beautiful picture collage to display at your little one’s first birthday party. Wasn’t that simple? But it’s so cute too.

And don’t forget to hang the frame in your little one’s nursery once the party is over! You can even change out the pictures with every year that goes by.

Hope you enjoyed this project! And I really hope you enjoy your little one’s first birthday! Hold them tight because they grow too fast!! Please let me know if you give it a try.
God bless you and keep you until next time,

This is adorable! What a great way to show multiple pictures!
Thanks Sarah! Yes it’s a fun way to show that precious first year of life! Thanks for stopping by 🙂