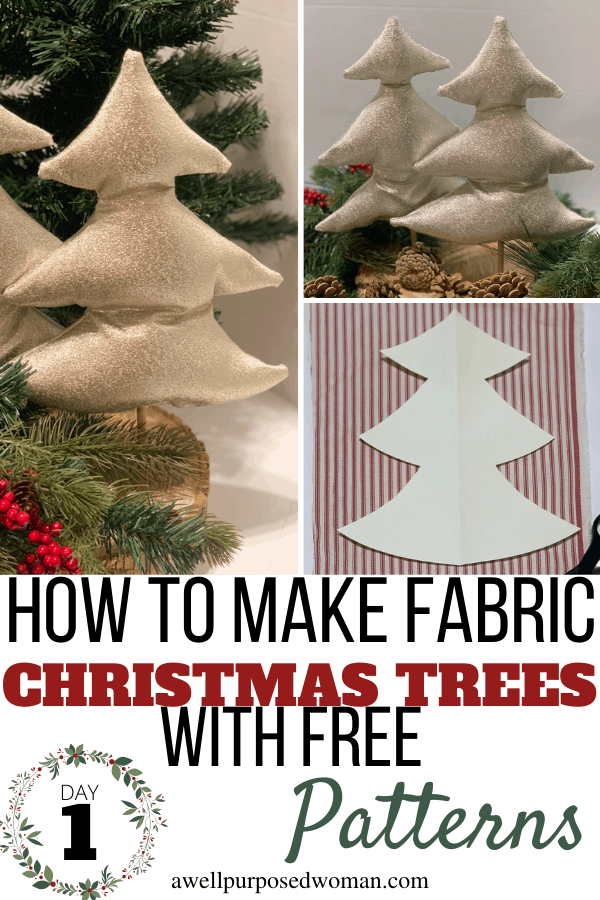
Learn how to make a DIY Fabric Christmas tree easily with a free pattern. DIY Fabric Christmas trees are a perfect addition to Christmas decor. Make fabric Christmas trees in any fabric you choose. Fabric Christmas trees can be made in 30 minutes or less.
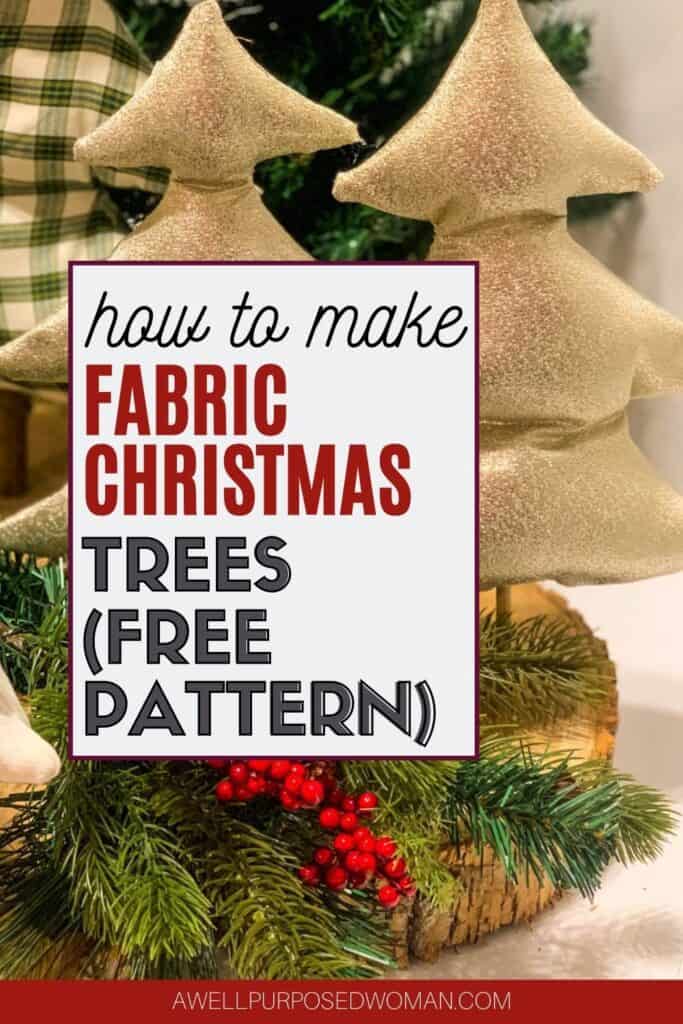
Happy 1st day of A Well Purposed Christmas Crafting today’s gift is a free pattern for DIY Fabric Christmas Trees!!! By starting today we are avoiding last minute holiday stress by intentionally starting our crafting early! Did I mention I am excited!!! I am sooooo excited about these fabric Christmas trees
How to make a Fabric Christmas Tree:

If you are a subscriber you should have received the free fabric Christmas tree pattern in your email this morning. This project is for seamstresses and non-seamstresses alike. I have included a no sew option if you haven’t been able to get started with sewing or would rather not use your sewing machine!
If you haven’t yet started with sewing, finding a project you are excited about can give you that extra push to get started! That’s how I started a few Christmases ago
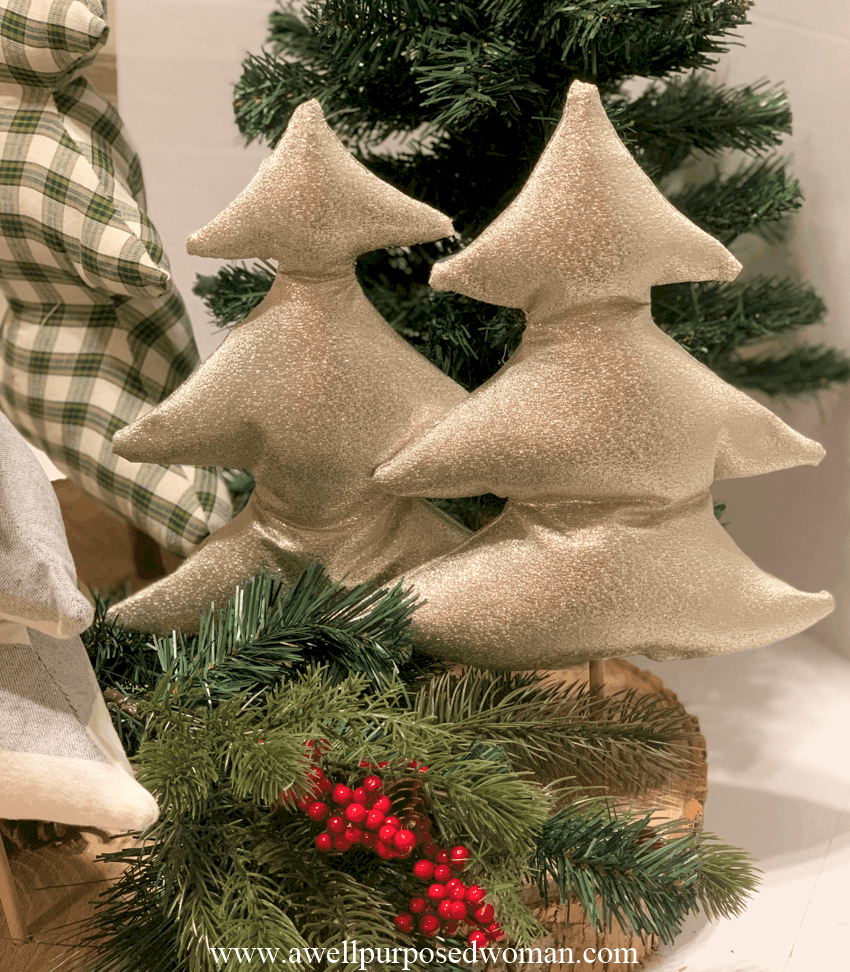
I first made these little trees around the same time last year! And I have tell you they are really fun and cute to have as part of your Christmas display! And in the spirit of giving they are also a really easy gift you could make a few more for someone else.
I love using a mixture of textures in decorating and these trees add a soft dimension to your home. You can use almost any fabric in making these. And if you know me I love re-purposing fabrics from old clothes, blankets or other items. The trees I made today were from old skirts, blankets and some was purchased fabric.

But before you run to the fabric store, look around your house. Maybe something has a hole or is out dated that you could turn into a beautiful fabric Christmas tree!
But I know you are all excited about the project so let’s get started!!
Here’s the supplies needed to make a DIY Fabric Christmas Tree:
- Pattern (free for subscribers to download)
- Fabric (for each tree you will need a total of 30″x 24″)
- Sewing Machine or hot glue gun & glue sticks
- Polyfil
- Hot glue gun
- Wood dowels
- Wood Pieces (2″x 2″ for small or medium trees, 2″x 5″ for larger trees)
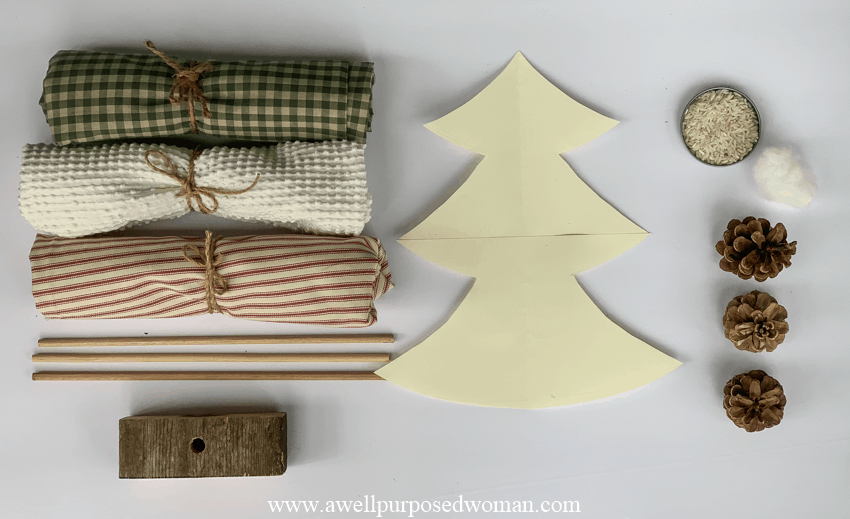
Here’s how you make your DIY Fabric Christmas Tree:
1. Print your fabric Christmas tree pattern & cut out
Print out your fabric Christmas tree pattern. There are three pattern sizes: small, medium or large. Print out the pages for the patterns you will be using. If you are making the medium or large sized trees you will need to tape your tree together. Then cut out the tree.
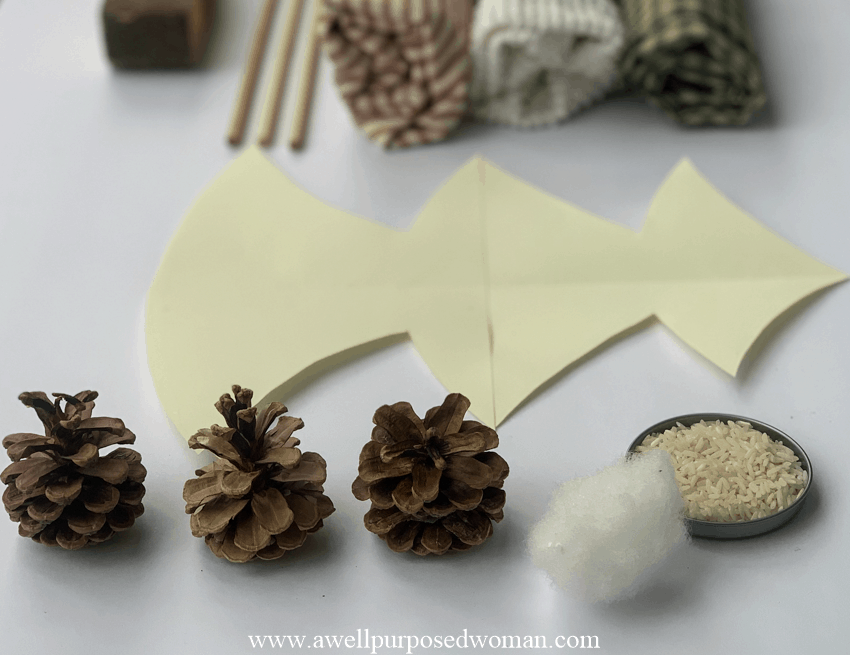
2. Trace or pin your pattern on the fabric
Place your pattern on your fabric and trace around it. I folded my fabric so I had two pieces of fabric underneath my pattern. Traced around it and then cut both pieces of fabric together. It worked well with the fabric I was using.
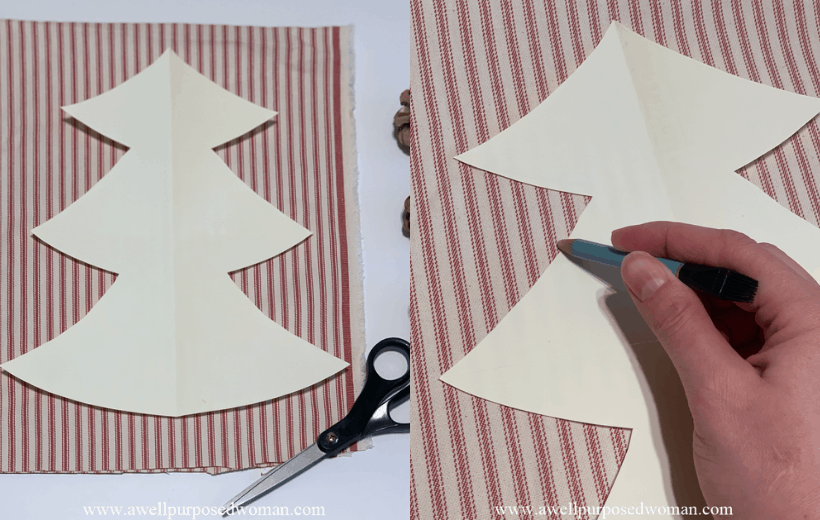
If this method makes you nervous you could also pin your pattern to the fabric and cut around it.
3. Pin your fabric trees together and sew or hot glue
If sewing: pin your pieces of fabric right sides together. Leave a 2″ opening at the base of your fabric Christmas tree to turn the fabric right side out and fill with stuffing. I pinned pretty loosely because I knew my fabric wouldn’t move much.
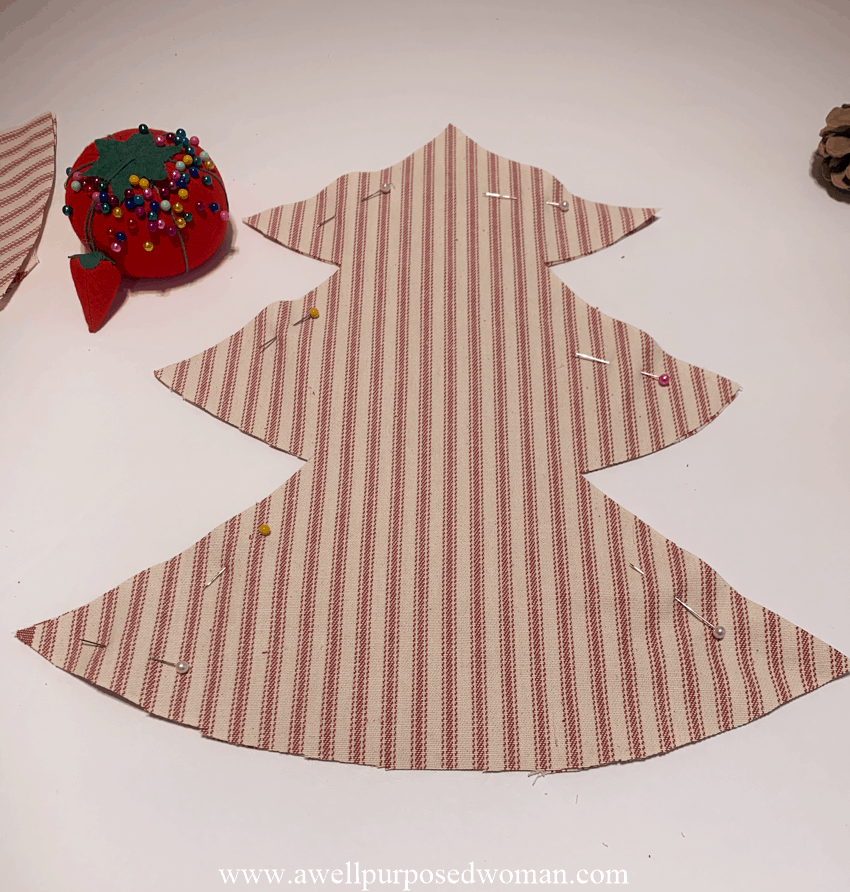
Sew around your Christmas tree. I recommend starting at the base of the tree where your opening is and sew around your tree until you get to the other side of the opening. This way you only have to make one seam. Turn your fabric right side out.
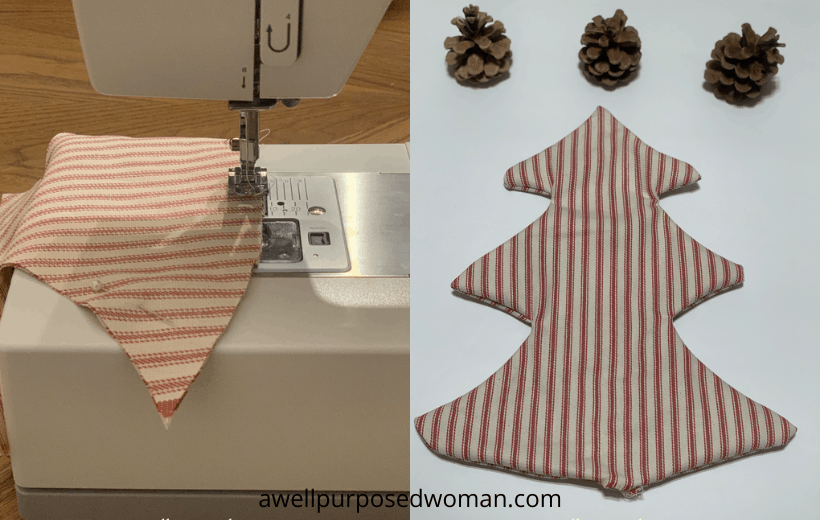
Tip: If you are a new sewer take your time. Make sure you don’t get too close to the edges of the tree. It’s easy to get too close to the edge and leave gaps in your seam.
If hot gluing: Use an iron and fold 1/4″ on each edge. Then hot glue the two pieces of fabric trees together, leaving a 2″ opening at the base of the tree for stuffing with polyfil.
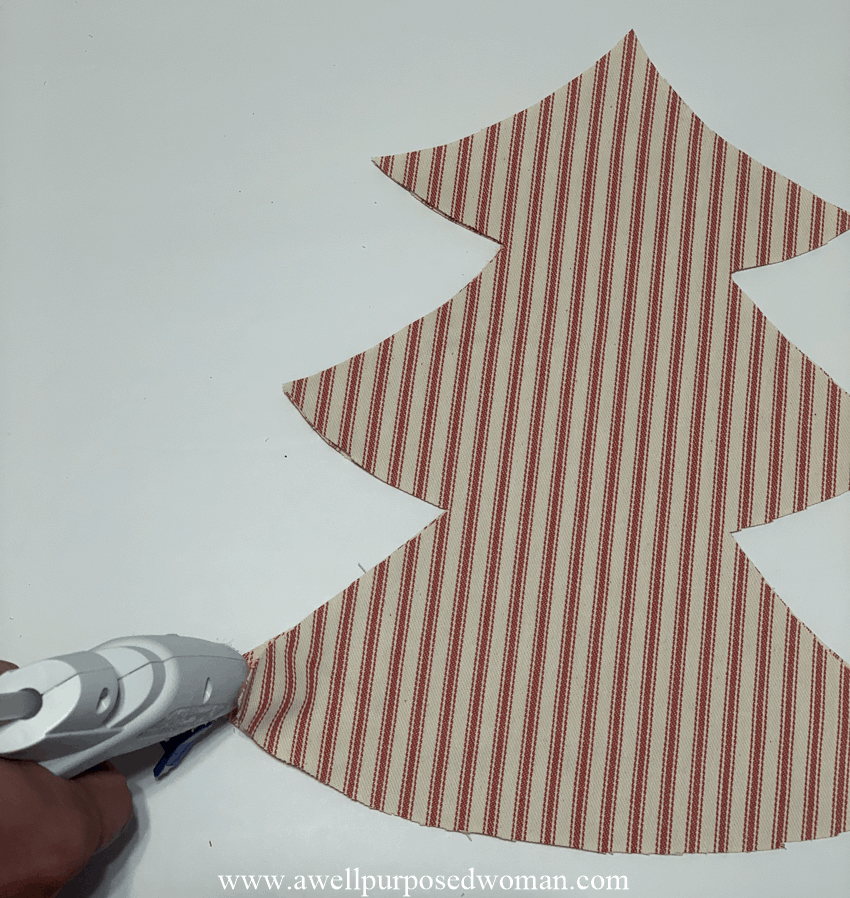
3. How to stuff your fabric Christmas tree with polyfil
After turning your fabric right side out. Use your finger and push out the points and edges of your tree. Now you should see your beautiful tree taking form. Use polyfil and stuff your fabric tree to your liking. Make sure you like how fat it is and how the tree looks, then move on to the next step.
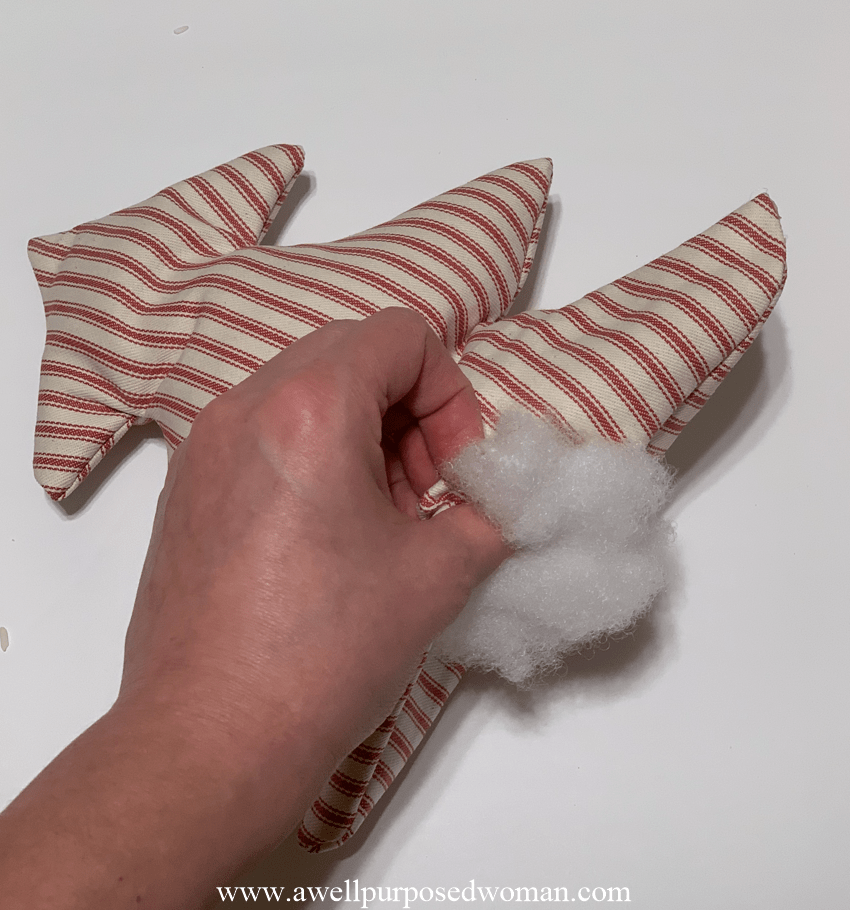
Tip: I sometimes use rice to fill in the tips of the tree. But don’t use very much rice because it will make your tree too top heavy and it wont stand as well with your tree stand. Rice is totally optional and can be skipped altogether.
4. Insert wooden dowel into fabric Christmas tree and close opening
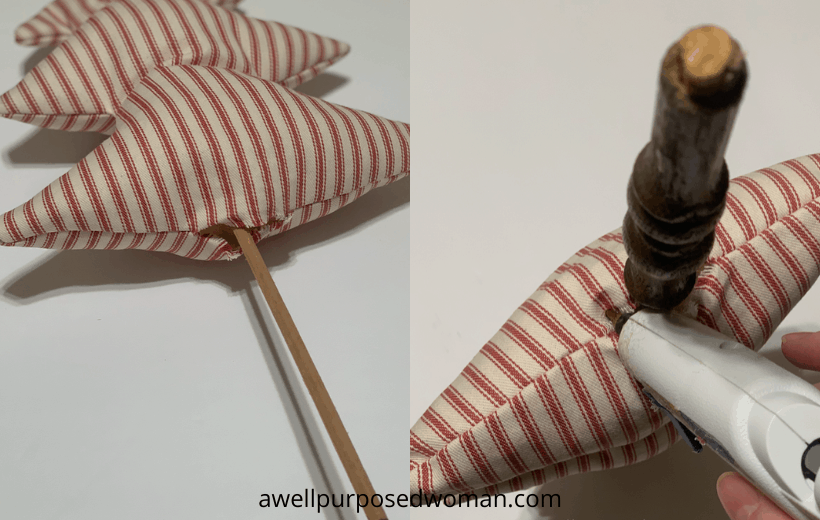
Take your wooden dowel and stick it in the center of the fabric tree. I ended up using an old chair spindle for the trunk of this tree and I really liked the character it added!
Fluff your polyfil around the wooden dowel. I like it when the polyfil is covering the wooden dowel so the tree still feels soft all around. But that’s just my preference. Once you are satisfied with it, hot glue the opening at your base closed.
5. Insert wooden dowel into your base
Here’s where you can get creative. I used a piece of old barn-wood that my husband cut into 2″ x 2″ rectangles. We drilled a hole 1/4″ diameter (the same size as the wooden dowel) and the trees fit in nicely.
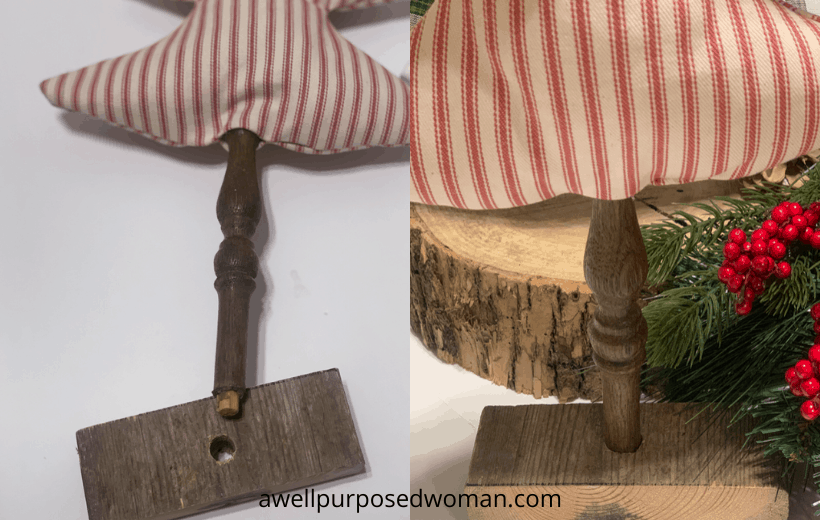
Alternative if you don’t have a saw or a drill: You could also insert the wooden dowel into floral foam or Styrofoam and place the trees into a planter box or add evergreens around the base. There are lots of options.
And that’s it!
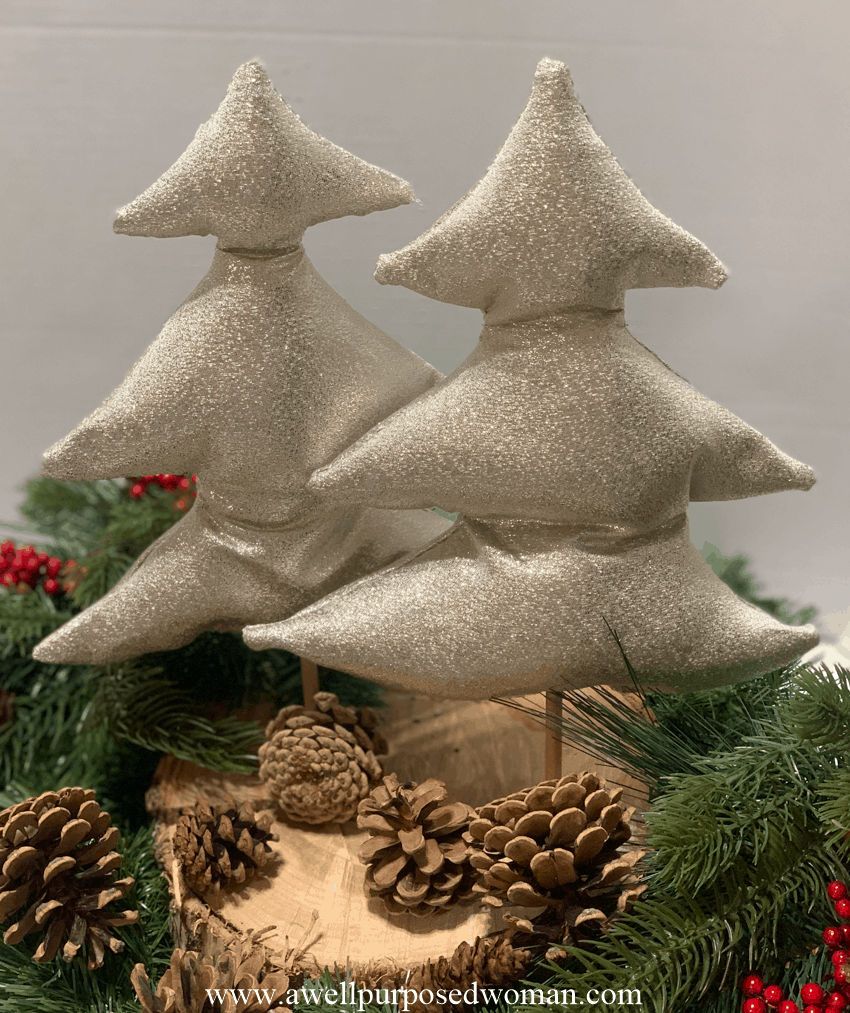
Now you have these beautiful fabric Christmas trees to decorate your home or to give as a present to someone else! I hope you enjoyed your first gift and project today. Please post below if you have any questions or ideas you would like to share about this project. I love hearing from you also if there is something that was confusing or could be improved.
I hope you will join us for the next 11 days of Christmas!! Can’t start working on it today? Just pin for later.
As always thanks for stopping by and hope to see you on Wednesday for our next project!

If you liked this post, be sure to pin it for later!



You are so clever, everything is adorable. Thank you for all the free patterns and ideas.
Hi Patty! Thanks for your kind words. That means a lot to me. And you are very welcome! Happy Crafting! Elizabeth
Love this idea – and I too think the spindle was a creative use!!
I can not find the free pattern though – where is it to download and print?
Hi Terri, Did you find the pattern? If not I am happy to email it to you. Thanks for stopping by! Elizabeth
Cute idea. I really like that I can use the hot glue. The chair spindle really gives it a nice look! Thanks for sharing.
Hi Regina, yes you can sew or use hot glue. I thought the chair spindle added an extra touch. Thanks for stopping by! Elizabeth
Got your message for the trees but not the pattern. Cute tree
Hi Granny,the pattern should be in your email. If you still don’t see it let me know. I will re-send it to you! Thanks! Elizabeth
I think I’ll have to give it a try!
Yes! Let me know how they turn out 🙂
I love this idea. For us non- sewers, it will be pretty easy. Thank you for including those instructions. I can’t wait to start them this weekend.
Keep ideas coming.
Hi Mary! Yes let me know how it works out for you! More ideas are on the way!! 🙂 Elizabeth
opp got pattren in my email thank you so kind
xxx sandra
ireland
how wonderful so easy thank you where do i download pattren as im so bad at drawing
sandra ireland
Hi Sandra! Ok great! Glad to hear you received the pattern in the email. Let me know how they turn out for you! 🙂 Elizabeth