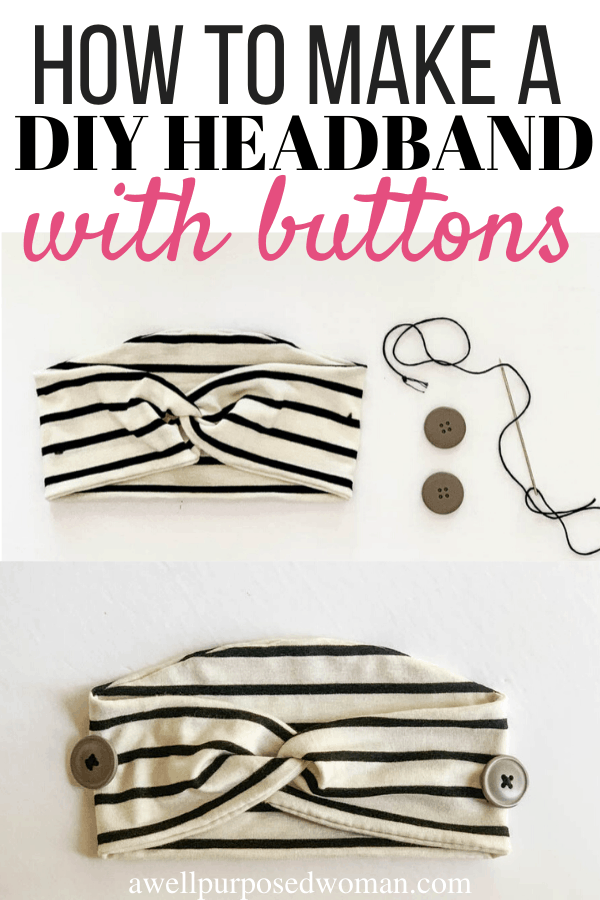
Learn how to make a DIY headband in less than 15 minutes. This tutorial comes with a free DIY Headband pattern. DIY headbands are useful in keeping your hair back and out of the way so you can focus on what’s in front of you.
How to Make a DIY Headband:
I recently created patterns for a wide and narrow DIY headband with buttons. But I made a tutorial for the narrow DIY headband and not the wider sized DIY headband. So today I am finally getting around to making a tutorial for the DIY headband that is wider and can be used with a face mask or face shield.
DIY Headbands are very practical for so many things. Keeping your hair back in summertime, for exercising, and now more recently for holding face masks or face shields. DIY headbands are very simple to make. And they can be made in 15 minutes or less.
So let’s get started with making our DIY Headbands!

Here’s what you need to make a DIY headband
- Free downloadable pattern
- Knit or other stretchy fabric (1/8 of yard)
- Sewing Machine
- Knit Fabric Needle (Optional)
- Cutting board and rotary cutter or scissors
- 2 large buttons
- Needle and thread
Step 1: Use the pattern for a DIY headband
Download the free pattern for a DIY Headband. Use the wider size pattern. Tape the two parts of the pattern together.
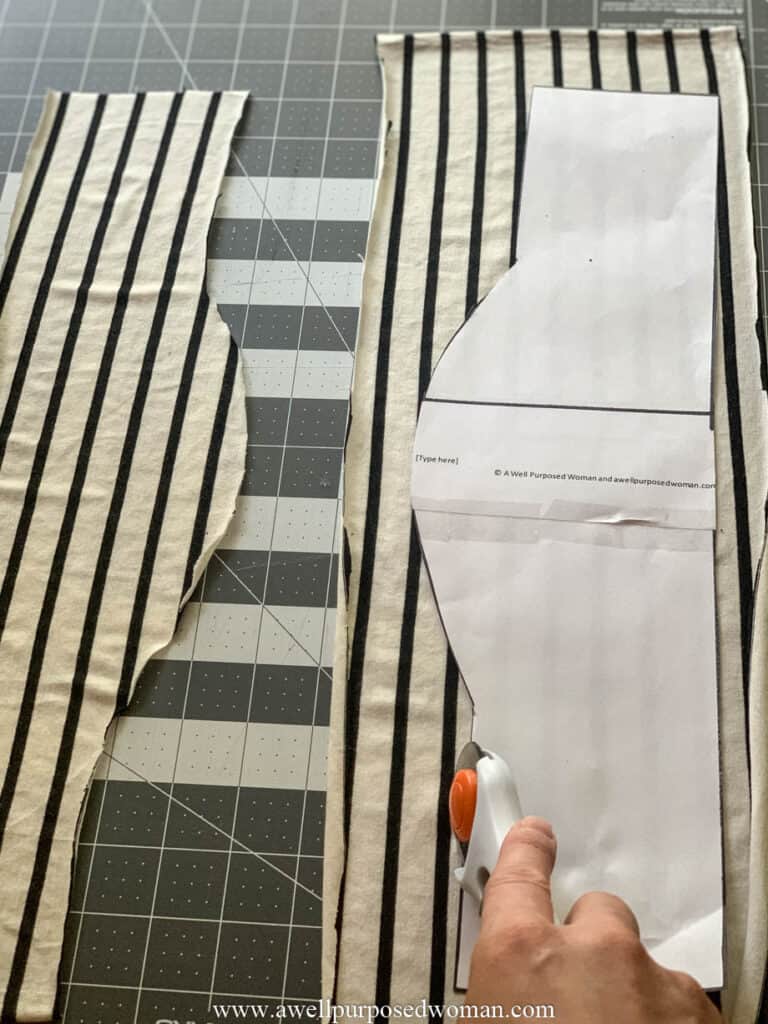
Cut out two pieces of fabric that are the same size with the pattern.
Tip: If using knit fabric it can move around more when cutting. To keep it in place pin the pattern on the fabric before cutting.
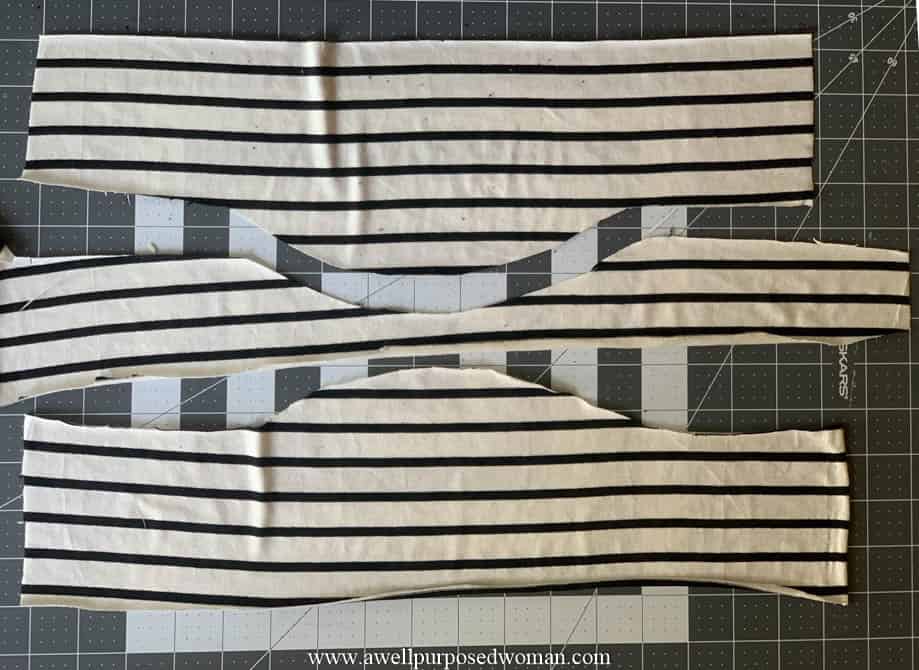
Lay the two pieces on top of each other, right sides together.
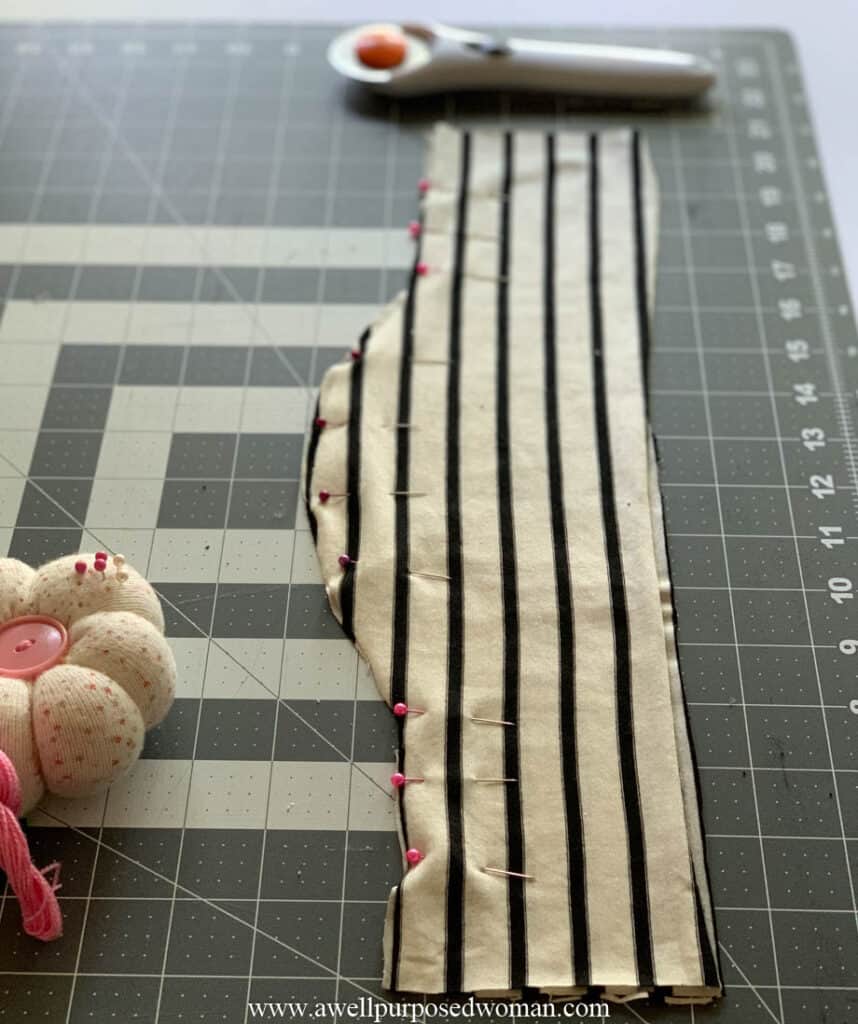
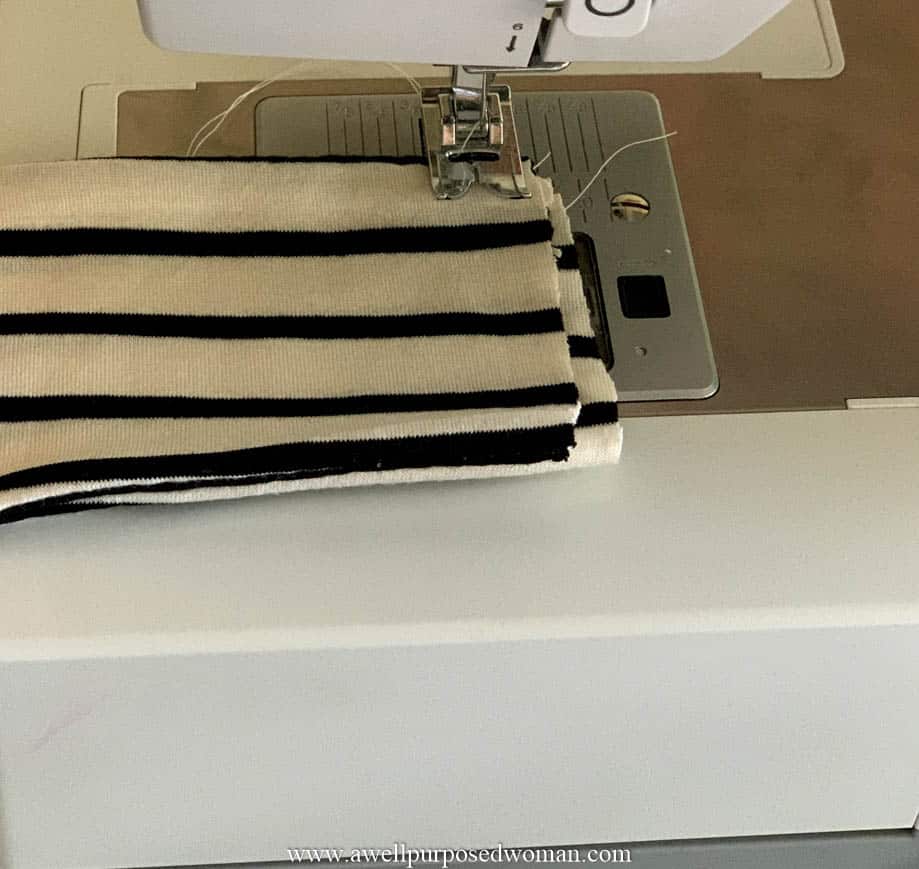
Step 2: Sew the two pieces of the DIY headband together
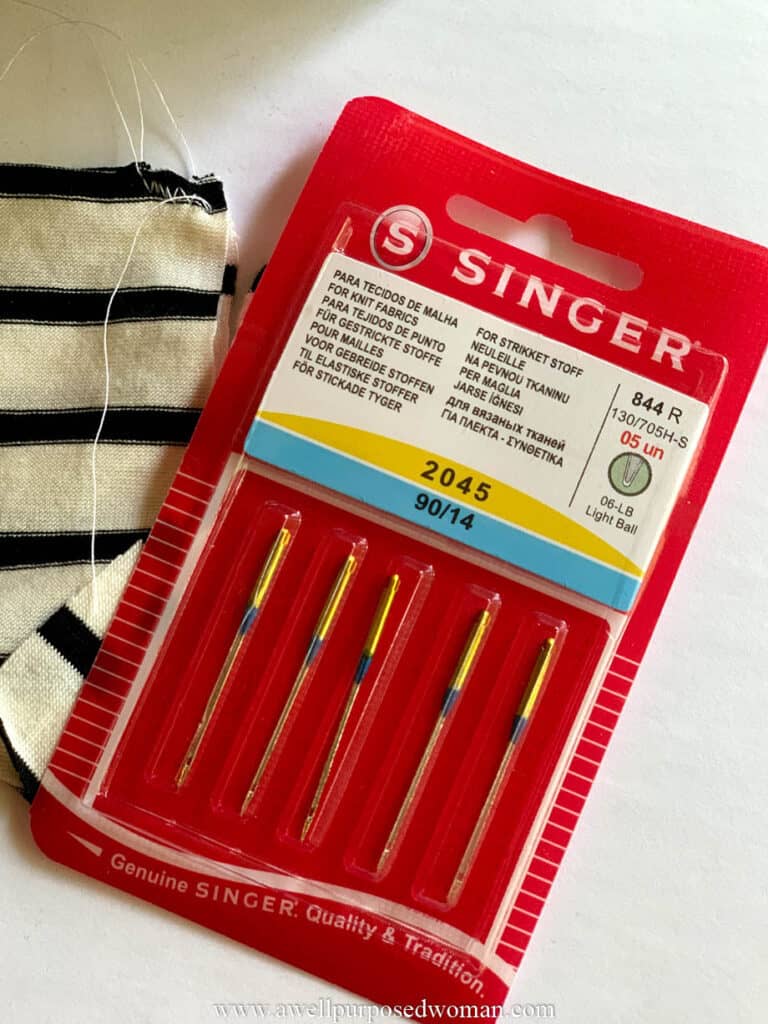
If you are using knit fabric I recommend using a knit fabric sewing needle when sewing your DIY headband. Here’s the needle I used.
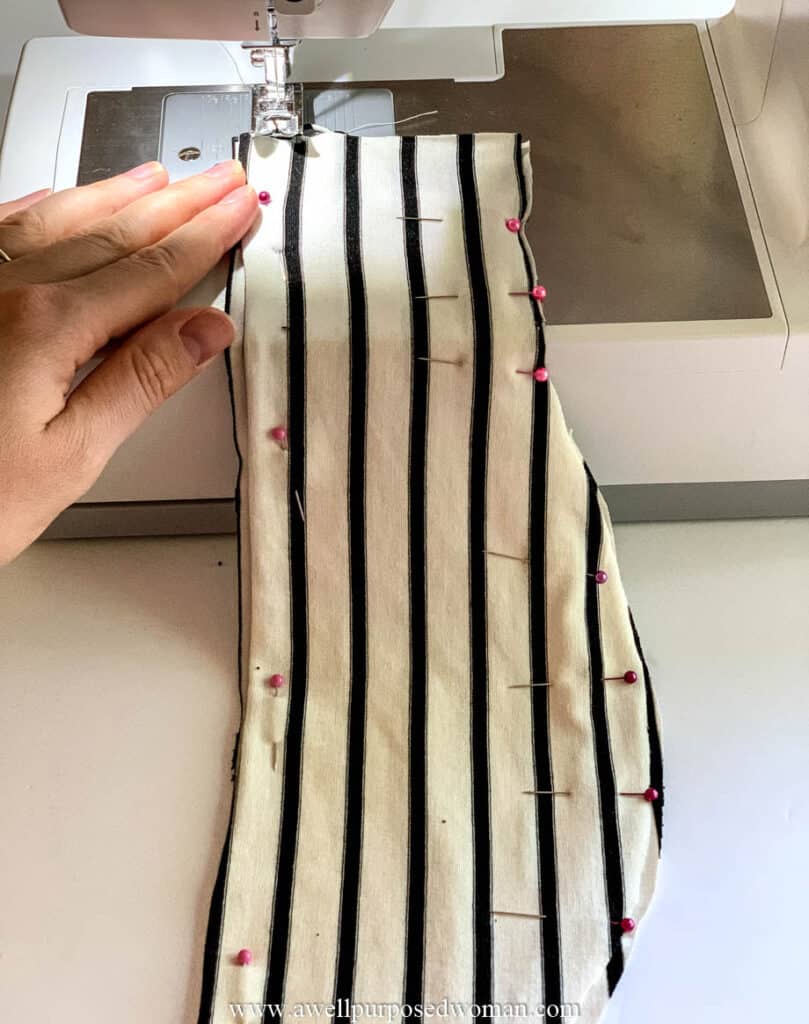
Also you will want to sew with a zig- zag stitch since you will want the fabric of the DIY headband to stretch over your head. Pictured below are the settings I used:
Pin both pieces of your fabric together. Sew the straight top side of the DIY headband. And then sew the curved bottom portion of the DIY Headband. Leaving the short ends open on both sides.
Step 3: Turn your DIY headband right side out
Now take the DIY headband and turn it right side out using the open ends on the short side.
Step 4: Sew the shorter ends of the DIY headband
The last step is to sew the two shorter ends of the headband together. Fold the headband in two.
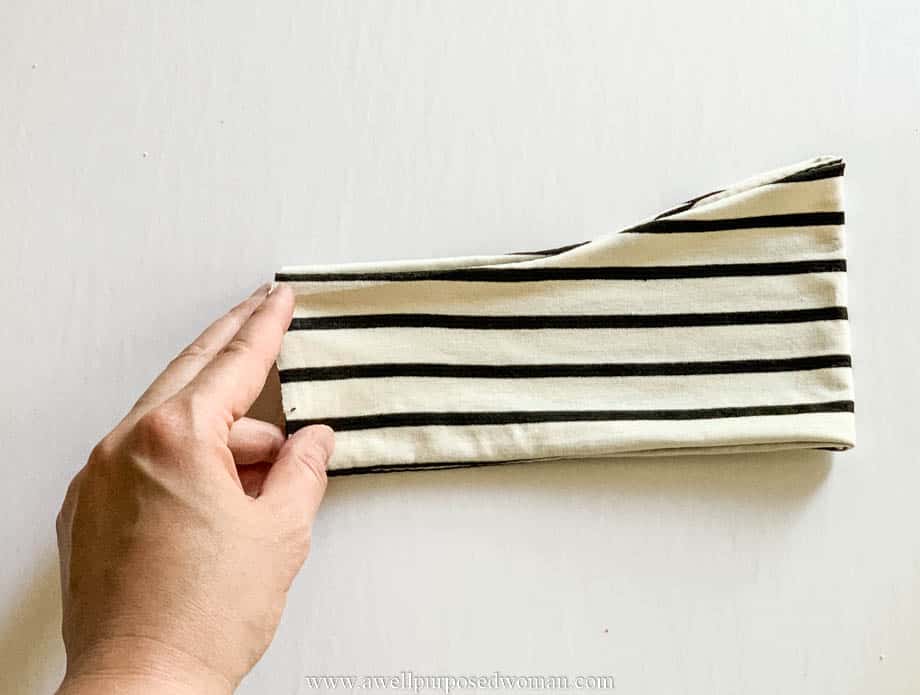
Run a straight stitch over the ends of the DIY headband several times to reinforce the headband. As you can see my ends were a little off. After sewing the stitches. Just trim any excess fabric.
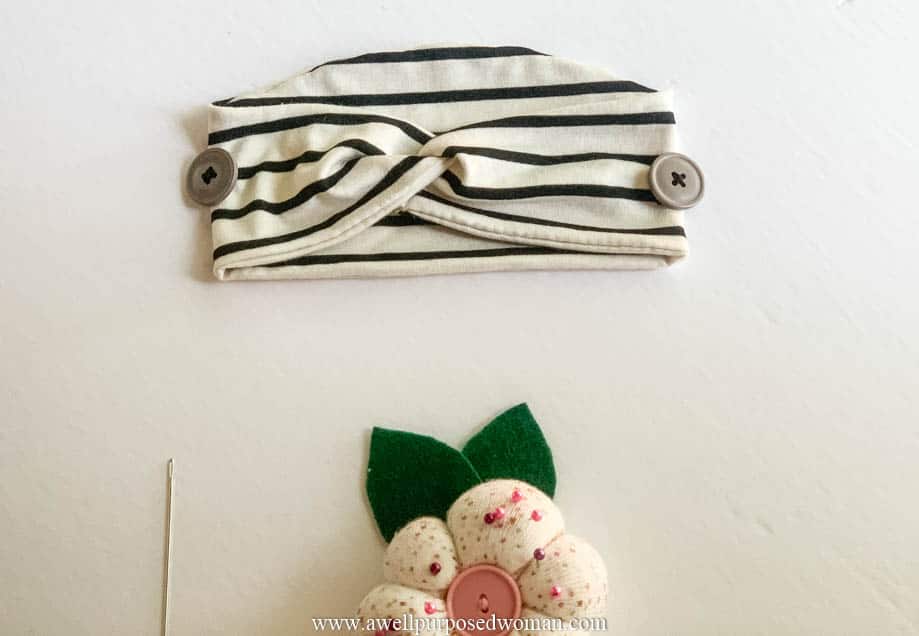
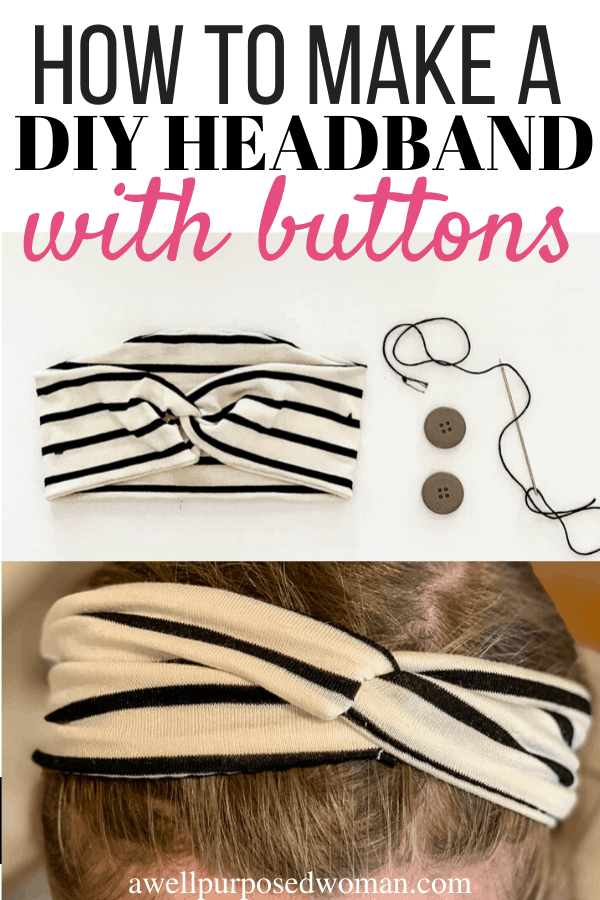
Step 5: (Optional) Add buttons to your DIY headband
If you are using this headband for a medical face mask. Then the last step is to add buttons to your DIY headband.
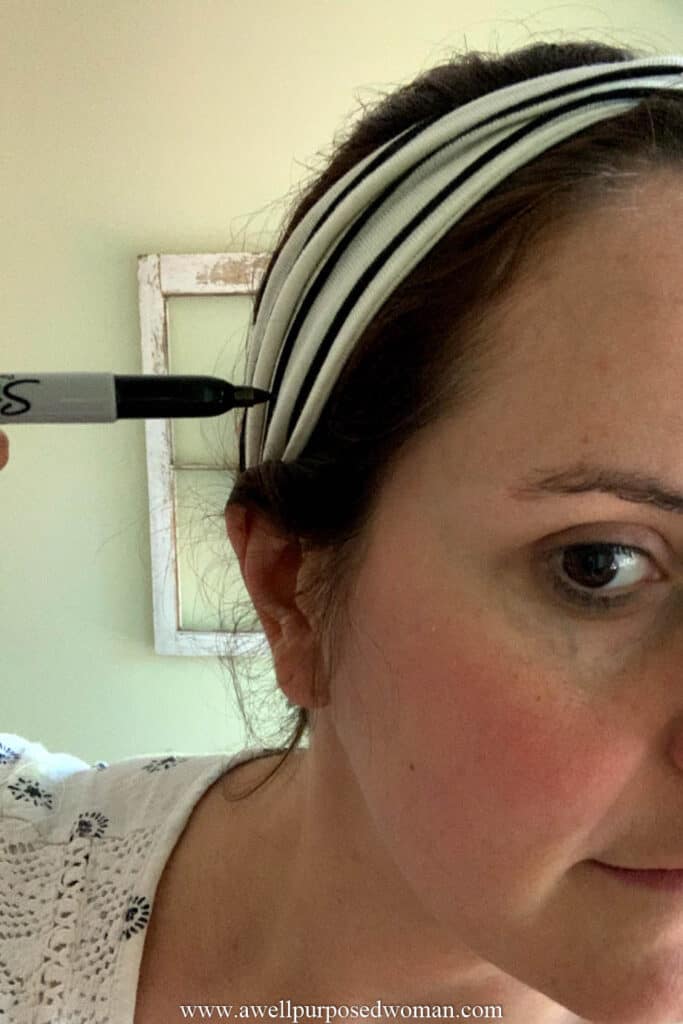
To find the best placement for your buttons, put your headband on and mark just above your ears. I just used a sharpie because I figure the button will cover the mark.
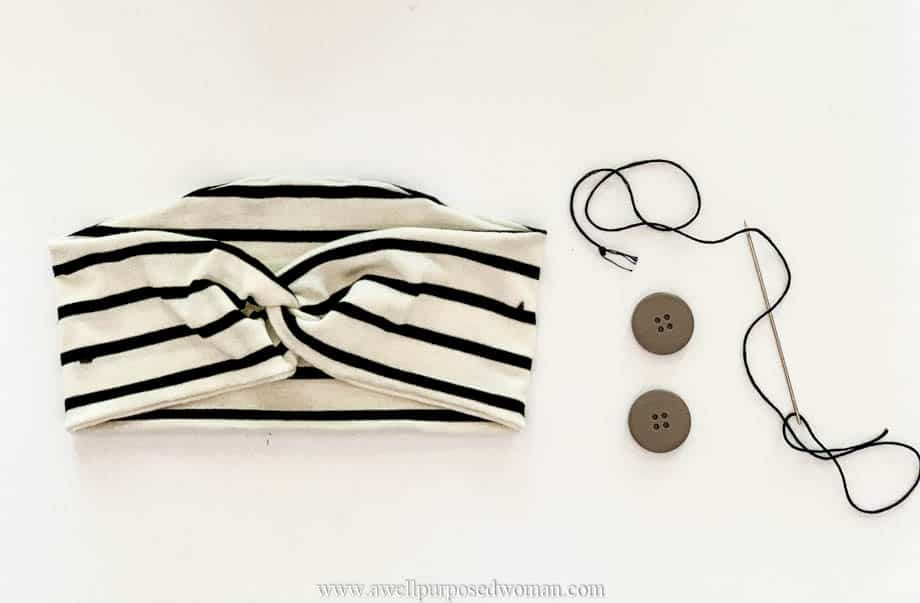
Then use your needle and thread and attach the buttons to the headband.
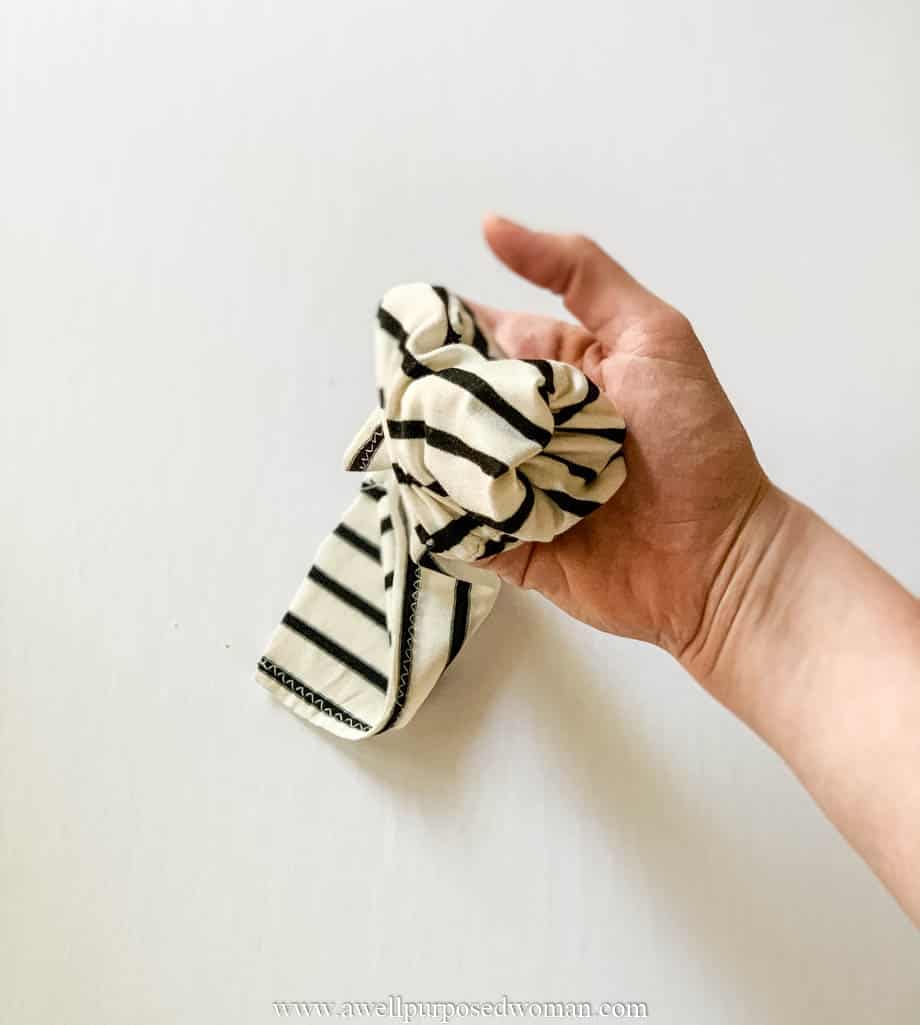
And that’s it!
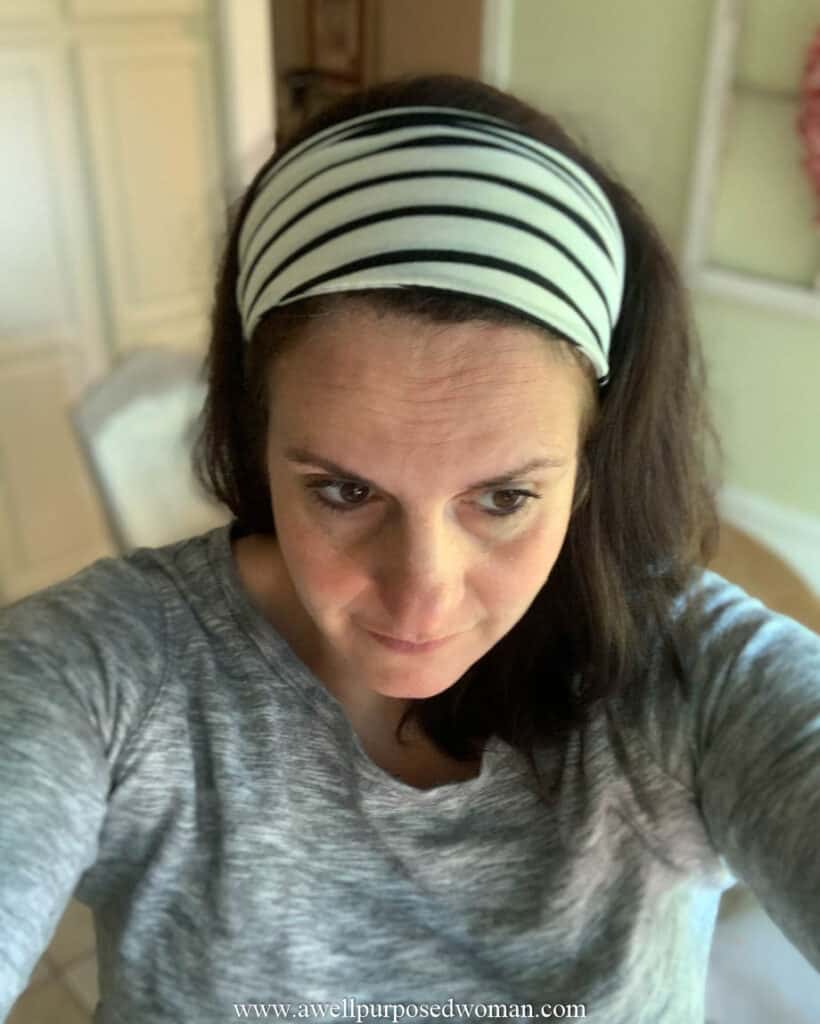
That’s how to make your very own DIY headband in a few easy steps! Here’s a picture of me modeling it.
If you would like to make a more narrow headband. I have a tutorial for making a narrow DIY headband with buttons that also works very well.
Both of these tutorials are quick easy, and a great present for almost anyone. You can download the pattern below.
For the Knotted Headband Look
Since several of you asked about how to get the knotted headband look. I made a short video for you. Check out how to make a knotted headband with buttons to find out how to add the knot into the headband.
I hope that the free pattern helps you out. If you don’t have time to make a DIY Headband until later. Feel free to pin this post and check it out again later!
This pattern can also be used for children’s headbands. It is a one sized fits all pattern. Above you can see my almost 4 year old daughter wearing it. It of course depends on the fabric you are using and how much it stretches.
But please let me if you have any questions with the pattern or instructions.
Take care and God bless!

What is the reason for the buttons on the knotted headband? Just decoration?
Hi Jean, they are to hold a face mask. Especially when needing to wear a mask all day, they can provide some relief for the ears. 🙂 Elizabeth
Hello. I tried to download all your headband tutorials but they didn’t come through. I would be very grateful if you could send them to me. God bless you for your good works!
Hi Catherine, did you receive the downloads in your inbox? Thanks, Elizabeth
Not getting the pattern download for headband. can you help?
Thank you
Hi Linda, I emailed you. Please let me know if you have any other questions. Elizabeth
I love your wide headband tutorial! I am in the middle of making my headband.
How did you make the cute knot at the base of the headband? Thank you!
Hi Monica, to make the knot, when you fold the headband place the top side below the I do have a quick tutorial that I will try to post soon. Elizabeth
Is this done when you are sewing the back ends together? You just twist and then sew them?
Hi Linda, yes exactly. I posted a video above for you! Please let me know if you have questions. Elizabeth
I can’t download the pattern. Can you please send it to me?
Sure! I emailed it to you. Please let me know if you have any questions. Elizabeth
Elizabeth, Congratulations and Thank you so much for sharing , Also for such kind words to all.
God Bless
Hi Hope, thanks so much for your kind words! God bless, Elizabeth