This post contains affiliate links to the products I use on my own projects.
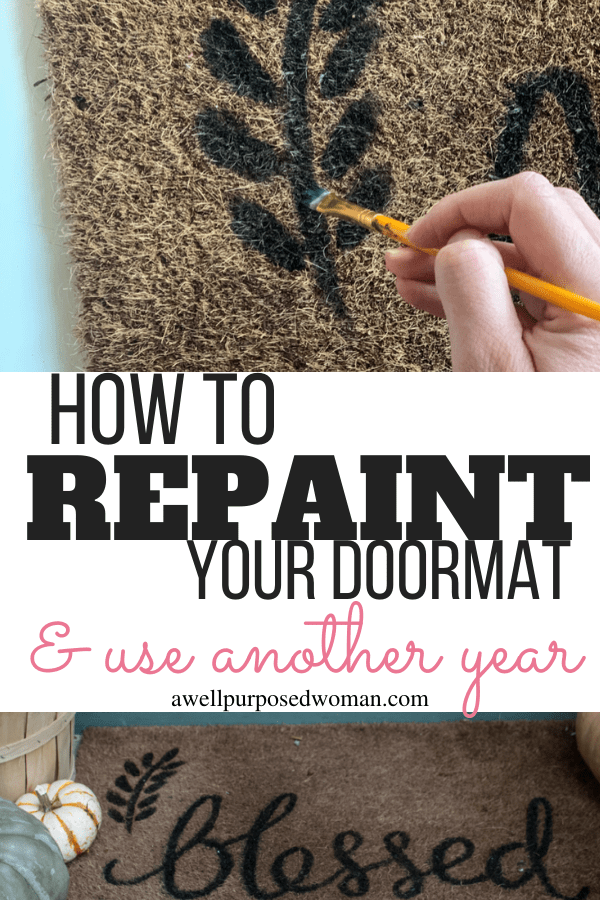
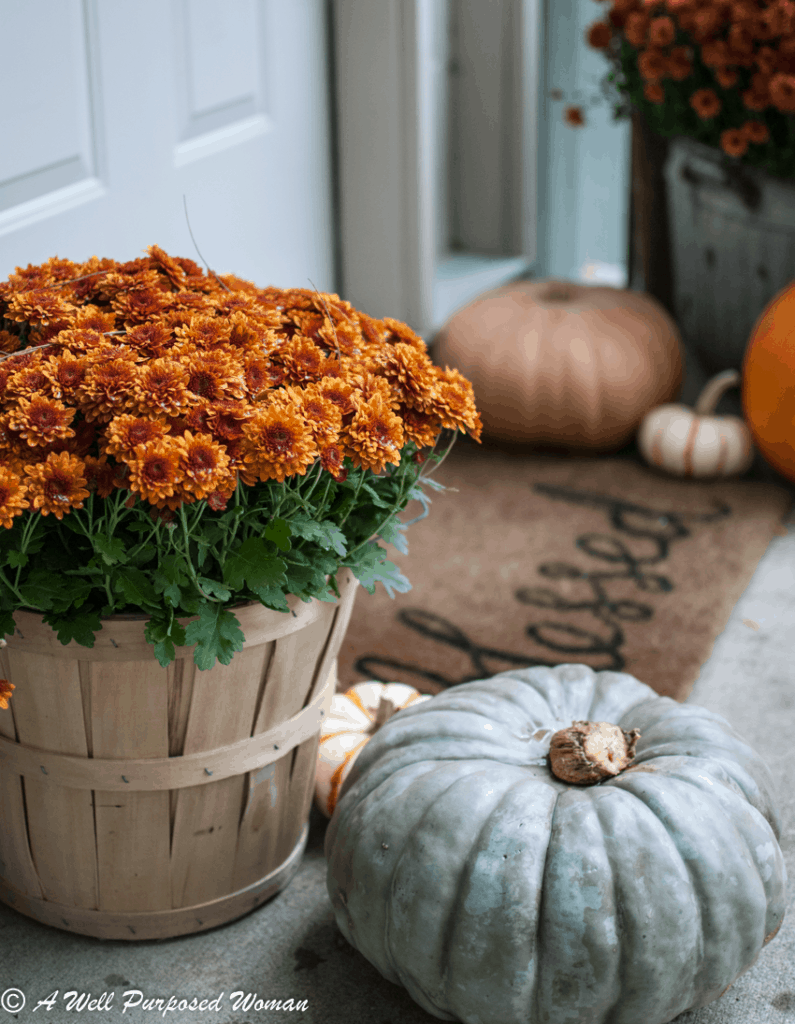
Last week when I was working on decorating my front steps for fall. I realized my doormat was looking really sad. I was thinking of throwing it away. But then I realized that apart from the black writing on top it was in pretty good condition. So instead I decided to just repaint my doormat!
I had just bought the doormat last fall when we moved into our home. The lifespan on doormats is usually not much longer than one season in Minnesota. So figuring out how to repaint my doormat without buying a new one is a major win!
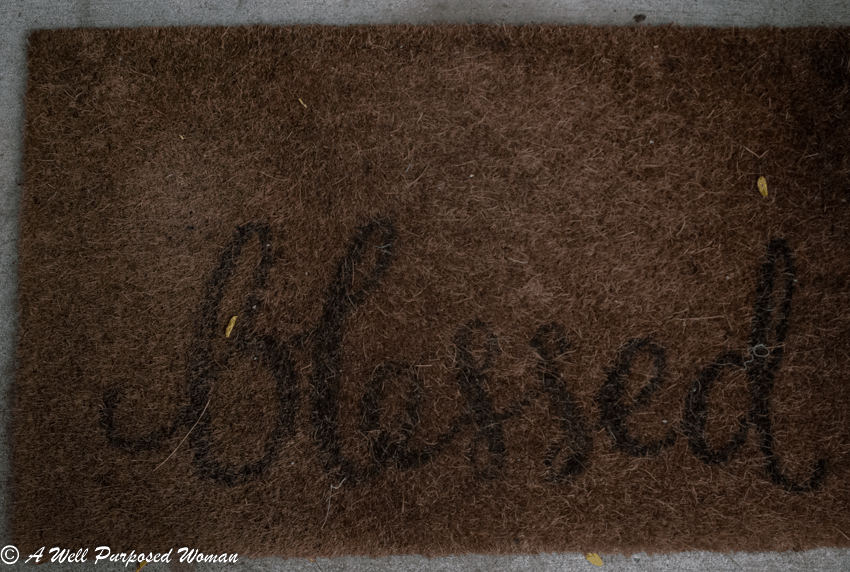
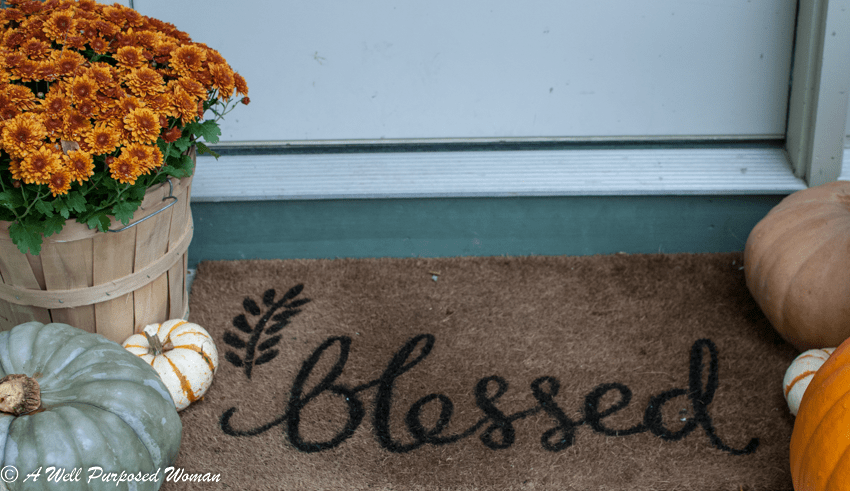
It’s actually super easy to repaint your doormat and get it to look fresh and revived! If you previously had writing on your doormat like mine than you already have a sketch of what you will be painting on top of the doormat. So as long as you can still see an outline of what was on top of the doormat you are good to go.
Here’s what you need to repaint your doormat:
- Black Acrylic Paint
- Stiff paintbrush that will work well with the size of the writing on your doormat
- Polyurethane spray
Here’s how you to do a Doormat Repaint
1. Bring your doormat inside and let it dry out.
Bring your doormat inside. Shake it off and clean it up as best you can. Then let it sit so it dries out.
2. Using a stiff paintbrush repaint over old lines on the doormat.
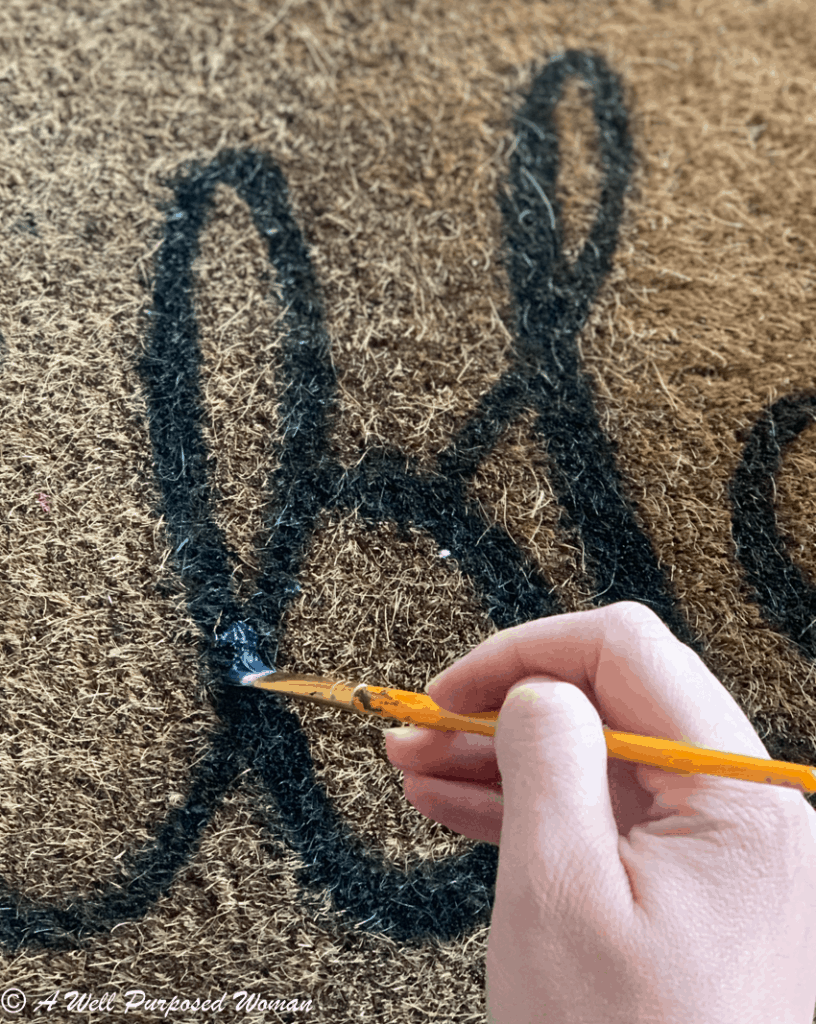
Using a brush that fits the size of writing or graphics you are painting over, paint on top of the old lettering with the black paint.
Add any additional touches you want (optional)
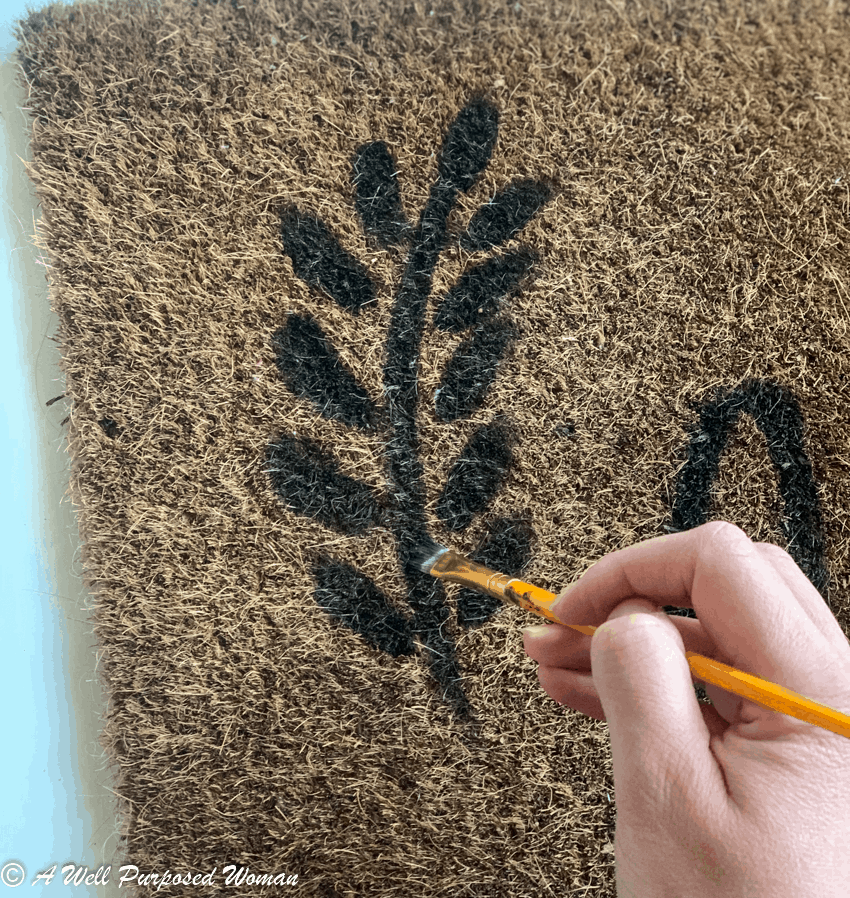
Since I was updating the doormat I thought I might as well put my own touch on the mat as well. So I painted a lotus leaf like I did on the little gray hutch in the top left corner. So now the doormat has a new look to it as well as being repainted.
3. Spray with polyurethane outdoor spray or a similar sealant.
The final step is to spray a sealant over the paint. I used polyurethane outdoor spray because that is what I had on hand. I would spray a few coats on to make sure it will last longer.
Now my doormat is ready to greet visitors for another season and I saved money and an extra trip to the store! Doesn’t it feel good to make something last longer and to make sure it is being used for all it’s welcoming potential 🙂 You can also use this technique to create a brand new doormat by purchasing one and using your own stencil or writing.
What a fun and easy update to make to your front door! Let me know if you have any questions in the comments below! If you’re not quite ready to update your doormat, but think you might be next year. Just pin this post for later!
Hope you are having a wonderful week!

It looks great!!! Everything on the front steps looks so nice!
Thanks Alesha! I noticed the little pumpkins you brought still have some curly cues on them. How cute!!