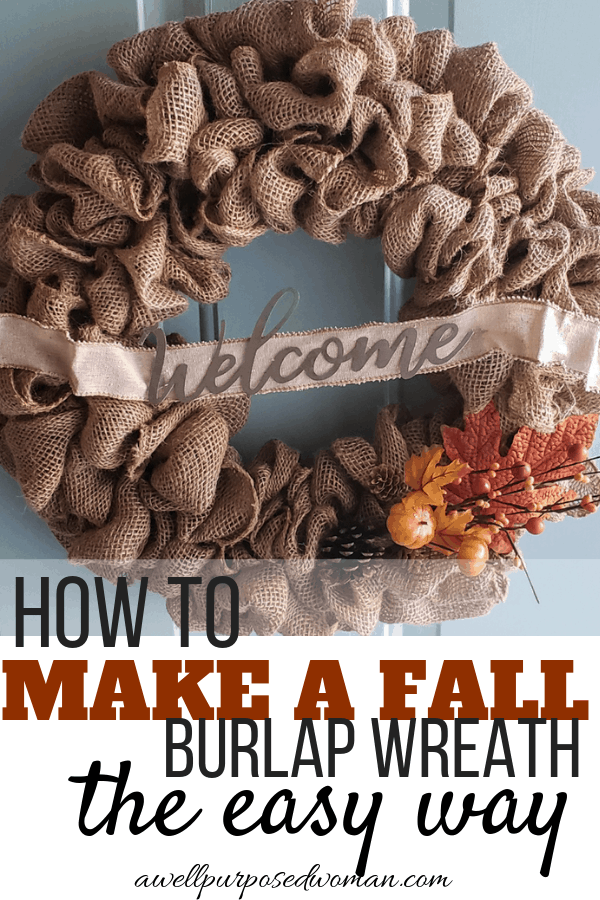
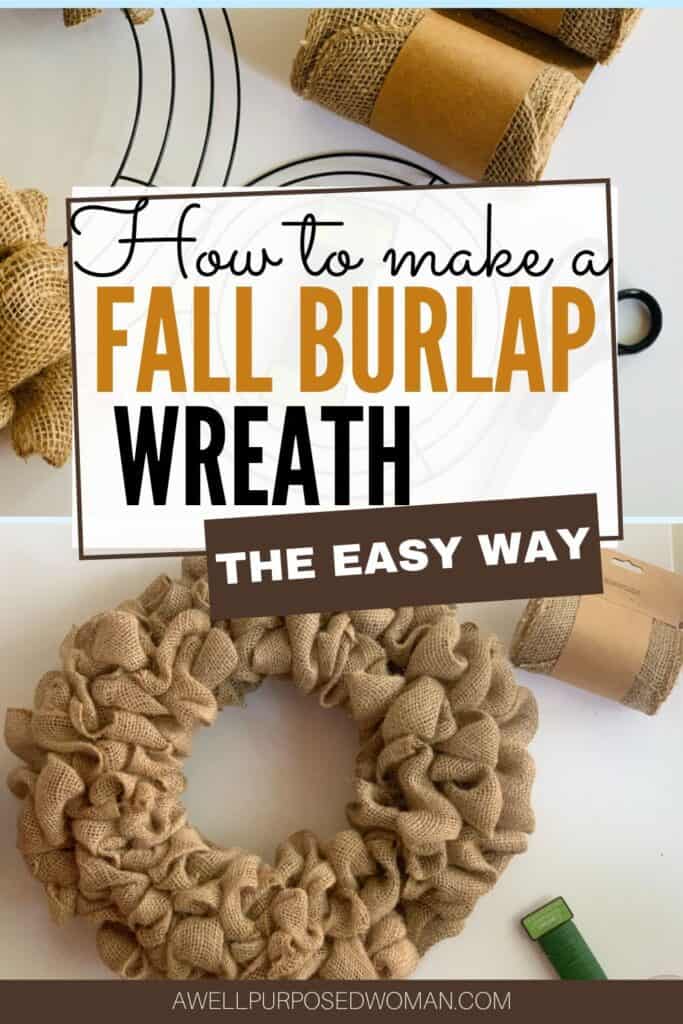
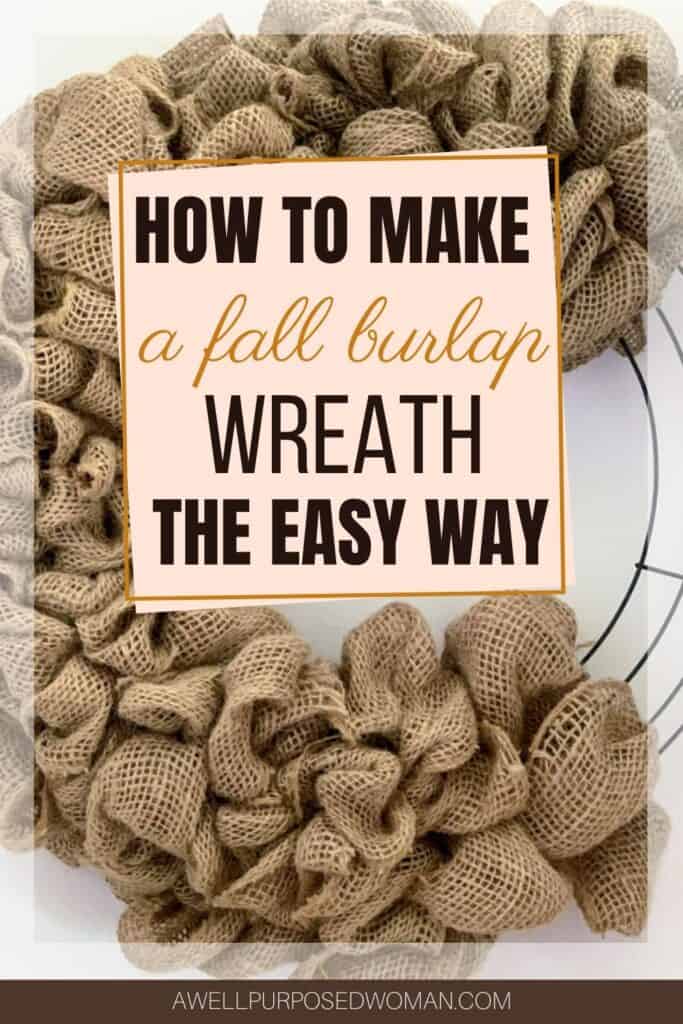
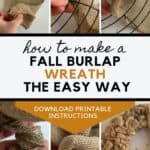
Learn how to make a fall burlap wreath the easy way. This tutorial will show you how to make a fall burlap wreath the easy way. It takes literally 2 minutes to learn how to make a fall burlap wreath!
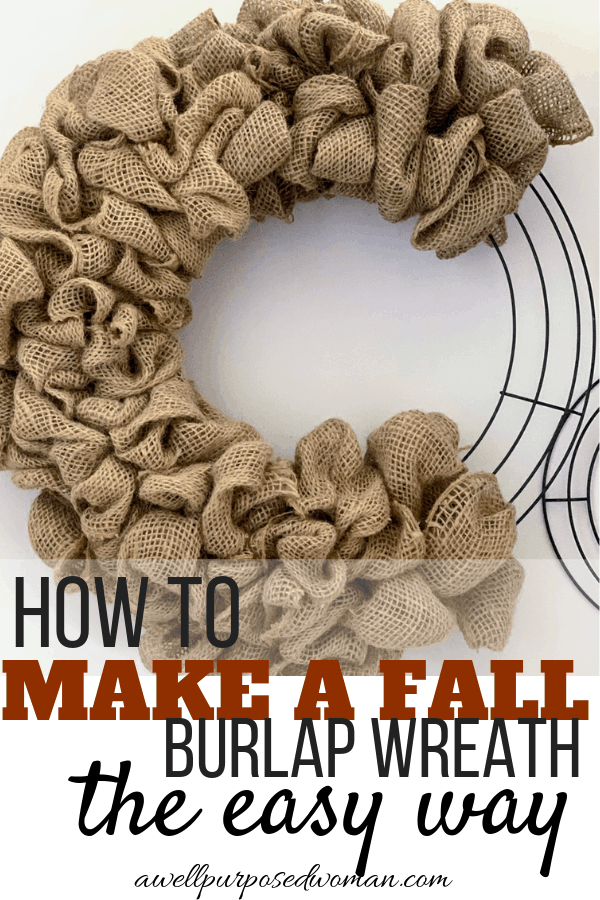
Fall is coming, and this year I wanted to make a fall burlap wreath. So I looked up some tutorials and on how to make a fall burlap wreath. I didn’t have the patience or time to watch 15 minute tutorials on how to make fall burlap wreaths. And I am guessing you don’t either. So instead I wanted to show you how to make a fall burlap wreath the easy way! So easy you can learn to make a burlap wreath in just a few minutes.
Last week I posted about the little fall embroidery wreaths I had made with my sister-in-law. And I mentioned that I had been working on some larger fall wreaths. Today I wanted to show you one of those larger wreaths. It is a fall burlap wreath, and it is super cute and easy.
I love burlap for fall because it just fits in so well with leaves, pumpkins, and that harvest feel. It also has a very natural look and feel which blends in well with those reds, oranges, and yellows. Of course you could adapt this wreath for any season or just leave it as is.
If you have made a lot of fabric wreaths, like me, and you want to try a new alternative wreath this wreath is similar to a fabric wreath in level of skill but probably a little quicker.
This post contains affiliate links for your convenience to products I use in the craft project below. So if you purchase through a link I receive a small commission but no extra charge to you.
Watch a video on how to make a fall burlap wreath:
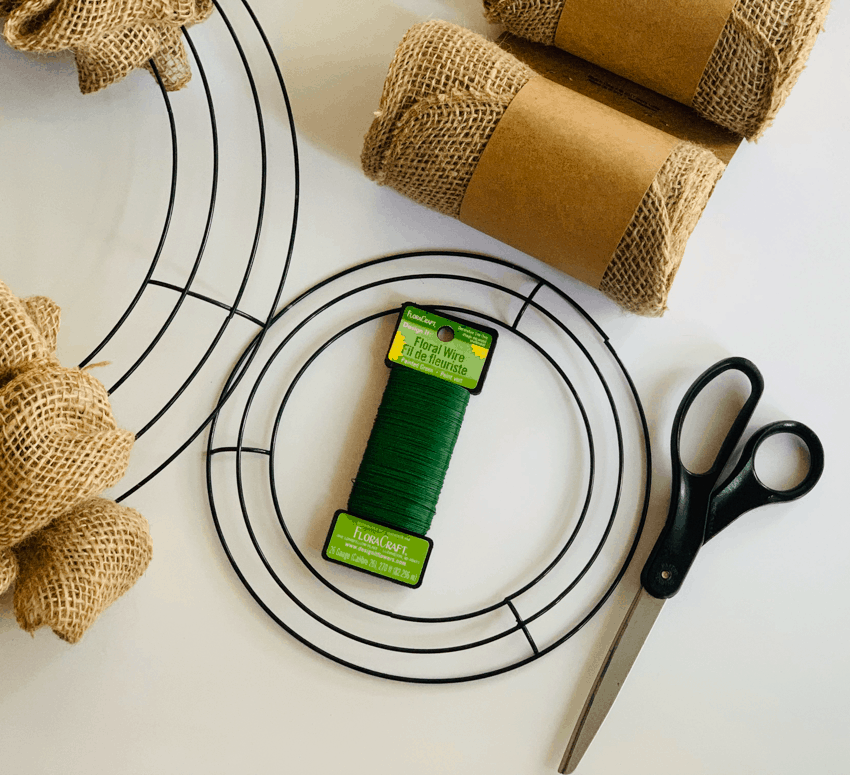
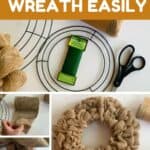
What you need to make a fall burlap wreath:
- Burlap Ribbon- 2-3 rolls
- 14″ Wire Wreath Frame
- Floral Wire
- Scissors
- Fall embellishments (Optional)
How to make a fall burlap wreath:
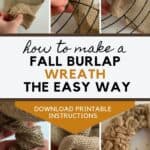
Step 1: Attach burlap to wire wreath frame.
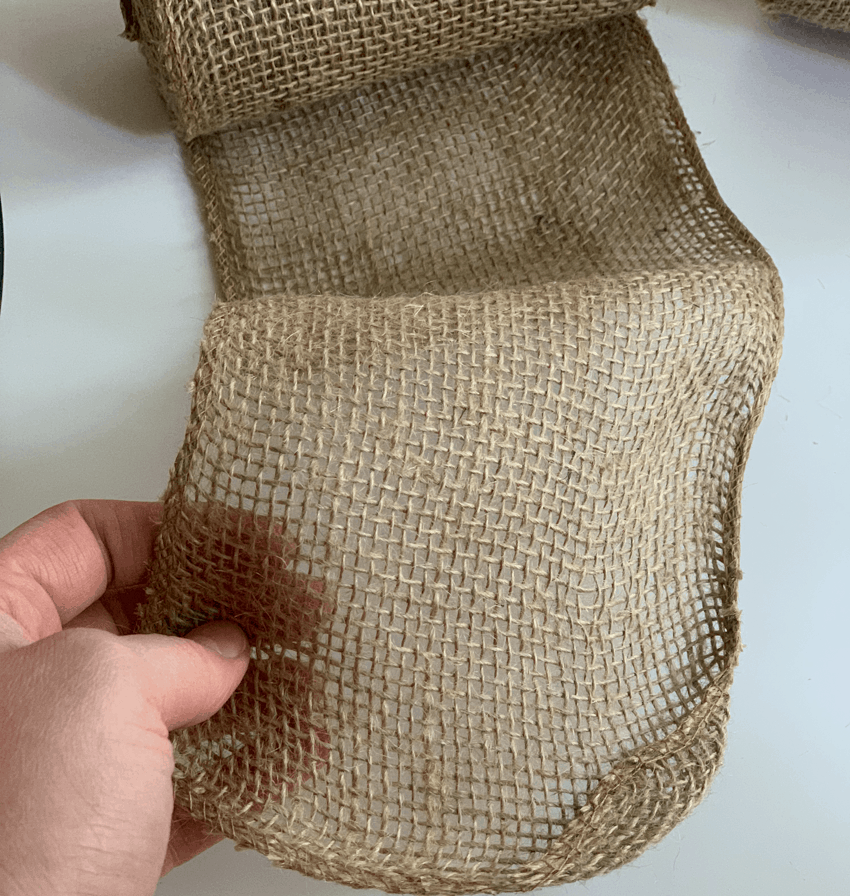
Take the end of your burlap ribbon and fold it into quarters.
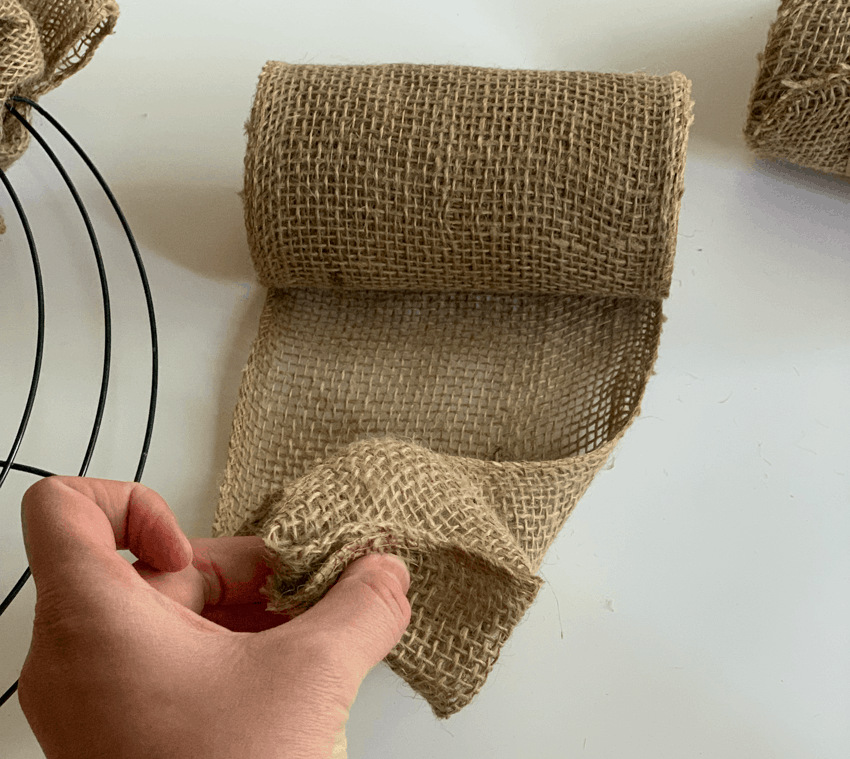
Cut a piece of the floral wire and attach the burlap to the wire wreath frame on the innermost circle of the frame.
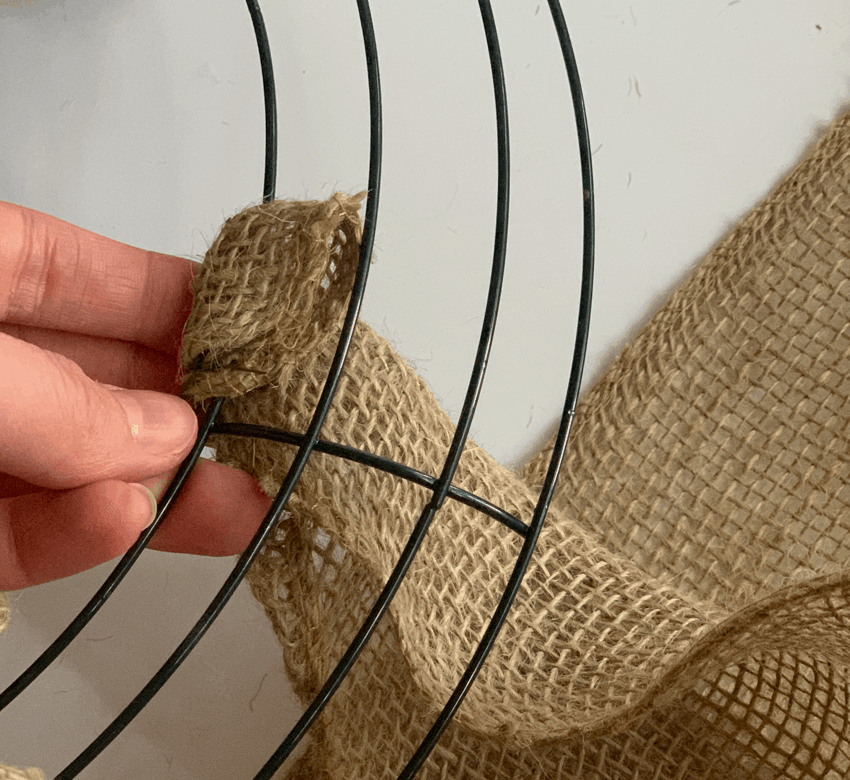
Step 2: Loop the burlap through the wire wreath form.
Starting with the innermost ring. Push the burlap through the wire wreath. Making a bubble loop with the burlap like below.
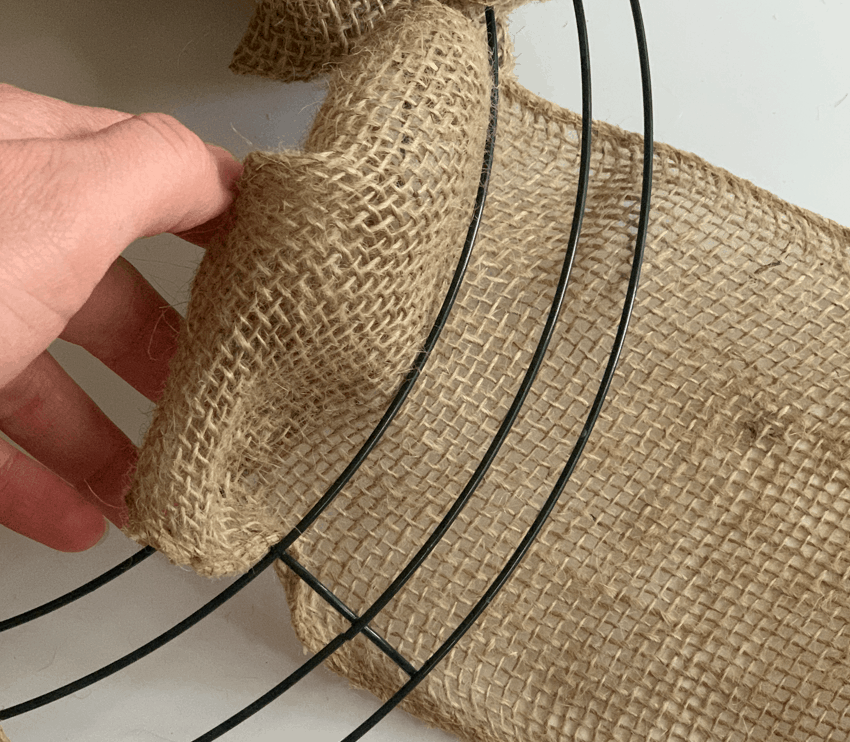
Repeat that for each section of the wire wreath frame until you have three loops like below. You can make pull your burlap through as much as you want to make your loops as big or small as you want.
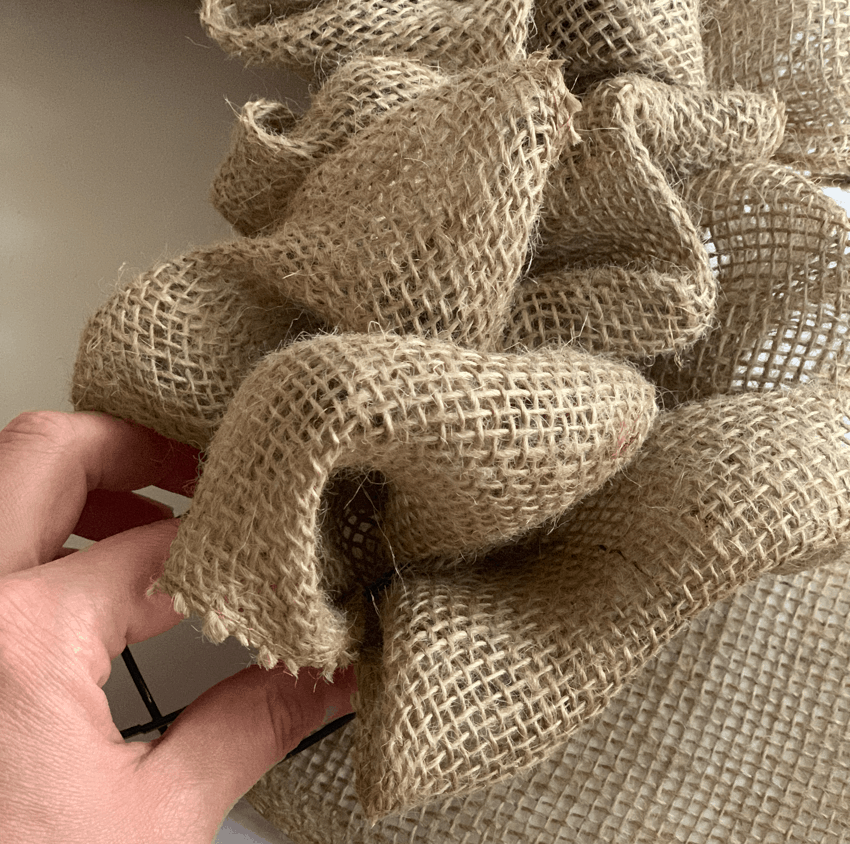
Step 3: Bunch the loops on the wire wreath form.
As you make three loops, one in each of the sections of the wire form. Bunch the three loops against the vertical part of the wire wreath, so you can put the maximum number of loops in each section of the wire wreath form. This is how you will get the full look of the wreath.
Step 4: Twist the burlap on the under side of the wreath.
After you have looped the burlap through the three sections of the wire wreath form, twist the burlap on the underside of the wreath.
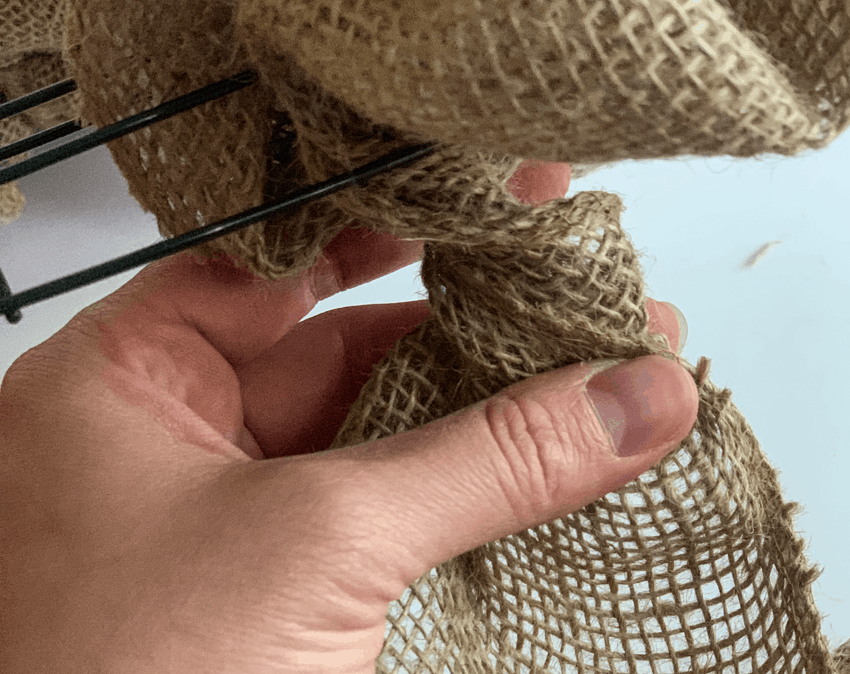
Each time you do the three loops you will need to twist.
Then repeat the loops, twist, repeat loops, and so on. Until you get a full looking wreath.
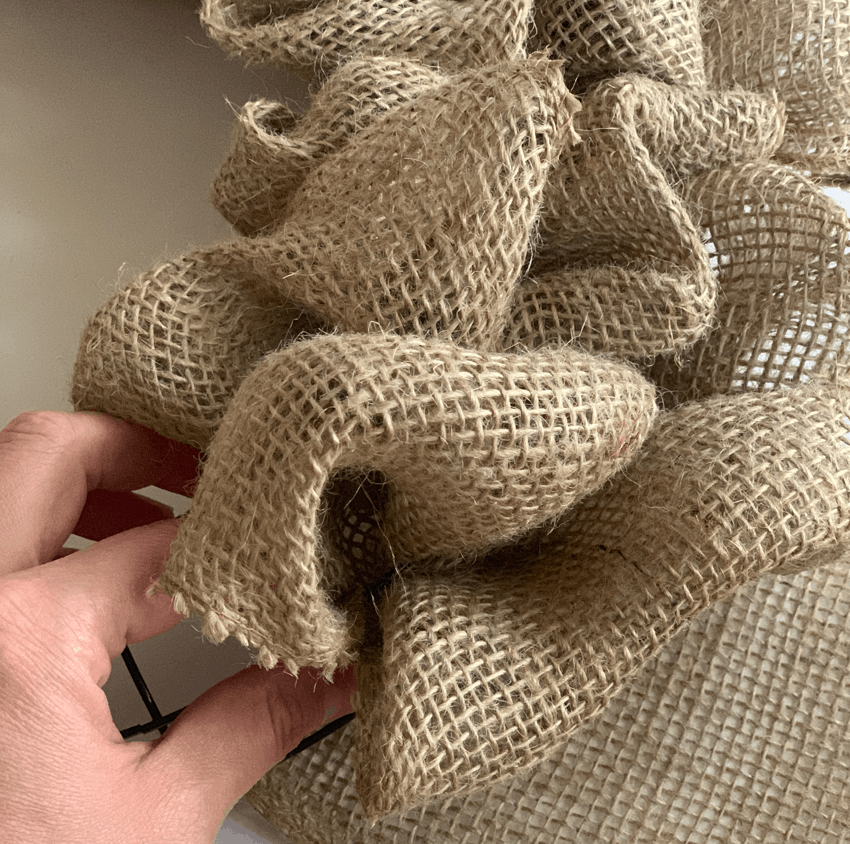
Step 5: Secure the ends of the burlap to the wire wreath form.
When you reach the end of your burlap ribbon you will need to again fold your burlap in quarters. Then fasten it to the wire from with the floral wire. You will tuck it behind your wreath so it is not noticeable.
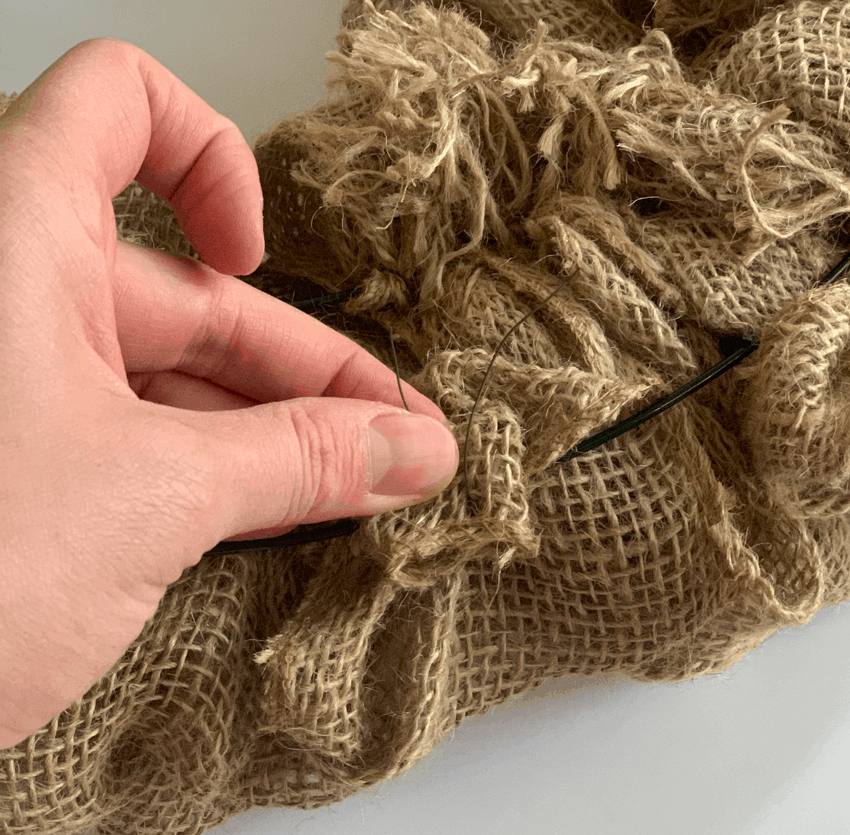
You will just repeat this process until the wreath is complete!
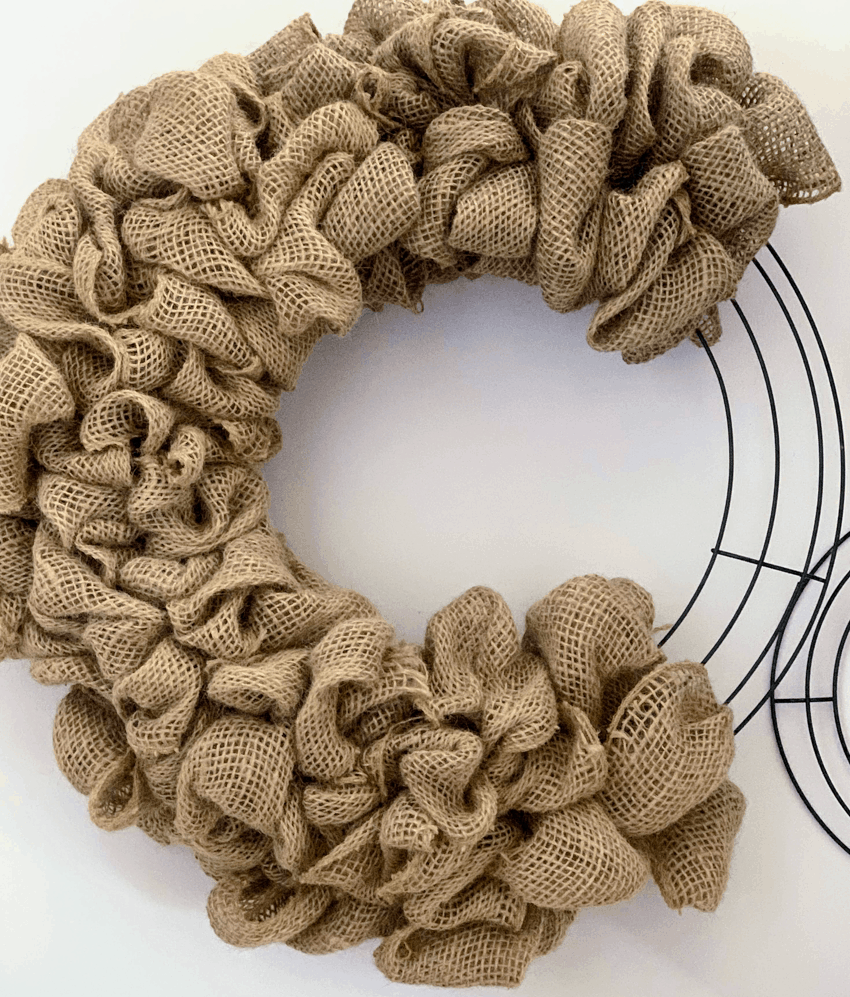
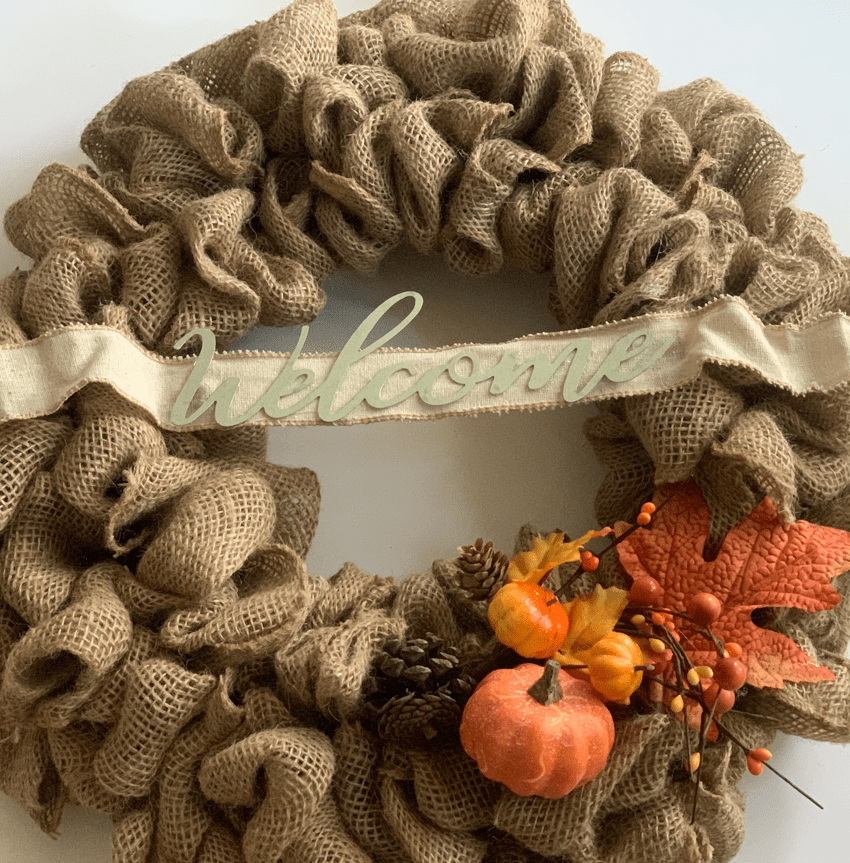
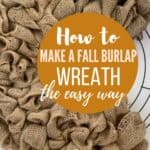
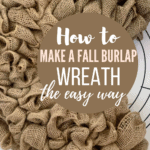
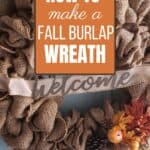
And that’s it! Here’s a beautiful fall wreath! Isn’t it amazing how simple it was to make!
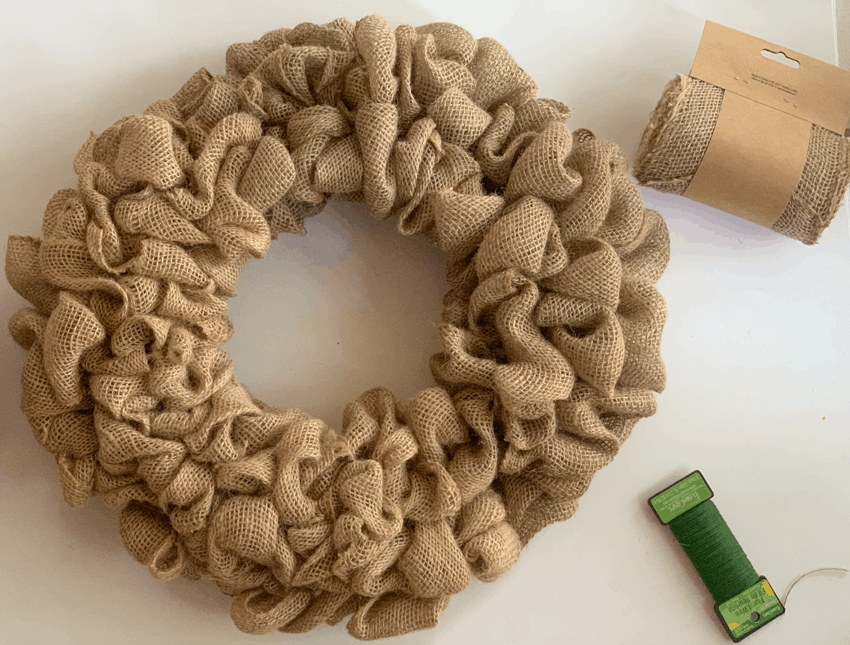
(Optional) Step 6: You can also choose to add fall embellishments.
Just position the embellishments: floral, pumpkins, words or ribbon on your wreath and attach with hot glue or floral wire. You can really do this for any season.

And that is how you make a DIY fall burlap wreath!
If you need more decorations for fall. Check out these tutorials for fabric pumpkins from old socks and sweaters.
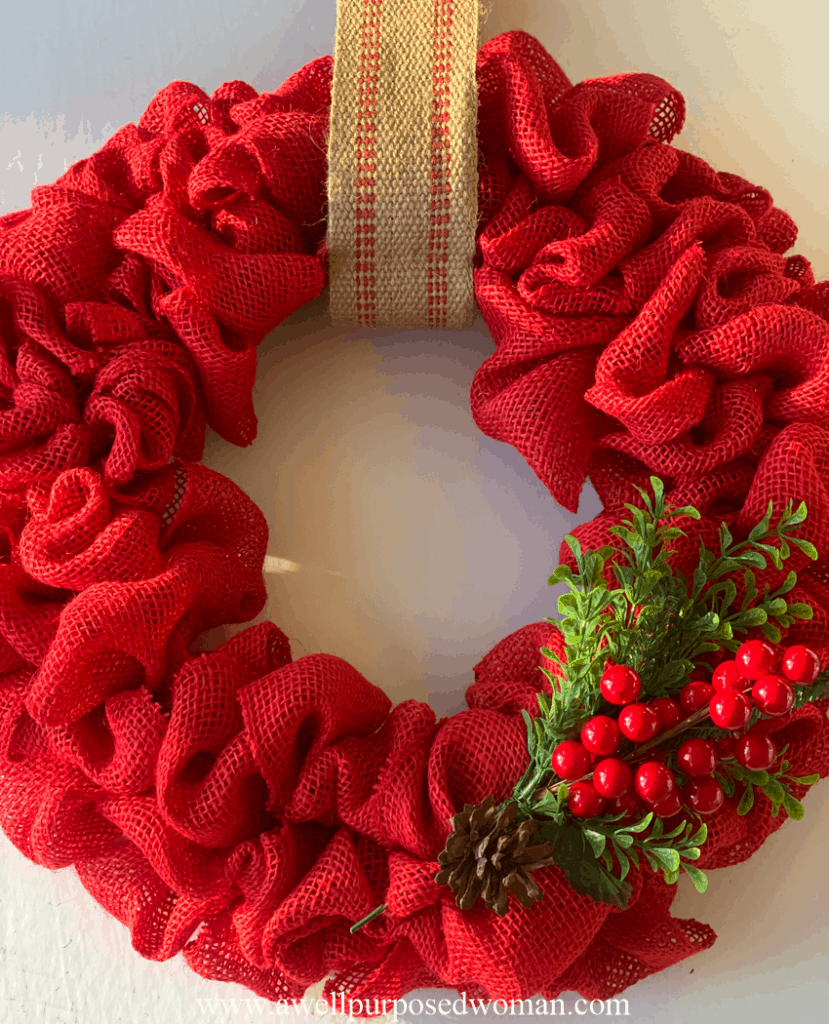
You may also want to check out how to make a red burlap Christmas wreath.
Thanks for stopping by. If you liked this tutorial, don’t forget to pin it for later!








How did you attach the pumpkins?
Thanks!
I just used floral wire and hot glue. Happy Crafting! 💕 Elizabeth
Where did you get the welcome and blessed signs
Hi Sherri, I actually found these at the Dollar Tree. Happy Crafting! Elizabeth
What width of burlap did you use, please.
Hi Phillis, I usually purchase the 15′ x 5.5″ (wide) burlap. Elizabeth
Thanks for the tutorial! What width burlap and how many yards?
Hi Pat, Sure! 5.5″ x 15 yards. Elizabeth
Can you tell me where to get colored burlap?
Hi Mary, you can purchase it on Amazon on the link above. Or I have also purchased it at Hobby Lobby and Walmart. Elizabeth
fab well done im off to make one now with heshin bags free from coffee shops
Cool! What a great idea. Would love to see how they turn out. Thanks for stopping by, come again!