Today’s gift to you on Day 11 is a perfect one to share with your children or grandchildren over your Thanksgiving or Christmas break. It is the simplest and easiest salt dough recipe I have ever seen. And children have a blast making these ornaments because it is super easy and kid friendly!

This salt dough recipe only has two ingredients! And the best part, these are ingredients you almost always have on hand. So these are perfect to make on wintry days when you don’t feel like leaving your home but want a fun Christmas craft for your children.

And I have to say I was quite pleased with the results. I love how simple and beautiful salt ornaments are. Especially because I have been drawn to simplicity in Christmas decor this year. I found a recipe I liked at Tips From a Typical Mom and and made just a few changes to it. My daughters loved the recipe too because they didn’t have to wait very long and we had soft snow-like dough ready to go!
My daughter Annabelle kept squeezing her dough and commenting on how soft it was. Both girls enjoyed making ornaments with this easy salt dough recipe. We found some mini cookie cutters that were shaped like angels and stars and used those for our ornaments.
After making several little balls of dough we changed several of them to pink and purple with food color, the girl’s favorite colors. We just store them in the refrigerator and use it like play dough. So far they have lasted about a week.
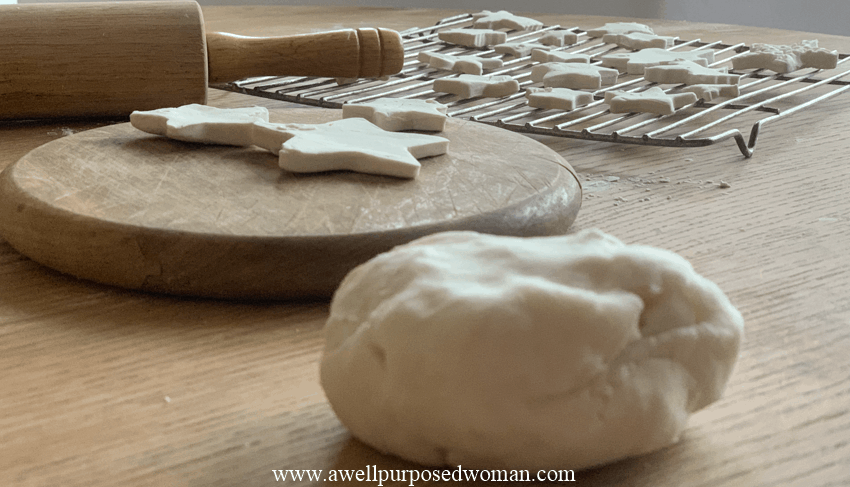
It’s a good alternative to baking.
And although baking is on my list of favorites. I found these salt dough ornaments were a nice alternative to baking. Because the girls got to play with the dough and make fun shapes and colors, and we got cool result…ornaments! But we didn’t have to be tempted with a lot of sugar and calories. So these can be a nice alternative when everyone is stuffed after a big Thanksgiving meal!
But if you are ready, let’s get started!
This post contains affiliate links for your convience (which means if you purchase after clicking on a link I receive a small comission without charging you anything more).
Here’s what you need to make this easy salt dough recipe:
- 1 cup of baking soda
- 2/3 cup of corn starch
- 3/4 cup water
- cookie cutters
- rolling pin
- Kebab skewer
Here’s how to make this easy salt dough recipe:
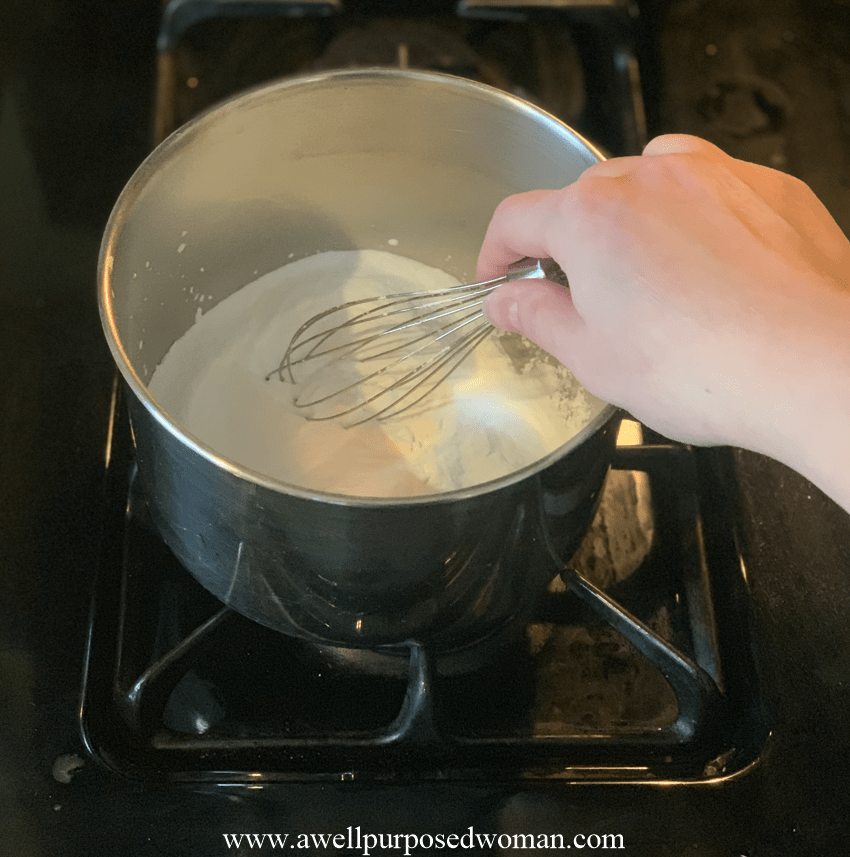
Step 1: Whisk your soda and corn starch
Add your soda and corn starch to your pot and whisk the two together. Make sure to do this thoroughly before adding the water.
Step 2: Add your water to your salt dough ingredients
Turn your stove top to medium heat stir in your water.
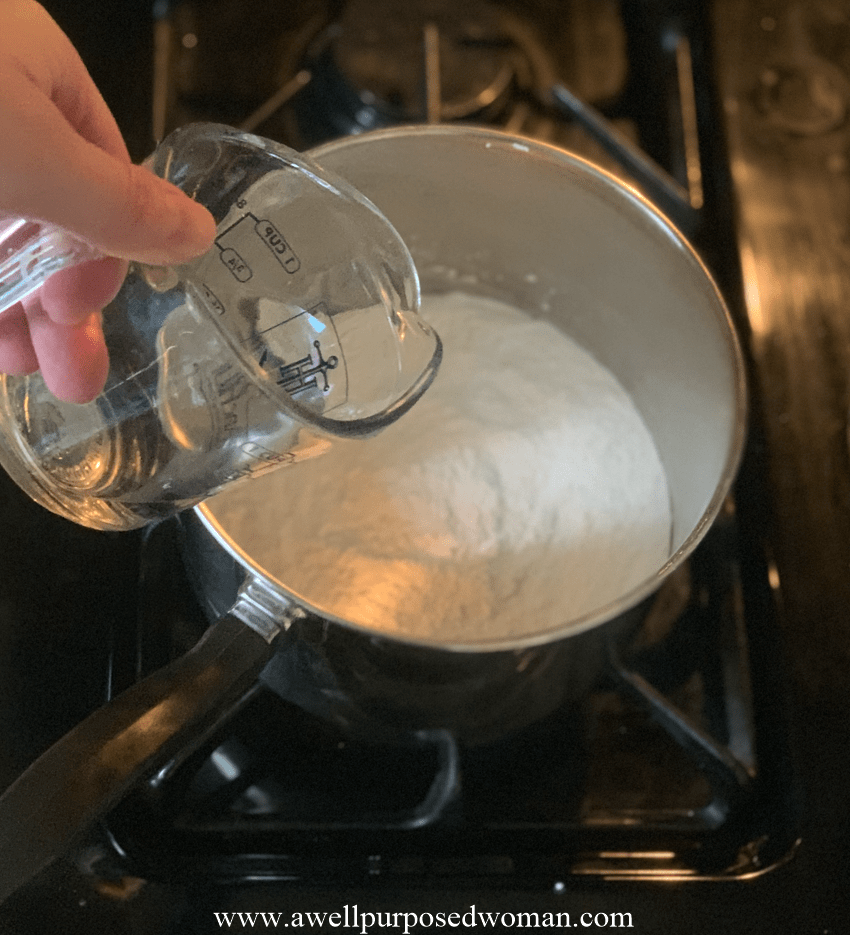
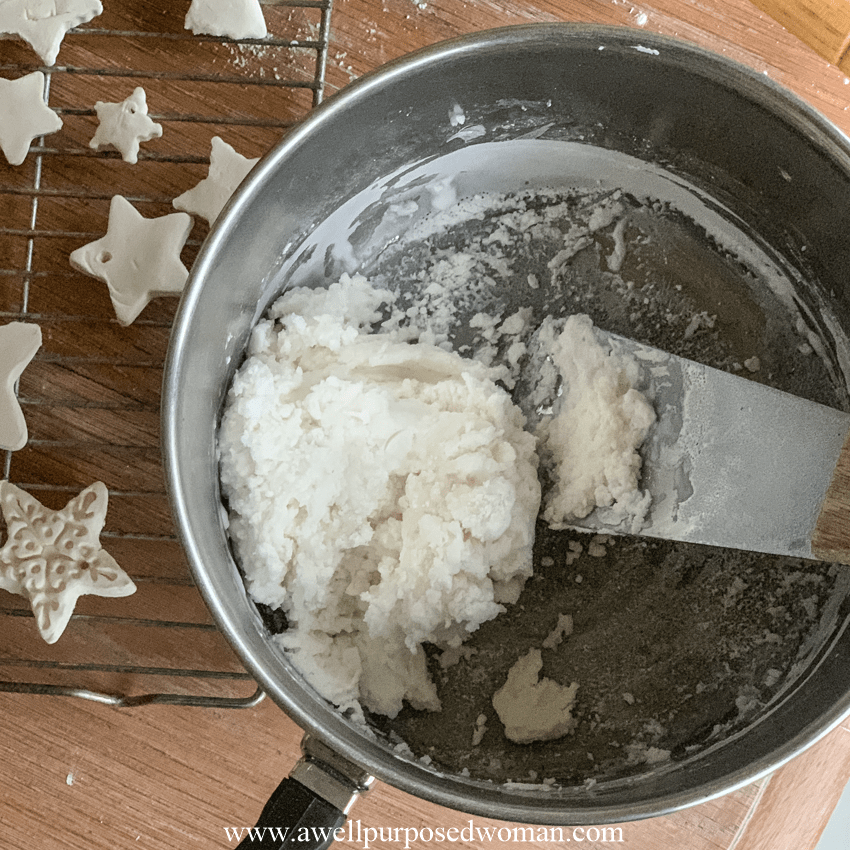
You will want to heat your ingredients until the ingredients thickened and look like mashed potatoes. This happens within a few minutes so make sure to watch your ingredients carefully and stir occasionally.
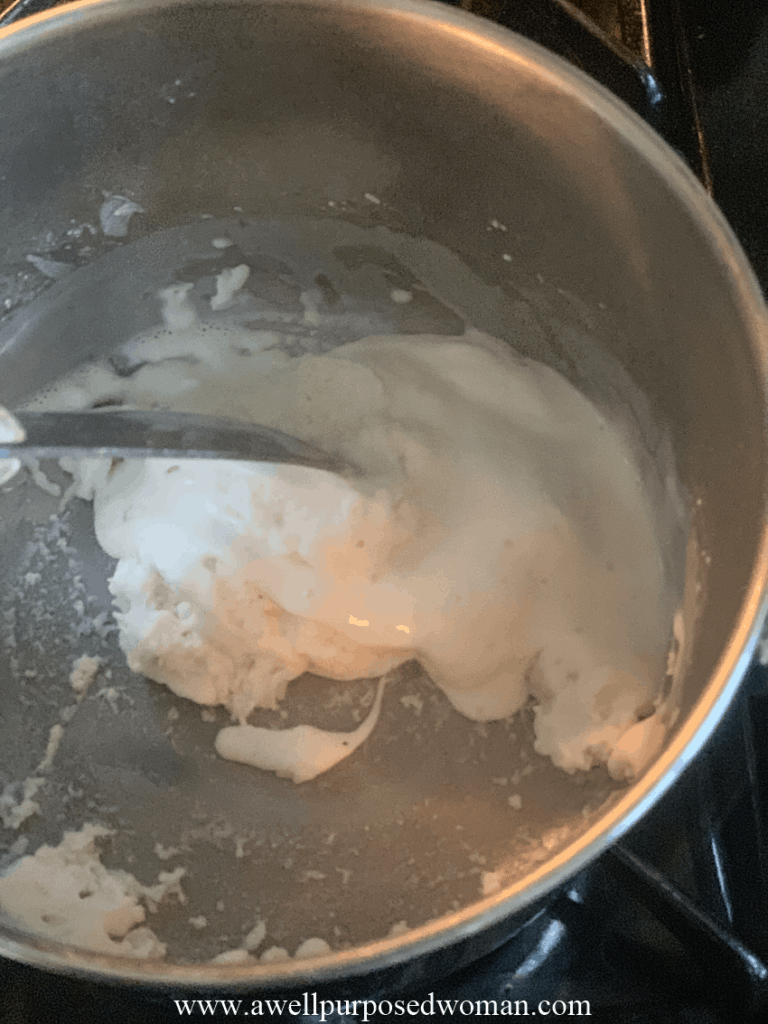
Step 3: Remove from heat
Once your ingredients have thickened remove from heat.
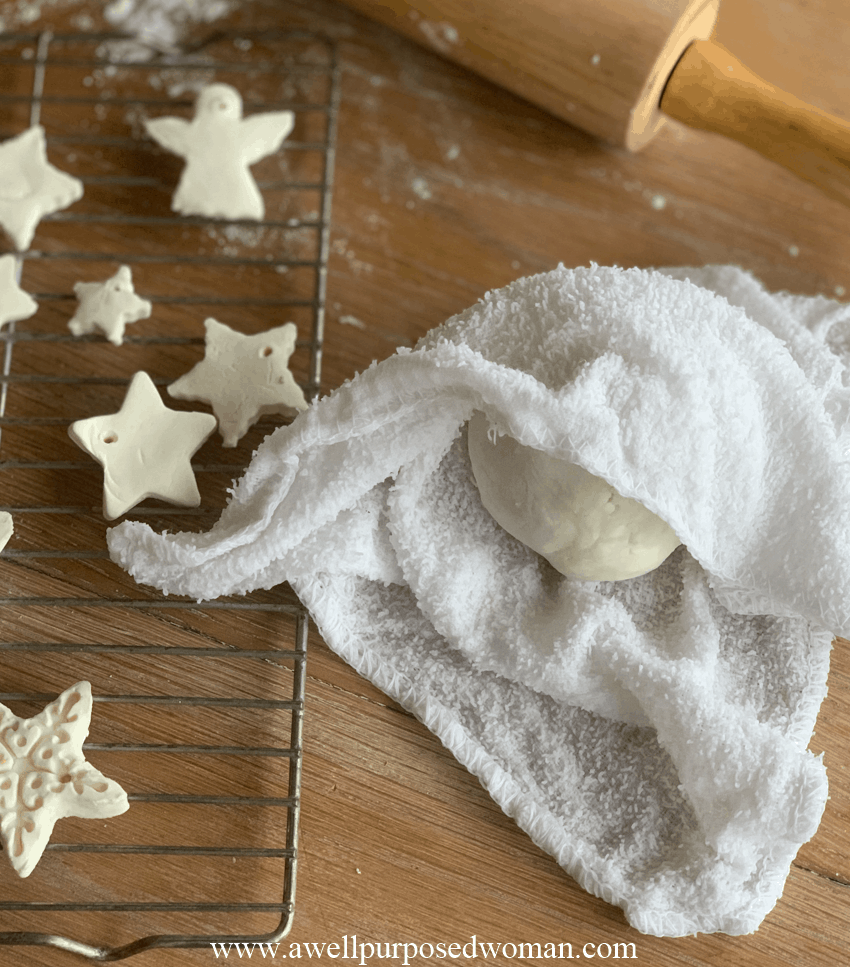
Form a ball and cover it with a cool wash cloth to allow it to cool. It only takes a few minutes to cool and then you can knead the dough with your hands.
Step 4: Roll your dough and have some fun!
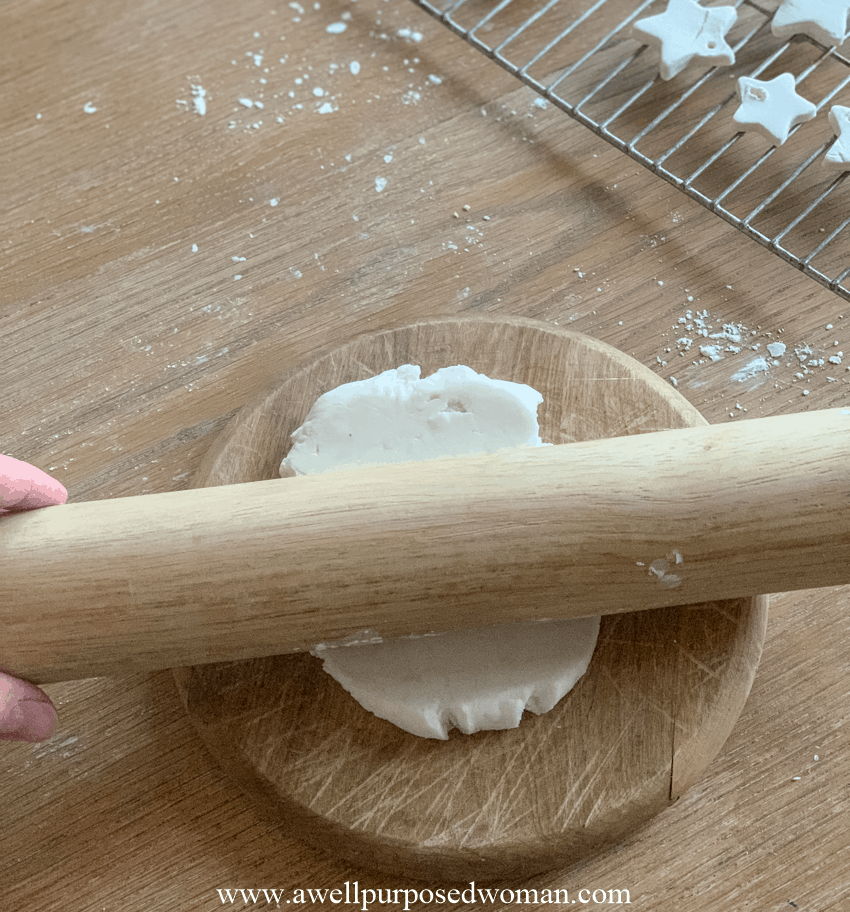
Use a rolling pin to roll out your salt dough. You can have fun with your dough for awhile first if you want.
But when you are ready to make your ornaments. Use your cookie cutters and make ornaments about 1/2″ thick. Place them on a cookie sheet.
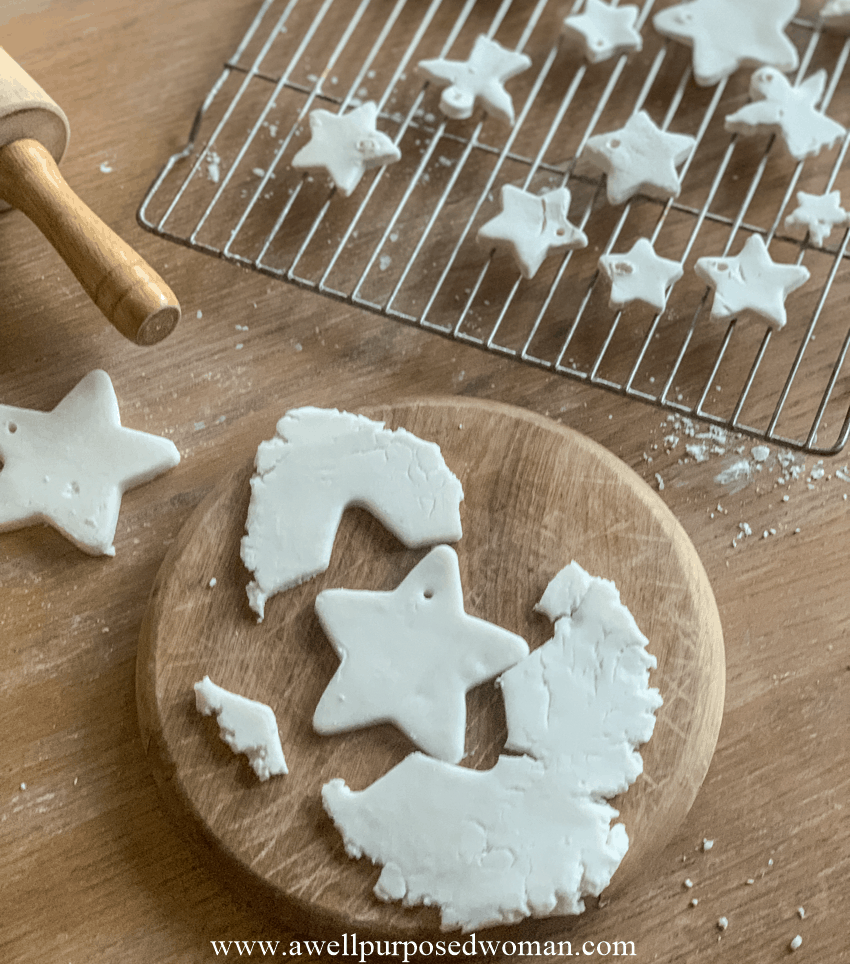
Tip: I found it helpful to shift my cookie cutter around to get nice clean ornaments that broke away from the other dough nicely.
Use a kebab skewer or something to make a small hole to hang your ornaments. Do no make the whole to close to the edge. Because the ornament will crack. Make it in a good ways from the top and sides.
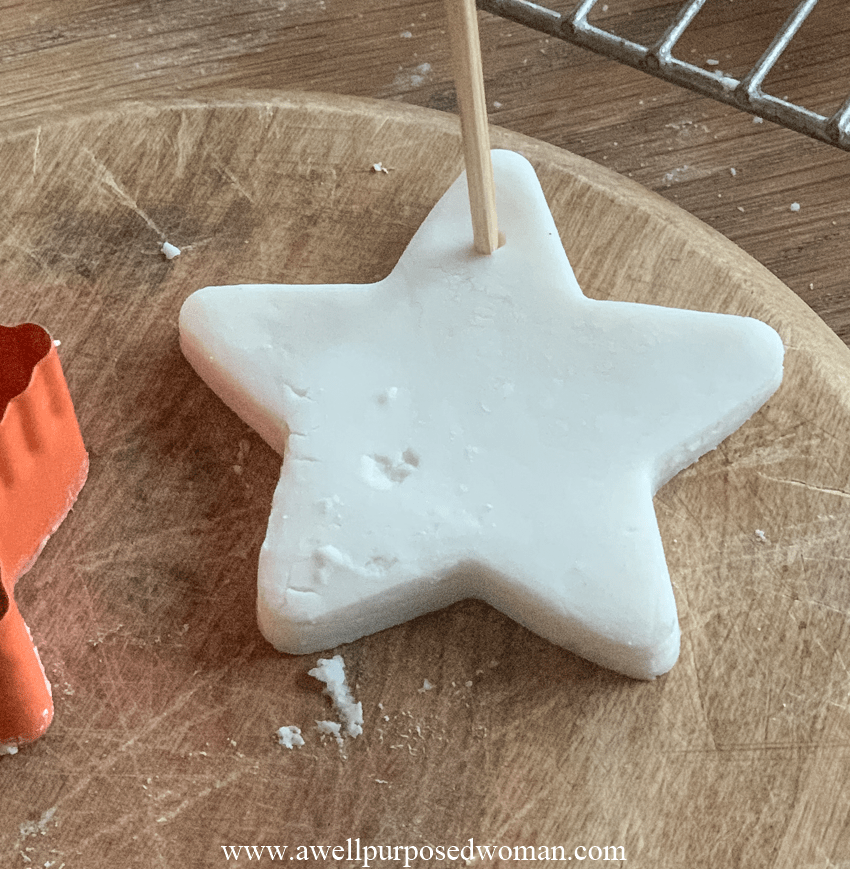
Step 5: Bake your ornaments
Put salt dough ornaments in the oven and bake at 175 degrees until dry (1 hour or so). I just checked on my ornaments occasionally to see if they were hardening. Once they are hard, remove from the oven and let them cool completely.
Tip: I would recommend using a light colored pan vs dark. Because it can change the coloring of the ornaments slightly. If your ornaments are large enough you could also try baking them on a rack on top of your cookie sheet.
And that’s it!
Now you can hang up your pretty salt ornaments. We had some mini trees that we hung our ornaments on but I would also like to hang these ornaments from a birch or driftwood branch. The ornaments are fragile so be careful they do not drop, and I had to remind my daughters to handle them carefully.

A fun idea would be to go on a hike with your family and collect a nice branch that you could use to hang your salt ornaments from.
You could also use your salt ornaments as gift tags to add to presents or you could use them to go along with an advent calendar like the DIY advent calendar. There are a lot of options!

Would love to hear in the comments below if you plan to make salt ornaments this year! And who you will make them with! Thanks so much for joining me so far in these 12 days of Christmas! Friday is our last day, and it’s just in time for Thanksgiving break so hopefully you will have plenty of time to get some crafting in!
I hope you have a wonderful Thanksgiving and arrive at your destinations safely! See you Friday!

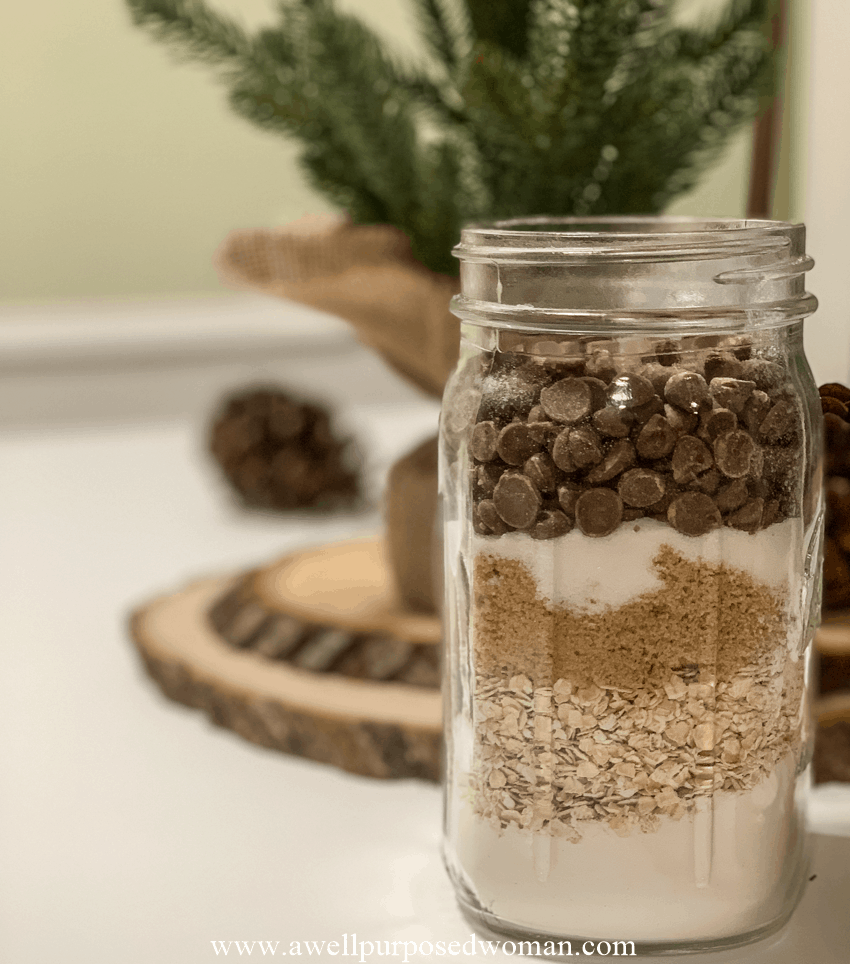
P.S. If baking sounds better to you, you might want to check out this mason jar making recipe. it’s a great way to bake and make presents at the same time!
[…] Set of Salt Dough Ornaments […]