Have you ever found a really cute dresser at a thrift store but been turned away because part of the veneer was coming off? Well, fear no more! There is a very cheap (free) and easy way to remove veneer from furniture. The best part is you don’t need any special tools. And you don’t need to ruin your iron!
Today I am working on a bench that will go in my oldest daughter Annabelle’s room. If you missed it I did her dresser last week. So today it was time to move onto the next project.
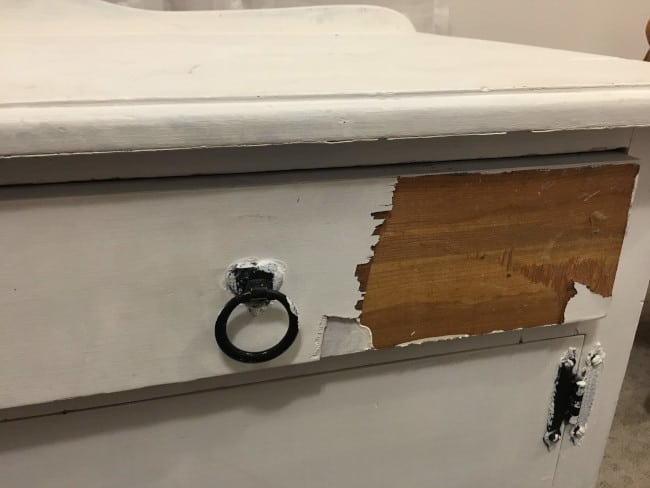
I got this bench at Goodwill for $6!! But I guess it makes sense since it was in such poor condition.

The biggest problem was the veneer was in really rough shape. I wasn’t worried about the doors because my plan was to take them off. However I did want to remove the veneer from the drawers. So I will show you a quick tutorial of how I removed the veneer with just water and a screwdriver! .
Here’s what you need to get started:
- Old Towel
- Water
- Screwdriver/ Paint Scraper
- A little bit of patience but hopefully it saves money on buying a fancy tool 🙂
Here’s what you do:
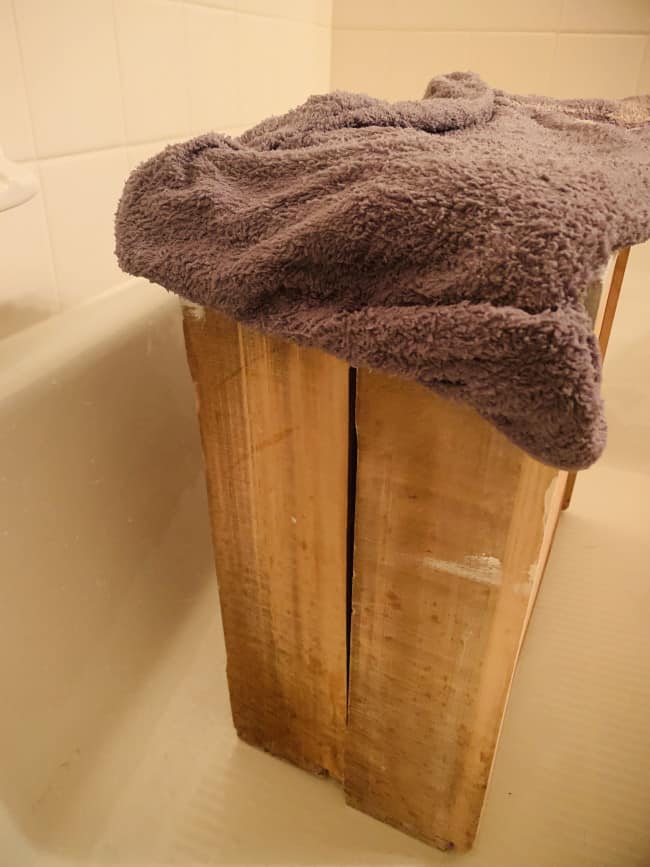
Step 1: Apply saturated towel on surface.
Place a towel that is saturated with water on top of the surface you are wanting to remove. You don’t want the towel to be drenched. Because you don’t want the water to drip onto the wood where there is not currently veneer. Leave the wet towel on at least 1-2 hours.
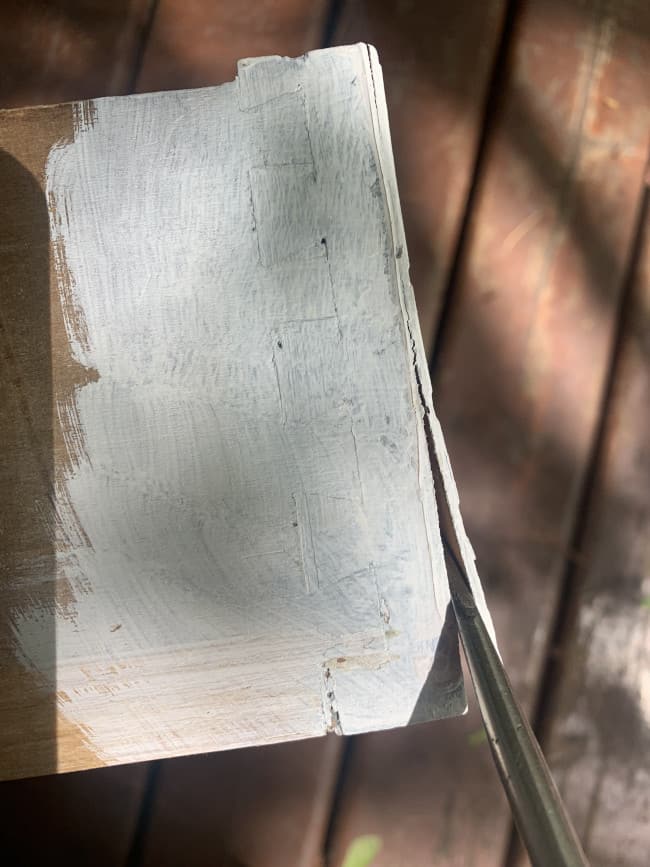
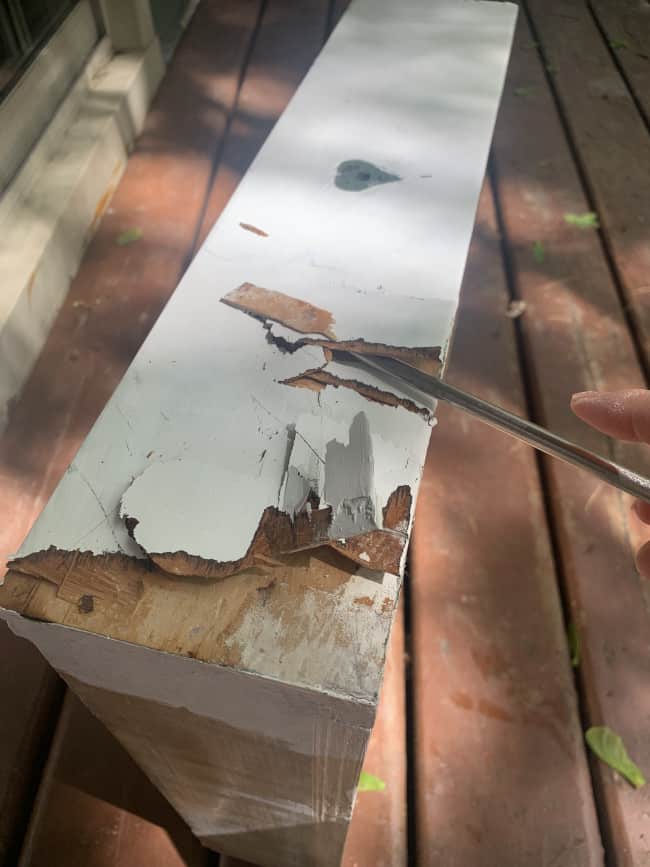
Step 2: Use a screwdriver or scraper to remove the veneer.
When water is added to the veneer it helps lift it off the wood. Start in a corner or where the veneer may already be removed. Pry the screwdriver under the veneer and lift it up. The veneer will probably crack. Just continue to pry up as much as you can.
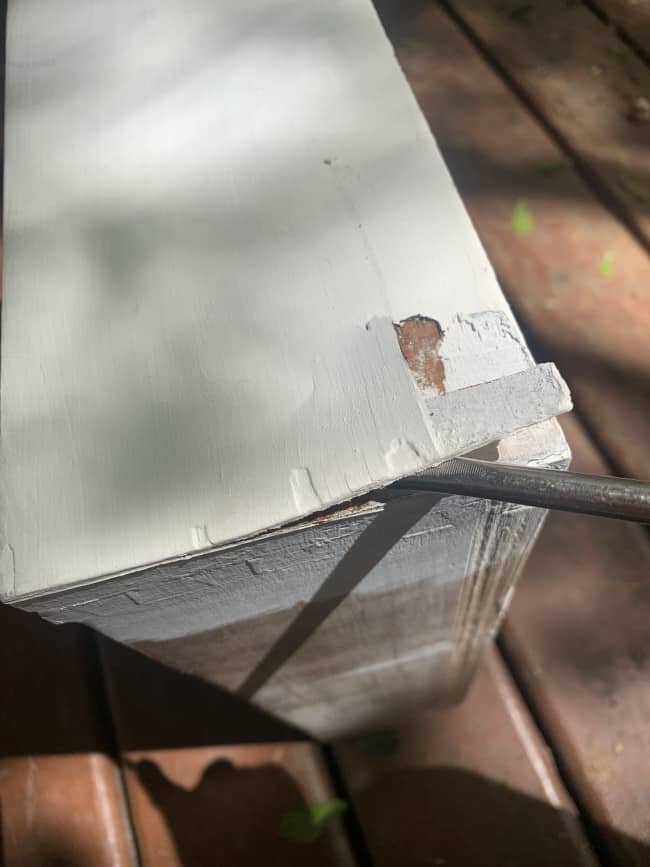
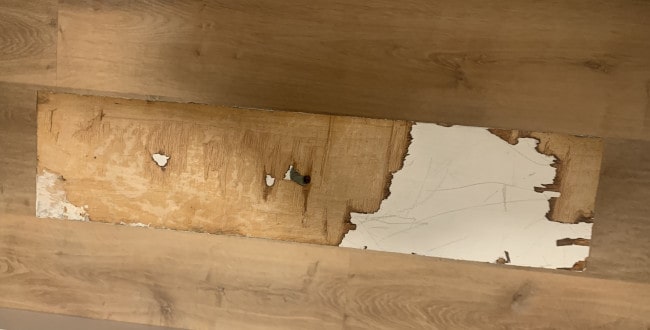
Step 3: Re- saturate any areas that did not come off.
After you have removed all the veneer possible. Repeat the first step and saturate any areas that did not come off. Wait until veneer appears saturated or 1-2 hours again.
Continue this process until all the veneer is removed. For this project I saturated the veneer 3-4 times.
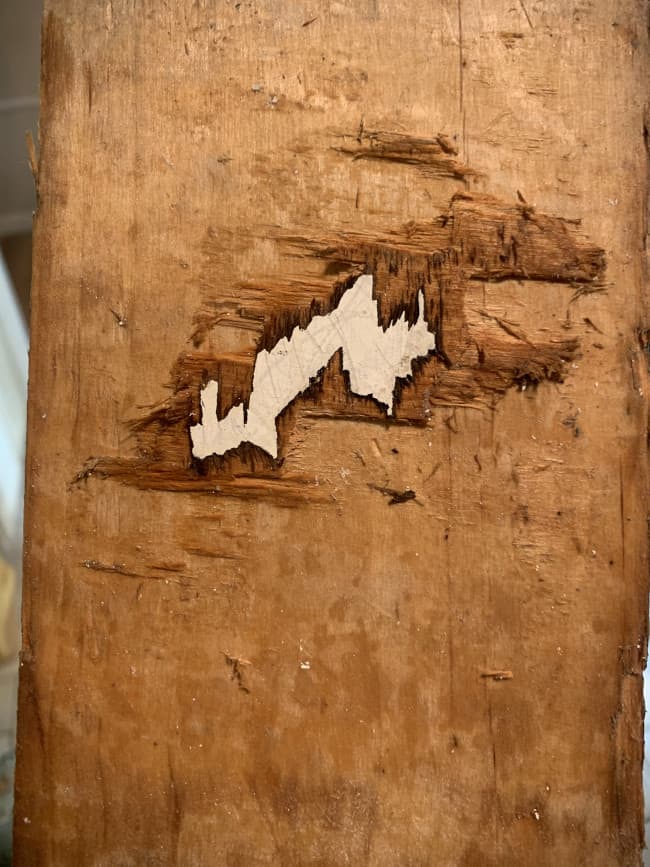
Tip: When there are small amounts of veneer left. You will not need to leave the towel only until the area appears saturated. You can also switch to a washcloth if it is a small enough area.
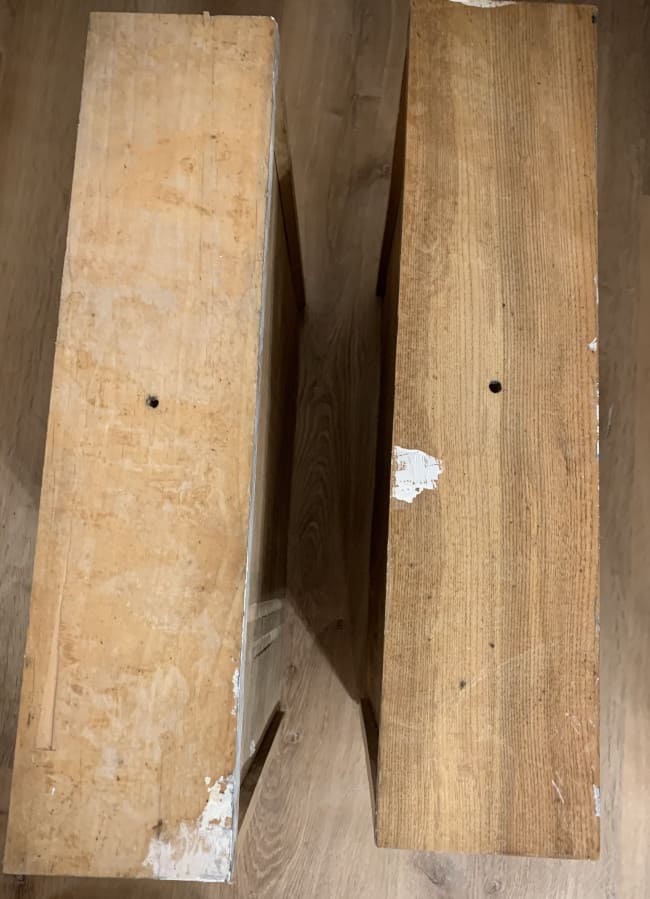
And that’s it! Now my drawers are ready to be re-finished!
So the next time you see that pretty dresser that has a veneer issue. Don’t be turned off! Now you know that there is an inexpensive and easy fix! Although this process requires a little more time, than if I would have used a heat gun. It was perfect for this small project and did not require I purchase anything more than what I had on hand.
If you have removed veneer on a project I would love to hear your experience below.
Until next time,
Elizabeth
If you liked this tutorial you might also like these tips on staining furniture.
That’s great to know! I would love to see the finished piece!
Yes! I have had the piece sitting in my living room for awhile just waiting to get painted. Hopefully will post soon! Check back in the next week. Thanks for stopping by!
Interesting! I did not know that could be done.
Yes, it kinda reminds me of removing wallpaper! 🙂
Wow! That’s amazing, I had no idea that would come off. Great tip, thanks!
Yes, it works well depending on the piece. Some would require more tools but it works great to try just water first. 🙂