This post contains affiliate links.
Happy Tuesday! Things have been a bit crazy around here and I feel like I am just struggling to keep up a lot of days. But I wanted to hop on and share with you a quick tutorial for an easy way to repair veneer on your furniture that may be damaged or nicked. This same tutorial would also work for nicks or gauges in wooden furniture as well. The piece of furniture I was working on was a bench that needed both the veneer and wooden parts repaired.
So you may remember, although it has been like 6 months, I posted on how to remove veneer from furniture just using water. I was working on a bench I had picked up at Goodwill. I didn’t get much work done on that bench because I couldn’t quite decide where I wanted to use it in our house.
This week I had a vision for where it will go in our home. I think it will work nicely and I will share that with you later on. But for today I wanted to show you the work I have been doing on it and how I repaired some of the damaged veneer and wood that had nicks and gauges in it.
Here’s all you need to repair the veneer on furniture:
Here’s how you repair the veneer on furniture:
Step 1: Clean the area you will be applying your putty.
If there is any veneer chipping. Try to smooth it out and remove any dirt, debris or areas where the veneer is sticking out. If you are just going to be repairing a small section. Try to remove as little of the veneer as possible.
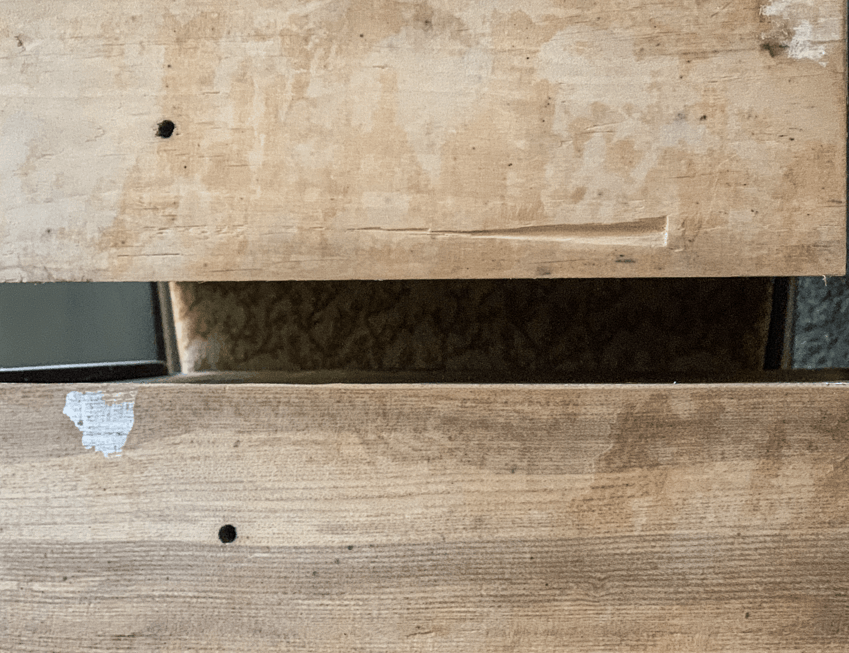
Step 2: Take your putty and rub it together.
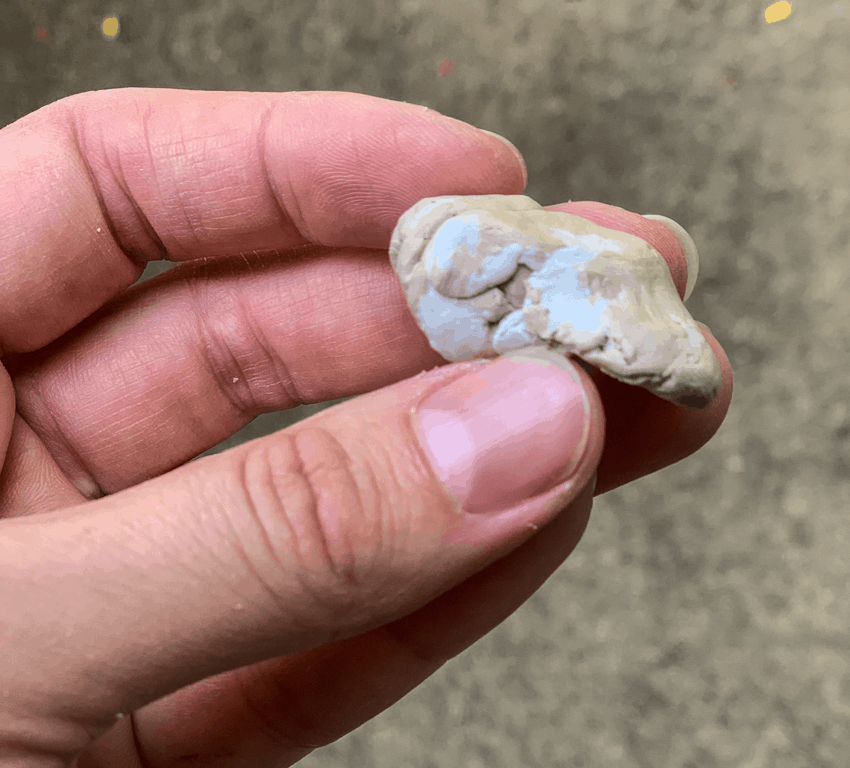
With this Kwikwood putty that I use. You will see there are two different colors. Light brown on the outside and white in the center. Follow the instructions on your tube. But you want to rub the two colors together to form a uniform color.
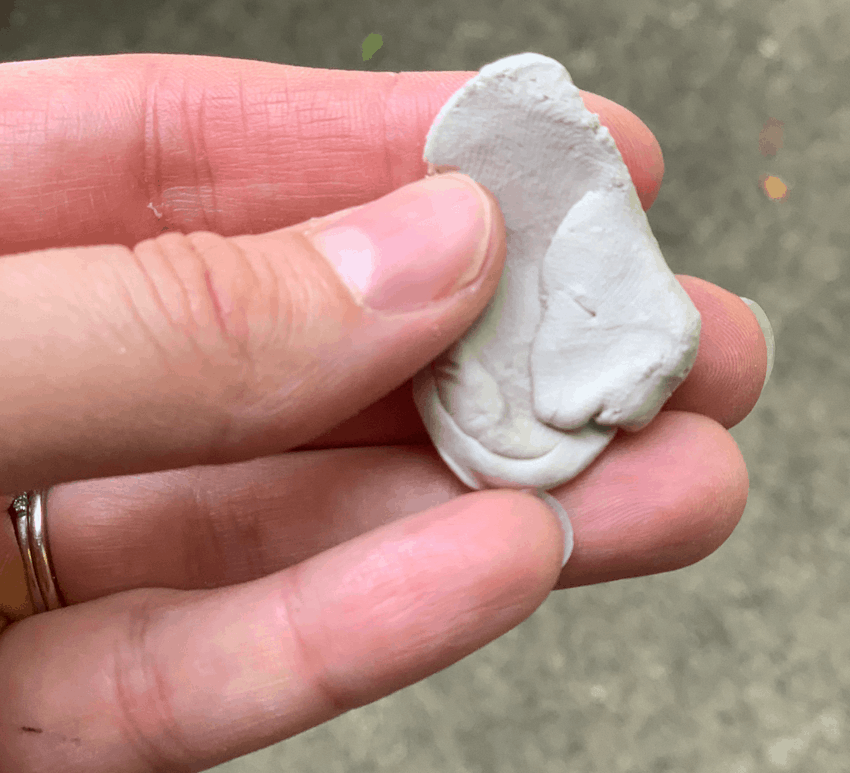
Step 3: Use the putty to fill in missing areas on the veneer.
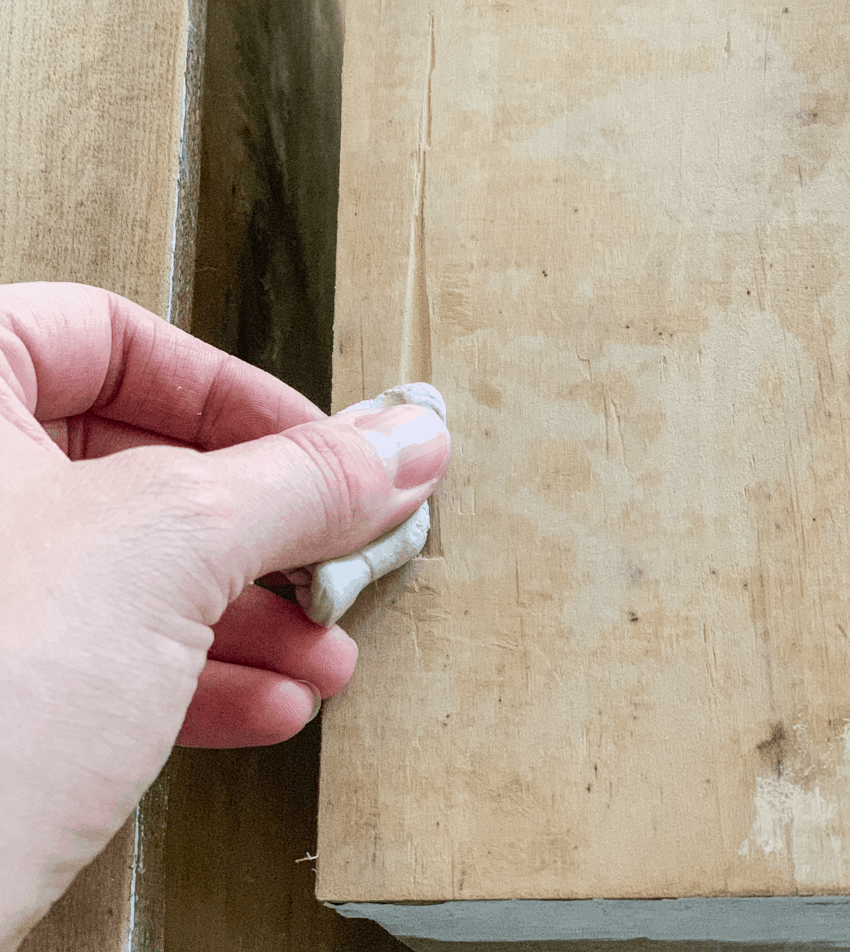
Now take the putty and just fill in the area on the veneer that you are trying to repair. I try to make the putty lay as flat as possible so it will be as close as possible to the height of the furniture. This way I will have to sand as little as possible off and the putty will dry faster.
Step 4: Wait for the putty to dry.
Wait for the putty to harden on the veneer or wood surface. I usually wait overnight. If you don’t want to wait that long. Just make sure it is hard. Because when the putty is nice and hard you are ready to sand.
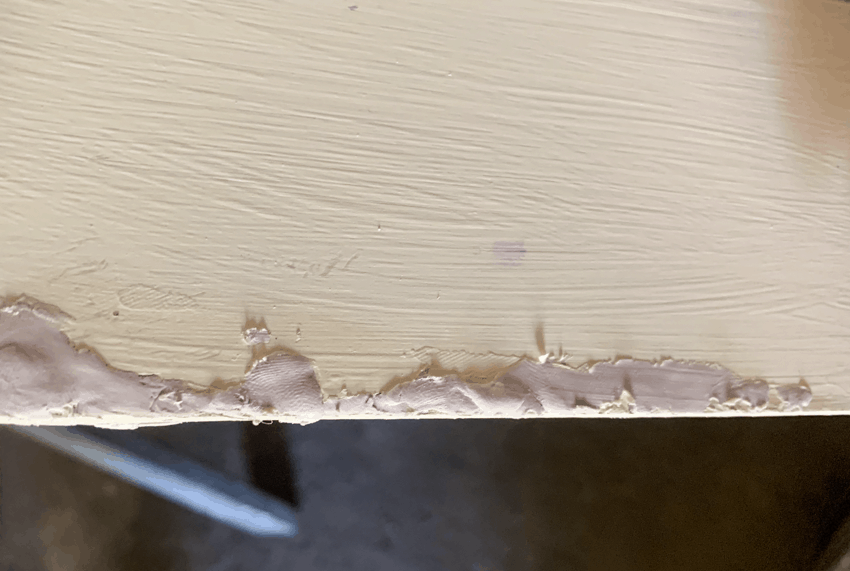
Tip: The thicker you apply the putty the longer you will have to wait for it to dry. So use as little as putty as is needed.
Step 5: Sand the putty so it is flush with the rest of the veneer.
Once the putty is nice and hard. Use a hand sander or sandpaper by itself and sand the putty so it is even with the rest of the veneer. Clean of the sawdust and your are ready to paint!
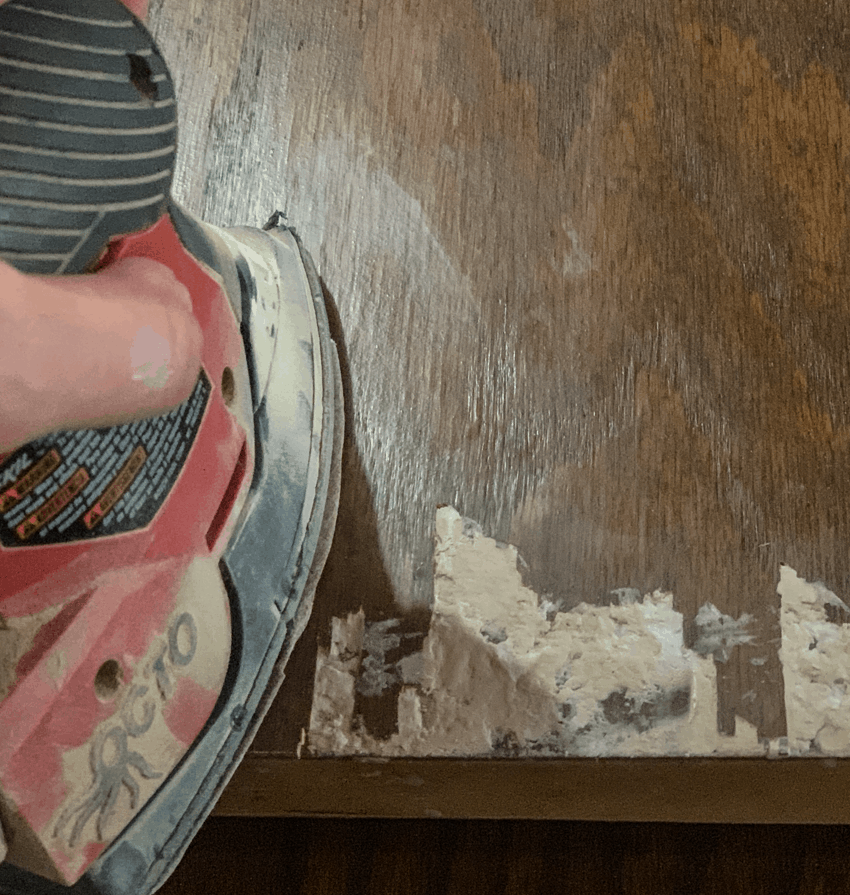
And that’s it. I like using this putty because it is a very easy way to repair veneer or wood on your furniture. This is a great way to save those pieces of furniture that you thought were destined for the trash. Or give you hope if you find a beautiful piece but has some chipping veneer.
If you liked this tutorial please remember to share it or save it to Pinterest.
***Also if you are a local reader I just wanted to update you and let you know that I have decided not to participate in the Weathered & Rusty Market this year in Rochester, MN on September 27-28th. I was really looking forward to it and if you are planning to attend, I will miss seeing you. But it just seemed best for me not to participate this year. If you were planning to attend, hoping you will still be able to go out and visit the market! ***
Hope you have a wonderful week! And watch because later in the week I will be posting a fall decor series from myself and several other bloggers from Miss Mustard Seed’s mentoring group!
Until then,

[…] were a few holes, nicks and gauges in the dresser. So the first thing I did was repair all those areas. Including the two spindles that had two holes where a mirror was originally held. So I filled […]