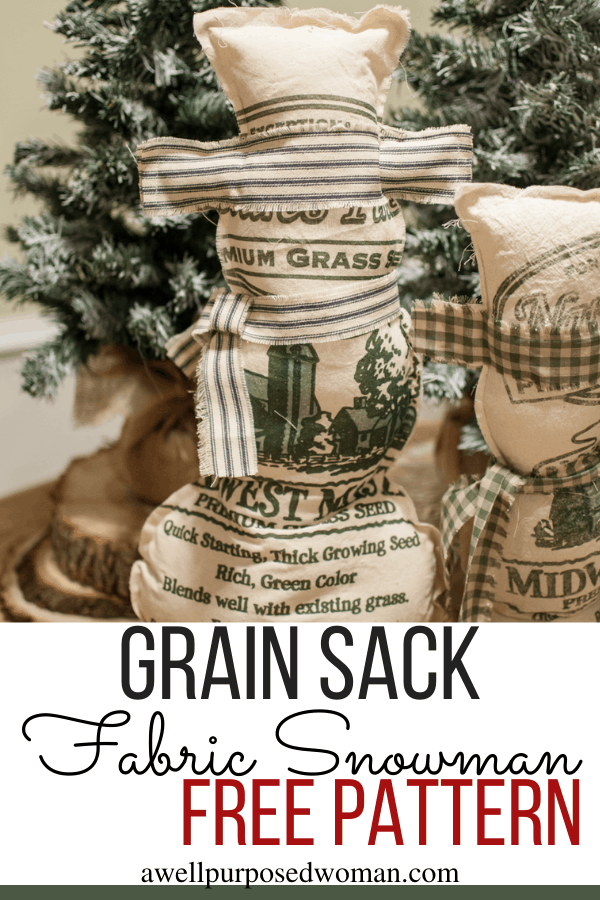
Welcome back to Day 4 of A Well Purposed Christmas Crafting. Last week I started the week out by showing you how to make fabric Christmas trees with a free pattern and ended by giving you free farmhouse Christmas printables. Today I want to give you another gift for your Christmas crafting! It is a pattern to make a grain sack fabric snowman!
(I wanted to mention if you have had any trouble receiving any of the patterns or printables please let me know at: awellpurposedwoman@gmail.com. I am in the process of changing to a new email service.)
The inspiration for these snowmen came from my sister-in-law Alesha. She found some super cute grain sack snowmen at a craft sale. They were made with beautiful grain sack fabric and you can check out the company that makes them here. I will have to buy some of their grain sacks I think in the future. But since I like using what I have on hand in my projects, I ended up using some old grass seed bags I found at a rummage sale for a quarter.
Of course that’s the nice thing about a pattern, you can use any fabric and make it your very own! I think the beauty of giving patterns and making tutorials is that everyone puts their own creative stamp on what they are making. It doesn’t have to be like anyone else’s.
But if you are ready, let’s get to making these cute little snowmen!
Here’s what you need to make fabric snowman with free pattern:
- Free Snowman Pattern (download and print out)
- Fabric or Grain Sack (you will need at least 2 pieces of 20″x 12″ of fabric for each snowman)
- Polyfil
- Rice
- Sewing machine and thread or hot glue gun
- Scissors
- Sewing pins or hot glue and glue sticks
- Pen
Here’s how you make a fabric snowman with free pattern:
1. Download your free pattern and cut it out
If you are a subscriber you should have received a free pattern in your inbox. If you have not yet received it download it above. Then tape your pattern together. There are 4 different 8.5″ x 11″ pieces of paper. Tape them to make our snowman. Cut out your snowman.
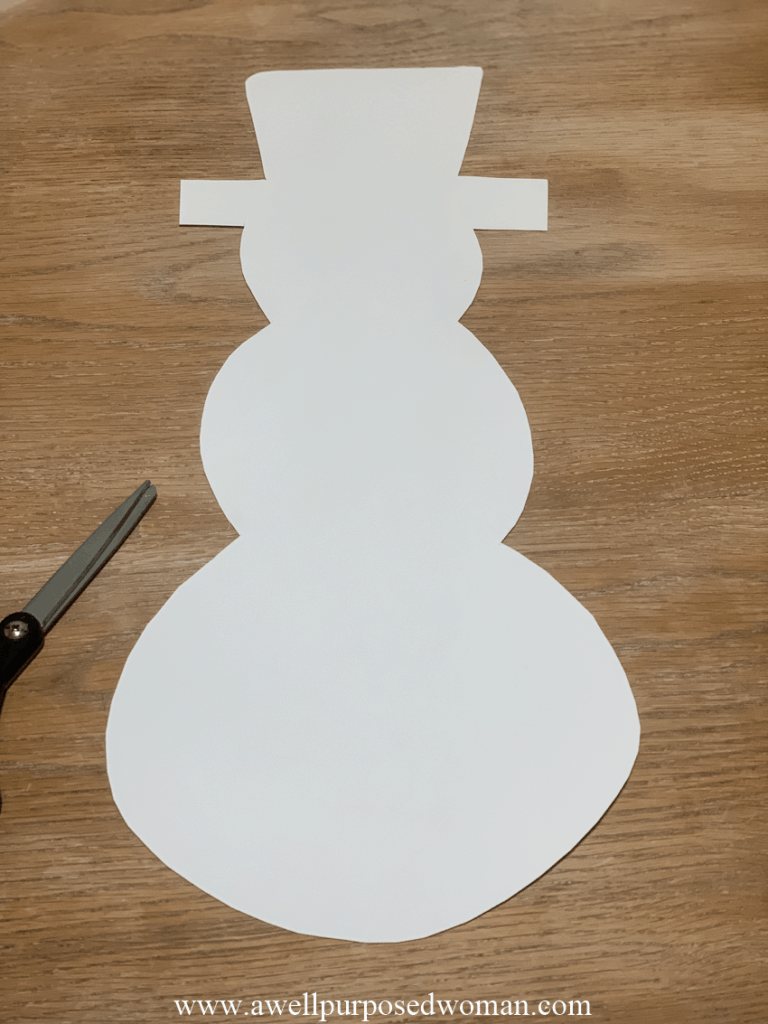
I traced my pattern on a piece of tag board once I had the pattern put together. This will give you a sturdy pattern you can re-use.
2. Trace your pattern on your fabric
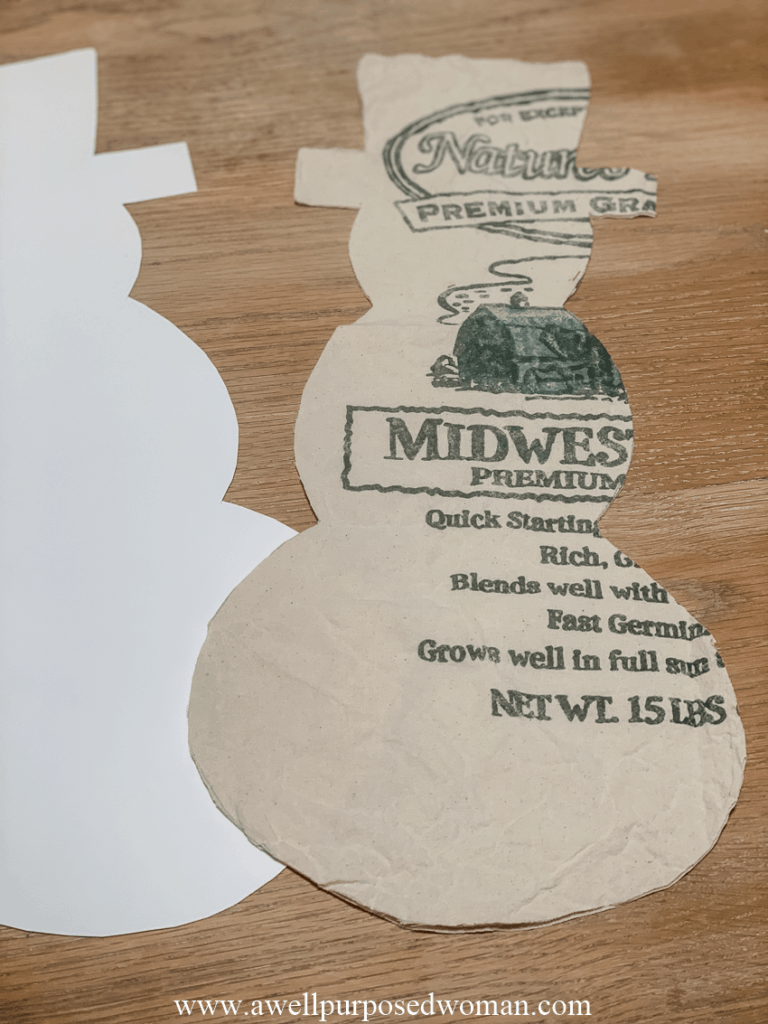
Because I am not too fussy and my fabric cost me a quarter at a garage sale. I just used a pen and traced around the snowman on my fabric. You could pin your pattern down and cut around it as well.
Then cut out your snowman from your fabric. I cut through two pieces of fabric at the same time since I was cutting a sack. You want to fold your fabric or cut two snowmen. Then you will be sewing them together.
3. If sewing, pin your fabric together
If you are sewing you will want to pin your snowmen together. You can decide if you want to sew right side out or not. With these grain sacks I planned to fray the ends a little bit. So I sewed with the right sides up. I like seeing the seam in the finished snowmen.
But you can also sew right sides down and turn the snowman inside out if you like that look better.
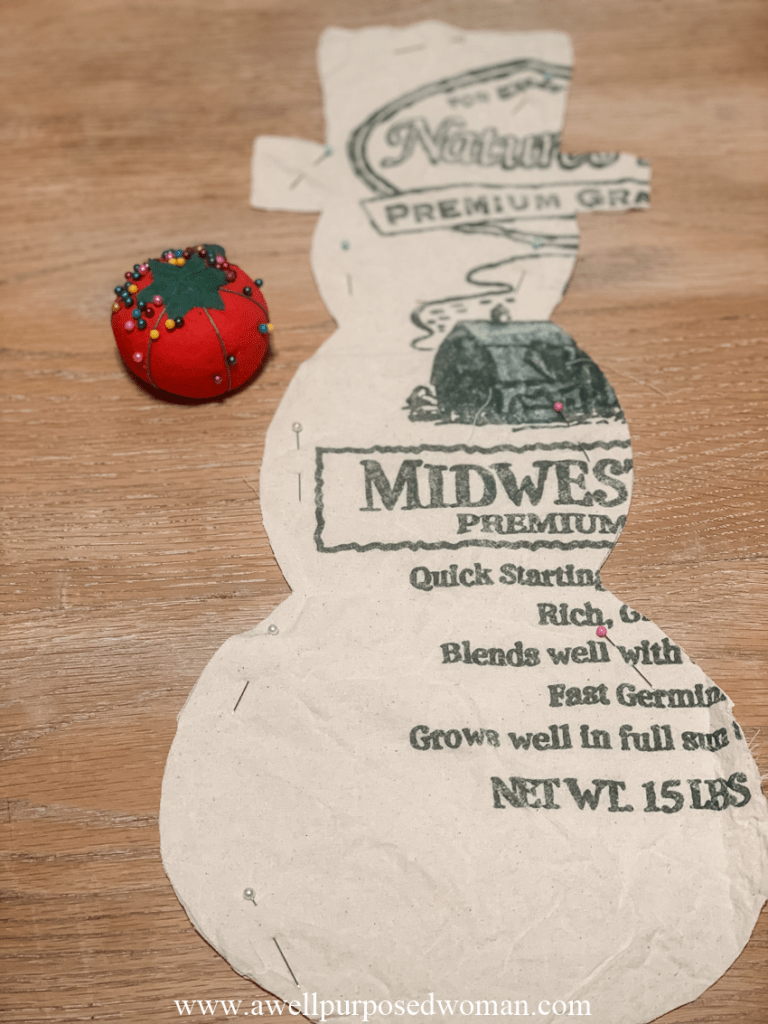
Pin the snowmen’s hat brim at this point. I cut out a small section of ticking fabric to cover the brim of the snowman’s hat. If you like this look. Then cut out a small area to cover the brim of the hat for the front and back and pin to your snowman.
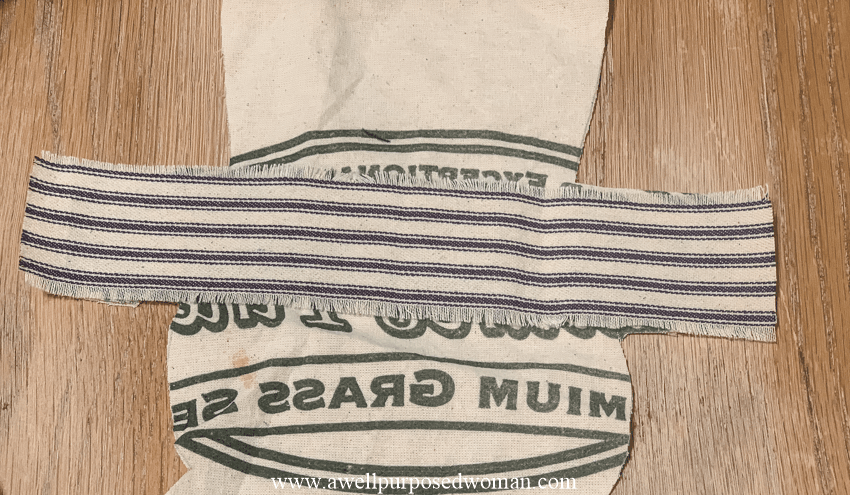
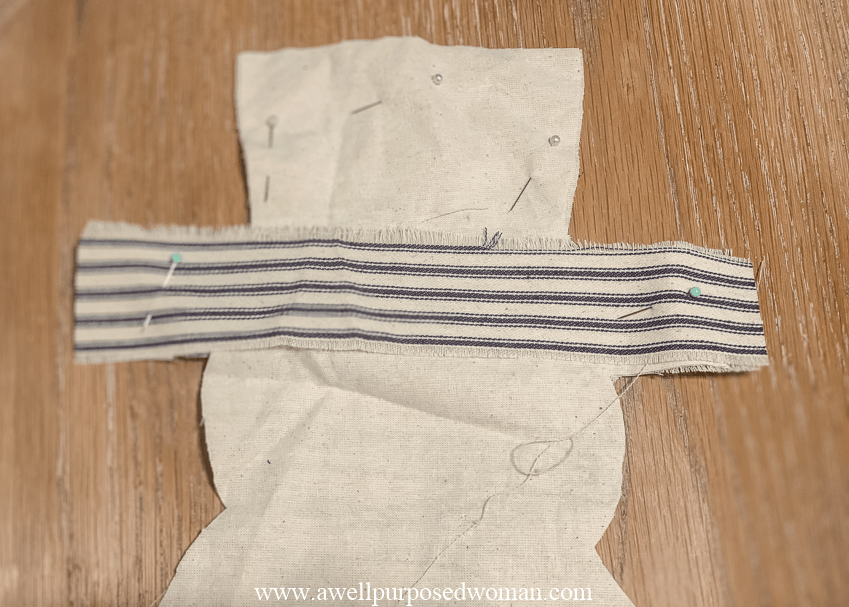
4. Sew or Hot Glue your fabric together
The next step is to sew your fabric together. I sewed a 1/4″ around my snowman. You want to remember to leave a 2-3″ opening at the base of your snowman so you can add the stuffing. I start at one side of the opening of the base and sew around until I get to the other side of the opening on the base. This way I am just making one seam all the way around.
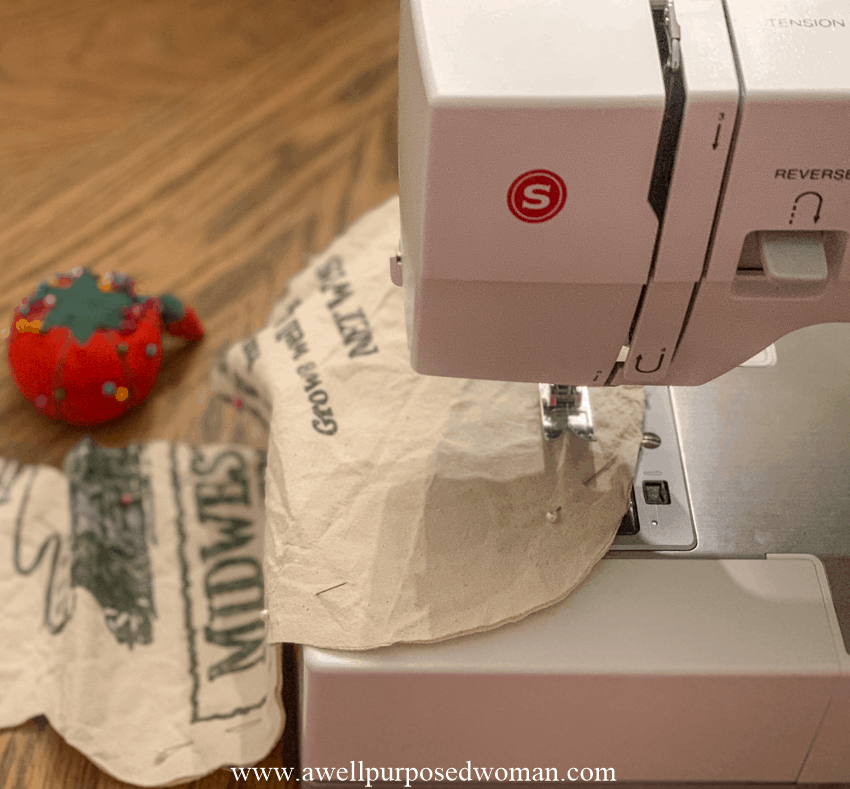
If you are hot gluing your snowman just hot glue around the edges and hot glue the brim of the hat on your snowman.
5. Stuff your fabric snowman & close opening
I used polyfil to stuff my snowman. Fill in the top of the hat and snowman head first. Then fill in the rest of your snowman.
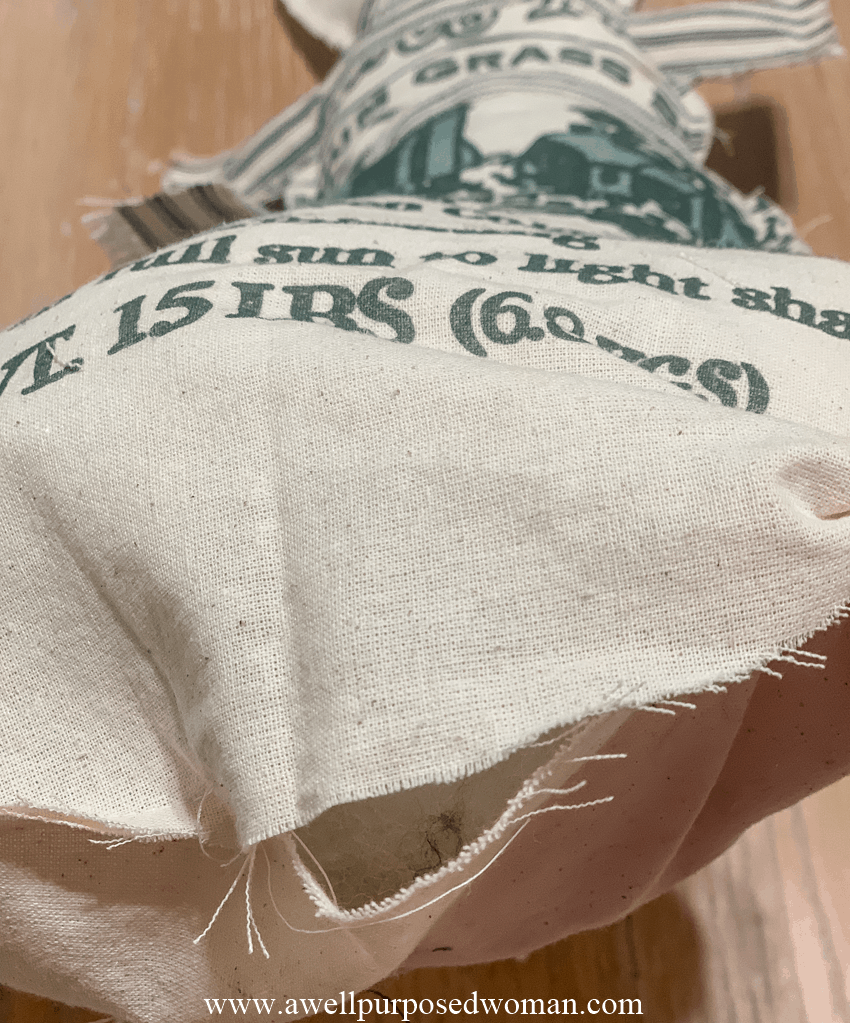
Near the base of the snowmen I add several cups of rice to weigh down my snowmen.
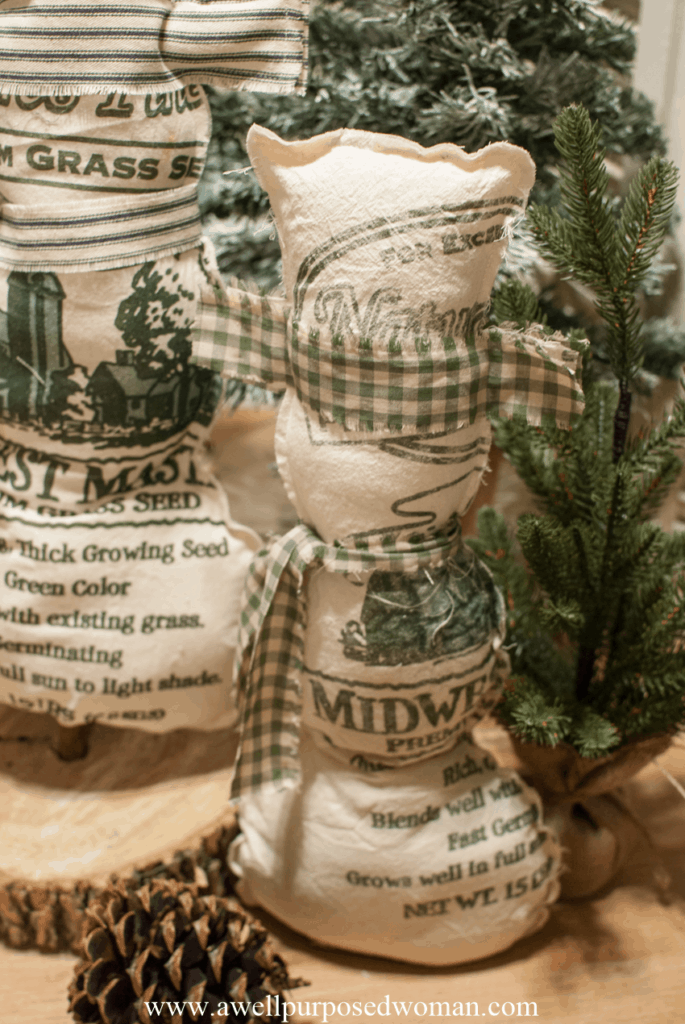
You can finish your snowman in two different ways.
1.If you want your snowman to stand on his own just filled your base with enough rice so he stands up. Then close the opening with hot glue or a needle and thread.
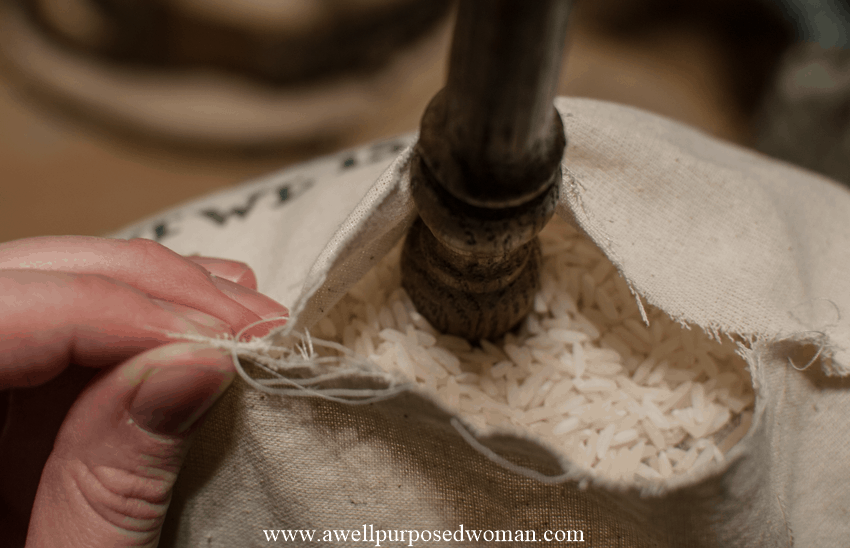
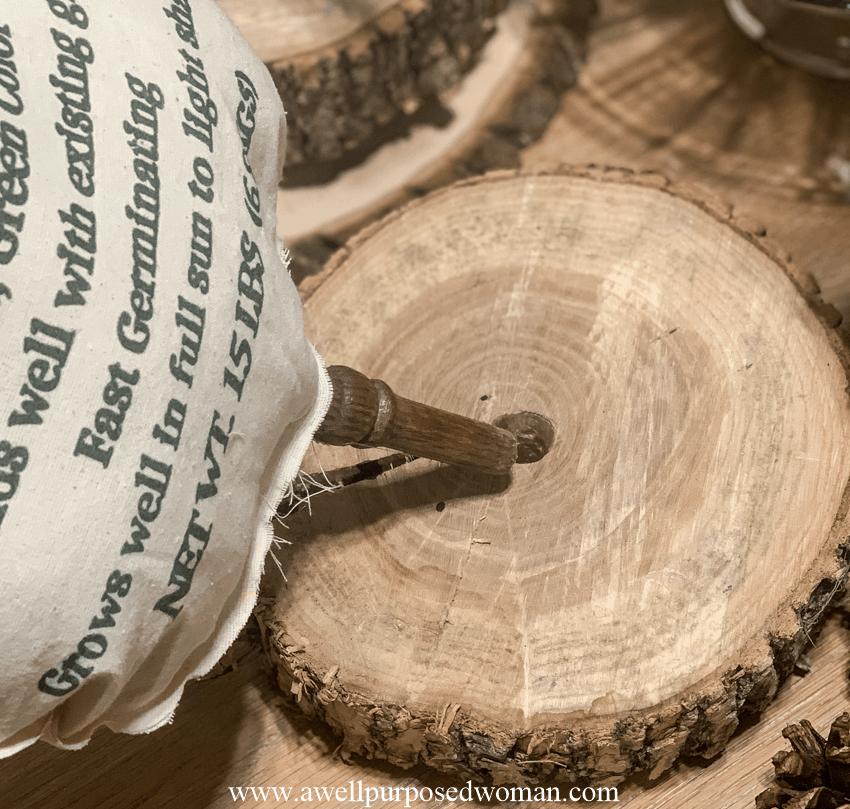
2. If you want your snowman to stand on a base you can add a wooden dowel or spindle from an old chair to the snowman. Then close the opening of the fabric around the wooden dowel with hot glue. You can drill a hole for him in a piece of wood like we did below.
6. Add scarf or other finishing touches
The last thing to do is hot glue your scarf on your snowman. Cut a small piece of fabric and make a scarf around your snowman’s neck.
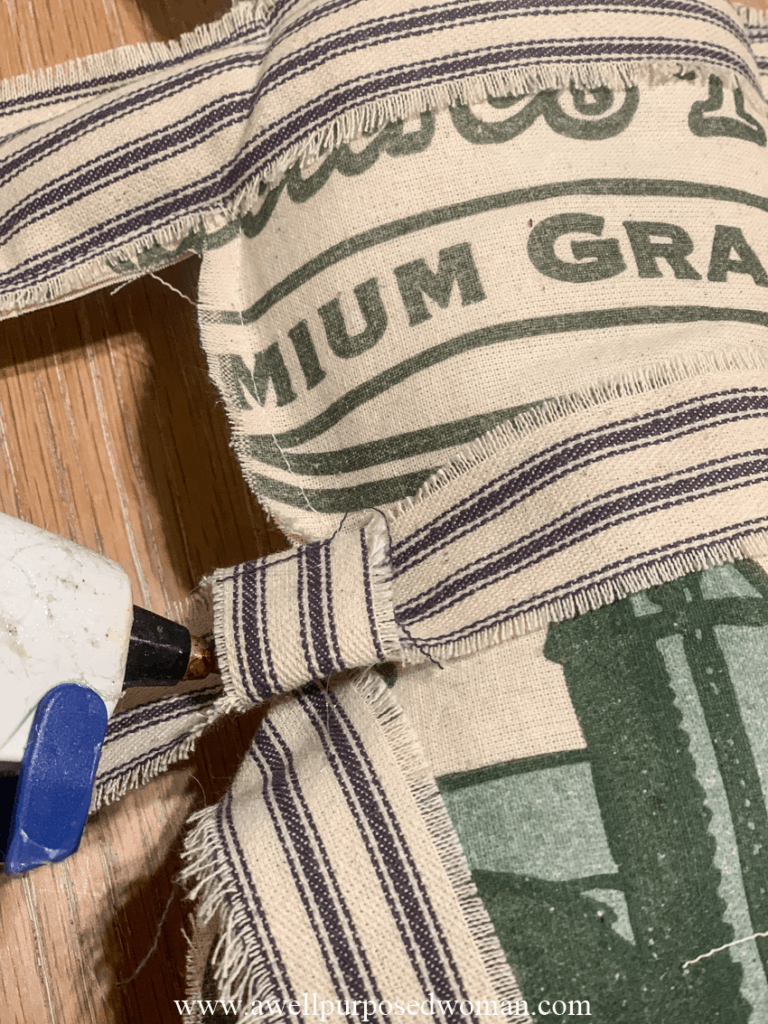
I frayed the fabric a little before gluing it on my snowman.
And that’s it!
Now you can decide on the perfect home for your little snowmen. Whether on a entry table or on a sofa or chair. Aren’t these guys so cute!
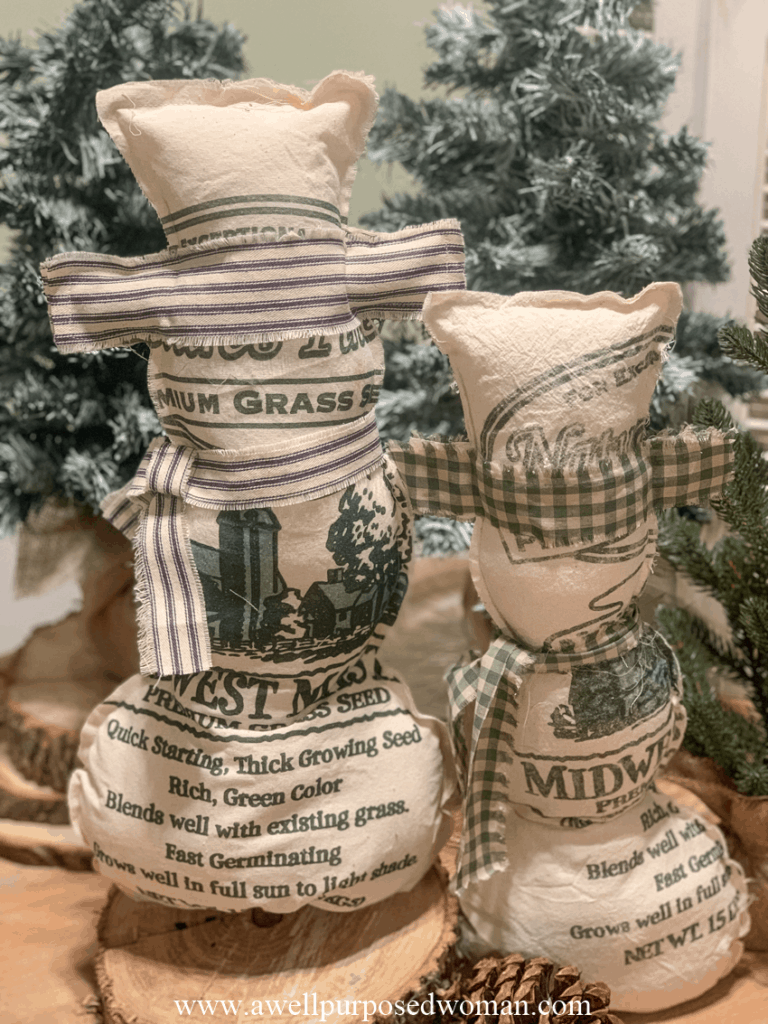
These little snowmen along with the crafts from last week and the rest of this week’s will be donated to the Love Justice craft sale this week on 11/16/19 at Calvary Evangelical Free Church in Rochester, MN. If you are in the Rochester area we would love to see you!
If you missed last week’s posts check them out below:
Day 1: How to Make Fabric Christmas Trees (with free pattern)
Day 2: How to make an Easy 30 Minute Pine Cone Wreath
Day 3: Free Farmhouse Christmas Printables for your Holiday Decor
Thanks again for joining me! See you on Wednesday!

P.S. Remember every subscriber, receives an extra entry into Christmas giveaway every time you comment on a post, share on social media or post your own craft ideas or projects on our Facebook page.

At the end of the 12 Days I will announce the winner of the giveaway, and the reward will be a choice of the crafts I have made over these past 12 days!! So be sure to join in the fun!

They turned out really cute!!!
Thanks Alesha!!