So last week I posted my dining room chair makeovers. On Tuesday I did a post on how to paint your farmhouse dining room chairs. And today I am going to show you an easy way to re-upholster the seat of a dining room chair. This was my first upholstery type project. So I guarantee it is so easy anyone can do it!
I had originally planned to use a drop cloth with some plastic backing for the seats. But after talking with Miss Mustard Seed. I changed my plan and took her recommendation of using cotton duck fabric.
I am really pleased with how the chairs turned out! And think using cotton duck instead of drop cloth was HUGE because it expanded the color options as well. If you would like to re-upholster your own dining room chairs. Here’s a quick tutorial of what I did.
Here’s what you would need to get started:
- 3 yards of duck cotton fabric (60″wide or greater is ideal). This was for 6 chairs.
- Forward facing staple gun
- Staples
- Screwdriver and pliers
- Sewing machine (optional)
- Filling or batting
Here’s what you do:
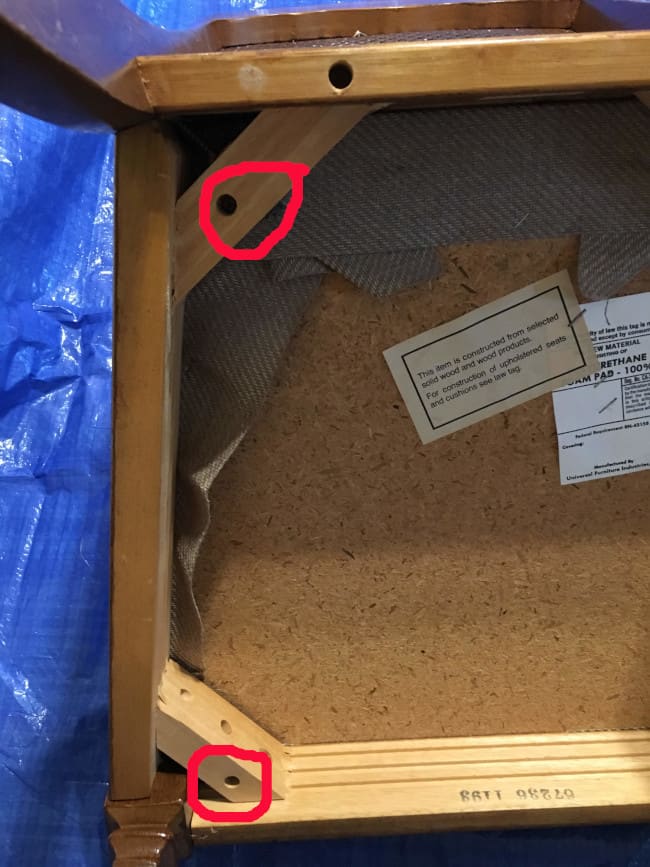
Step 1: Remove the Seat
If you already did this yesterday skip to the next step. I also included this in Post 1: 8 Easy Steps to Painting Beautiful Farmhouse Dining Room Chairs
Flip the chair upside down. Remove the screws and the seat should come off. Depending on how old your chair is you may have to use a little bit of force to get some of the screws out.

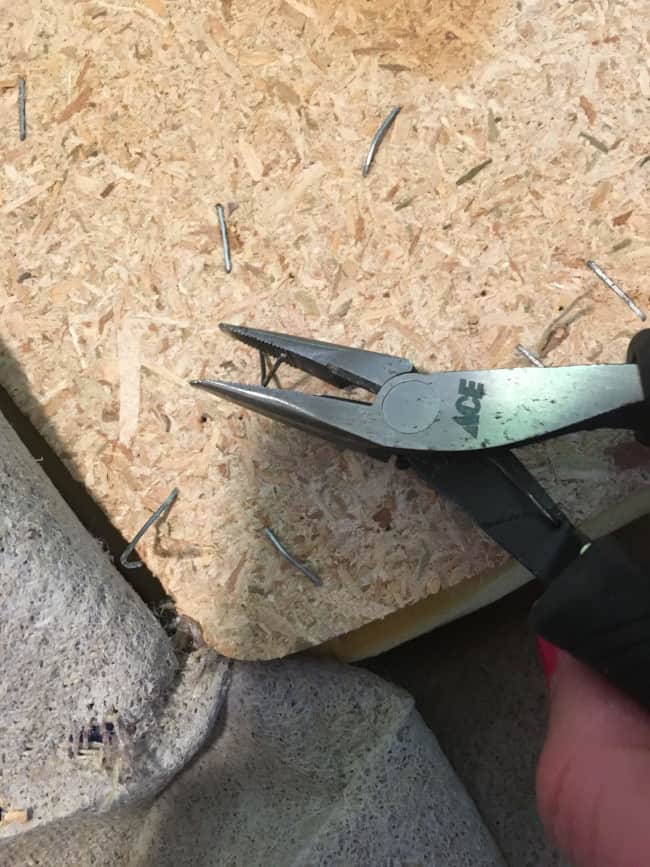
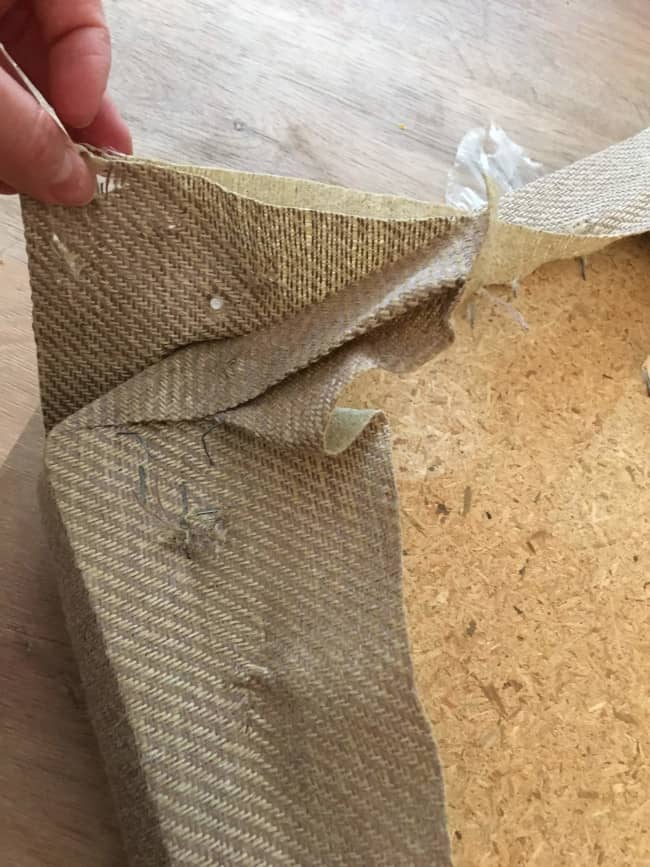
Step 2: Remove the Fabric from the Seat
Next you can start taking the fabric off the seat. Usually the fabric is held down by a good number of staples. There are special tools to remove the staples. But really the two things that seemed to work the best were a flat head screwdriver and a pliers.

Just position the screwdriver under the staple and pry it off. I used the pliers to pull up any stubborn staples. Do this until all staples holding the fabric are removed. The fabric should lift off. It is not necessary to remove all staples but only those holding the fabric or in the way.
Tip: Take lots of pictures of how the fabric went together. So when you go back to reassemble the seat it’s easy to remember! Especially around the corners. 🙂
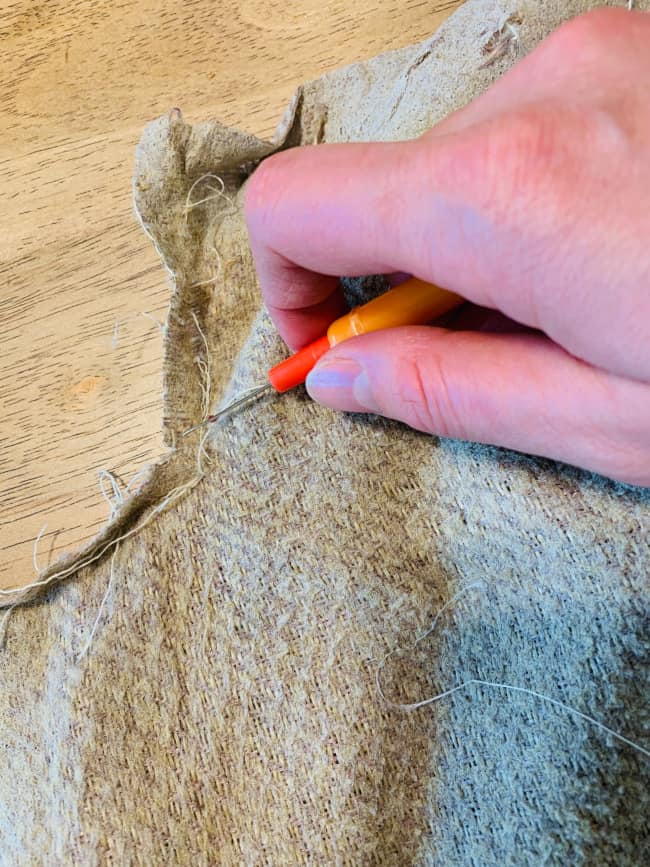
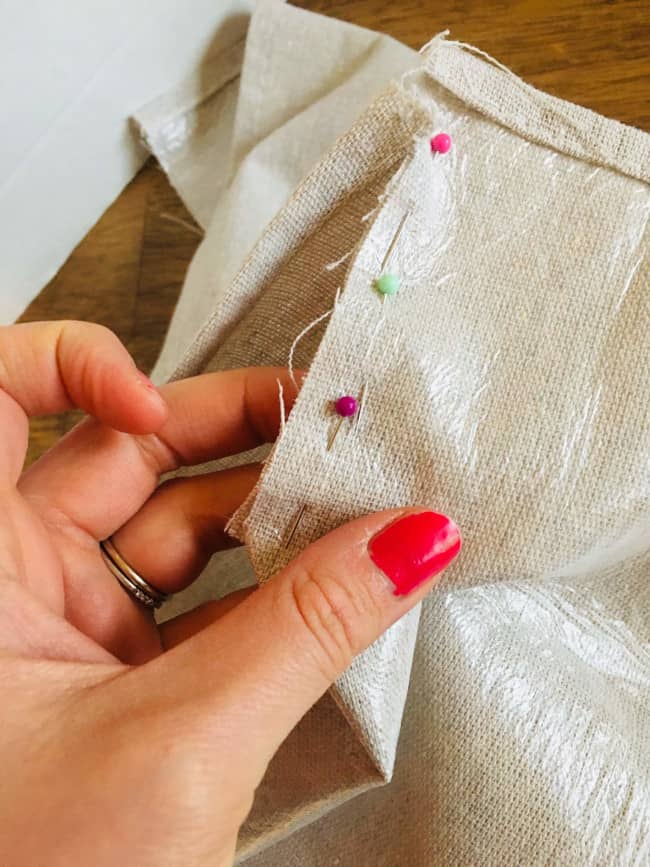
Step 3. Rip out any seams in the old fabric.
There were two seams on each seat cover corner. So I ripped out those seams.
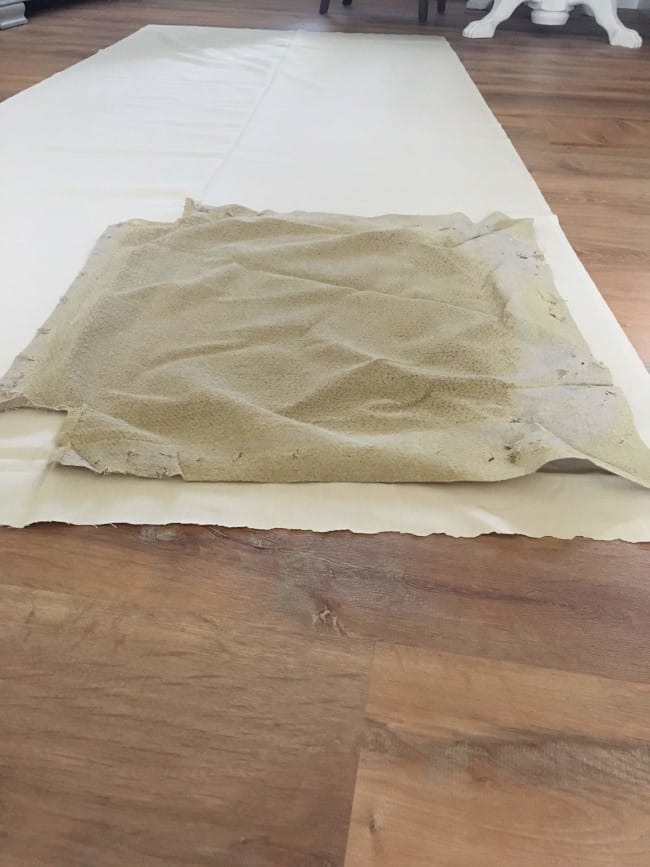
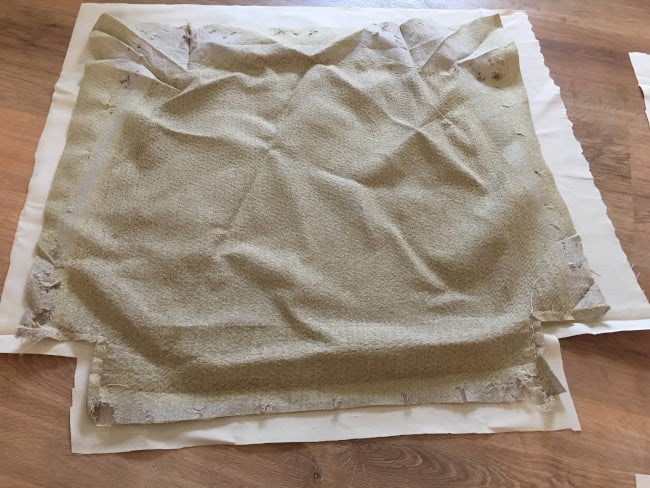
Step 4. Cut your new seat covers.
Lay out the old fabric on your new fabric. Use it as a pattern for your new seats. Cut 1-2″ extra around all sides of the fabric.
Step 5. Sew the seams on your new fabric.
I sewed in the same places the previous seat covers were sewed. Sew two seams on each seat cover. These seams would form the front of the seat. You could sew this by hand as well.


Step 6. Evaluate the condition of your foam or batting.
The foam on these chairs was in really good condition so instead of trying to make new foam. I used the old foam and just added poly-fill in between the plywood and foam for added cushioning. This may vary depending on the condition of your foam.
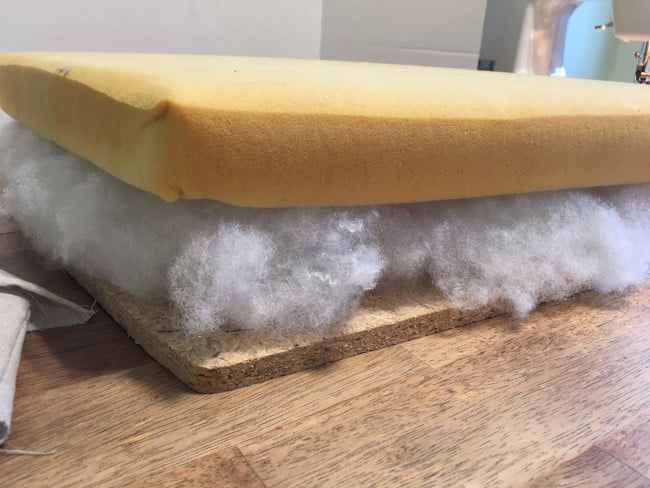
Tip: Keep in mind whatever you add to the foam/ inside of the seat will affect the fit of the fabric. Make sure you have enough fabric to cover the new fill material.
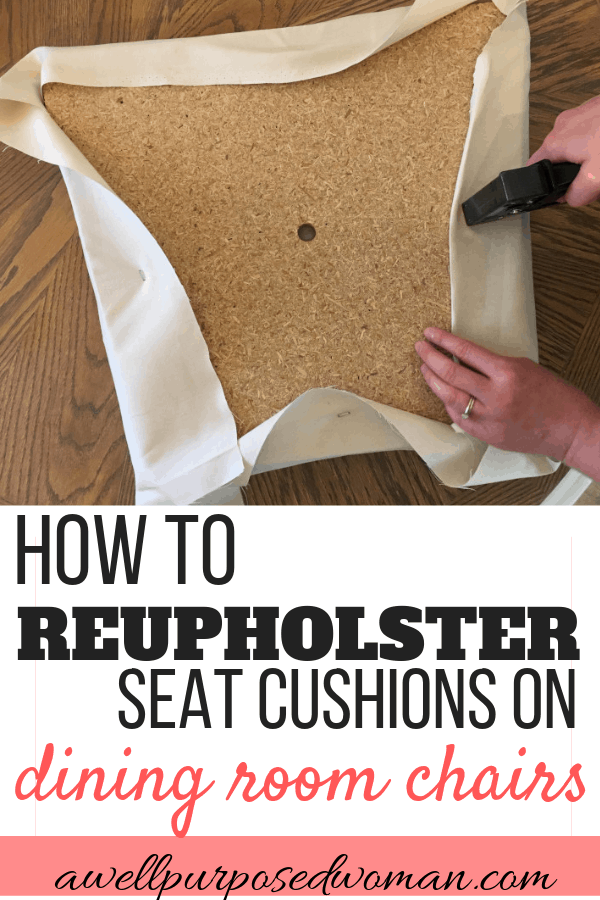
Step 7. Cover the foam with the new fabric.
Cover the foam and other material with the new fabric and staple into place. You will want to pull the fabric snug. But not too snug where you will see bunches in the fabric.
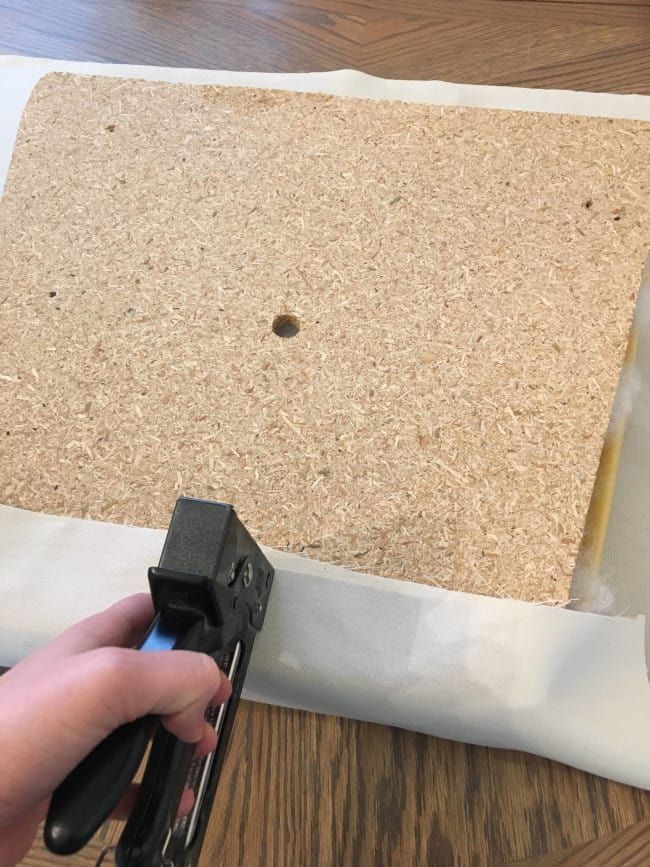
Put one staple in each side of the seat. Then go back and staple each side of the seat until you are 2″ from the corners. Flip the cover over from time to time and see how the fabric is looking.
Tip: You will want to use something more heavy duty than a regular staple gun. It does not have enough strength to go through the wood. This is the one I used and it worked exceptional!
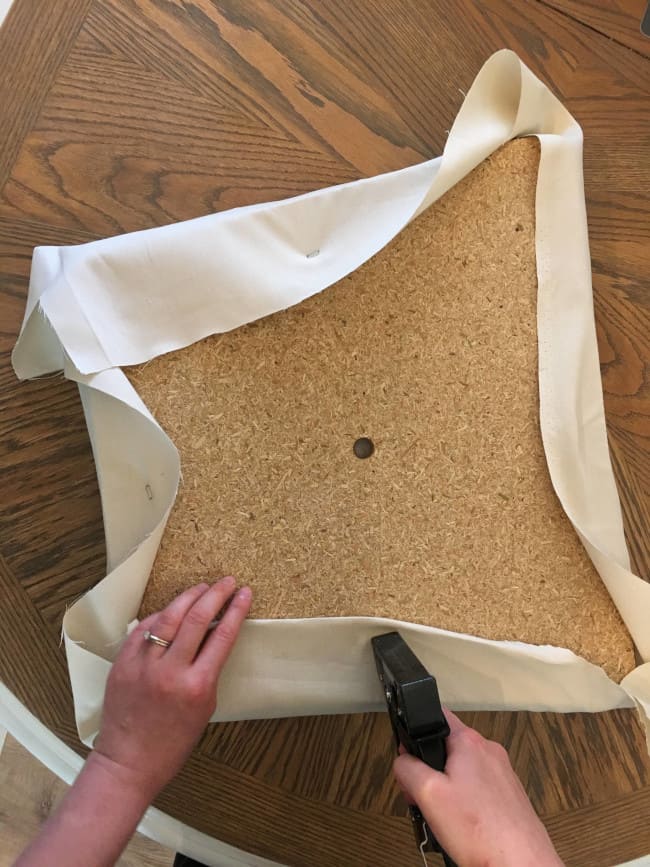
Step 8. Fold your corners over and staple in place.
This is the trickiest part of the project. Fold the corner several times until you are able to get one smooth crease. It was difficult to get a good picture while doing this so I have several pictures of how it looks once stapled.
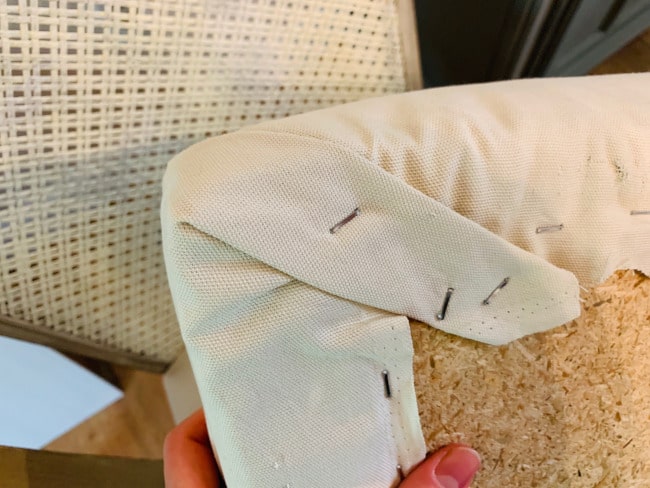
You can see the fabric is folded twice but you only see one crease on the side view.

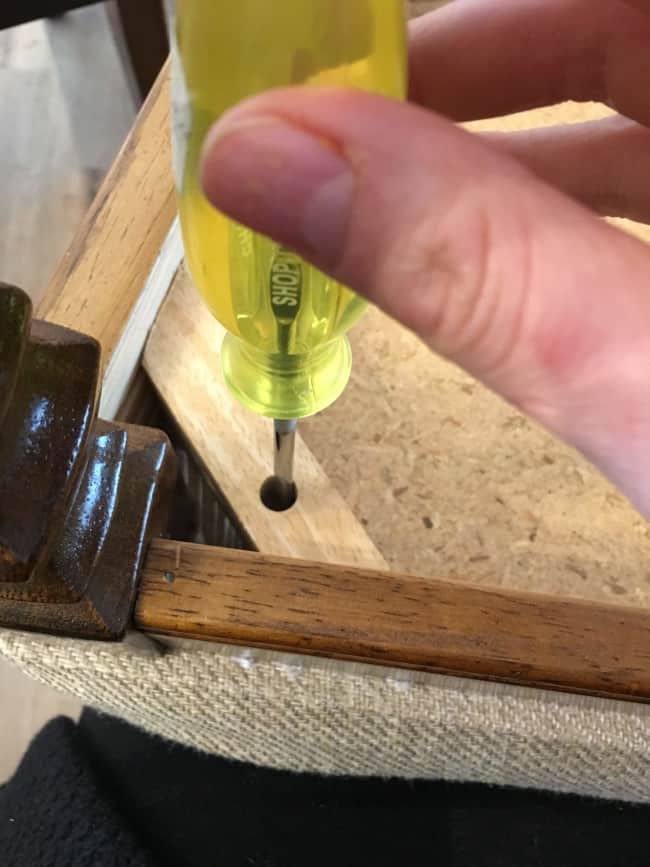
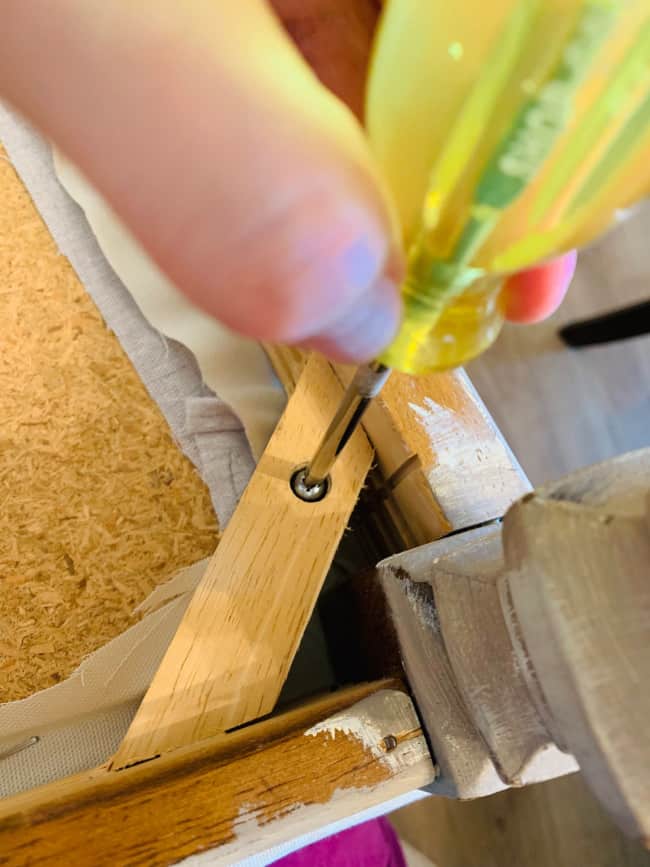
9. Screw your seat back on your frame.
Use a screwdriver and put your screws back in your chair. I found it easiest to set the seat and the chair on my lap while screwing them in.
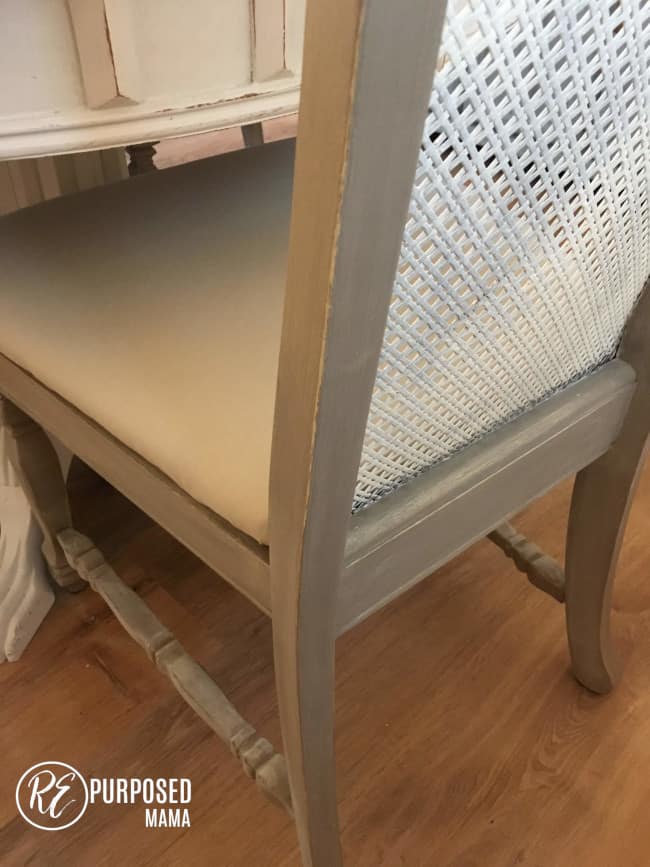
And Voila!
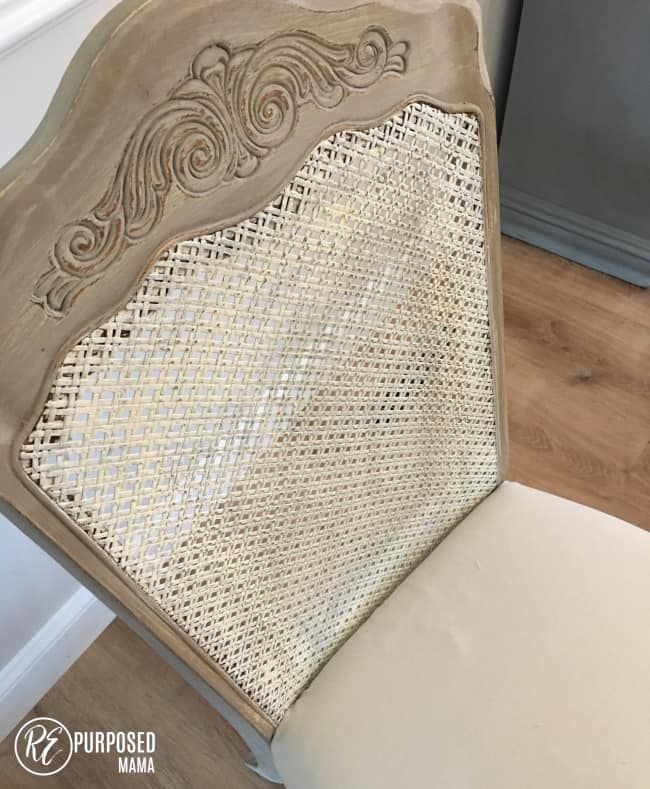
Beautiful farmhouse dining room chairs. And my first re-upholstery project is complete!
I love to hear from you too. So please let me know if you stopped by. And if a re-upholstery project is on your to do list! Of course any tips or secrets you have about re-upholstering are also welcome as my next re-upholstery project will hopefully be an arm chair.Eek!
I hope you stop by tomorrow as well. I will be posting a special project I did for my daughter Annabelle!
If you liked this tutorial you might also like this tutorial on updating an old window or this farmhouse style wreath.
Until tomorrow,
Elizabeth
Leave a Reply