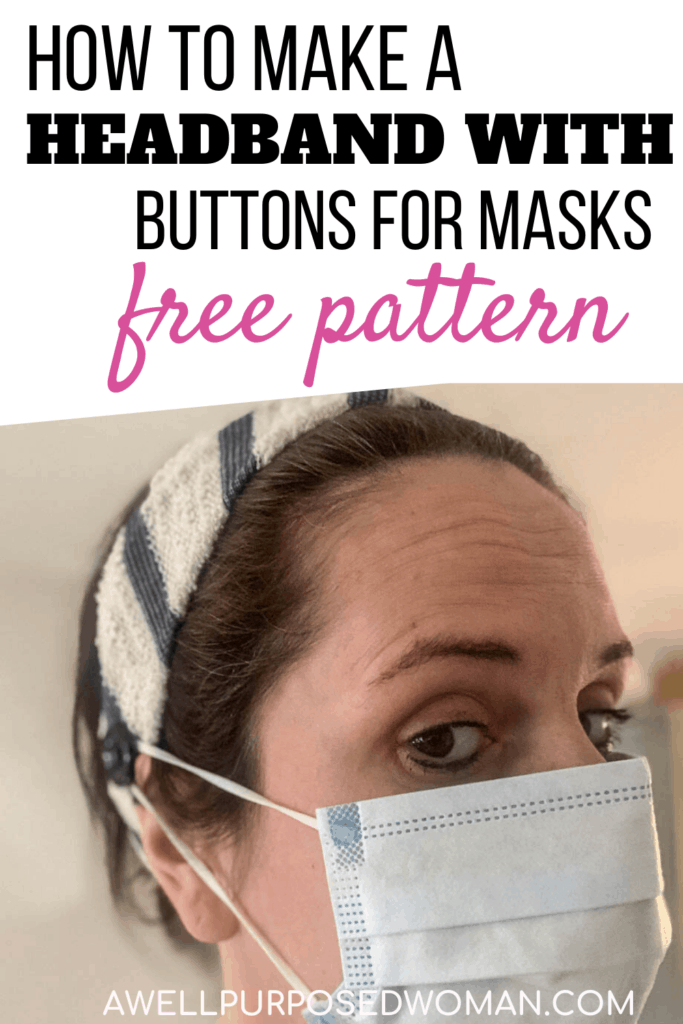
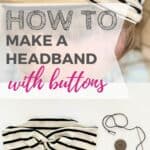
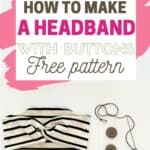
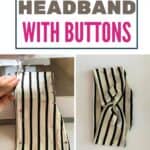
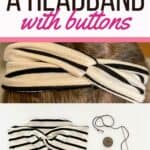
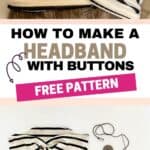
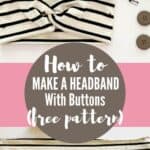
Learn how to make a DIY headband with buttons for face masks. This step by step tutorial will show you how to make a DIY headband with buttons for masks. Help healthcare and community workers by sewing DIY headbands with face masks to give ears a break while wearing masks.
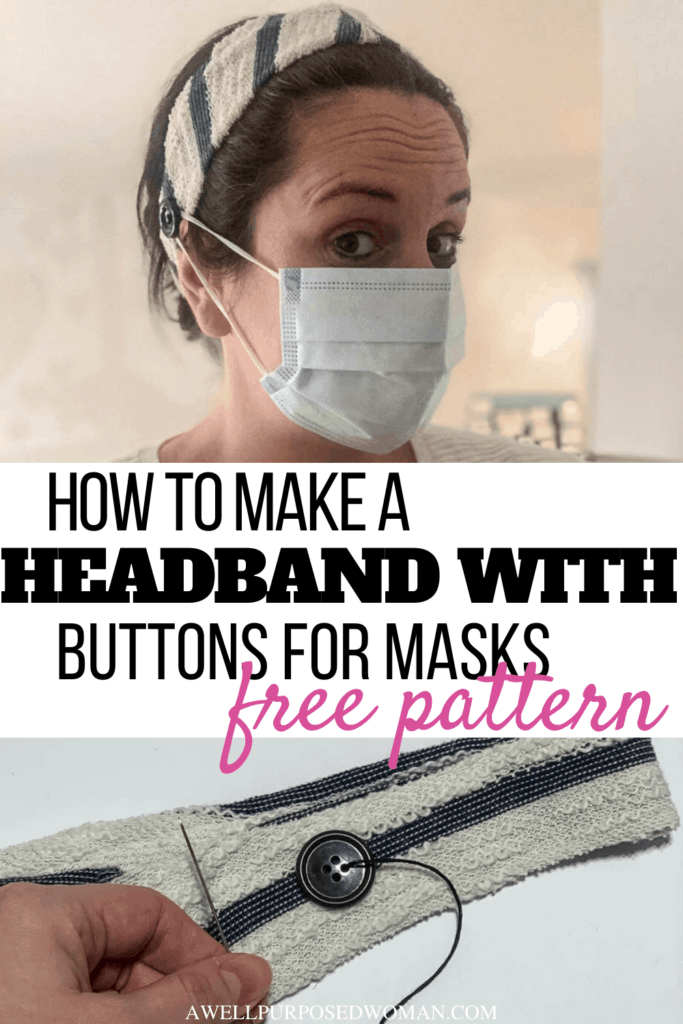
My sister-in-law, who is a nurse, suggested creating a DIY headband with buttons for face masks. Since masks can be rough on the ears after extended use. And since I shared my post on how to make a DIY Face Mask a lot has changed. Like the new CDC Recommendations that everyone should be wearing face masks while in public. But wearing a face mask is not new for healthcare workers, who have been wearing these masks all the time now.
So I wanted to create a DIY headband with buttons that you can make from home, and use up your fabric stash at home without going out to buy anything. I created the headbands in this post out of an old sweater/sweatshirt type stretchy material.
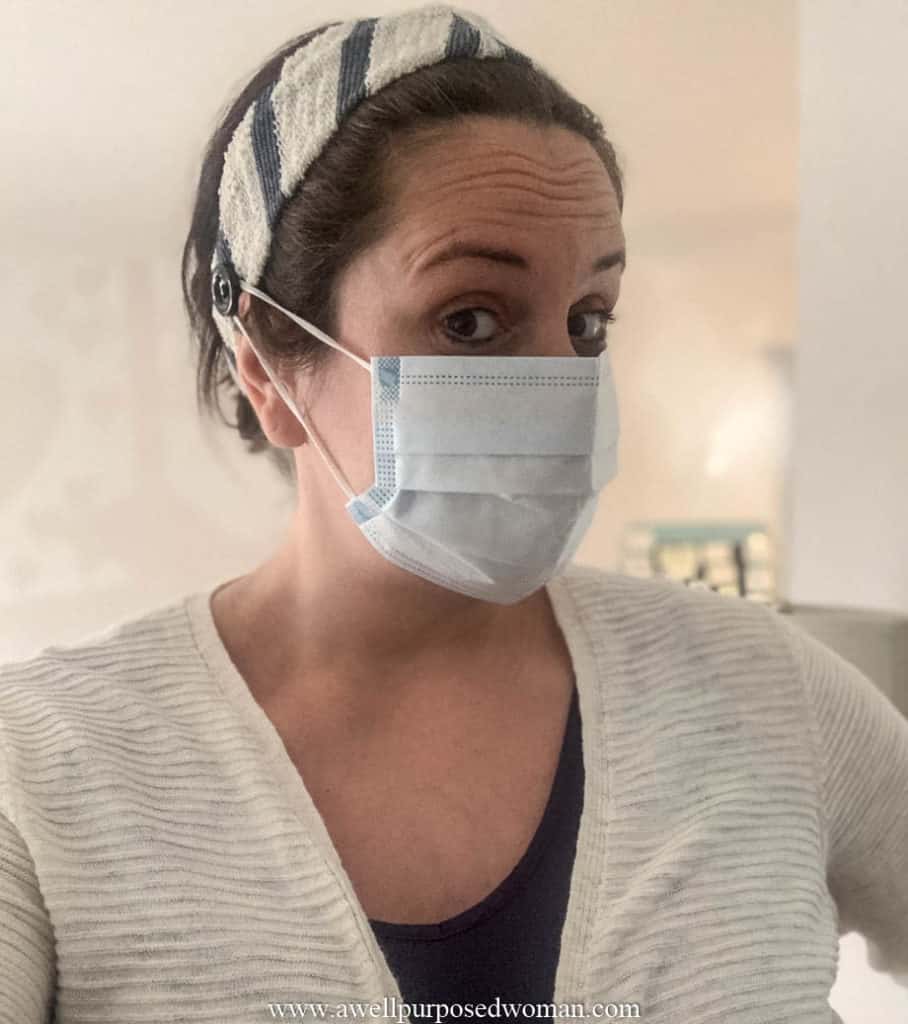
In order to make a DIY headband with buttons that fits comfortably around the head you will definitely want to use stretchy material or elastic like the headbands you may have purchased before. If you already have a stash of headbands at home then it will be even easier for you. Because you can just jump to Step 4, the last step, and attach your buttons.
But if you are wanting to make some DIY headbands with buttons for others, like healthcare workers in your family or community. I wanted to share a very easy pattern and tutorial for a beginner seamstress.
I actually have included two patterns in the download. One pattern is for a larger head band that covers a lot of the head. It ends up being 5″-4″ (at narrowest part). The second pattern is the one I used for this tutorial. It ends up being about 2.5″-1.5″ (at narrowest part). It’s a more modest width headband and does not cover as much of the head.
So let’s get started!
Here’s what you Need to Sew a Headband with Buttons:
- Free Headband Pattern
- Stretchy fabric or elastic
- Sewing Machine
- 2 Medium to Large Buttons
- Embroidery Thread and a Needle
Here’s how you sew a Headband with Buttons:
Step 1: Download and Cut out your Pattern
The first step is to download and cut out your pattern. I have included two different patterns. For a wide headband and for a more narrow headband. This tutorial is for the narrow headband with buttons. But if you prefer a wider headband, here’s a link wide DIY headband with buttons.
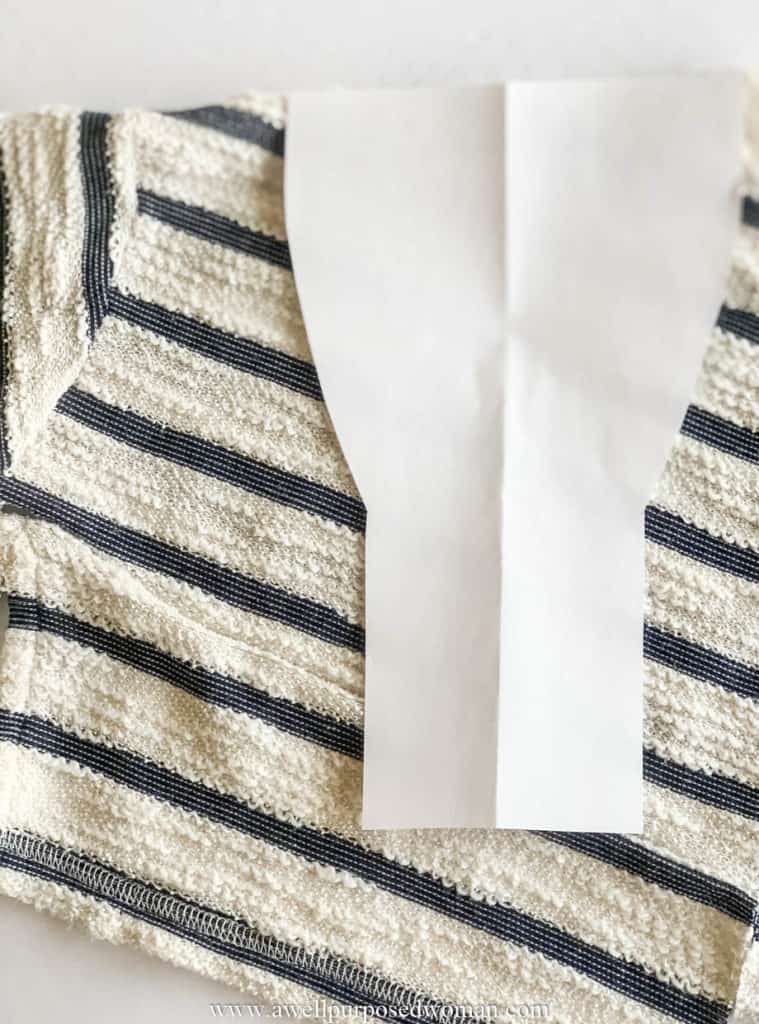
Once you have your pattern cut out. Lay it on your fabric of choice. I like to have my fabric folded in half and I place the top of the pattern on the folded edge of fabric.
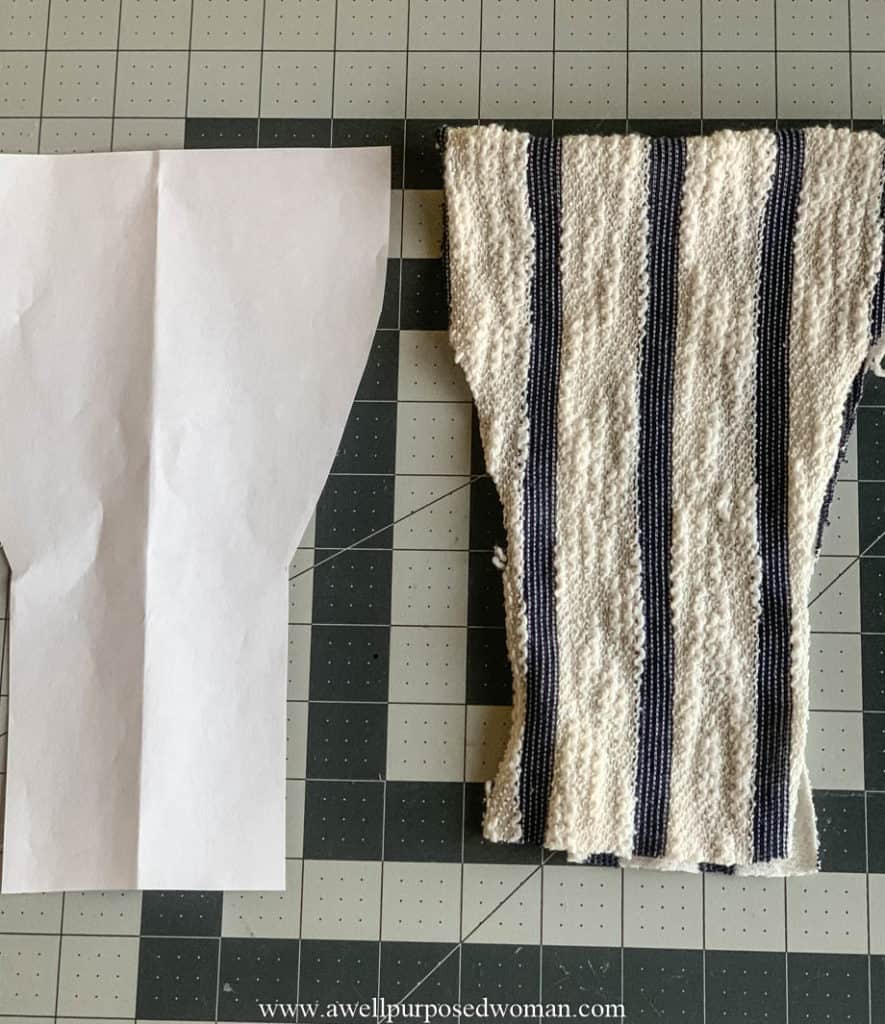
But you can also cut out two different pieces of fabric if you prefer.
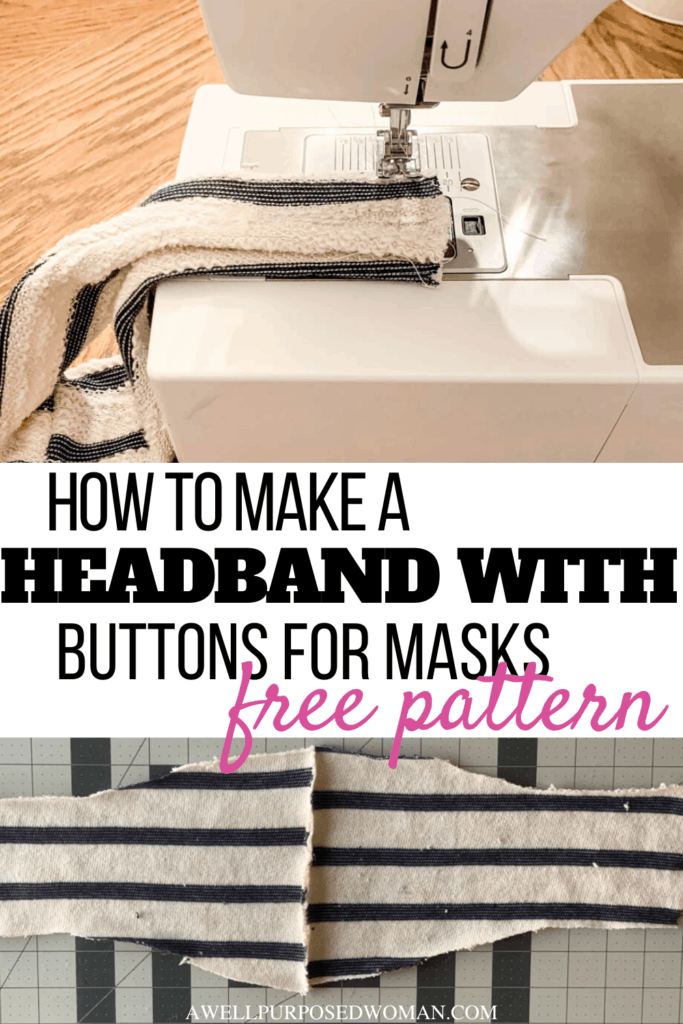
Step 2: Sew the Raw Edges of Your Headband
Next take the piece you have cut out and lay out lengthwise.
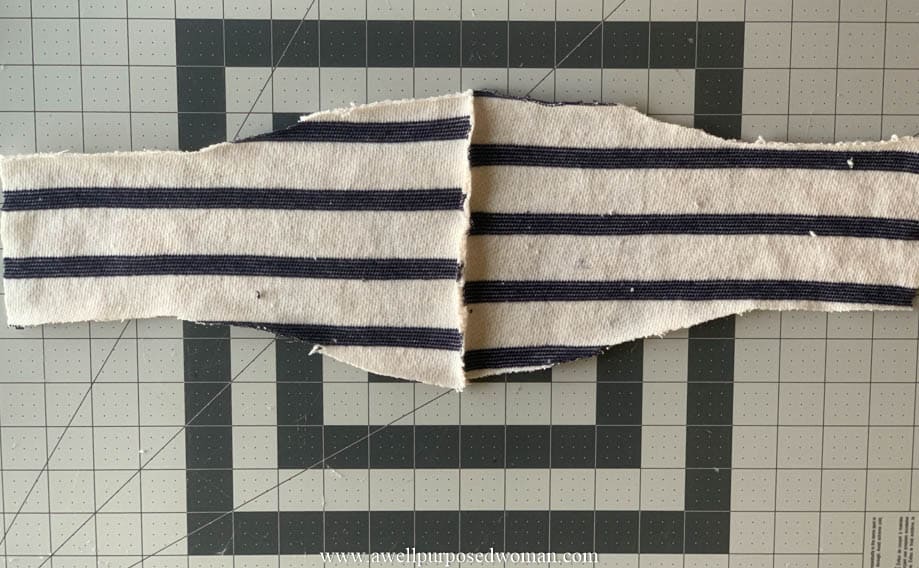
Fold your headband in half, right sides together.

You will sew a seam on the raw edge of your headband.
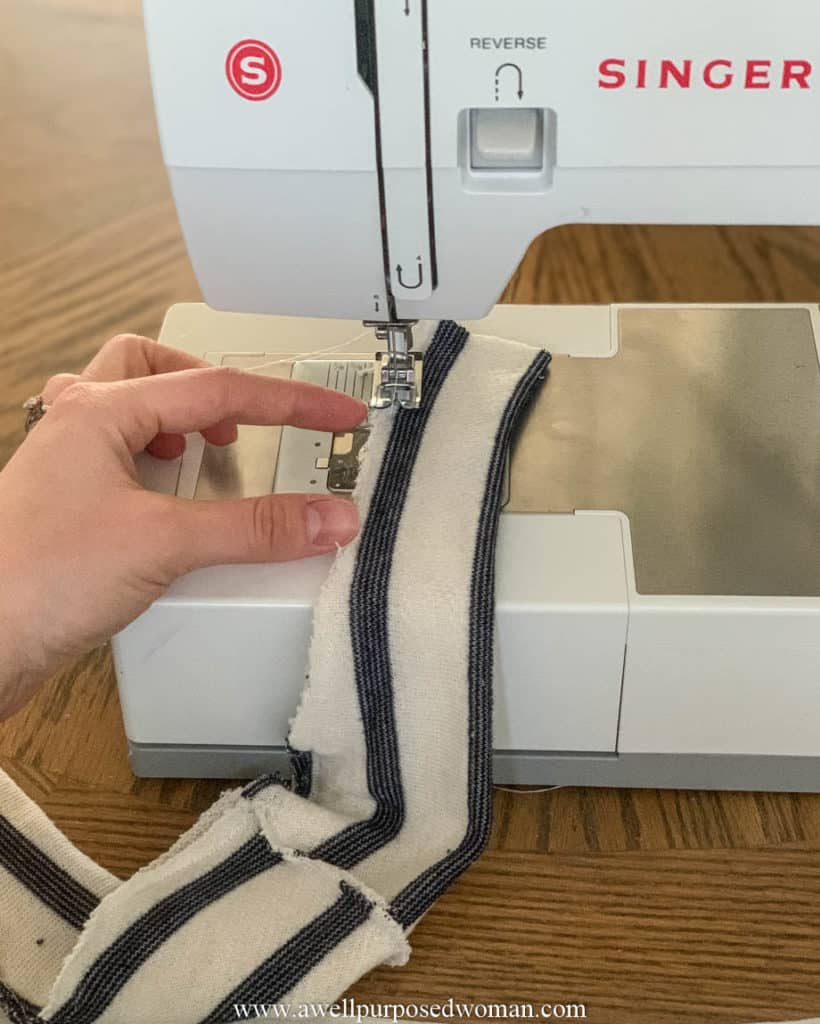
Turn your headband right side out.
Step 3: Sew the ends of your Headband together
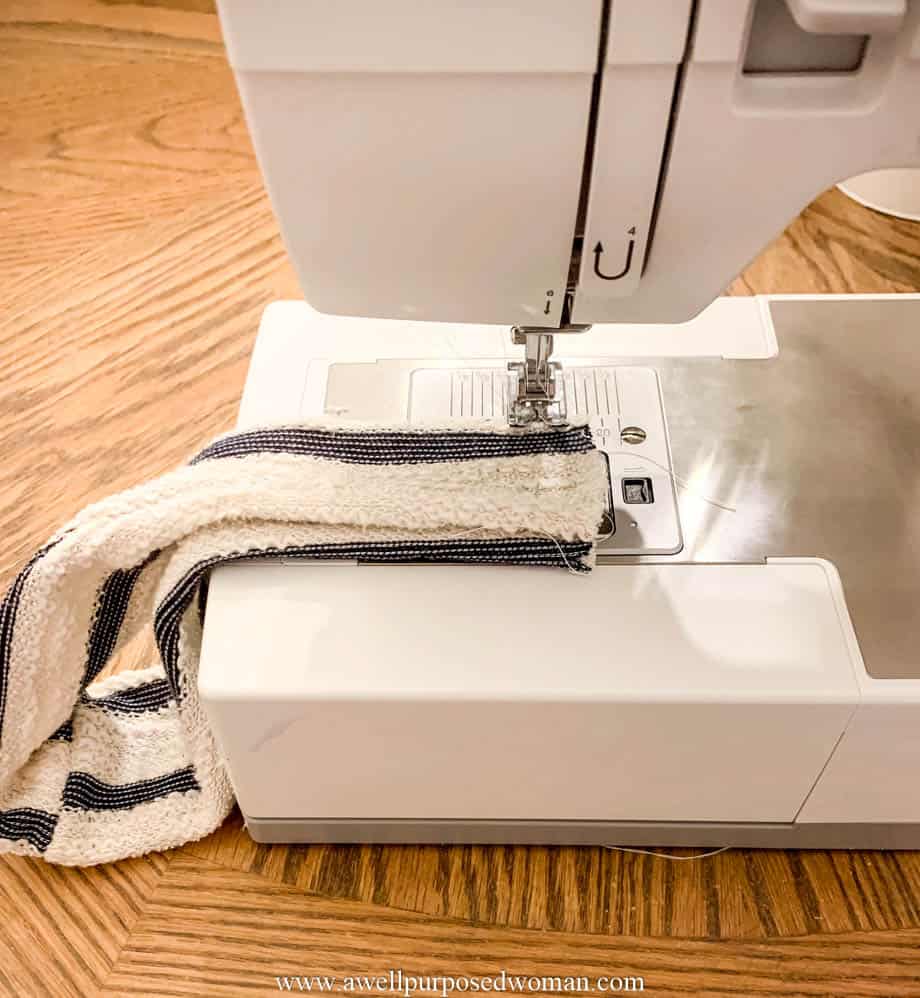
Place the ends of your headband together. Then just sew a straight stitch to join the ends. This will be the back side of your headband. Turn your headband around to add your buttons.
Step 4: Attach Your Buttons to the Headband
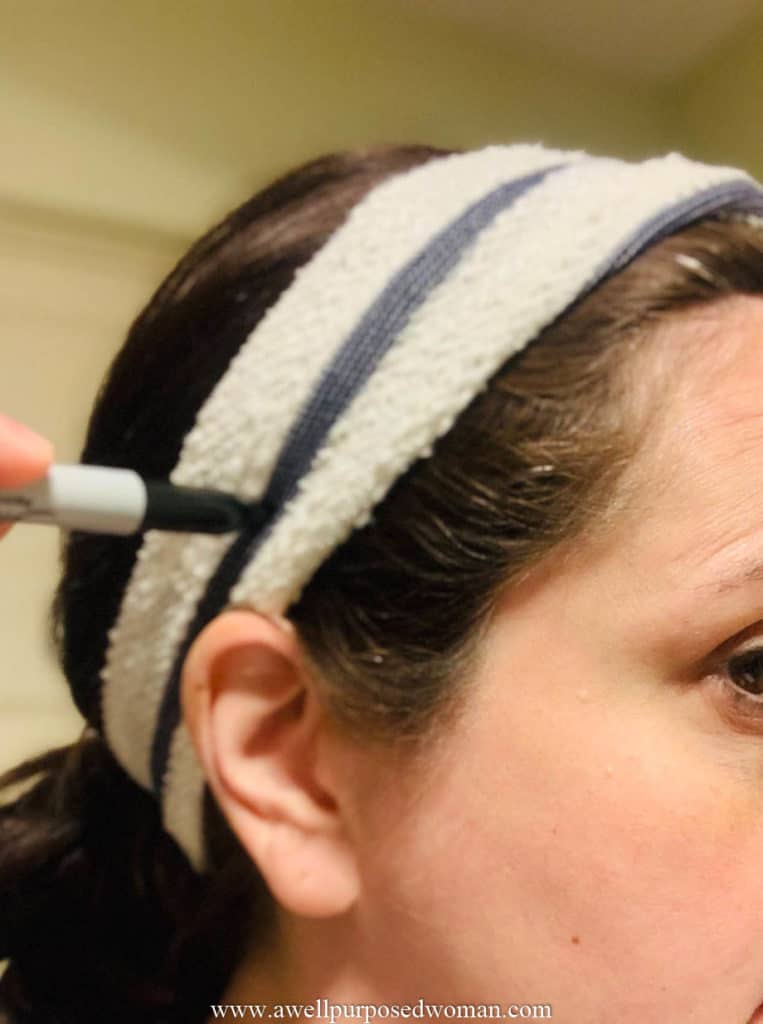
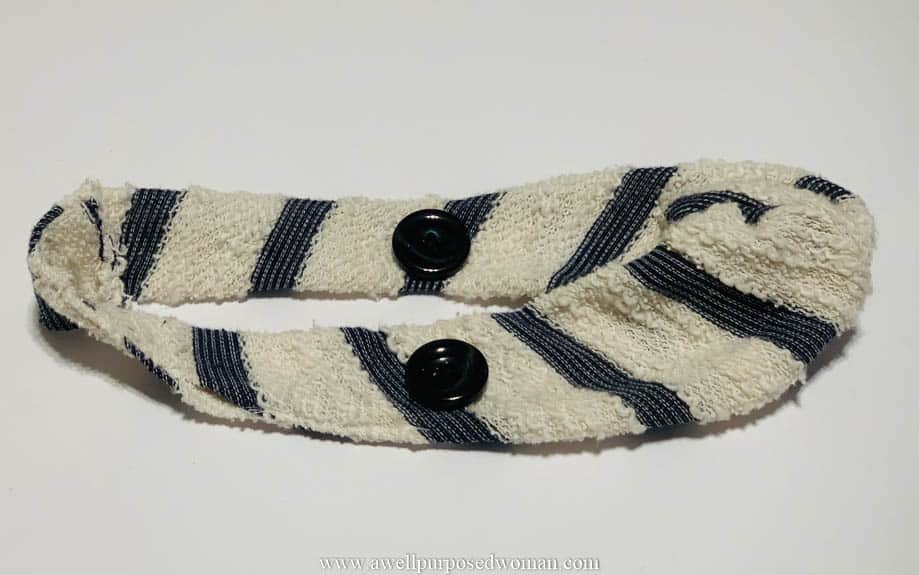
Place the headband on your head. Mark just above each ear on your headband with a fabric marker or other marker. This is where your buttons will attach.
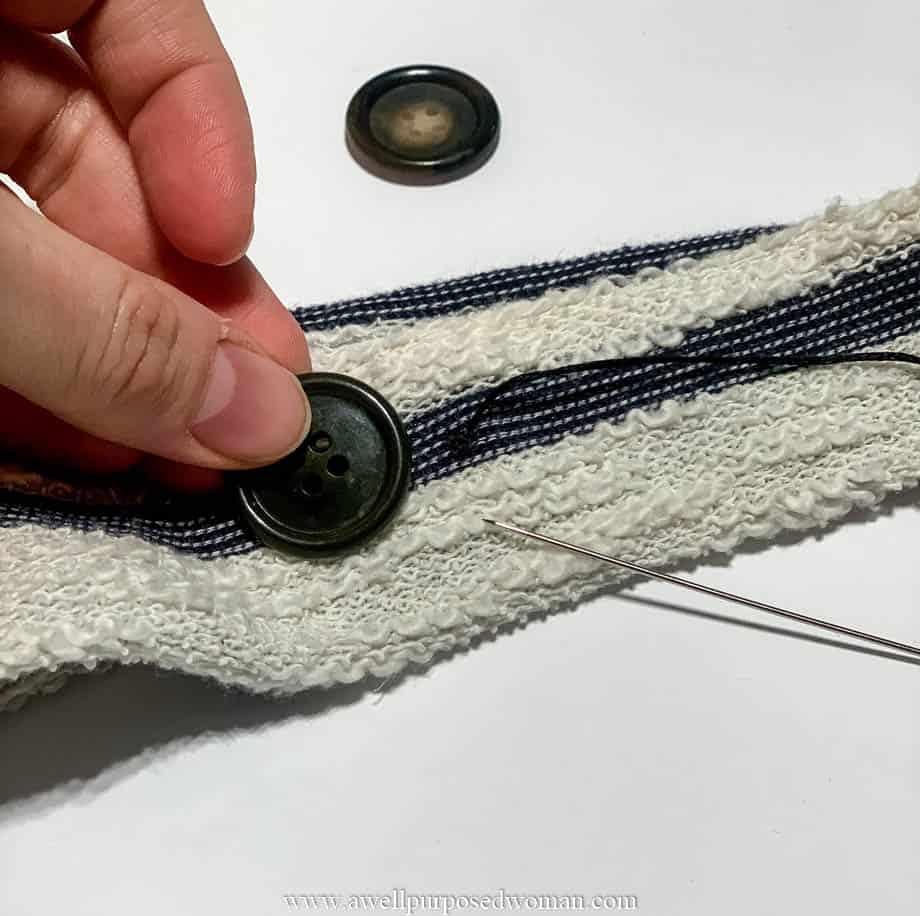
Use your thread and needle and attach your buttons on the two areas you marked. Go in and out of the button whole until you have a nice secure button. You can also do this on a machine but I think it’s just as easy to do by hand.
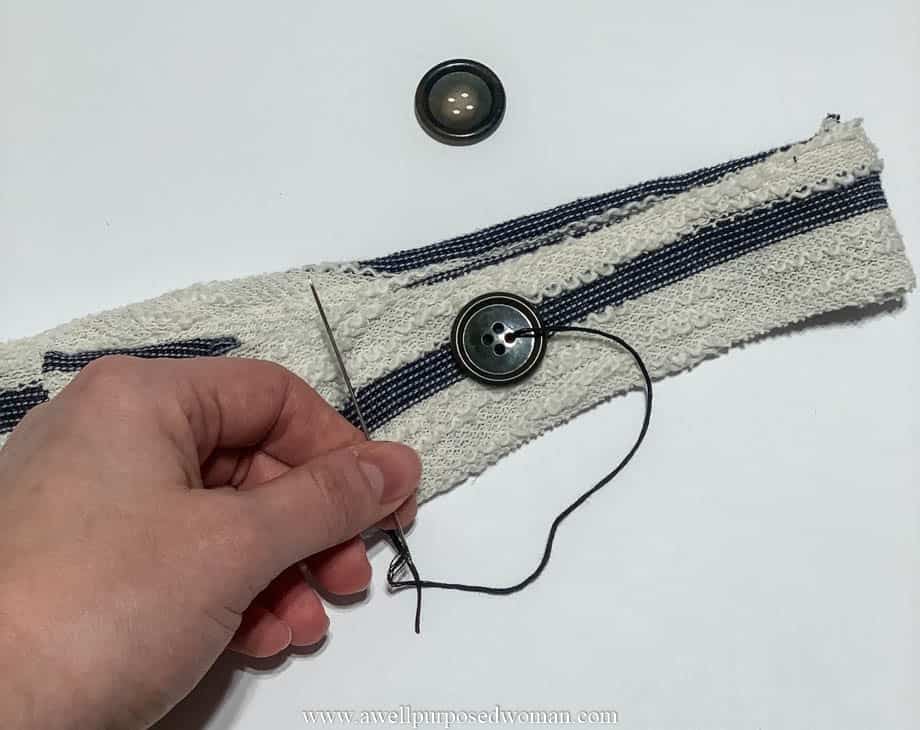
These are great presents to give to a healthcare or community worker right now! But with CDC’s new recommendations really great for anyone that you are concerned about and want to keep safe!
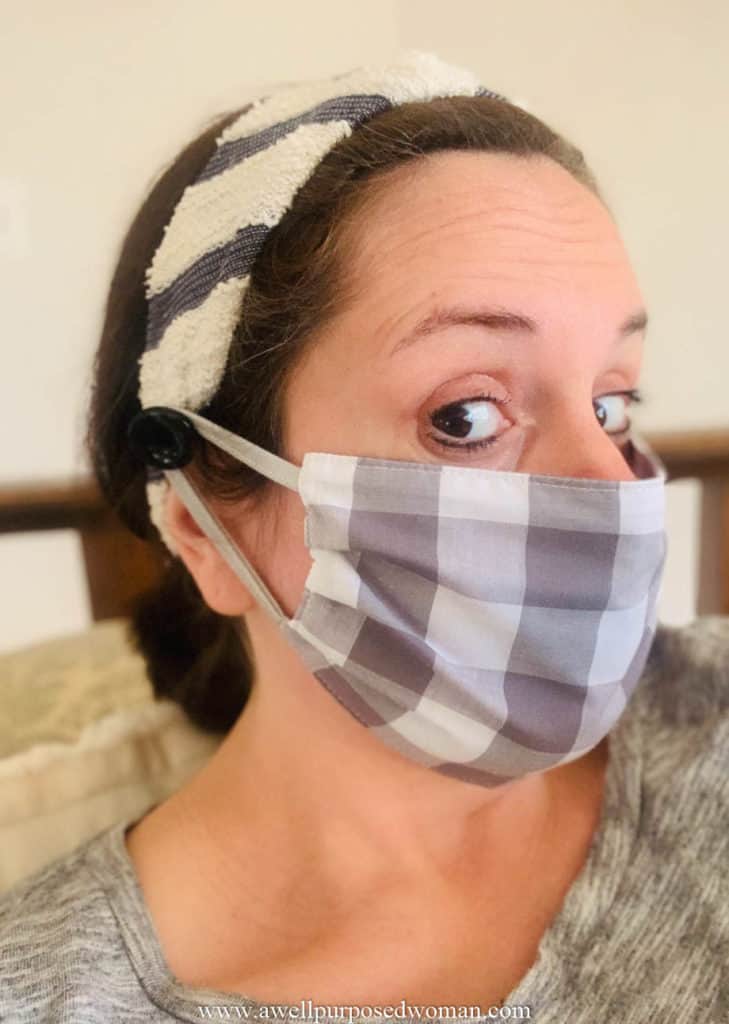
Now take your DIY Face Mask and make sure that it fits. And that’s it!
It has been a crazy time and it is great to find ways to help others out in the midst of a lot of changes. Please let me know if you have any questions about how to make the headbands with buttons. I have included the link to make a DIY Face Mask below as well.
Thanks so much to everyone who has been joining the efforts to sew masks and keep our communities safer!
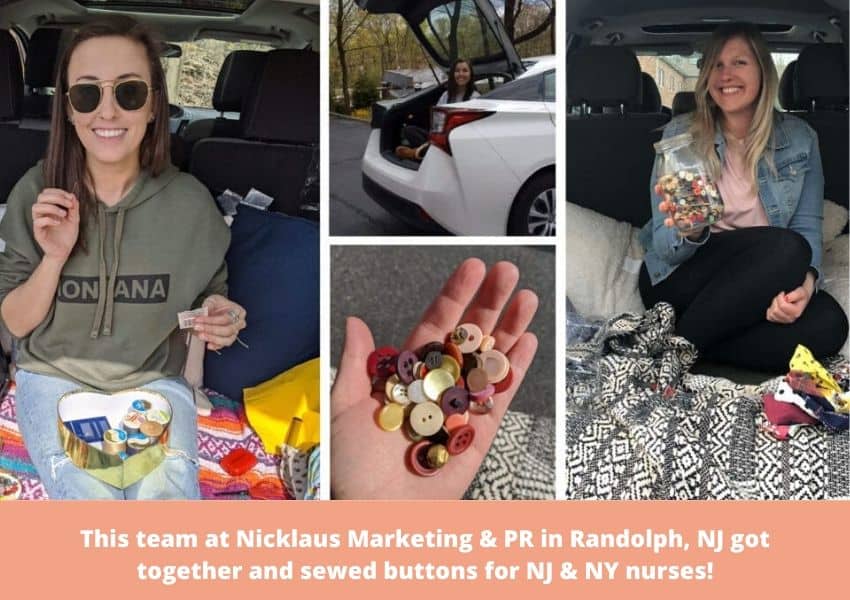
The team below got together and used up their old buttons by sewing headbands for NY and NJ nurses.
Take care & God Bless you and your loved ones!

P.S. Don’t forget to pin this post with others who might benefit from wearing a headband with buttons with their masks!






Thank You Elizabeth I printed both just in case.
Hi Again:)
Could you send me the pattern for the headband with buttons for face masks pattern? I can’t seem to find it.
Yes! I just sent it. Please let me know if you don’t get it. Elizabeth 🙂
I can’t seem to get your pattern downloaded. Old you please email that to me? Thanks
Hi Jan, I emailed it to you again. Elizabeth
Hi .I’ve been trying to download your patter but I can’t .can you it to me pleeeaassee ?your headband is so pretty .thank you
Hi Maggie, I re-sent the headband tonight. Please let me know if you don’t get it. Elizabeth
I am clicking download after entering my e-mail address, but have not received the pattern.
Hi Tonya, I sent you the pattern. Could you please let me know once you receive it. Thanks! Elizabeth
I cannot download the headband pattern. Would you please send it to my e-mail address. Thank you
Sure! I just emailed them to you. They are sent directly to your inbox. Perhaps they went to your junk fodler? Elizabeth
Sure! I just emailed it to you. I wonder if it went to your junk box instead of your inbox? Please let me know. Elizabeth
hi. how much seam allowance did you use? is it included in the pattern or do i need to add it? thanks !
Hi Emily, I used a 1/4″ seam allowance. It is included with the pattern. You do not need to add any extra fabric. Elizabeth
I did not receive the email with the pattern so I could download it. Any suggestions??
Sorry for the delay. I sent them to you. Elizabeth
pattern is not downloading to my email. Hope you can get it fixed.
Thanks.
Nancy
Hi Nancy, I re-sent it. Thanks! Elizabeth
The largest stretch, should it go the lengthwise of fabric or should the least amount of stretch go the lengthwise?
Hi Diane, I usually do the largest stretch lengthwise. Hope that helps! Elizabeth
the download does not match the pattern you demo with. I dont understand
Hi Carol, I have given you two patterns. The pattern in the video is the narrow pattern. Let me know if you have any other questions. Thanks, Elizabeth
Thank you for clear, easy to follow directions and a free pattern that people like me, who are not used to sewing, can follow!
Hi Dian, I am happy to help. Please let me know if you have any questions with the patterns or tutorial. Hope they turn out well! Elizabeth
Nothing happens when I put my email address and select download, nothing comes up to print.
Thanks for letting me know. The patterns should be sent directly to your inbox. I am looking into this problem and hope to have it fixed soon. Thanks for your patience! Elizabeth
The arrows on the pattern are they supposed to go to the most stretchy on the material?
The stretchy part of the fabric should go lengthwise. Hope that helps. Please let me know if you have more questions. Elizabeth
What kind of stitch do you use – stretch? straight? and what seam widths, please?
Hi Alison, sorry for the long delay finally coming back from maternity leave of sorts. 🙂 I just use a stretch or zig zag stitch and 1/4″seam allowance. Please let me know how it turns out. Elizabeth
I’m having the same problem 🙁
I put my email but nothing got sent to my email address.
Thanks for sharing!!!! I appreciTe it a lot!
Hi Alex did you end up getting the pattern? Will send it to your email Sorry for all the trouble! Elizabeth