Do you want to use real pumpkin stems to make some cute little fabric pumpkins? Maybe you think that means you have to wait weeks to dry them out. Well, I want to show you how we dried out pumpkin stems quickly, like within 24 hours, of our last visit to the pumpkin patch!
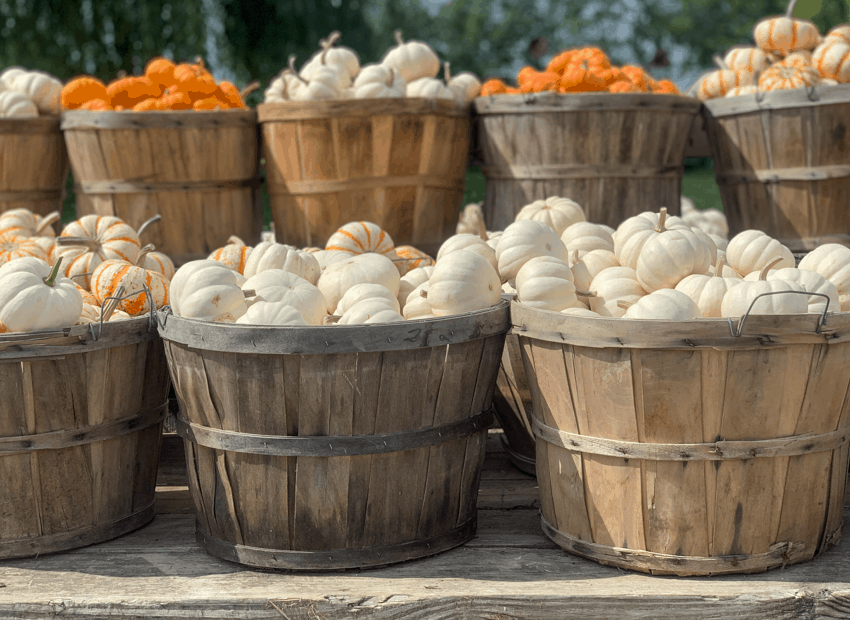
So this weekend we went to our first pumpkin patch of the season and it was such a delight. There were farm animals and beautiful pumpkin displays all around. What is it about pumpkins anyway that gives us that warm and happy feeling?
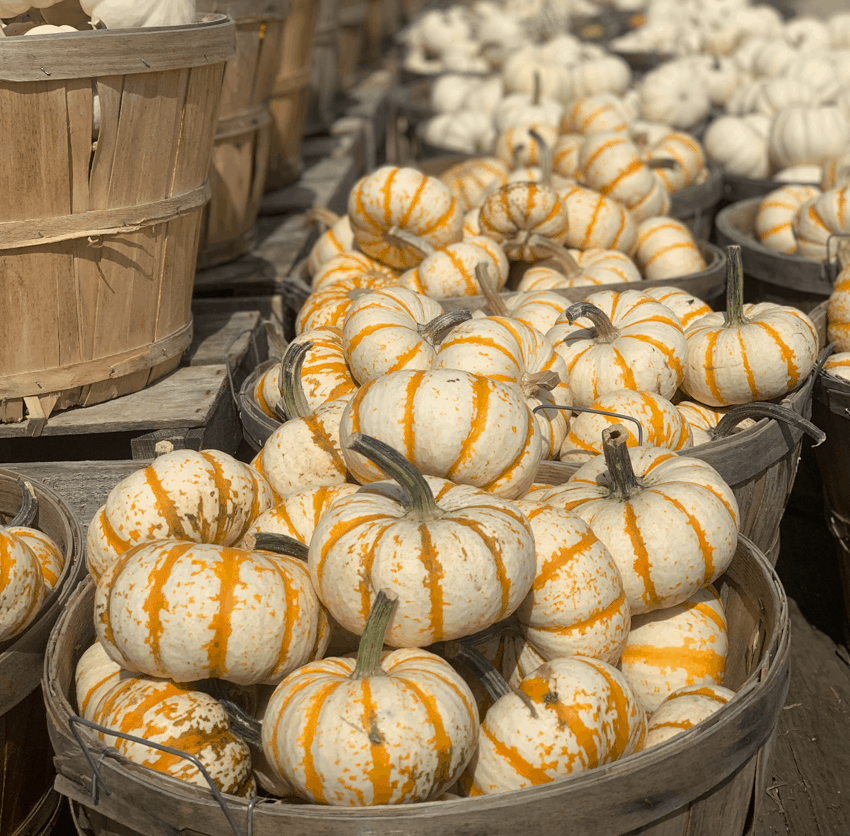
And although I loved the pretty pumpkins displayed all around us, I have to admit my daughters and I spent a fair amount of time looking at the ground.
Why, you may ask?
Well, because my daughters have a crazy mama that loves making fabric pumpkins and saving money! So we were looking for stems that had fallen off and were laying on the ground. But don’t worry it was actually a lot of fun and my daughters were really good at it!! And in the end we left the pumpkin patch with a bag full of pumpkins and a bunch of loose stems.
Here’s how you dry out your pumpkin stems quickly.
Step 1: Remove the stem off of the pumpkin.
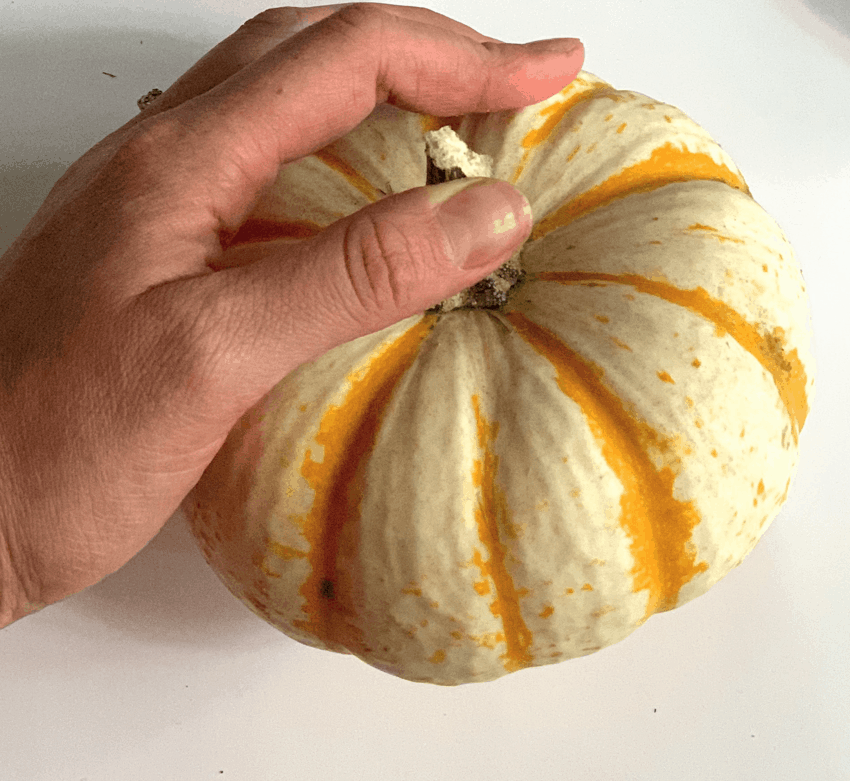
If you are using the small pumpkins like we did. It should be fairly easy to put pressure on the stem and break it off. It doesn’t need to be perfect. But if you need to you can also cut around your pumpkin stem.
Step 2: Clean off any of the pumpkin flesh from the stem.
If you see any part of pumpkin flesh just clean it off with a washcloth.
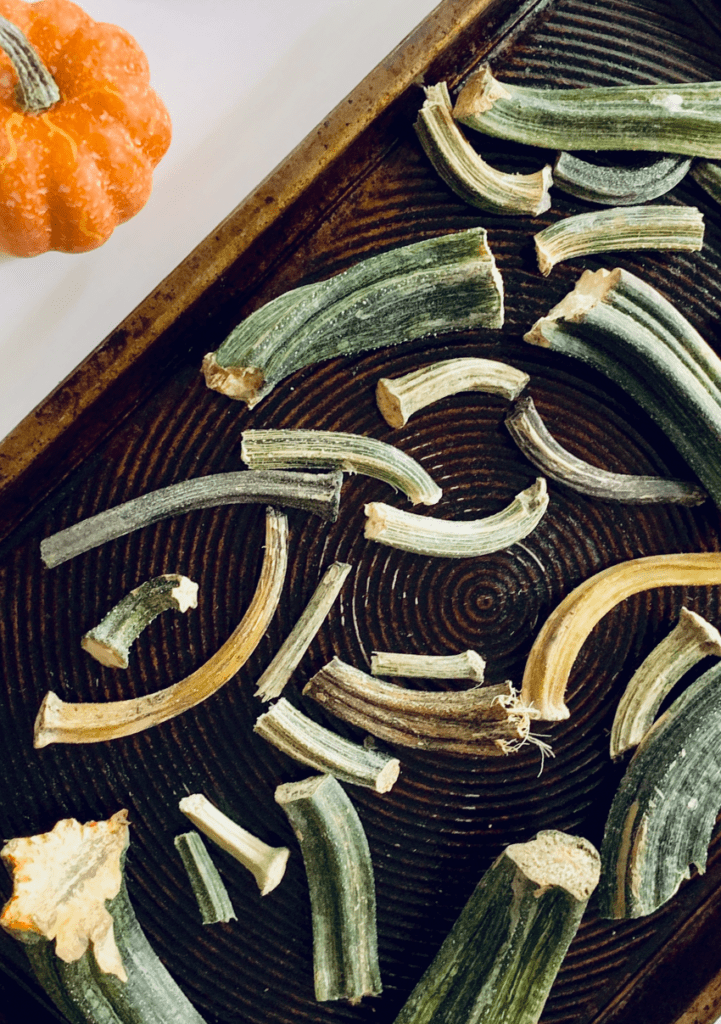
Step 3: Bake your stems in the oven at 200 degrees.
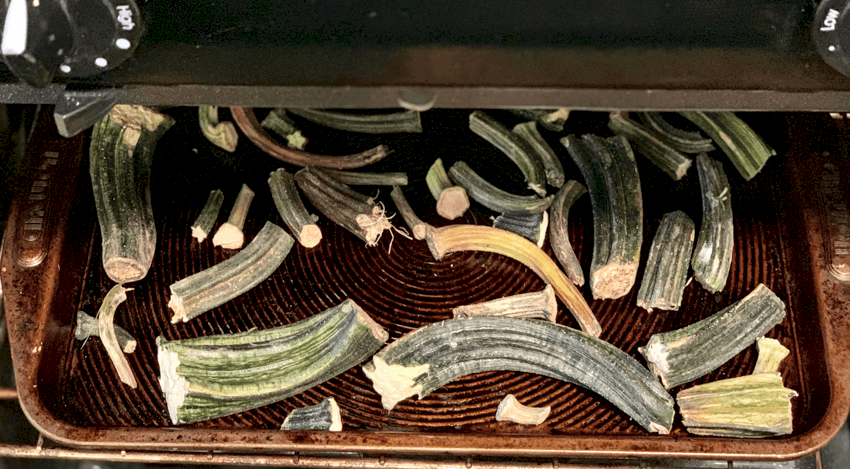
So what’s the real secret to drying out pumpkins stems quickly? The oven! Just place all your stems on an old cookie sheet and bake them in the oven for 2-3 hours at 200 degrees. I have found that that this is a good amount of time to dry out the stems.
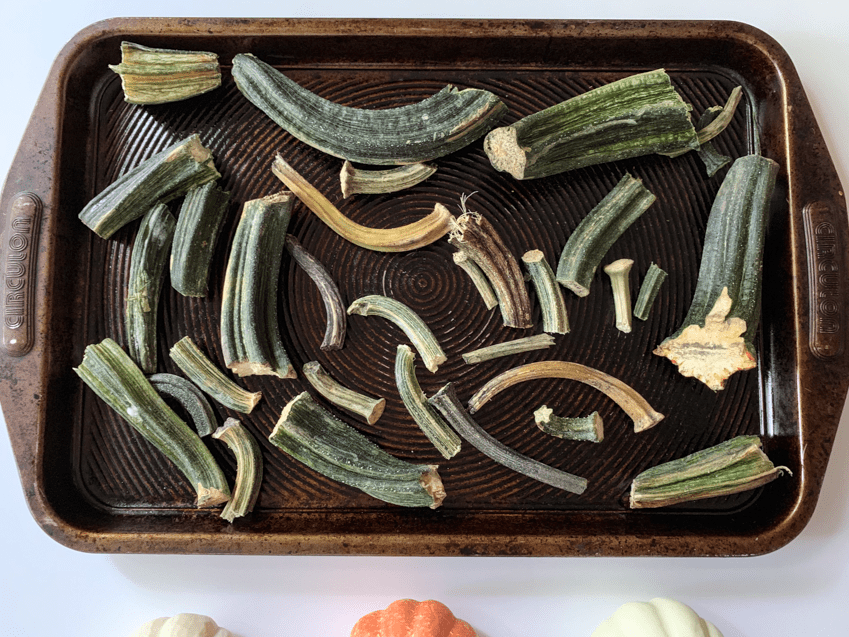
Here’s some ways to know if your stems are dry enough:
- Stems loose some of their weight when they dry out. Make sure they feel lighter in weight.
- Stems will loose some of their color when they dry out. If they have a lot of color you may want to bake them longer.
- Stems will smell less pumpkin-y.
- The center part of the stem will be whiter in color.
And that’s all there is to it! Really simple right?
If you have any questions about drying pumpkin stems quickly feel free to post below! Otherwise here are links to my posts on making fabric pumpkins out of socks and sweaters!
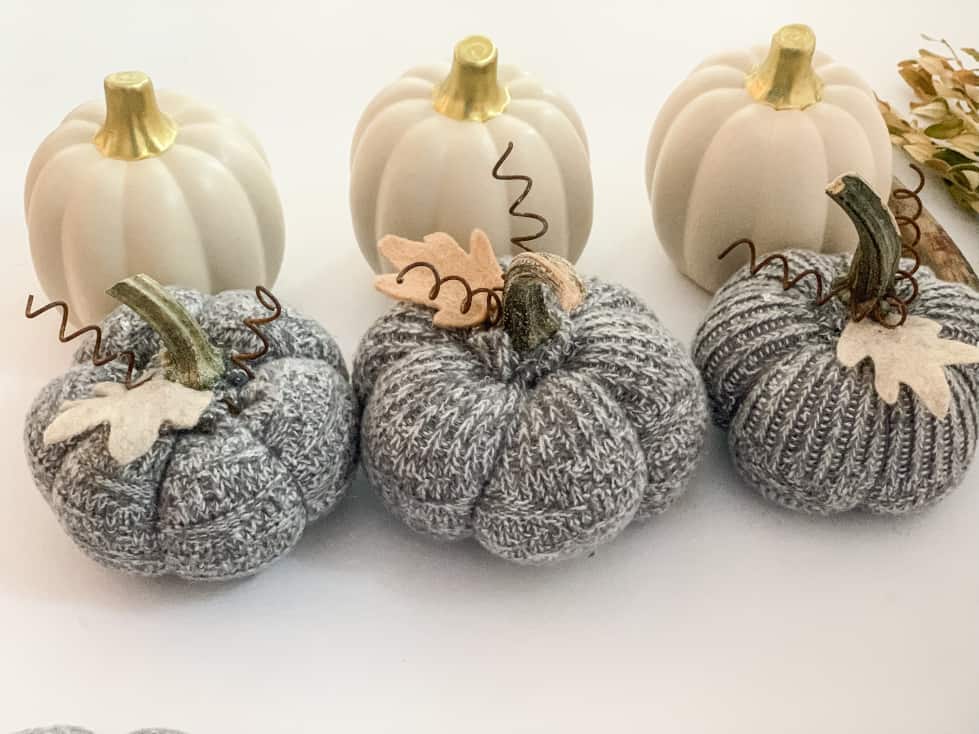
Now you know to never throw away the most important part of the pumpkin…that stem!! And exactly how to dry out pumpkin stems quickly so you can get to making some of those adorable little pumpkins!
You can also dry out pine cones to use for crafts in a similar way. Check out this tutorial for how to prepare pine cones for crafts.
No time to do it now? No worries pin for later!
Hope you have a wonderful week!

This is absolutely a fantastic tip! Thank you for sharing this with us! I am curious – as I have never done this before (obviously!), but once the stems are baked they will last for a very long time correct? I am definitely going to go to a pumpkin patch this year (hopefully all the covid-19 issues will be under control by then as they’re opening things up now…) and I would love to get enough for my kids and myself to make multiple projects for our own home but also for my very, very large family so I am hoping you can let me know if these will last for a while – or, if you know, how long they will last for! Thank you again for sharing this really wonderful project that I can recreate with my kids! Take care and stay safe!
Hi Nicole, Yes, they should last a really long time. Mine have lasted 3 years already. So I am certain they will last a long long time! Have fun! And I hope things open up for sure by pumpkin patch time! Elizabeth
It was fun to go to the pumpkin patch. You are so very creative, Lizzie! Love, Dame
Thanks babe! Great find on the orchard!
Thanks for the good tip!!! I always wondered how to dry them out.
Yes, I needed some pronto this week and this worked well! If you have more time you can always just dry out in the garage for awhile.