Learn how to sew a baby blanket the easy way with this step by step tutorial. Sewing a baby blanket is a great project for a beginning sewist. I will walk you through how to sew a minky baby blanket in just a few very easy steps! Learning how to make a baby blanket is great baby shower or new grandchild gift.
One of my first sewing projects was learning how to make a baby blanket. When I had my first baby several of my friends were also having babies. I wanted a handmade unique gift for them so I learned how to sew a very easy baby blanket. Today I will show you how to make a baby blanket the easy way!
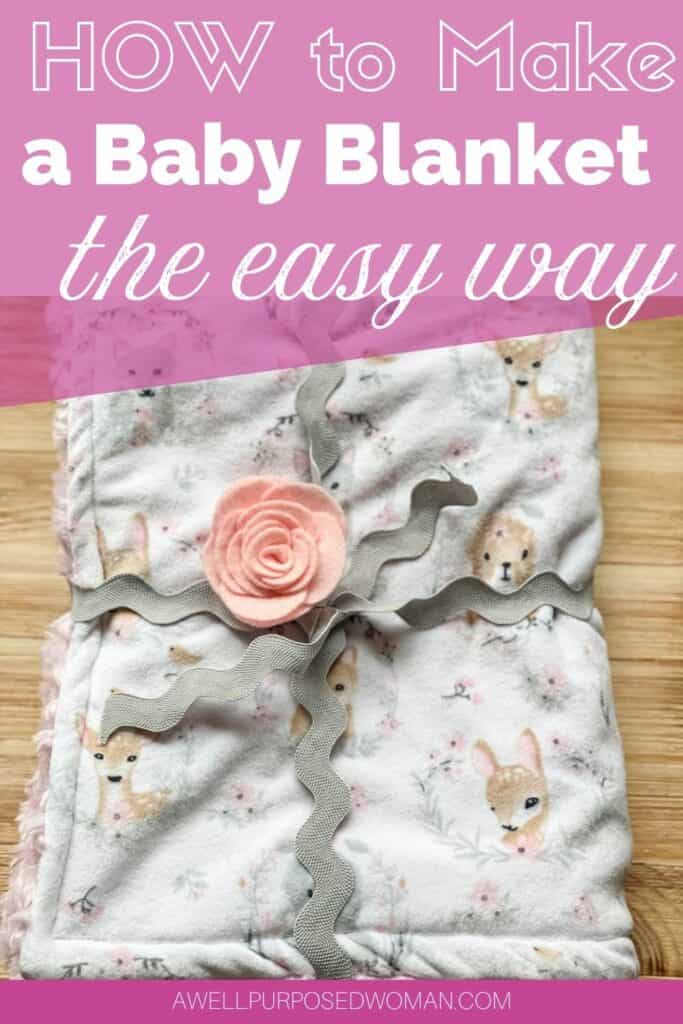
Several years ago I was shopping with my mom and I spotted some feminine cuddly woodland animal print minky fabric. It was super cheap since it was in the remnant fabric pile! And even though I didn’t know anyone who was expecting a baby girl I bought the fabric.
Several months after I purchased the fabric my sister-in-law Alesha happened across some light pink minky fabric at a garage sale. She gave me the fabric but I couldn’t quite picture how to use it.
Well wouldn’t you know shortly afterwards I found out I was expecting my 3rd baby girl! And since a world pandemic hit right before she was born I am glad that I had the fabric already on hand. I put the two fabrics together and viola a minky baby blanket was made!
So let me share with you how to make a baby blanket the super duper easy way!
Here’s what you need to make a baby blanket:
- 2.5 yards of fabric, or 1.25 yards of two coordinating fabrics
- Rotary cutter and mat
- Scissors
- Sewing pins
- Sewing Machine
- Thread
Here’s how to make a baby blanket the easy way:
Step 1: What fabric to use for a baby blanket?
The first step to making a beautiful baby blanket is to choose the fabric you would like to use. Some of the cuddliest fabrics for babies are flannel, minky, cashmere and fleece. I personal love the feel and look of minky blankets. And since I had some minky on hand that it what I used for this baby blanket.
How much fabric should I use for my baby blanket?
I have found that using 1- 1.25 yards of fabric is sufficient for a baby blanket. I make most of my baby blankets closer to 1 yard. If you use less than a yard of fabric the baby blanket will be best for when the baby is just born and for the first fews months. Using more than 1.25 yards of fabric will result in a larger blanket and would probably be more suitable for a toddler.
Step 2: Cut out the fabric for your baby blanket
If you are using fabric that is not already 1-1.25 yards in length, cut your fabric to 1-1.25 yards. If the size of your blanket seems too little or too large adjust accordingly.
When cutting I usually use a rotary cutter and mat for this but a scissors will also work. If you are using minky fabric like I am in might be helpful to draw a line on the backside of your fabric so that you can cut the fabric straight.
Tip: If you are a beginning seamstress one thing you can do when purchasing your fabric is just get the exact amount of fabric you will use for your blanket. So if you bought 2 pieces of fabric that is already cut to 1-1.25 yards you can skip this step.
Step 3: Pin your baby blanket fabrics right sides together
Once you have the right size for your baby blanket. Lay the fabrics right sides together.
Take your pins and pin around the four sides of your baby blanket. Remember to leave an opening on one of the sides that is 2-3″ in length. This will be how you turn your blanket right side out after you sew.
Step 4: Sew your baby blanket
Take your blanket over to your machine and sew around all sides of your blanket with 1/4-1/2″ inseam (distance from the edge of your fabric). Of course remember to leave that 2-3″ area to turn the blanket right side out. Also I usually do a back stitch when I am starting to sew and at the end of the stitch so I don’t need to worry about tying off the ends.
Tip: Sewing with minky fabric can be tricky. Here are the settings I used with my baby blanket: straight stitch, 3.5 length stitch and I used a 90/14 needle since minky fabric is a knit fabric. Since minky fabric tends to slip around you could double pin around your fabric as well.
Step 5: Turn your baby blanket right side out
When you have successfully sewn around your baby blanket turn it right side out. Using the 2-3″ area that you did not sew, pull the blanket through the opening. Stitch the opening closed with a machine or by hand.
Step 6 (Optional): Topstitch around your baby blanket
After your blanket is right side out and the 2-3″ opening is closed. The last step is to do a topstitch on the top of your baby blanket. If you are new to sewing that just means sew a stitch on the top of all four sides of your blanket. Because the minky was so thick I did not sew on the corners of my blanket.
And that’s all there is to making an adorable baby blanket! Pretty easy right?
You can give these little blankets as gifts for baby showers, to a new grandchild or friend’s baby. They are a special handmade gift but also very practical. All of my children still use their baby blankets as reminders of comfort and love.
My daughter will actually be getting this baby blanket for her 1st birthday. But I know she will still love it because she really likes cuddly fabrics.
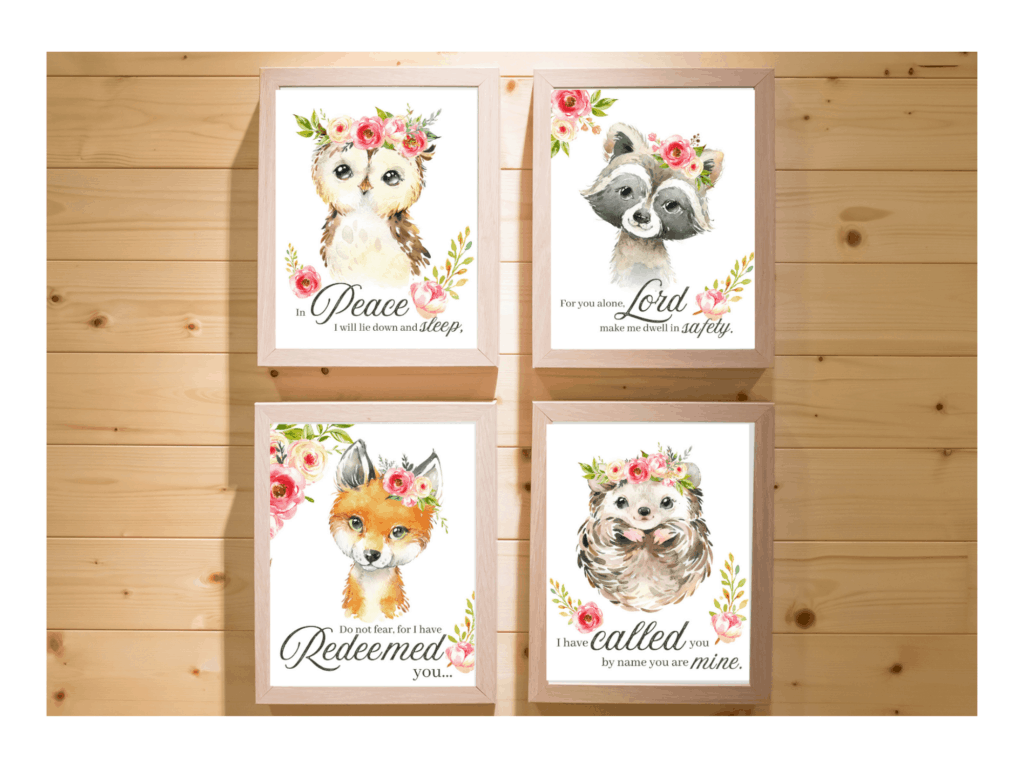
I also made her these woodland animal Bible verse prints to go along with the blanket. And you can get them in my Etsy shop if you like them too. They pair really nicely with the woodland animal print blanket.
Thanks so much for stopping by and please let me know if you have any questions!
Take care and God bless!

great example, especially where you go into details on top stitching and stuff fir those beginners that don’t know!!
Thank you Diedra! Elizabeth