Have you ever wondered how to make a beautiful fabric wreath? Beautiful Fabric Wreaths are easy to make and are a great way to re-purpose a large piece of fabric. I made this stunning fabric rag wreath by using up an old curtain we inherited with our first home.
Today we are going to learn how to make a fabric wreath! Happy Friday! I love doing these DIY Projects on Fridays because that means it’s just in time for the weekend!
This is a perfect project to do while watching a movie or even while traveling if you have a long car ride ahead of you (assuming you are not the driver…eeek!). It is a no sew project that is super simple. But I feel like the end result is quite beautiful.
I first made these wreaths with my mother-in-law and husband’s aunt and I think we were all impressed with how beautiful they turned out. They would make a perfect wedding or home-warming gift.
The one I am making today is actually from an old pair of curtains that we inherited when moving into our home. They were short and definitely not my style. I was tempted many times to throw these curtains in the pile for Goodwill. But I liked the fabric so I held onto them. And I am glad I did because I now have this beautiful wreath!
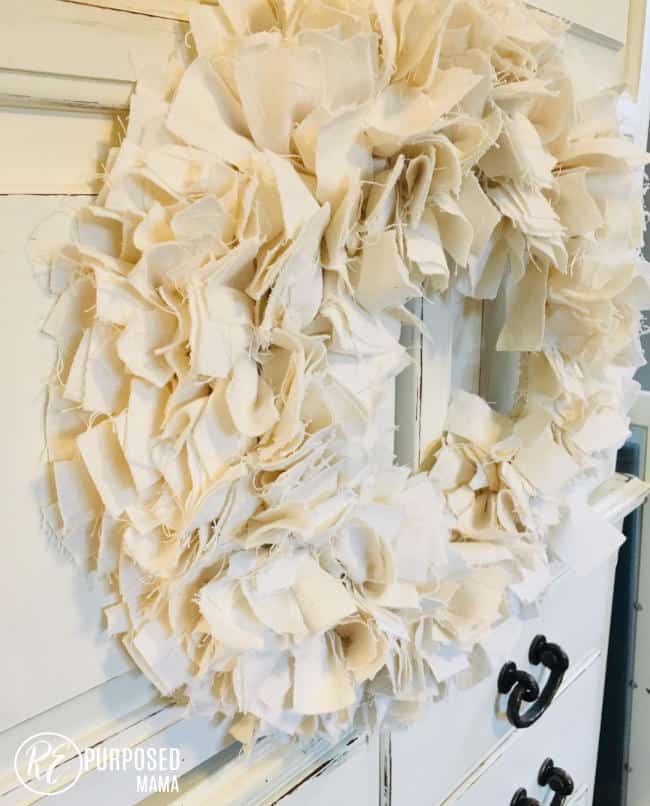
So another thing I love about these wreaths is that they can be really inexpensive, total cots of this one was $1! It’s a great way to re-purpose old curtains, bed-skirts, or drop cloths. In fact it’s hard for me not to see a wreath when I look at large pieces of fabric now!
In making these wreaths I am partial to use one solid color. I find the neutral and solid colors give me more of the result I am looking for in the end. I also tend to like a very full looking wreath, so those are the instructions I have in this tutorial.
Here’s How to Make a Fabric Rag Wreath
This post contains affiliate links for products I reccommend. There is no extra charge to you.
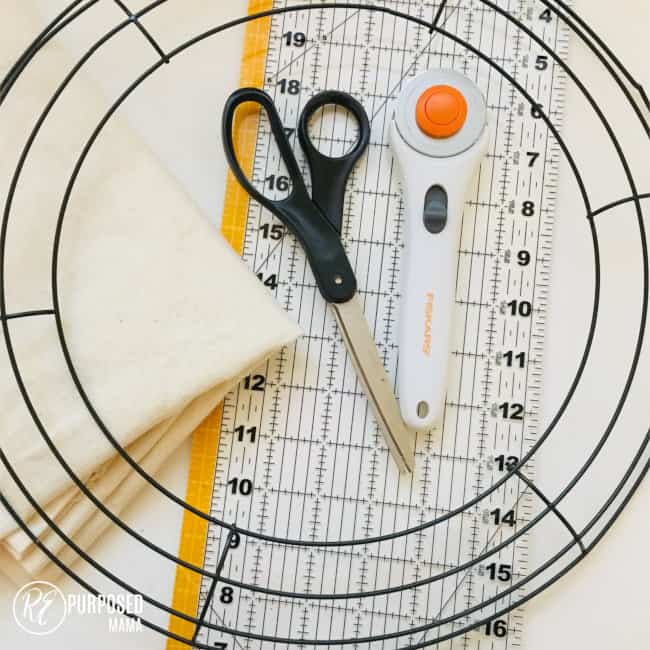
Here’s the supplies to make a fabric rag wreath:
- 2.5-3 yards of fabric (use old curtains if you have any)
- Wire Wreath Form (I used a 14″ for this one)
- Rotary cutter or Scissors
- Ruler
Step 1: Cut the fabric for your rag wreath
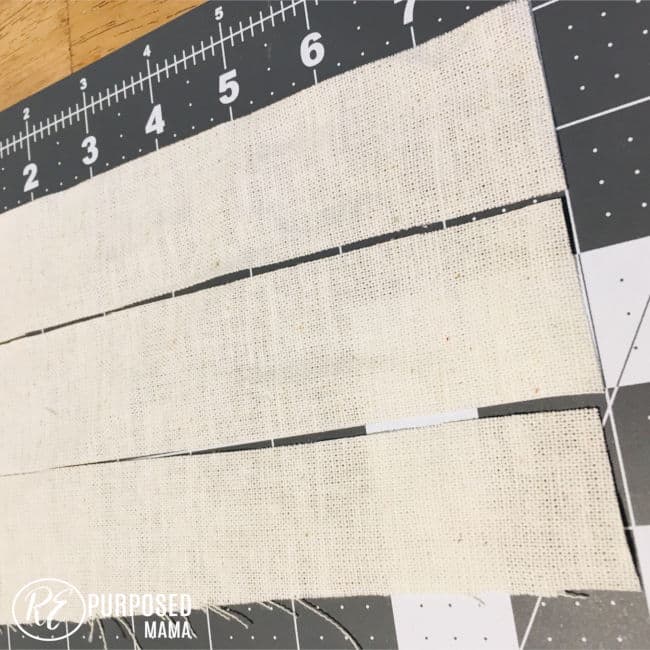
You will want to cut all of your fabric into 1.5″ (wide) x 8-9″ (long) strips.
You can do this with a scissors or a rotary cutter. I found the rotary cutter and acrylic ruler work really fast but any old scissors will work too. Cut the fabric into 1.5″ strips first.
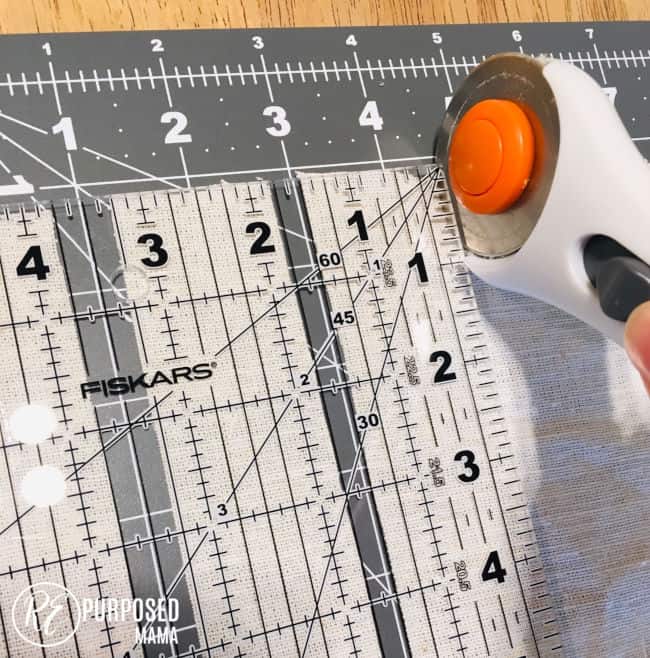
Then cut your 1.5″ strips into 8-9″ long strips.
Step 2: Tie Your fabric onto your wire wreath
Once you have all the fabric cut in strips begin tying them around the wire wreath. Do this by folding each strip in half. While still folded place it underneath the wire.
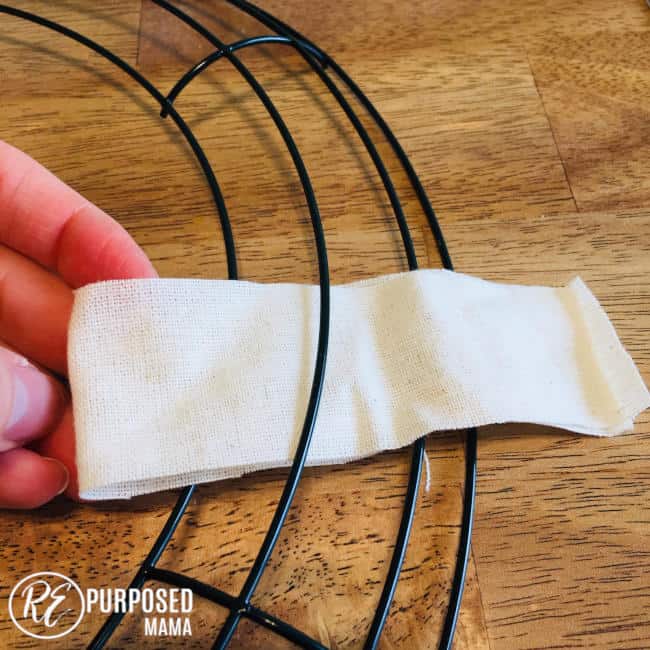
Open up the looped end and pull the fabric through.
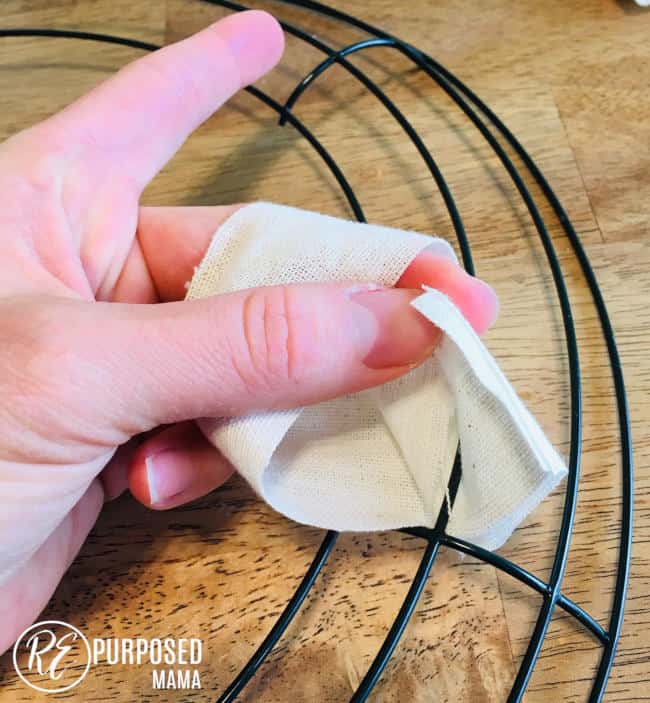
Fabric should form a knot on the wire wreath.
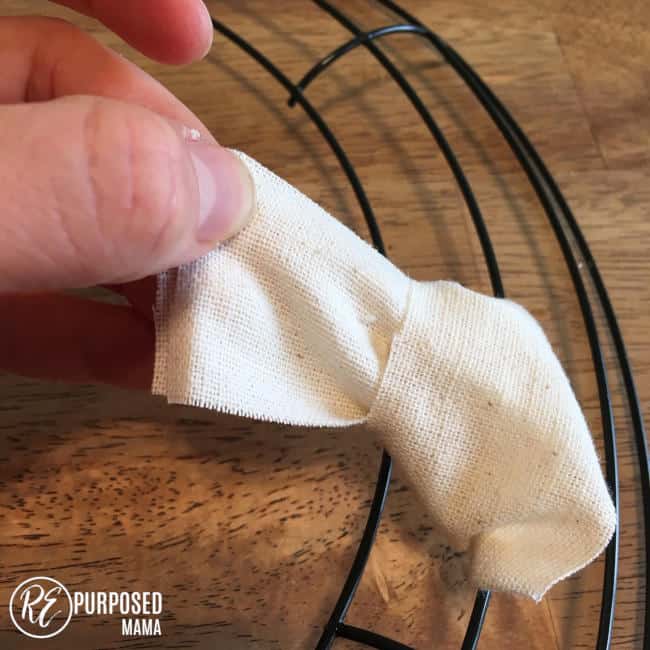
Pull it tight.
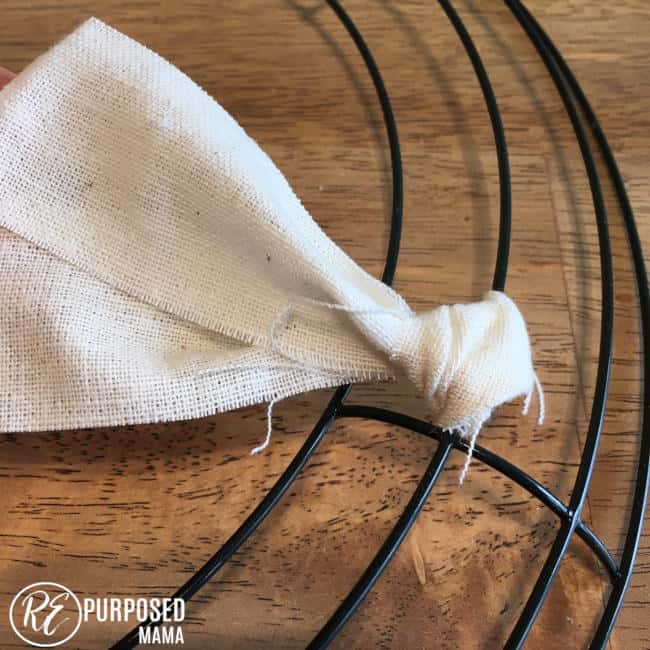
Now continue repeating this step over and over again to cover your wreath form.
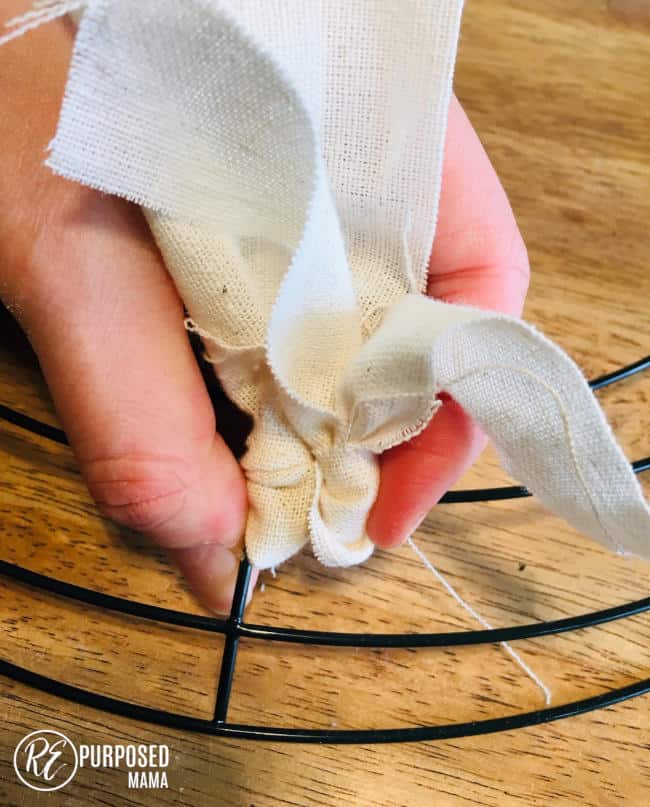
Occasionally push the fabric strips together so in the end you have very little space between the strips. This will give your wreath a very full look to it.
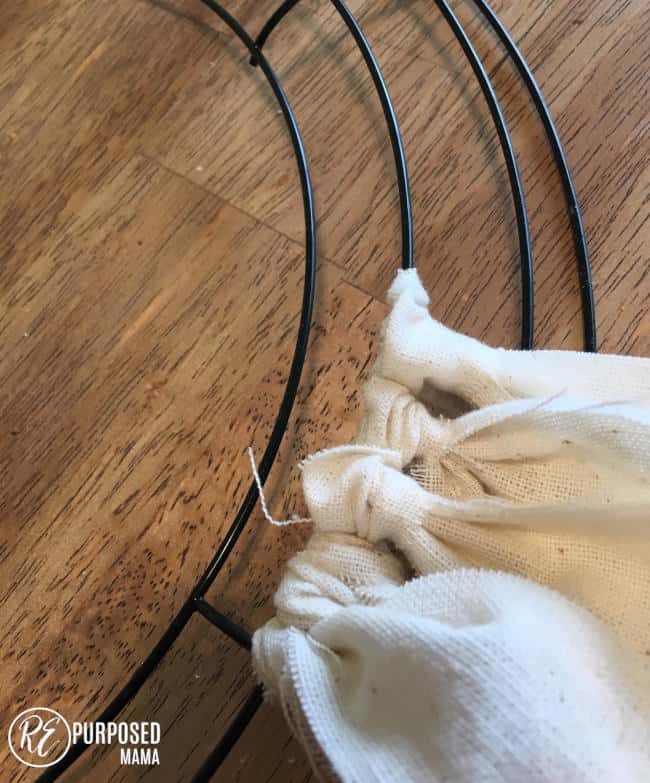
Now continue looping the rest of the fabric until the wire wreath is completed filled.
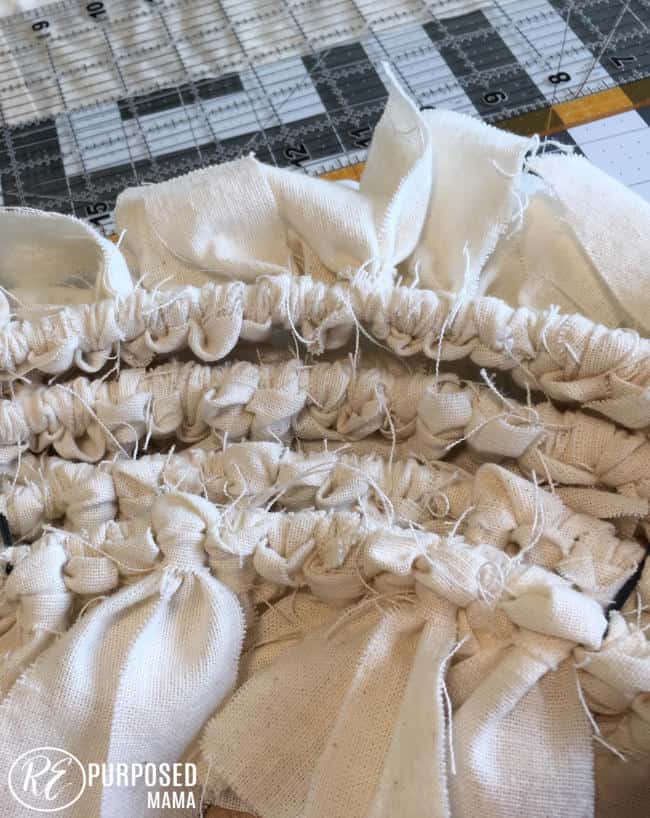
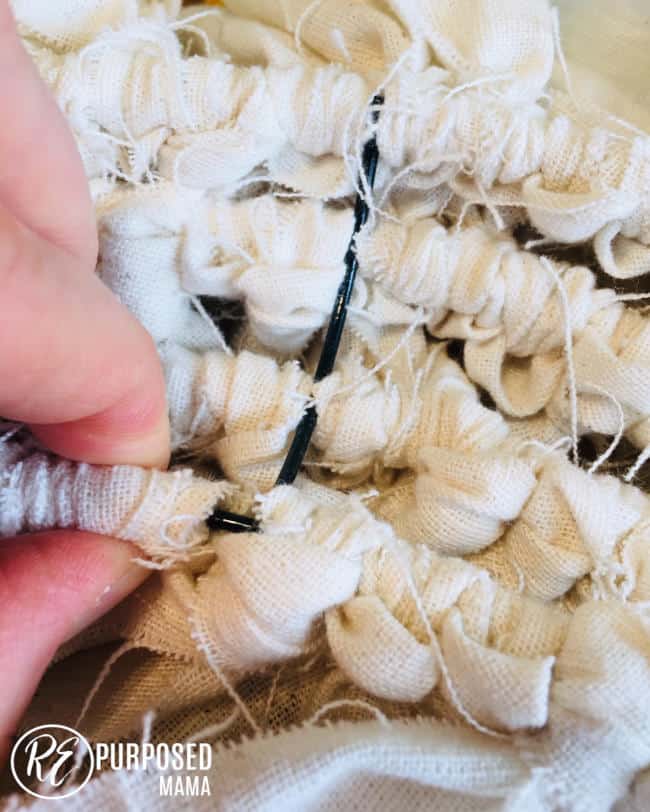
When you are looking at the backside of your wreath this is what it should look like when the wreath is complete.
You can use a variety of things to hang the wreath. I have used twine, ribbon or even re-purpose an old chunky necklace if it looks good with the wreath. And really that is it! Super simple but so pretty!
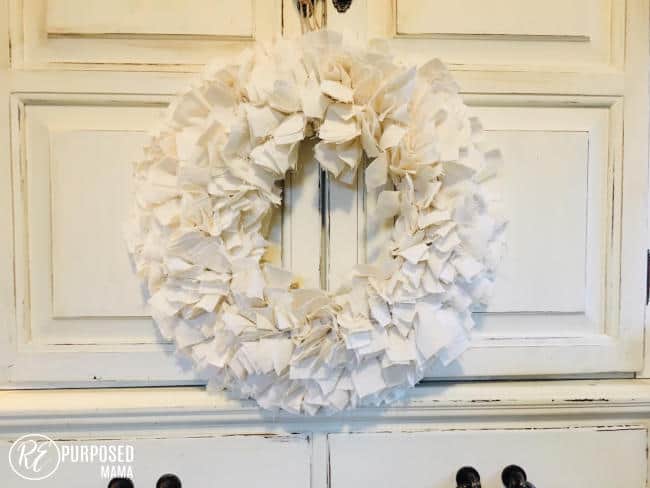
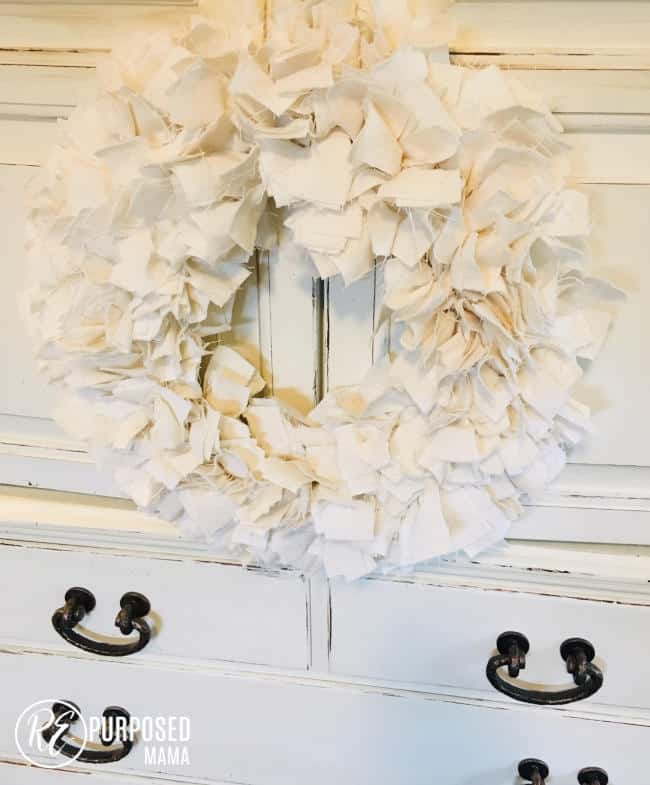
So check your thrift store pile and see if you have any fabric that might be used for a beautiful fabric wreath! It’s the perfect time to make a pastel or a white colored one like this to celebrate Easter! He is risen!

My friend Yeng made a very similar wreath and she added embellishments. Check out this Christmas Fabric Rag Wreath post as well!

I would love to see the wreaths you make below! If you enjoyed making this wreath here’s a tutorial on how to re-purpose an old screen window to display your fabric wreath!
Happy Friday! 🙂
Elizabeth


This wreath looks like a quick project for me to do in between patchwork and quilting.Will post it when I complete it and let you know how long it took!
Hi Catherine, please do! It only takes a few minutes to get started on it and it will surprise you how easy it is once you get the hang of it. Elizabeth
I love this wreath! I have friends who’d love it too. Thanks for the great tutorial!
Hi Melanie! Thanks for stopping by. That’s great…feel free to share. 🙂 Elizabeth
This looks so cute! And super easy! Great work!
Thanks Katie, these are a bit addicting because they are so simple yet the result is beautiful! I love doing them when watching TV, makes me actually stay seated. 🙂