Learn how to make a gnome of out of wood in two different ways. This tutorial will show you how to make cute little gnomes in just a few easy steps. Gnomes can be made out of almost anything and these cute little guys are made from scrap wood.
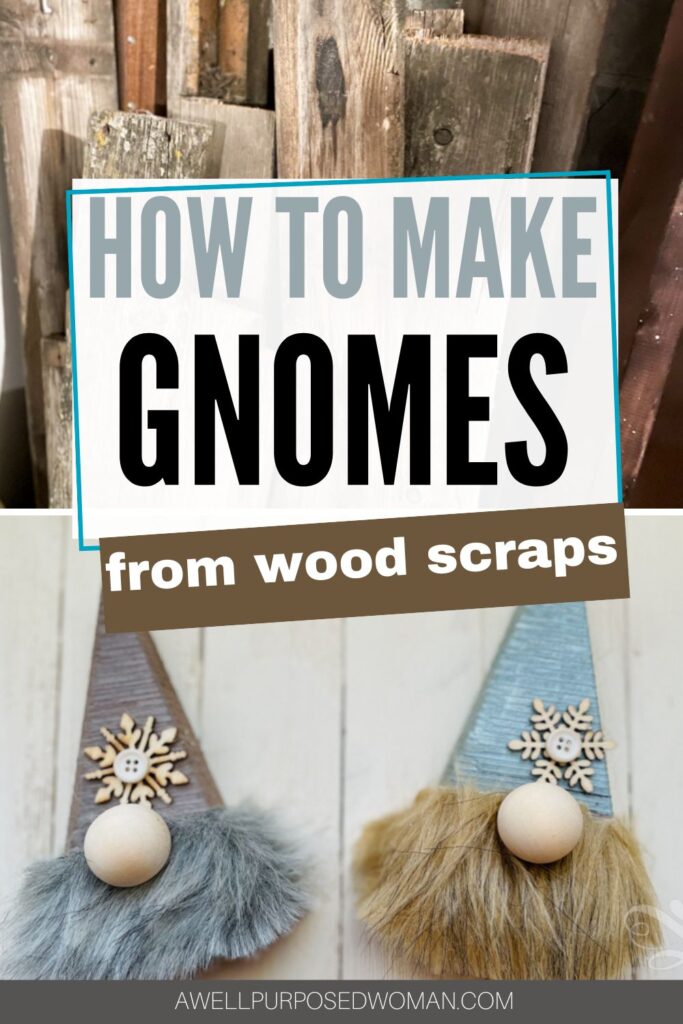
Welcome to Day 3 of our Craft a Day Countdown to Christmas today we are going to make Wood Gnomes out of scrap wood!
Have you noticed gnomes are everywhere these days? Gnomes can be made out of almost anything. Awhile back I shared how to make boy sock gnomes and girl sock gnomes and even how to make them out of a tin can! Well today we are shifting gears and making them out of wood.
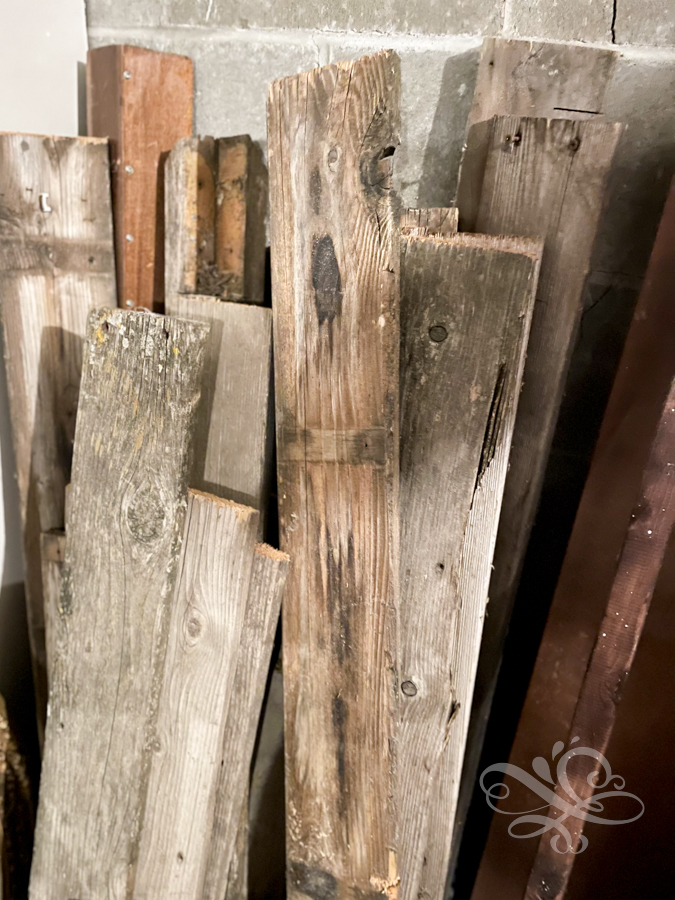
My husband and I picked up a large pile of old barn wood and had it in our garage for sometime.This past fall I start cutting it on our miter saw and had the idea to turn the wood into gnomes.
I had seen wooden gnomes at craft shows before and thought it would be fun to try to make some too. These gnomes are simple and easy enough even for children to make.
Here’s the supplies needed to make gnomes of out of wood:
- Wood Scraps
- Free Gnome Pattern
- Chalk paint or acrylic paint or Fabric scraps
- Sandpaper
- Faux Fur
- Wooden Ball
- Hot glue gun and gluesticks
- Embellishments
Here’s a video tutorial on how to make gnomes out of wood:
Here’s how to make gnomes out of wood:
Step 1: Cut your wood gnome triangles
Start by cutting wood triangles on a miter saw. Set your miter saw at a 15 degree angle and cut triangles.
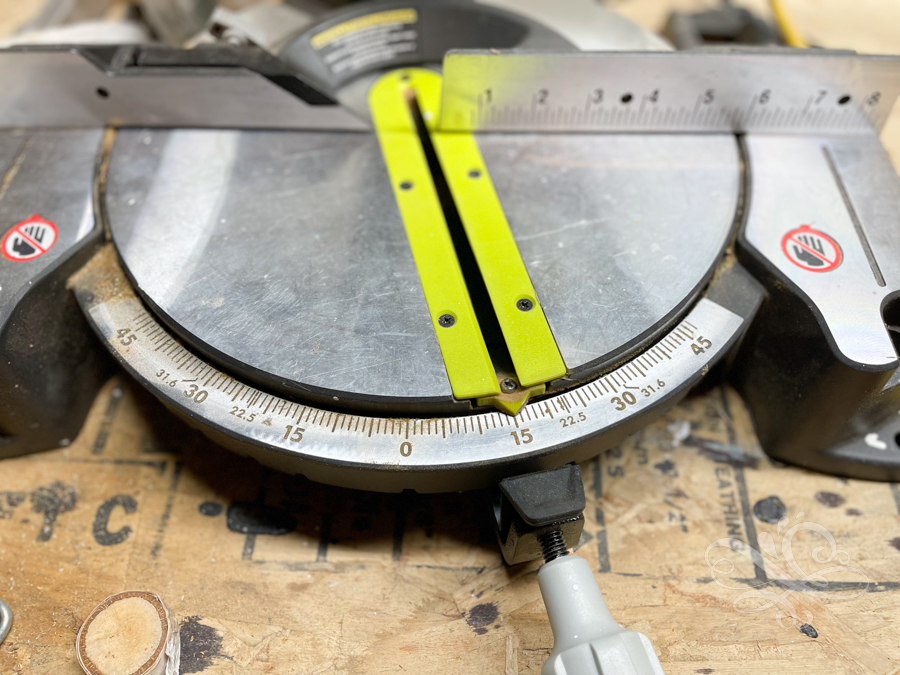
Make one cut on one side of the board and then flip the board over and make a cut the other direction. Viola! You will have your triangles!

Cut as many trianlge as you would like to make gnomes. I cut mine triangles with a base of 2.5-4″.
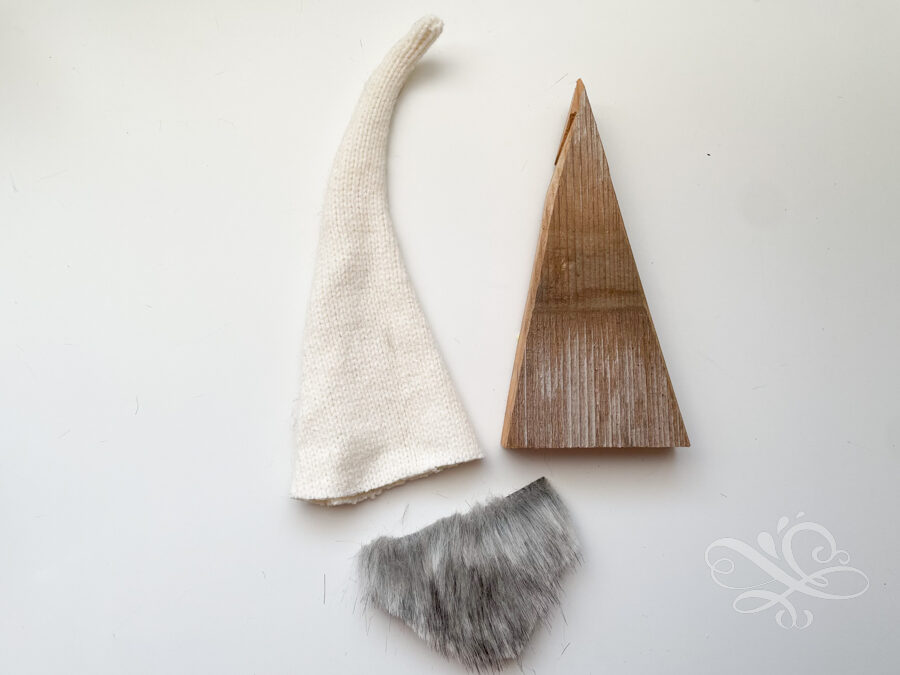
Step 2: Make your gnome hat
Gently sand the edges of your wooden triangle with sand paper. Then choose one of the two options below to make your gnome hat.
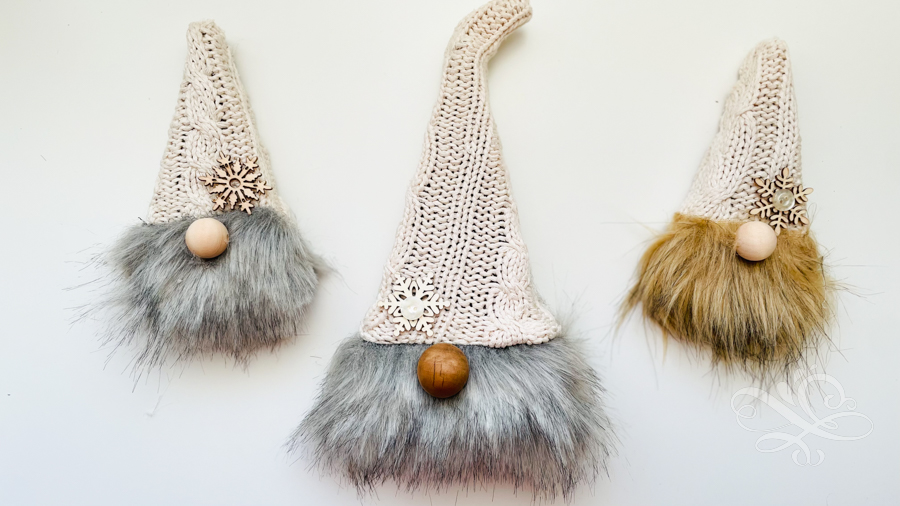
Option 1: Print out a free gnome pattern and use it to make your gnome hat out of fabric.
Or just cut a triangle that is the same shape as your wooden triangle to cover the top 3/4 of your wood triangle with fabric for your hat.
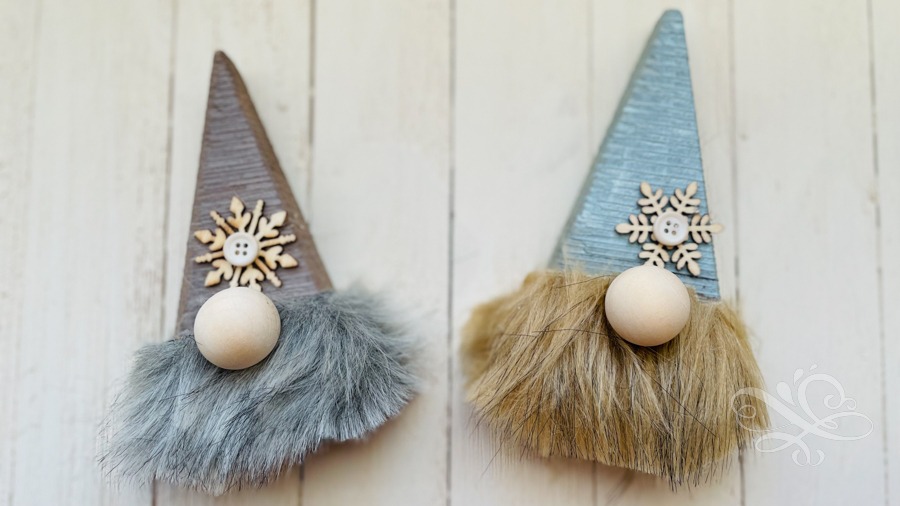
Option 2: Paint your Gnome Hat on your wooden triangle
Use chalk paint or acrylic paint to paint the top of your wooden gnome traingle. Make a mark 3/4 of the way down from the top of your hat. Paint that portion of the triangle.
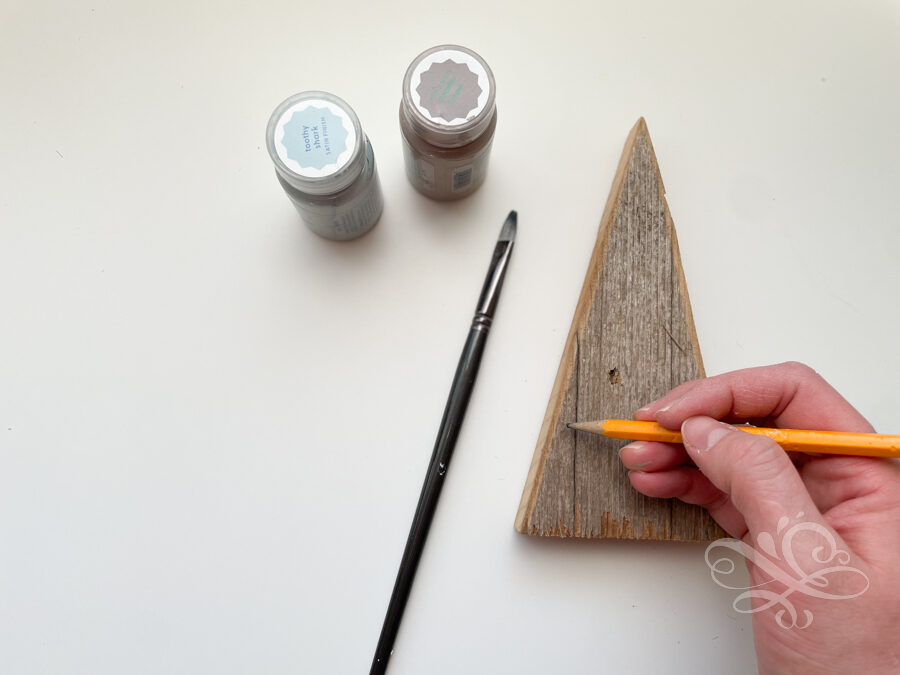
After the paint dries you can sand the edges again if you want the gnomes to have a rustic look.
Step 3: Cut out your gnome’s beard and attach it
Step 3 and the rest of the steps are the same whether you painted your hat or hot glued it on your triangle. Take a triangle shape piece of the beard and attach it to the bottom of your triangle with hot glue. You can print out the free gnome pattern if you prefer.
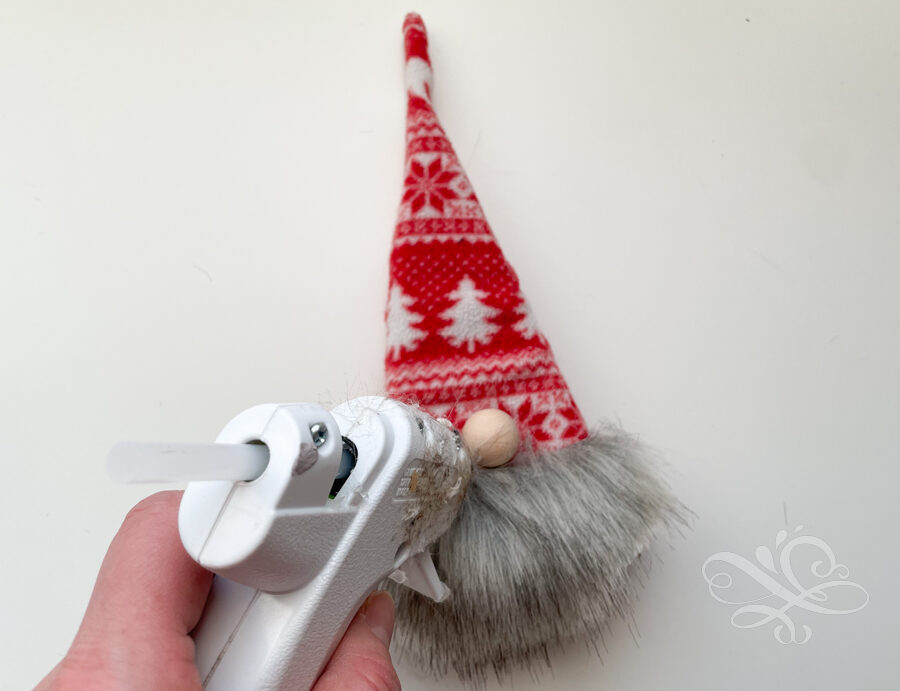
Then hot glue your nose in the center of the beard.
TIp: If you are using a wooden ball for your nose and you want to change the color of your nose. Just use some antiquing wax and rub it on your wooden ball before attaching it to your gnome.
Step 4: (Optional) Embellish your gnome
The last step really is optional but you can embellish your little gnome with snowflakes, flowers or pine cones depending on the season you are in.
And that’s really all there is to it! Super cute and really easy.

No time to craft now? No worries! Just pin this post for later.

Leave a Reply