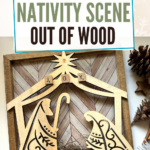
Learn how to make a nativity scene out of wood using a Dollar Tree cutout. This simple and easy tutorial will show you exactly how to make this gorgeous nativity scene. Use this nativity scene out of wood for your own home decor or give it as a gift this Christmas.
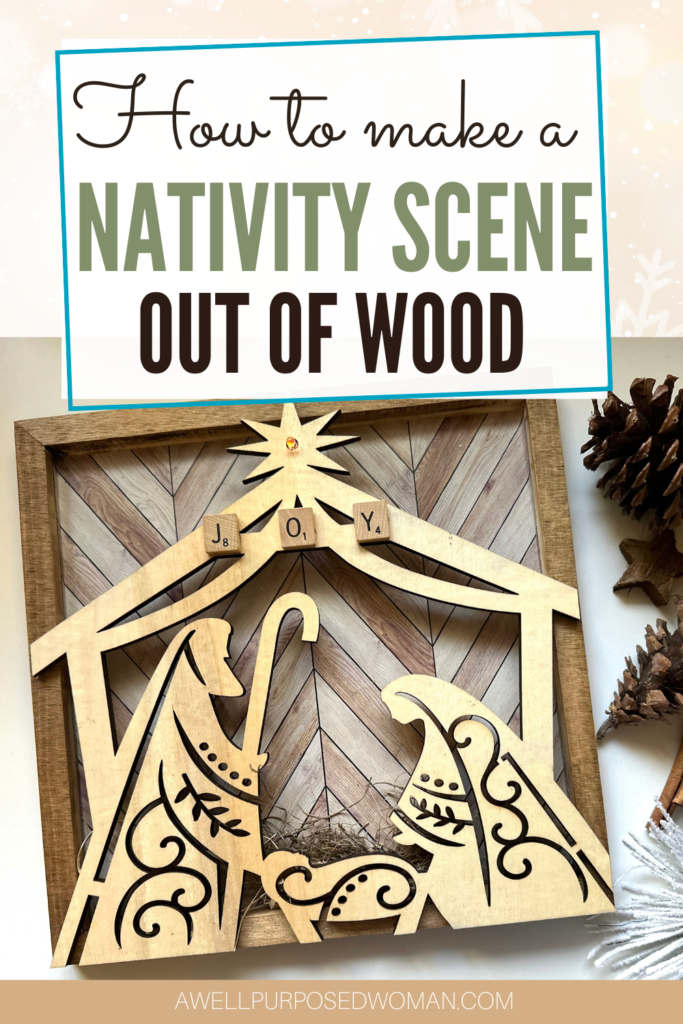
Today I am going to show you how to make a nativity scene out of wood using a Hobby Lobby cutout! Although it’s only October I have officially begun Christmas crafting. And this year I have really wanted to focus on the real reason for the season in a lot of the crafts I will be making.
This fall I made a sign out of the Dollar Tree blanks and I just loved how it turned out! It was so simple to transform and the best part it was only $3 to make! So for Christmas I knew I wanted to make a nativity scene using the same blank.
So let me show you how you can make this simple yet beautiful nativity scene in just a few steps!
Here’s the supplies needed to make a nativity scene out of wood:
- Blank Wood Sign
- Nativity Cut Out
- Wood Glue
- Raffia or peat moss
- Tea light candle
- Antiquing Wax
- Self adhesive wallpaper or scrapbook paper
Watch a video on making a nativity scene out of wood:
Here’s how to make a nativity scene out of wood:
Step 1: Staing the frame of the sign with antiquing wax
The first step in making your nativity scene out of wood is to stain the wood frame of the sign with antiquing wax. Just grab a towel and rub antiquing wax all over the outside of the frame. Rub the wax until it is well blended with the wood and no longer tacky.
The nice thing about using wax vs stain or paint is the wait time. You really do not need to wait very long and you can move onto the next step.

Step 2: Cover the back of the sign with self adhesive wallpaper
Take self adhesive wallpaper or scrapbook paper and cover the back of the nativity scene. I chose this faux wood herringbone wallpaper. I pressed the wallpaper in the wood sign and then just cut along the areas where the paper was marked.

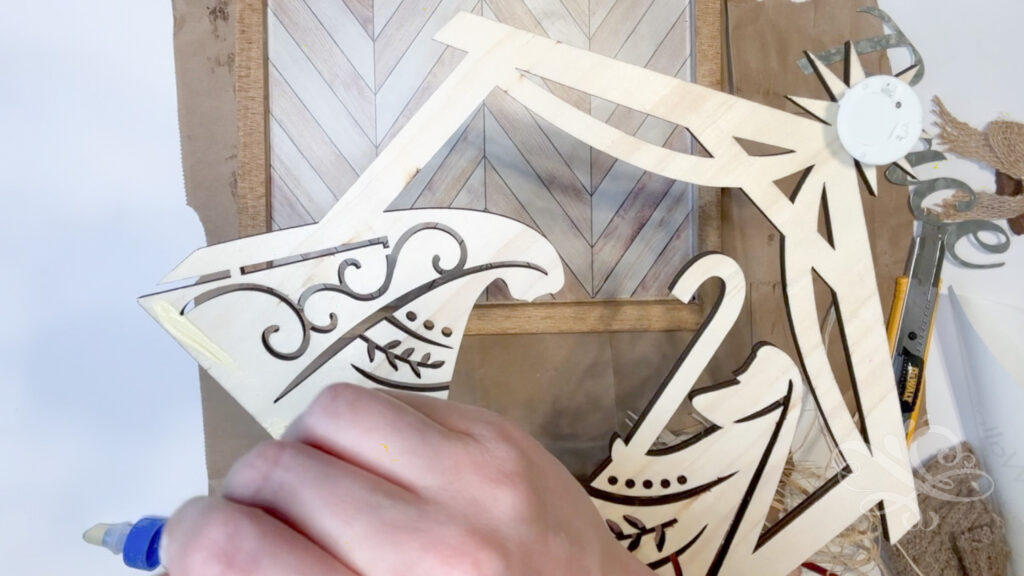
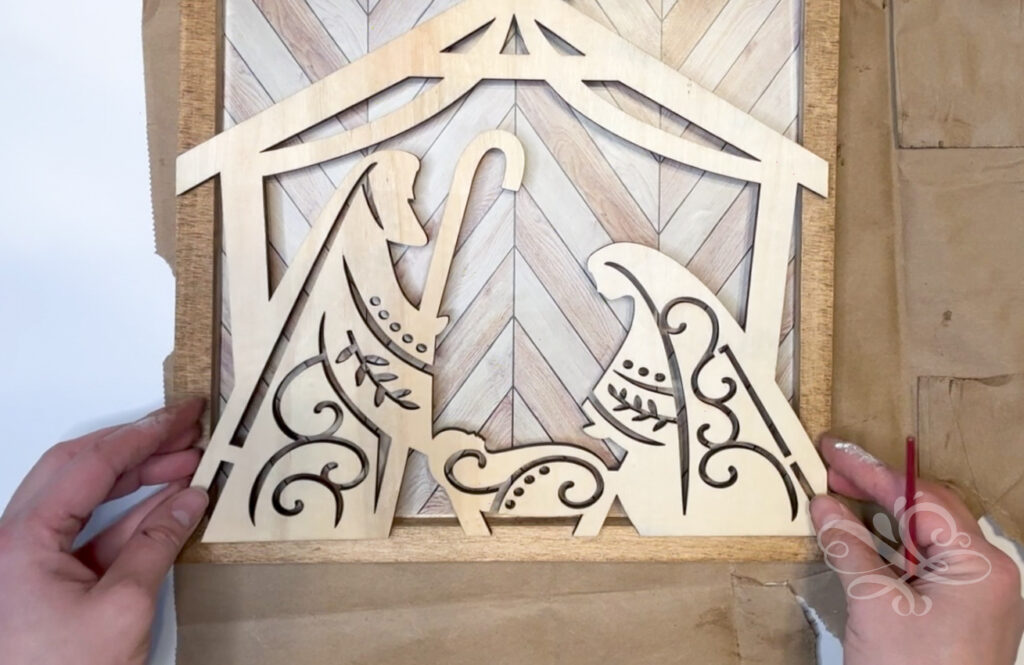
Step 3: Glue the nativity scene cut out to the wood frame
Next we are going to attach the nativity scene cut out to the frame. I just used wood glue and a paint brush. I covered the bottom of the nativity scene cut out with the glue and then painted glue on the sides were the nativity scene touched the frame. Then I put a weight on top of the nativity cut out to hold it in place.

Step 4: Emebellish the nativity scene
The last step was to add some simple embellishments to the nativity scene. I used raffia and a small amount of peat moss around the baby Jesus. Then I took so Scrabble tiles that spelled the word “JOY” on the top of the nativity scene.
I did also break the cover off a tea light candle and I added it behind the star on the manager. I drilled a small hole behind the nativity scene so that I could turn the candle on and off.
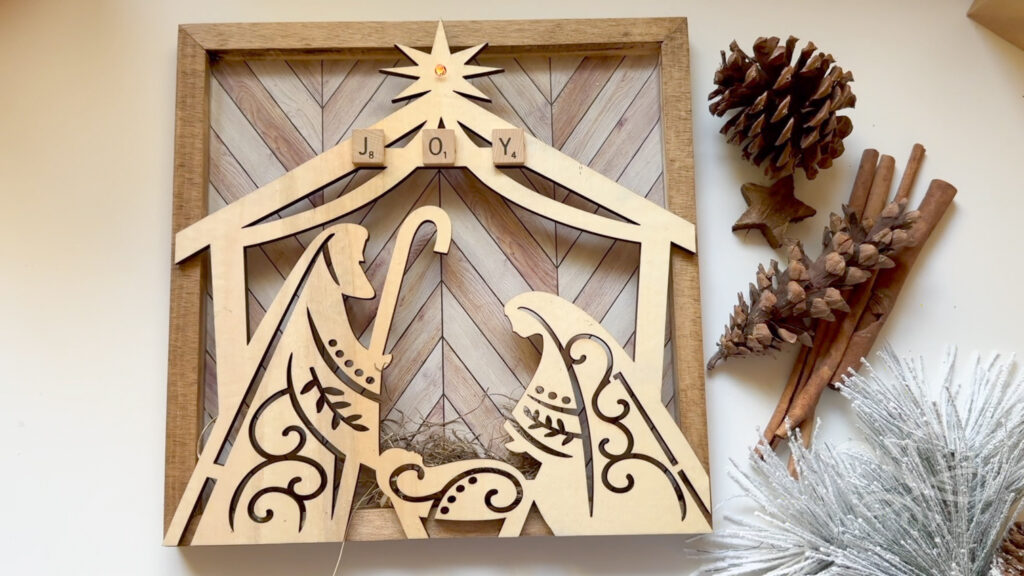
And that’s it! Now we have this simple but BEAUTIFUL nativity scene out of wood. I really was pleased with how this nativity scene turned out. It would make a great present for family or friends and it reminds us of the real meaning of Christmas!
What do you think of this nativity scene? Would you add anything to it or do you like it simple?
Thanks so much for reading and let me know in the comments what you are planning to craft this year!
Take care and God bless,

Leave a Reply