Learn how to make a nursing scarf in just a few easy steps. A nursing scarf is an attractive way to comfortably cover up while nursing. Also a DIY nursing scarf can be a wonderful Mother’s Day gift idea for a new mom.
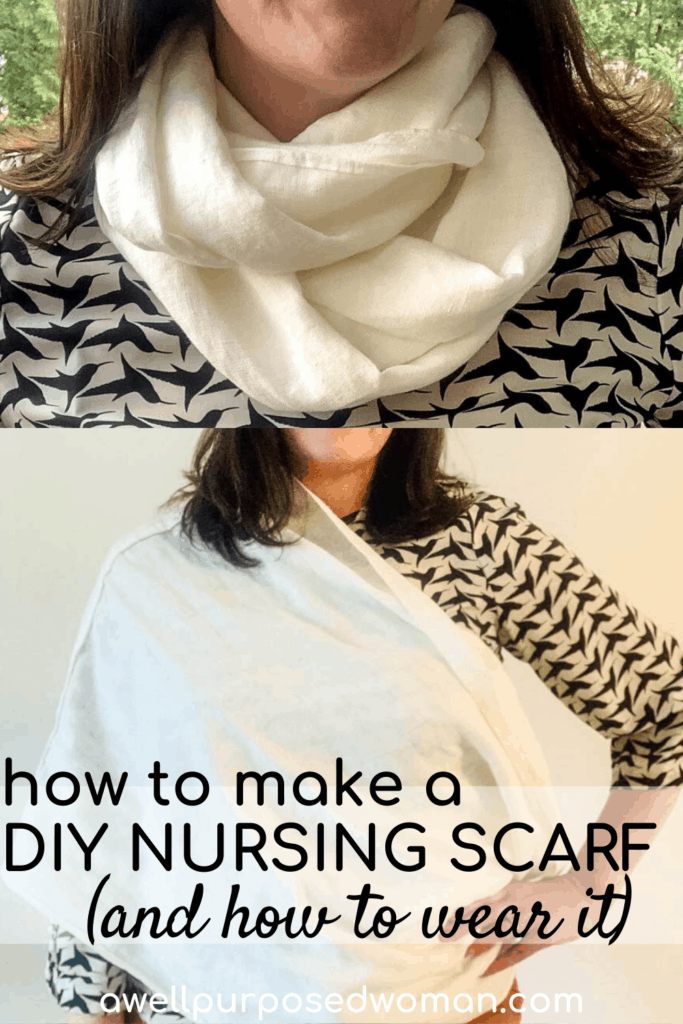
Hey friends! I have a special guest on today’s blog, my friend Marilla from Hearthside Comforts will be showing us how to make a DIY Nursing scarf ( I did make a few tweaks to the number of steps)! Marilla was kind enough to take time to help me out while I am taking a break to enjoy time with my family since baby came at the end of April! Marilla is a lifestyle blogger and super talented seamstress and busy mama herself. So take a minute and check out her site, as a big thank to her for taking time to share with us!
————–
Hey all! I am Marilla from Hearthside Comforts. First of all, join me in congratulating Elizabeth on the birth of her little girl! What an exciting and precious time. As a mother of two little girls, I know how quickly each moment passes and how important it is to rest and enjoy this time.
When my younger daughter was born almost three years ago, I created a wearable burp cloth/ DIY nursing scarf. I was frustrated by burp cloths constantly falling from my shoulder, and I like having just a little extra coverage for modesty’s sake while nursing. I researched some fabrics and ordered a French terry cloth that worked great!
However, because I used a serger to make a nursing scarf with that knit fabric, I am sharing with you how to make a DIY nursing scarf, cover/infinity scarf, using a woven linen fabric, which requires only simple, straight seams on a sewing machine, or it could even be sewn by hand!
What do you need to make a Nursing Scarf:
- ¾ yard linen fabric at least 59” wide (I used this fabric: https://fabrics-store.com/fabrics/linen-fabric-IL019-bleached-fs-signature-finish-middle)
- Thread
- Fabric scissors
- Sewing machine or needle and thimble
- Small ruler or measuring gauge
- Yardstick or large cutting mat
- Iron
- Ironing board or mat
How to make a Nursing Scarf:
Step 1: Wash fabric for your nursing scarf
Pre-wash fabric using whatever wash and dry settings you plan to use for regularly laundering the scarf.
Step 2: Cut out the fabric for your nursing scarf
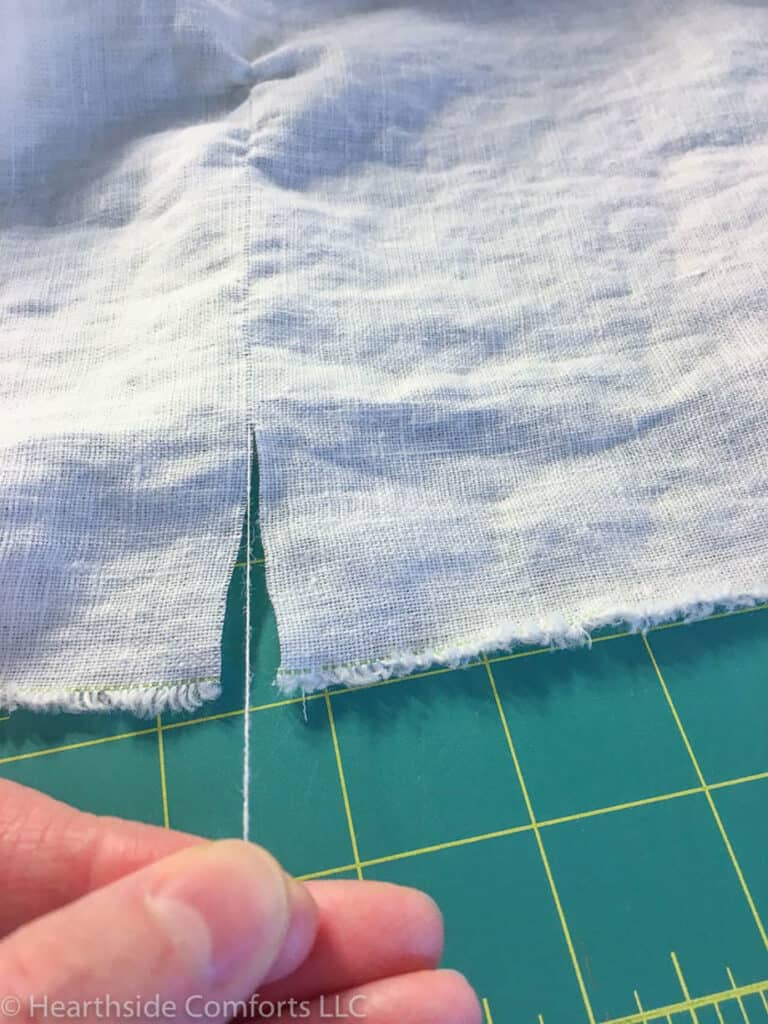
If you have a larger piece of fabric than ¾ yard, measure 27” inches and cut to size. If you have exactly ¾ yard of fabric make sure that edges are straight. With linen fabric, I have found that the best way to get a straight cut is to pull one of the threads of the fabric to create a cutting line. Do so by making a small cut in the fabric and then loosening one of the threads and pulling it toward yourself.
Step 3: Cut along the line formed by pulling thread
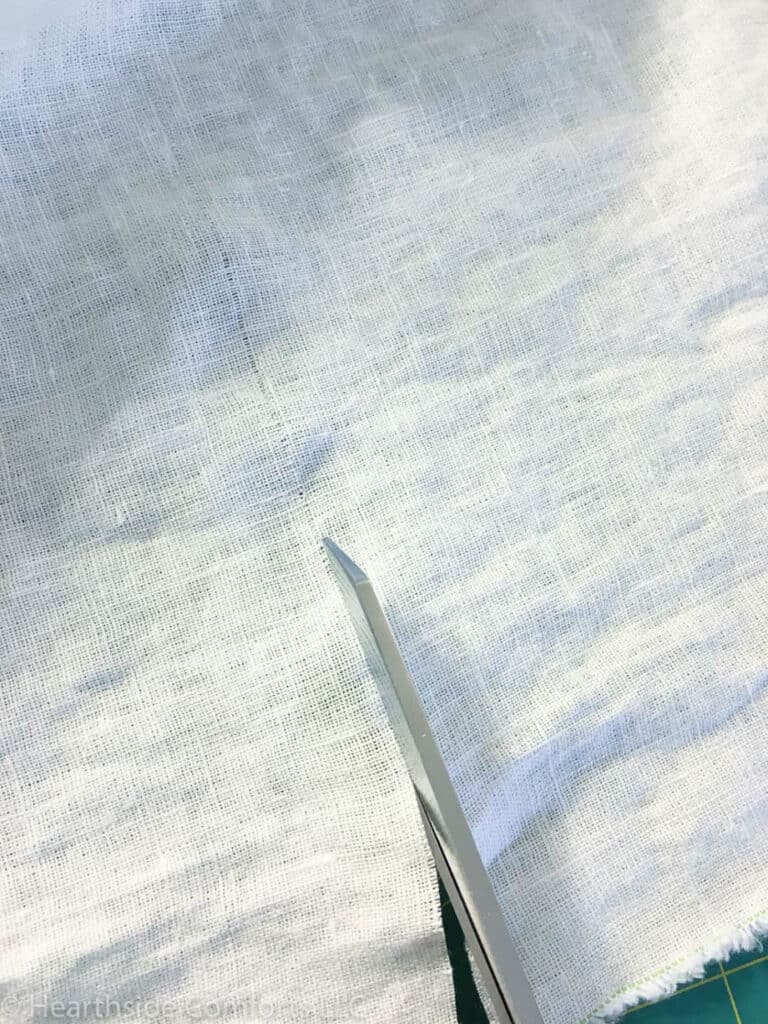
Now that you pulled the thread towards you. You will see a faint line that was made in the fabric, where the thread was removed. Take your scissors and cut along the line.
Step 4: Remove the selvage edge off the short sides
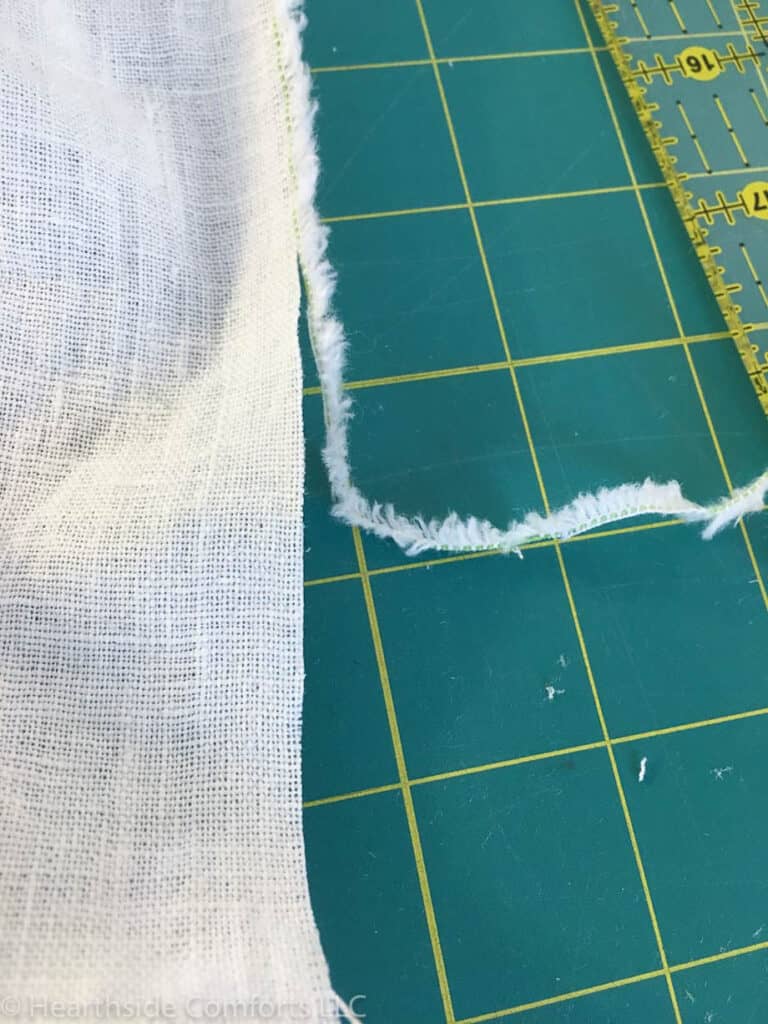
I typically remove all of the selvage, which is about ½” or so on the 27″ sides; however, because it’s better to have as much length as possible for this scarf and because the selvage will be included in the seam, I only cut off the fraying threads this time.
Step 5: Hem the long edges of nursing scarf
The next step is to hem the side (long) edges. Take the fabric to the ironing board and fold fabric ½” and press.
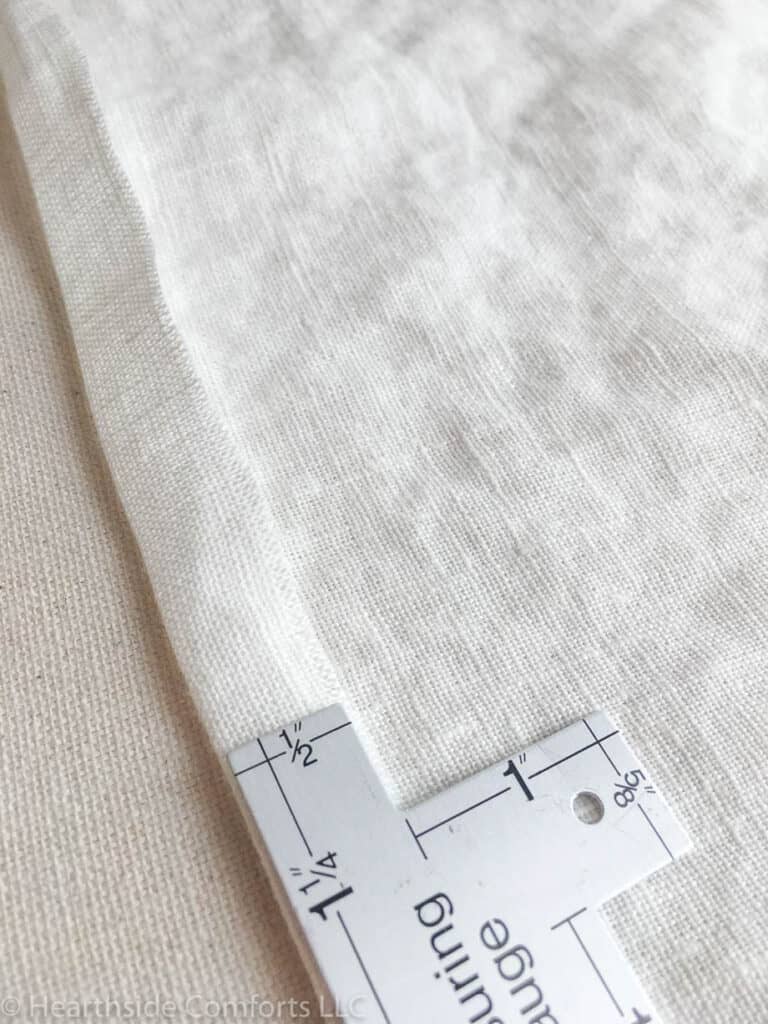
Then fold the fabric again, putting the raw edge of the fabric into the crease created by pressing. This will leave a hem of approximately ¼”.
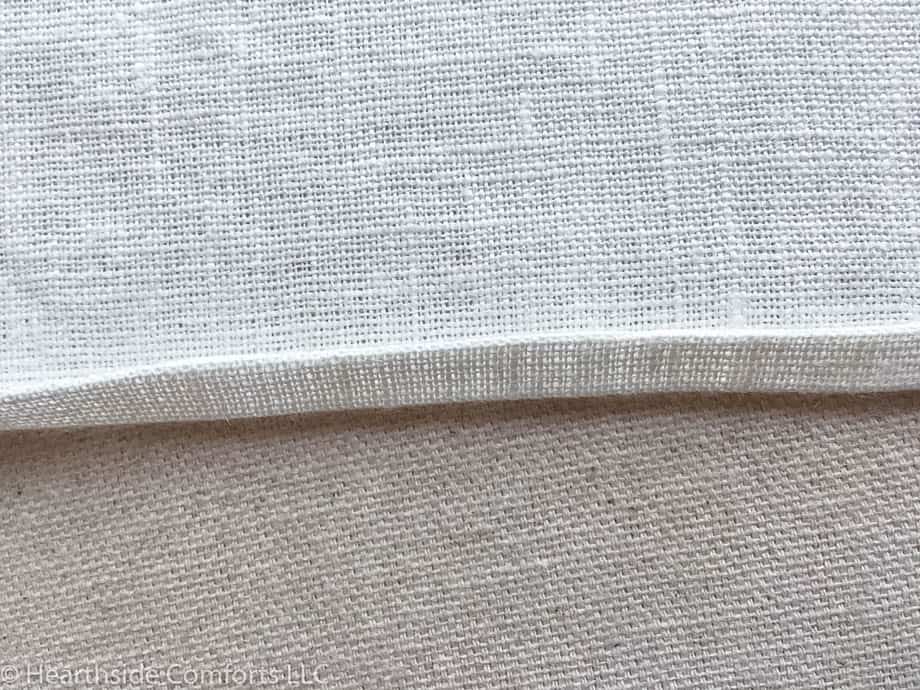
Repeat this process on the other side of the fabric.
Step 6: Sew the hem on long sides of nursing scarf
Now take the fabric to the machine and stitch down the hem on both sides. I put the needle in the middle of the hem so that there would be approximately ⅛” on either side of the seam.
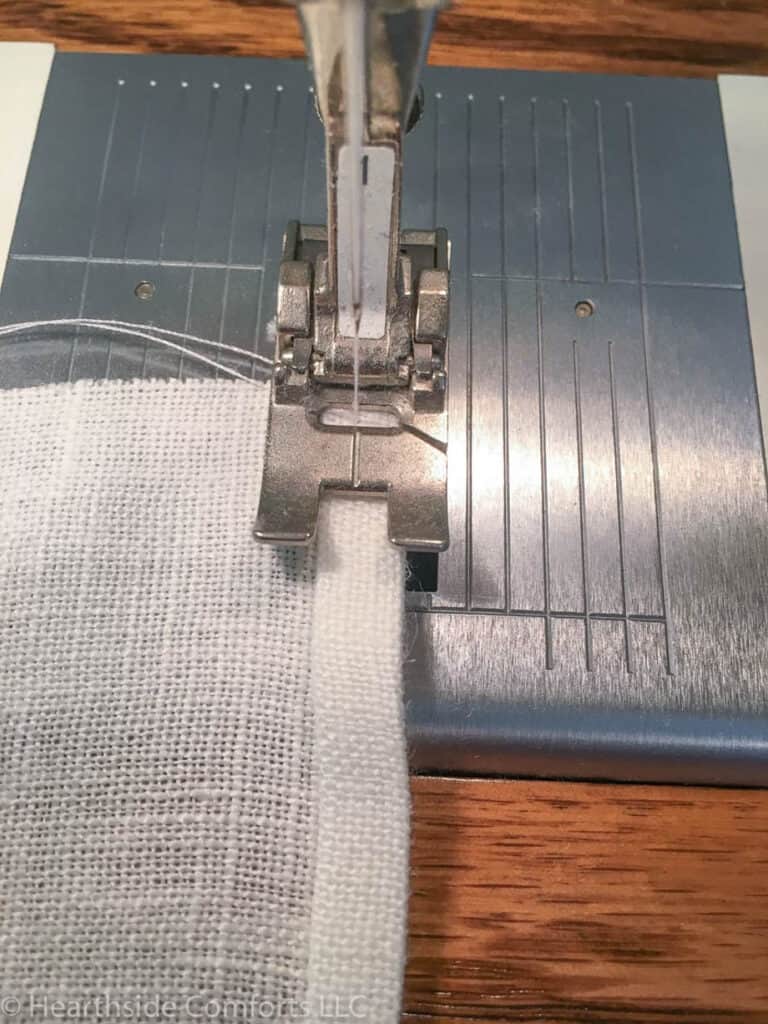
Step 7: Sew the shorter edges together with a French seam
Next, sew the short edges together, making a French seam. To make a French seam, put WRONG sides of the fabric together. Because the linen looks the same on both sides, put the hemmed edges together with the hems facing.
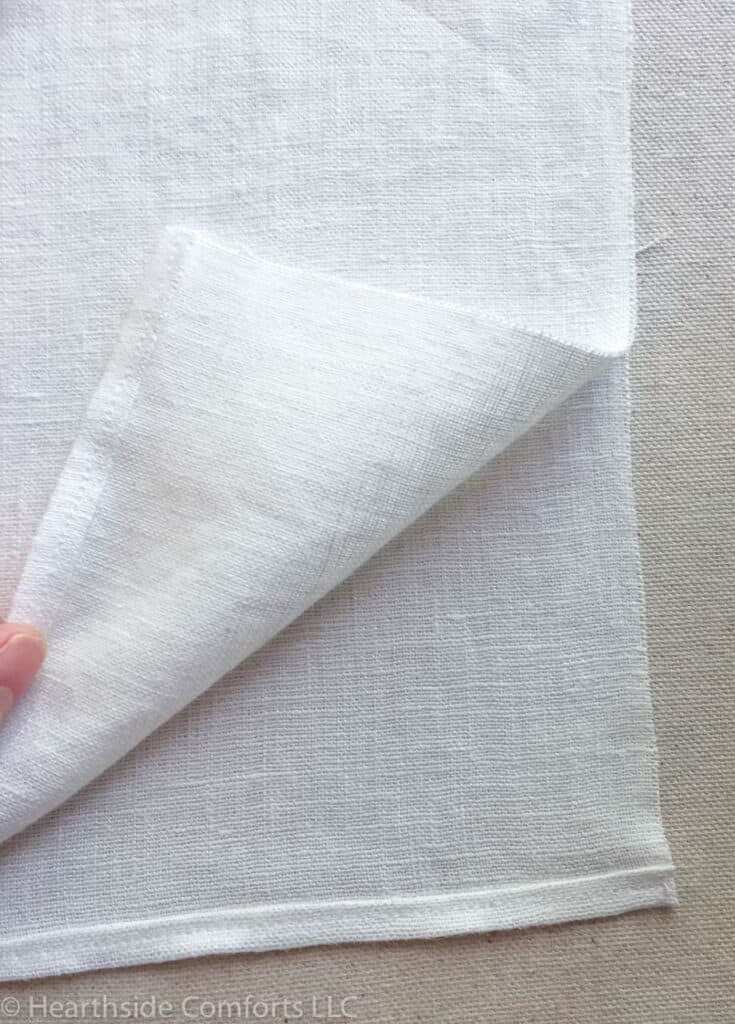
Sew raw edges together, using ¼” seam allowance.
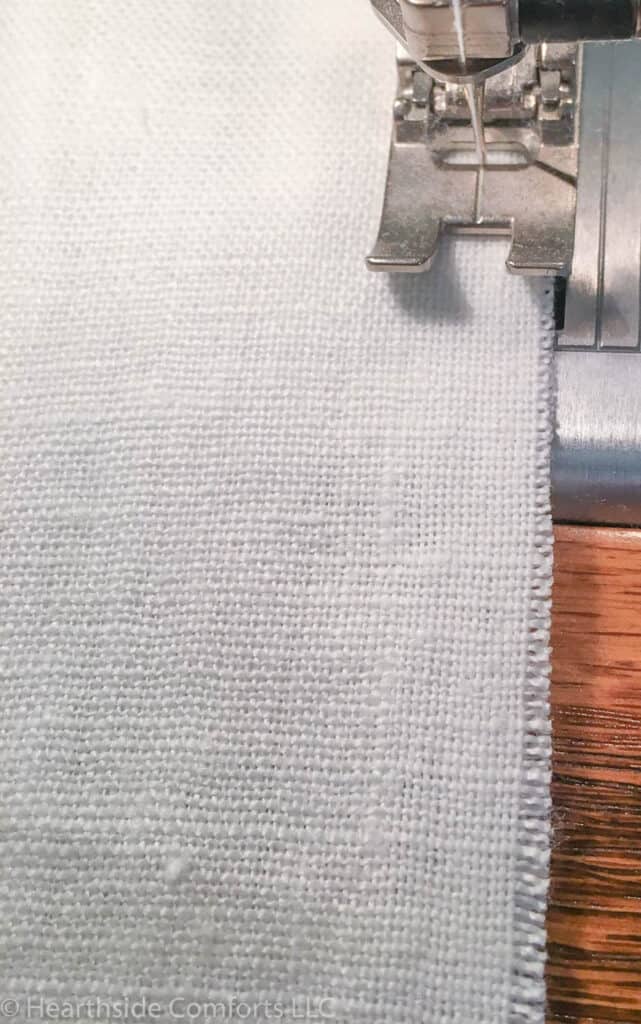
Press the seam open to flatten as much as possible. (Note: I made the mistake of not trimming the excess frayed edge before pressing my seam. Make sure that you trim the seam to a shy ¼” before pressing flat so that the entire seam is enclosed in the next step.)
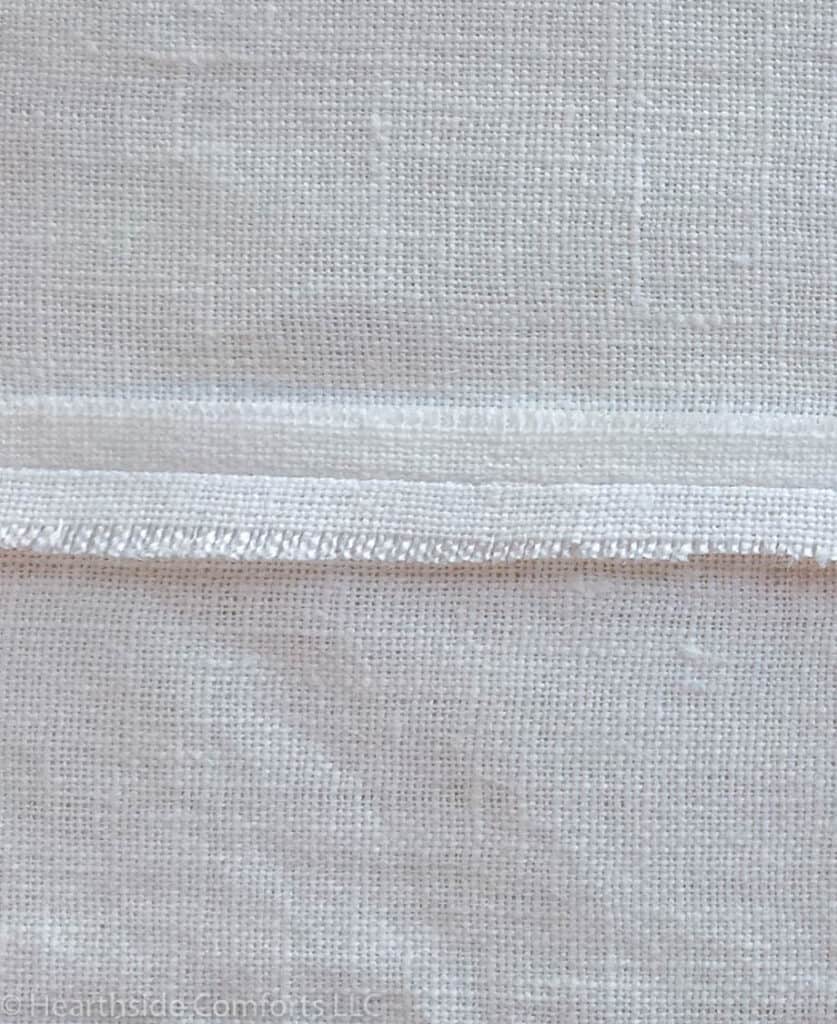
Fold fabric together to enclose the seam. Stitch with ⅜” seam allowance. (If you are concerned about having any threads sticking out from the raw edges enclosed inside, you may increase the seam allowance to ½”.)
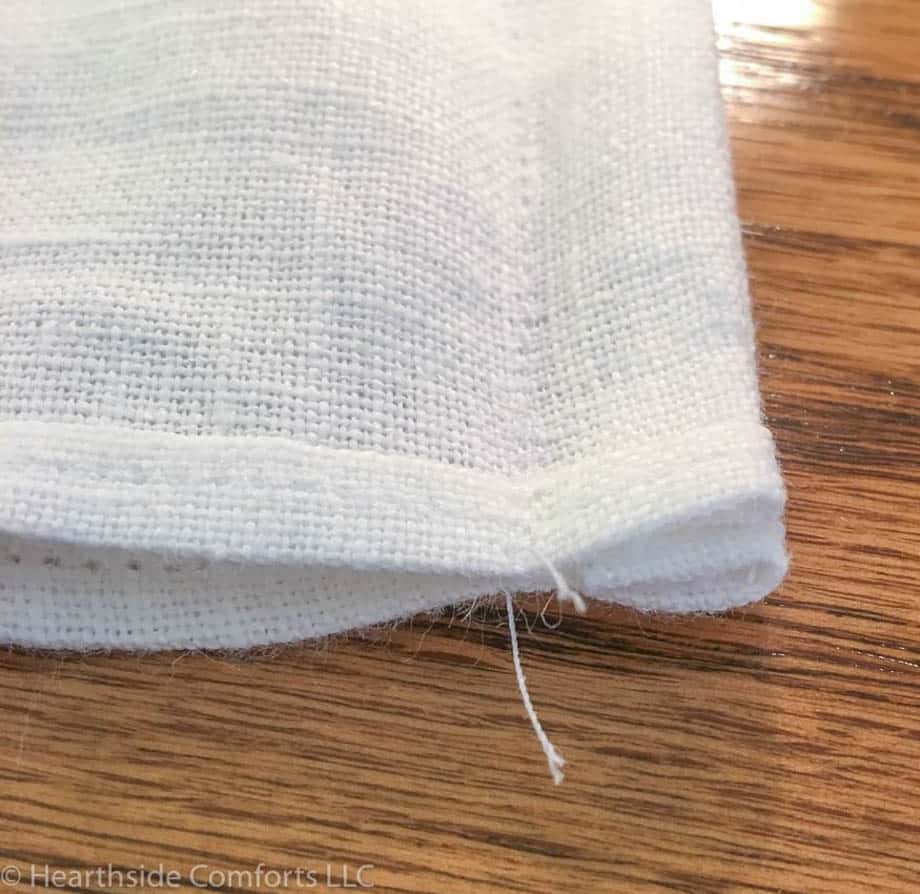
Press the seam to one side, and top-stitch it to make it lie flat.
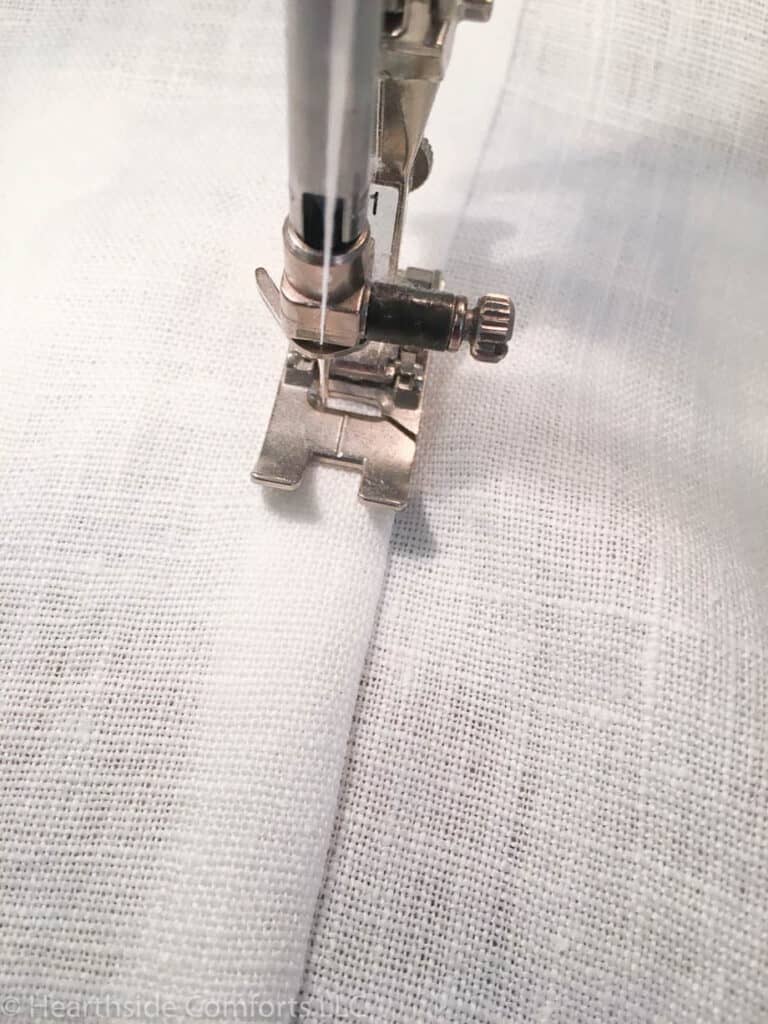
And now your nursing scarf is complete!
How to wear your nursing scarf comfortably to breastfeed:
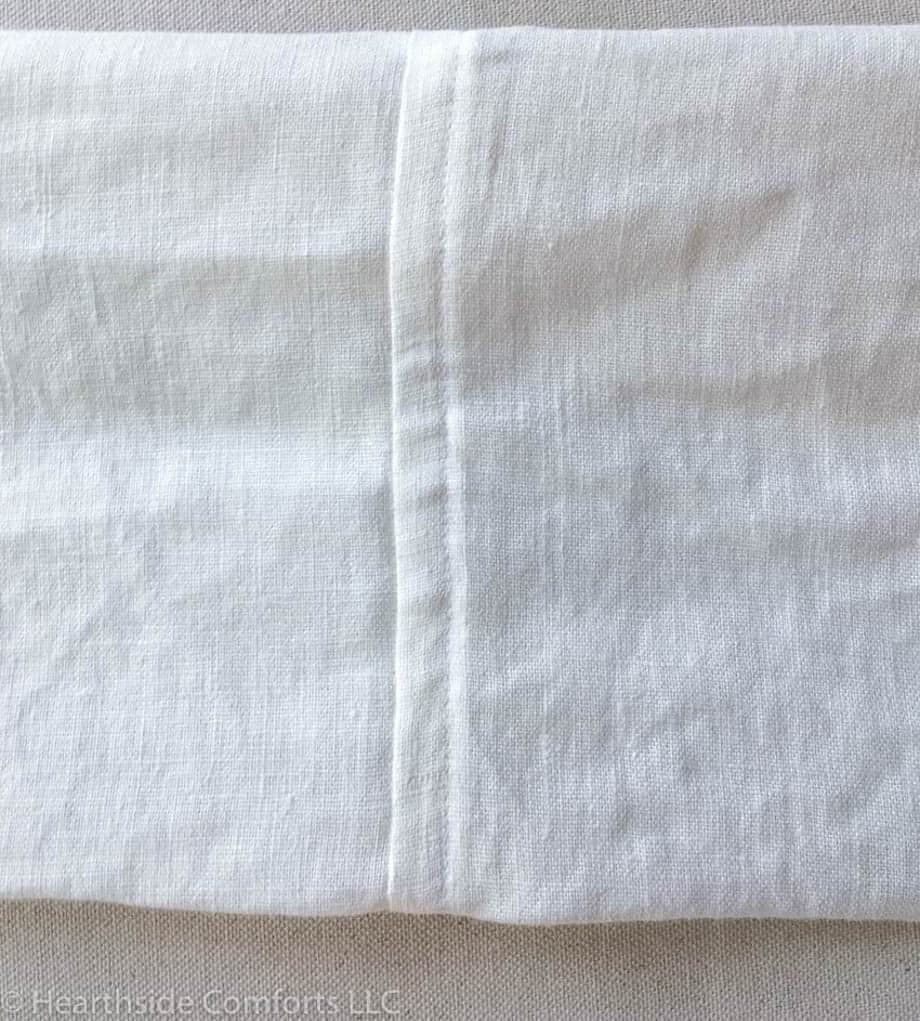
To wear your nursing scarf, fold your nursing scarf in half or quarters. Folding at the seam, decreases the bulk at the back of the neck and you can wear it as an infinity scarf–either wrapping once or leaving it long, depending on your preference.
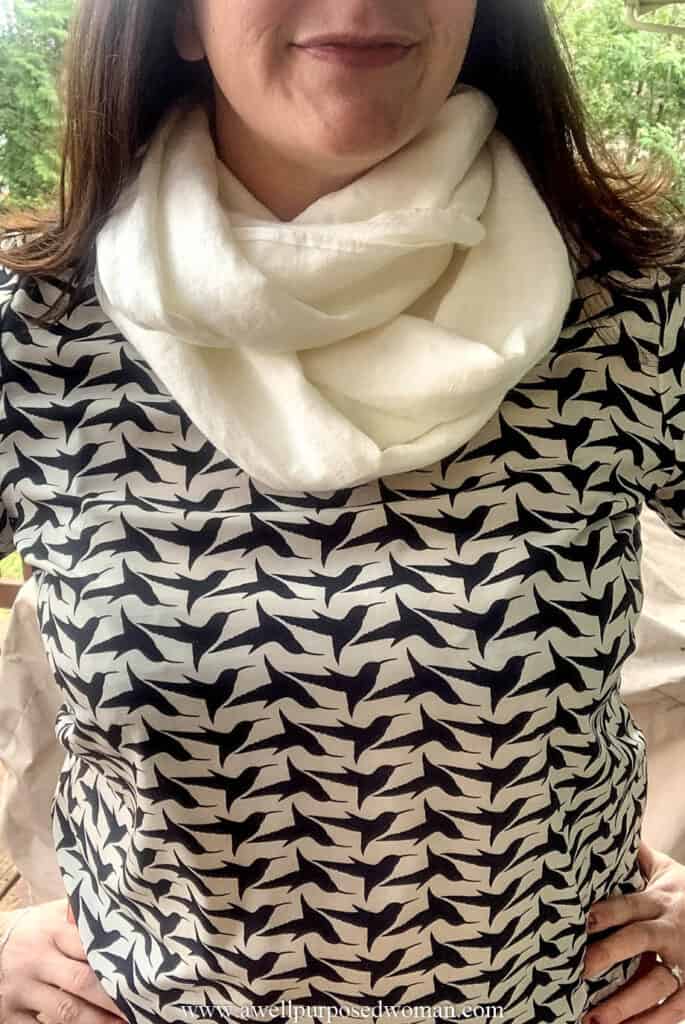
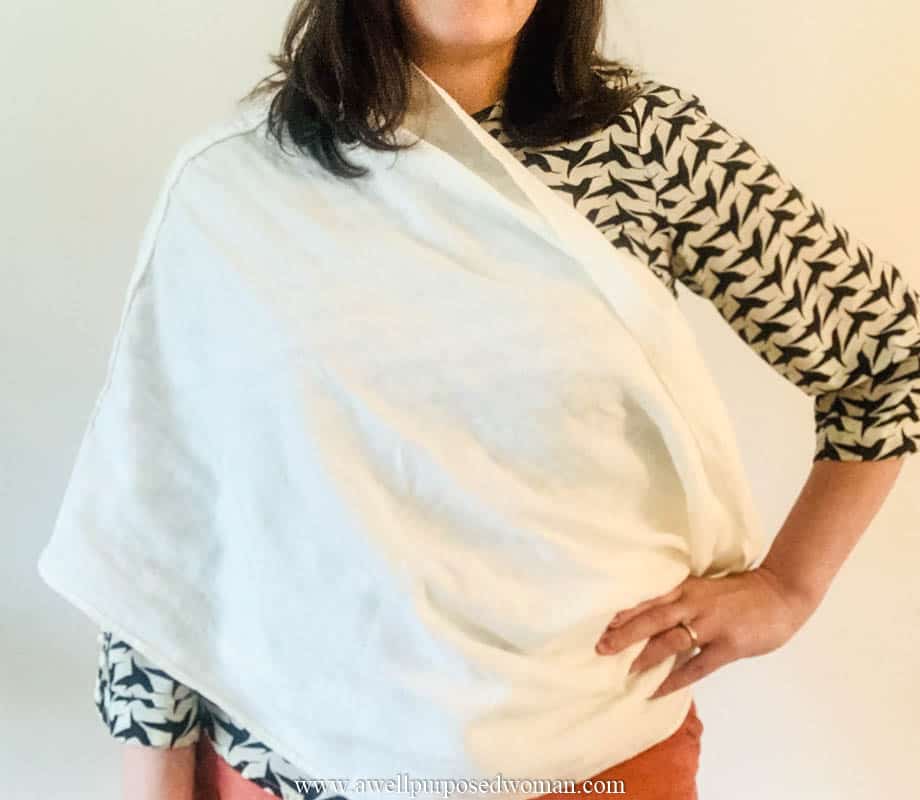
Use it as a wearable burp cloth by pulling an edge over your shoulder, and when the scarf is worn long, it can be draped as needed for coverage while nursing.
Thanks so much for joining me today, and I hope to see you at my blog Hearthside Comforts, where you can check out more sewing projects, recipes and more!
Would you rather just purchase a nursing scarf?
No time to make your own nursing scarf? No problem. I have listed this scarf in my Etsy shop and you can purchase it here.
–Marilla at Hearthside Comforts
Or want to make this nursing scarf later? No problem! Just Pin it below!
Isn’t this a beautiful present for a new mom! This scarf could of course be used just as an infinity scarf as well.
All I know is I am loving my nursing scarf from Marilla and I think any new mom would appreciate it as a Mother’s Day gift! To see more of Marilla’s projects head over to her blog at Hearthside Comforts!
Thanks so much for joining us today for this DIY Nursing scarf and I hope to be back soon with some other DIY projects!

Leave a Reply