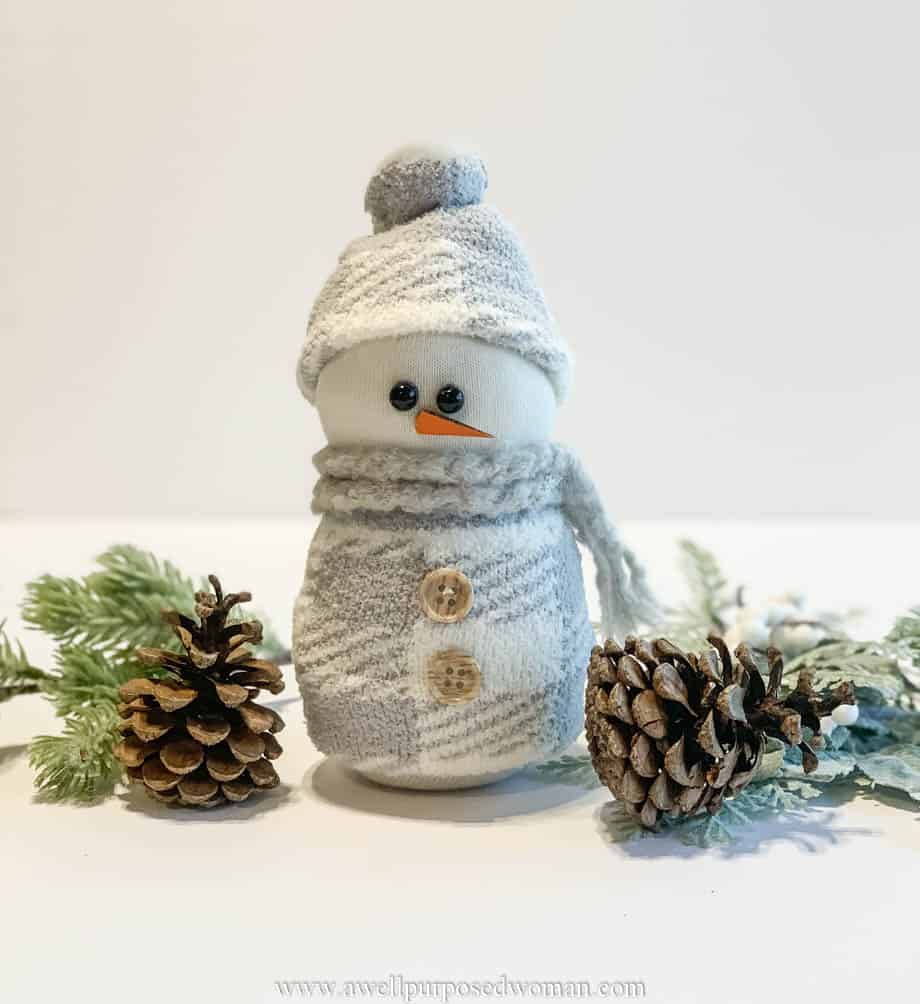
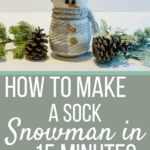
Don’t you love little snowmen? This tutorial will show you step by step how to make an adorable sock snowman out of a pair of old socks. The sock snowman is filled with rice and stuffing. And a sock snowman can be made in just a few minutes!
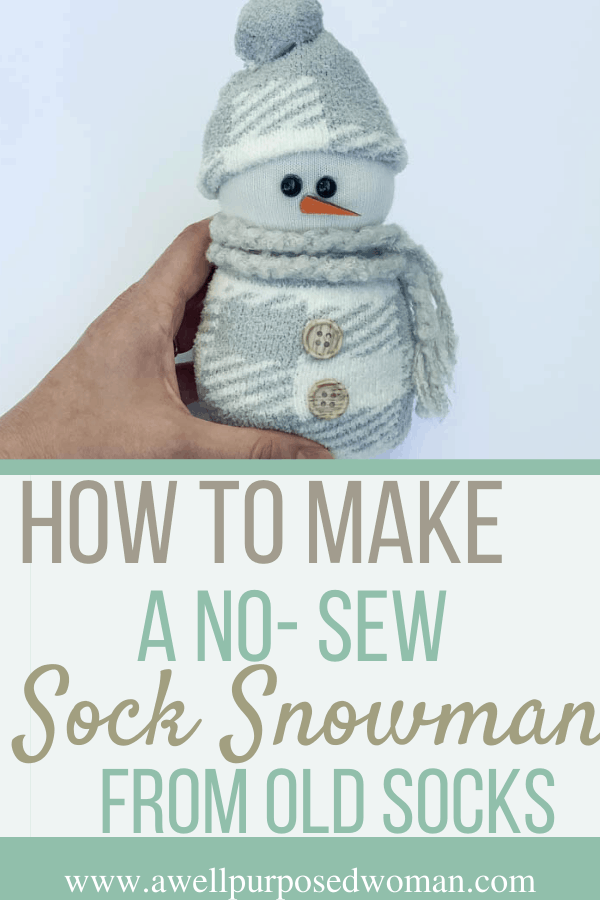
I love little snowmen. Their marshmallow-y little bodies have a way of winning my heart. Last winter after making the sock pumpkins for fall and the sock gnomes for Christmas I had many requests to make a sock snowman! Well I finally got around to making one today and I wanted to share with you just how easy and fun it is to make these little snowmen!
My daughters saw me making them and wanted to join in the fun too. This craft is definitely kid friendly and I didn’t feel like it was too hard for my daughters, who are almost 6 and 4. My oldest daughter said, “but mom I can’t sew.” Well no worries little one this is a no-sew sock snowman.
So let’s get started on these adorable little snowmen.
Here’s the supplies needed for a sock snowman:
- 1 white colored sock (8″ in length or cut to 8″ if a longer sock)
- 1 colorful sock (for the hat and jacket of snowman)
- 2-3 buttons to match the jacket
- 2 black beads or buttons (for eyes)
- toothpick or cardboard piece (for nose)
- Rice
- Polyfil
- 2 rubber bands
- cotton ball
- scissors
- hot glue gun and glue-sticks
Here’s how to make a sock snowman:
Step 1: Fill your sock snowman
The first step is to fill your sock with rice and polyfil. I start by putting about 1/2 cup of rice in the bottom of my sock. This helps to weigh down the snowman.
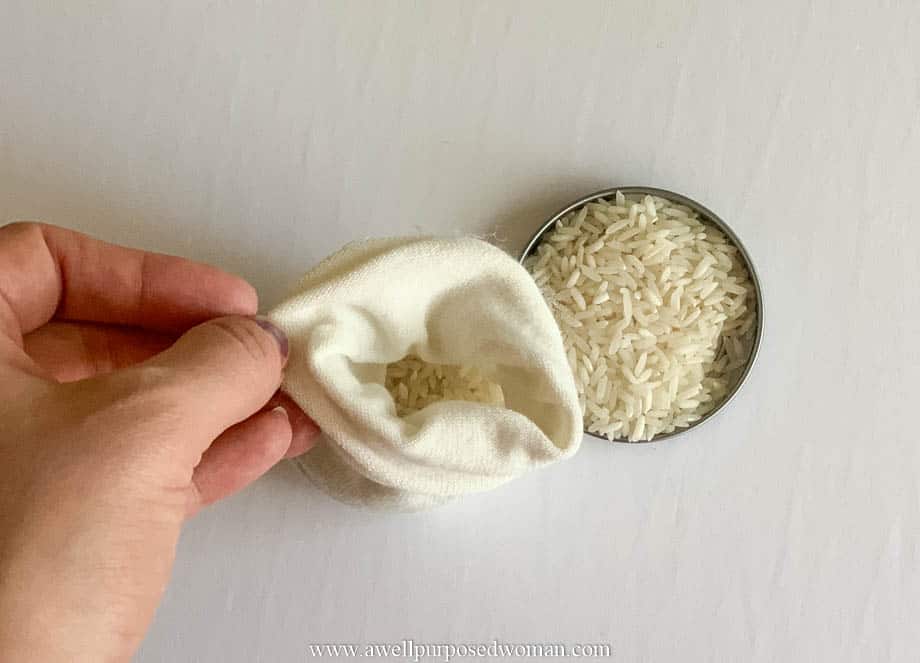
Then I fill the rest of the base of the snowman with polyfil. I make a big ball shape for the bottom of my sock snowman. Make the snowman as plump as you like.
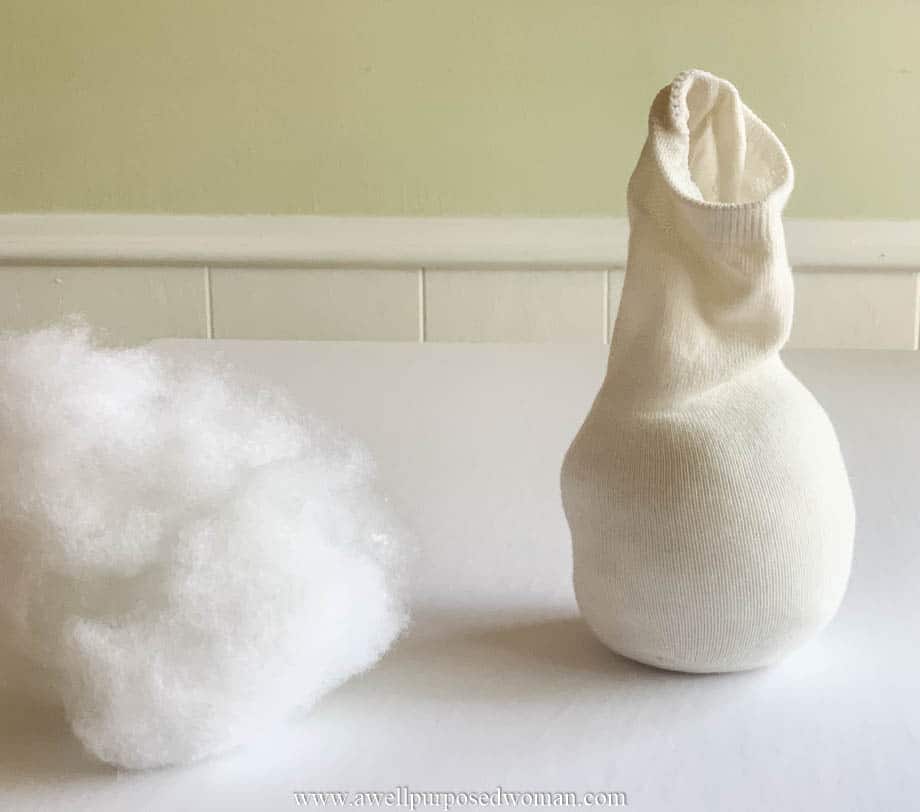
Once you are satisfied. Fill the top portion of your sock with polyfil. I make a smaller ball shape for the top of my snowman. You will have a pear shaped sock now like below.
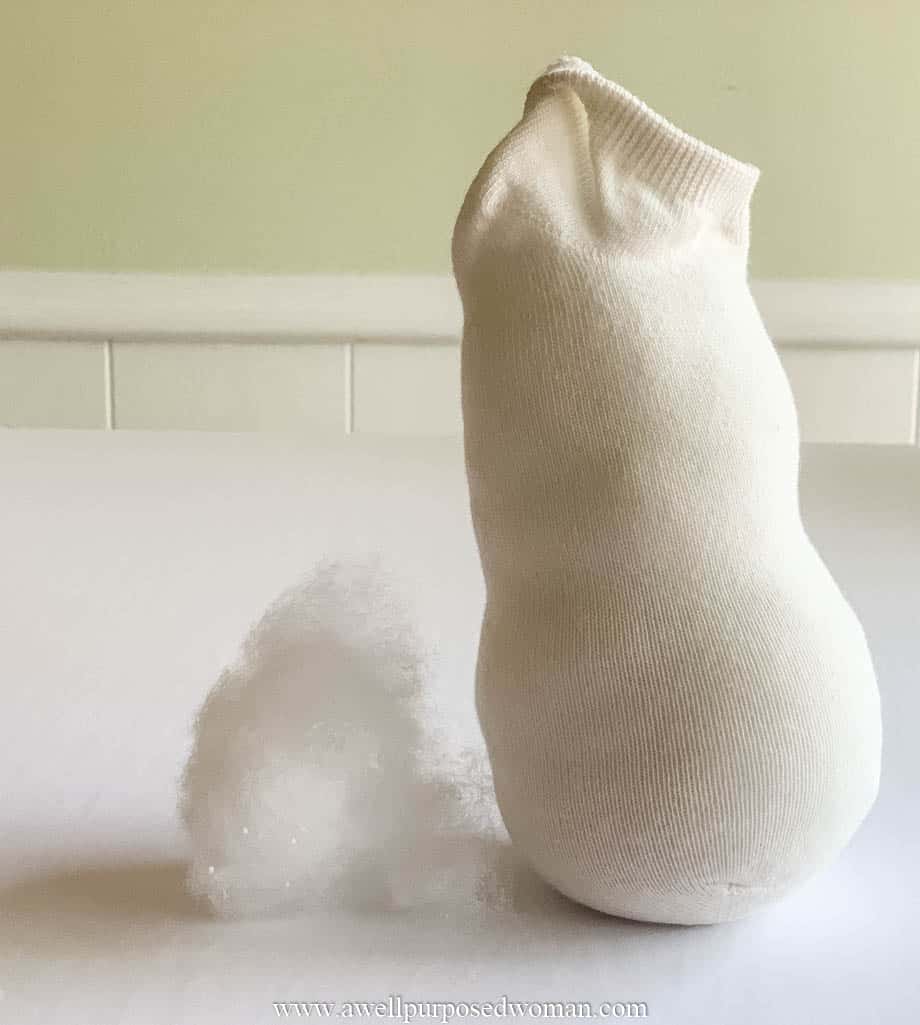
Step 2: Use rubber bands to shape the body of the snowman
Now just close your snowman by placing a rubber band around the top of your sock like below.
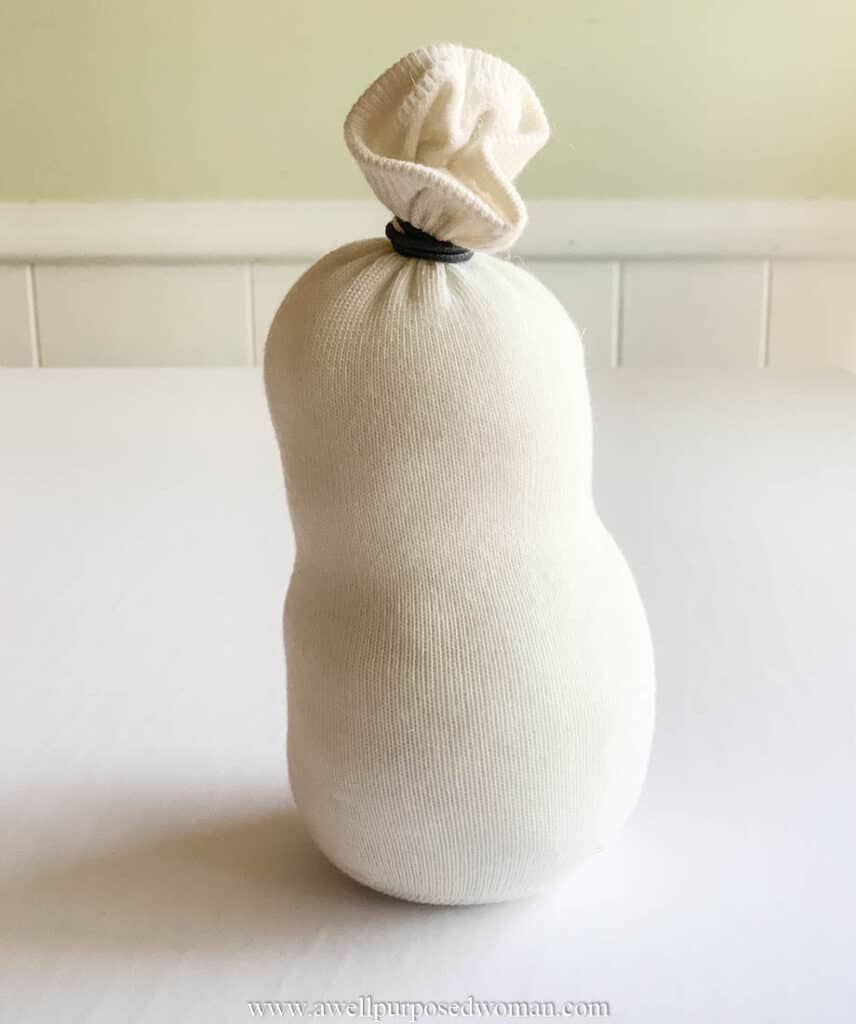
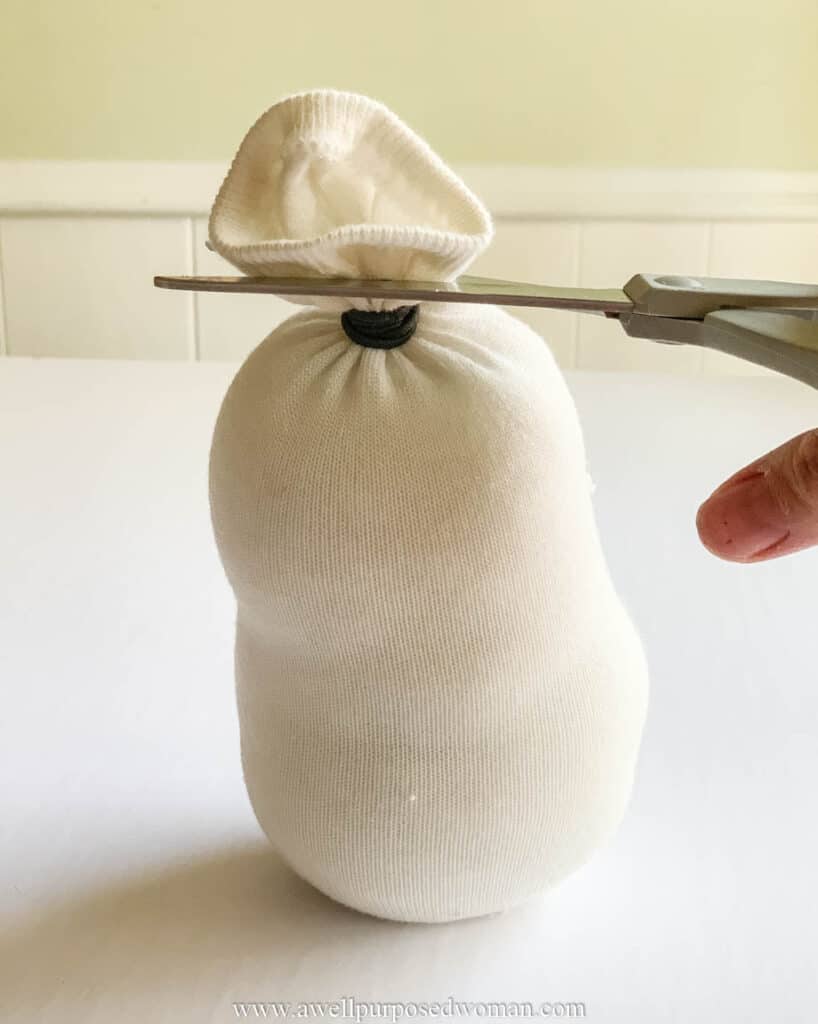
Cut off any excess portion of your sock.
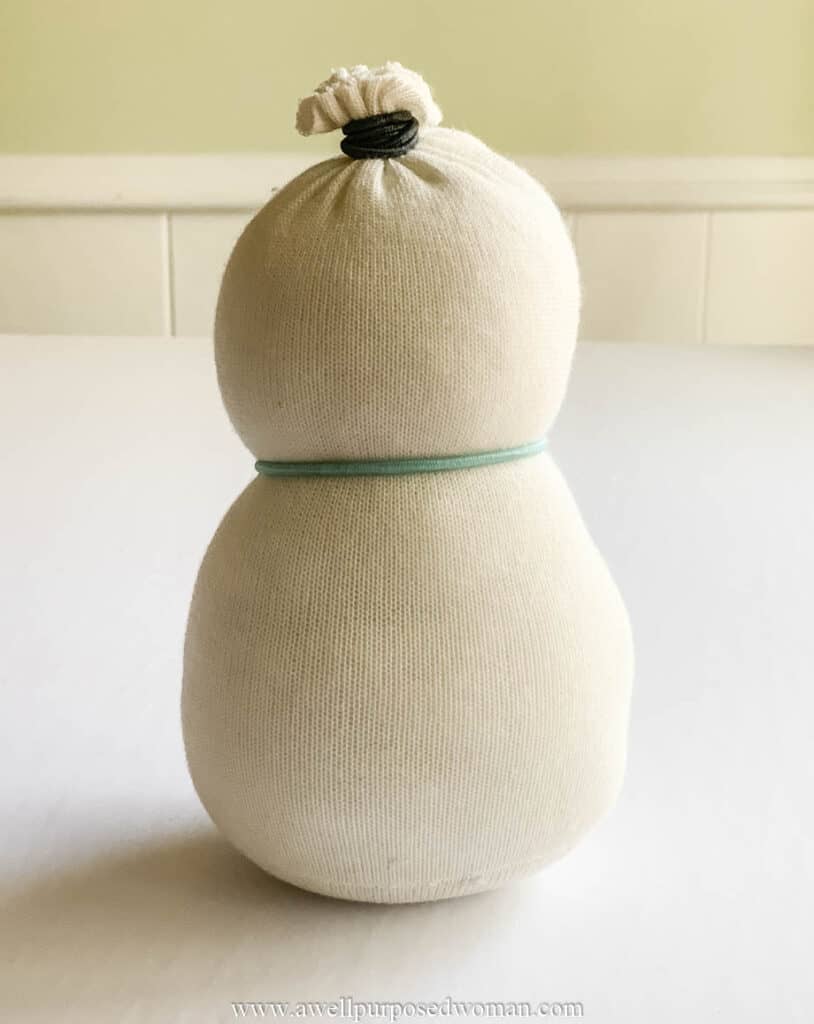
Use a second rubber band to define the head of your sock snowman.
Step 3: Make the hat of your sock snowman
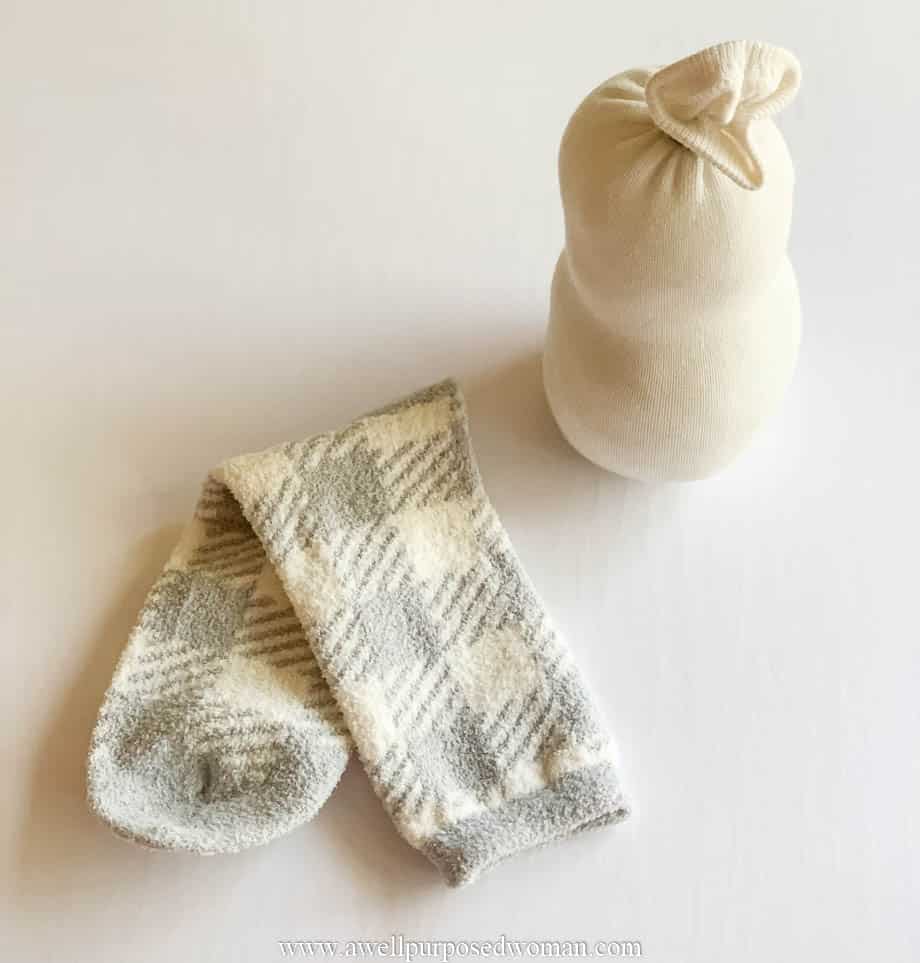
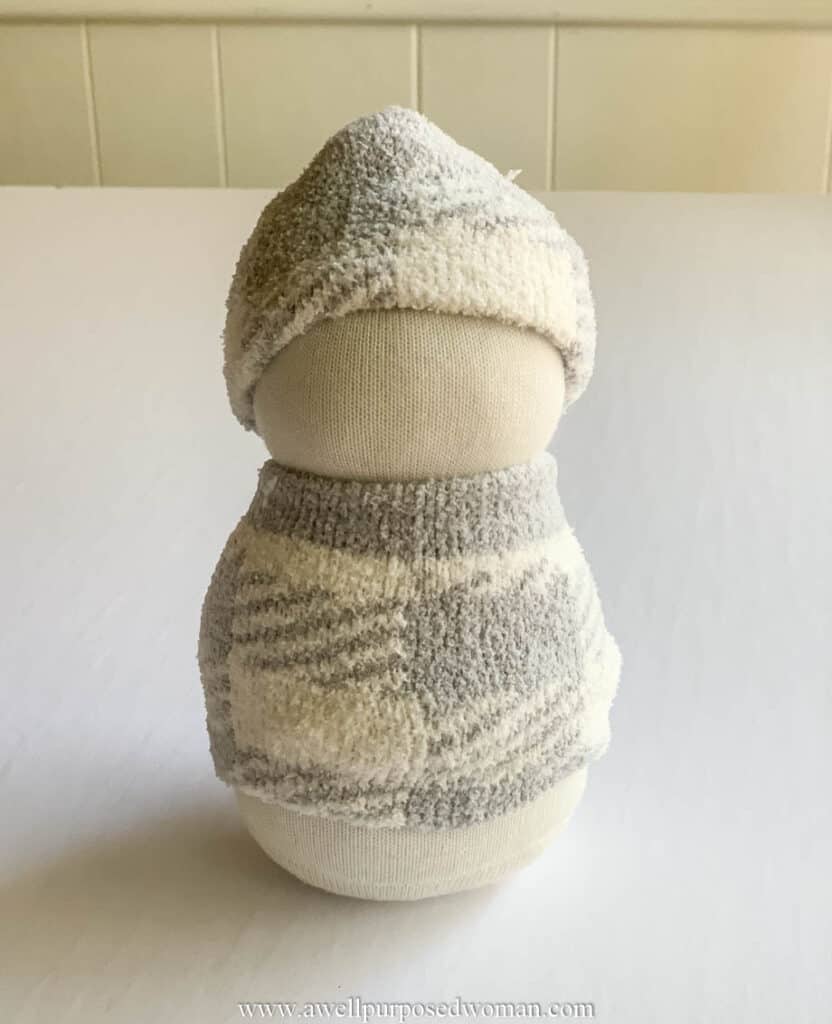
Taking your second colorful sock, cut off the bottom 4″ of the sock for the hat of your sock snowman.
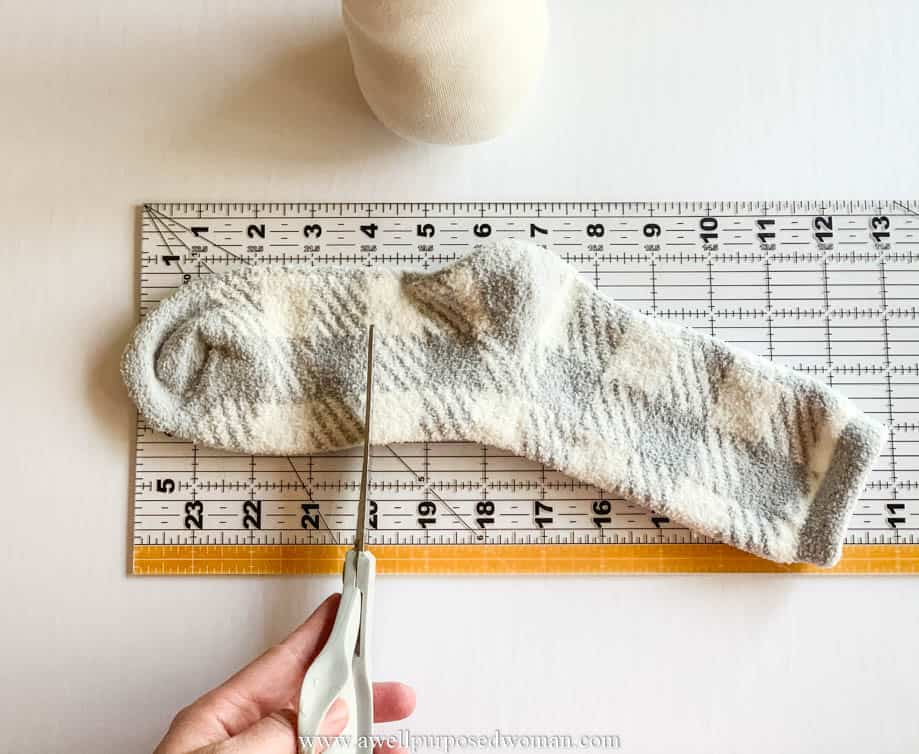
Fold the unfinished end of the piece about 1″ to form a hat for your sock snowman.
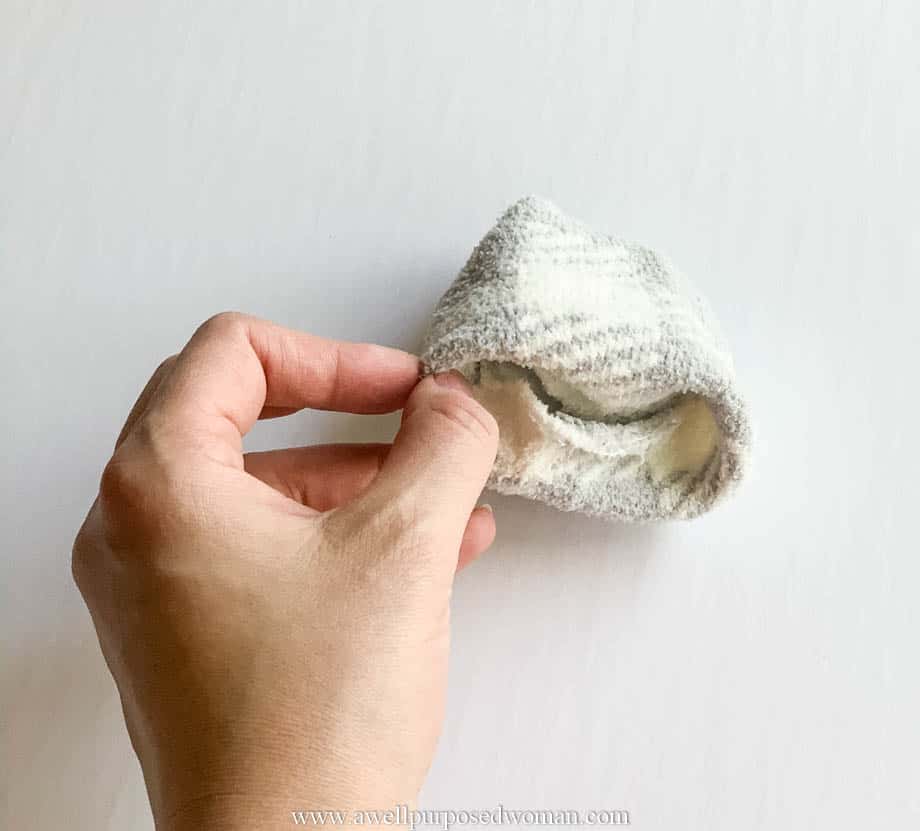
Then hot glue the fold in place so it does not come off.
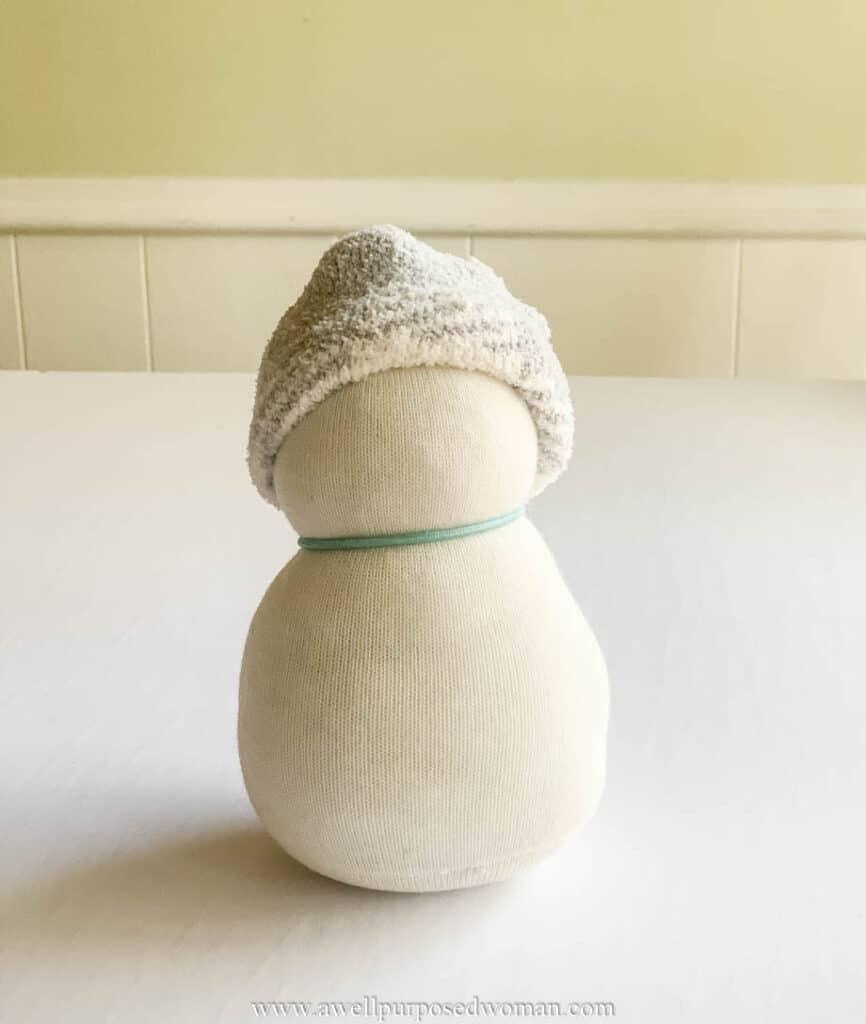
Step 4: Make your sock snowman’s jacket
Cut off the bottom 5″ of your colorful sock for the snowman’s jacket.
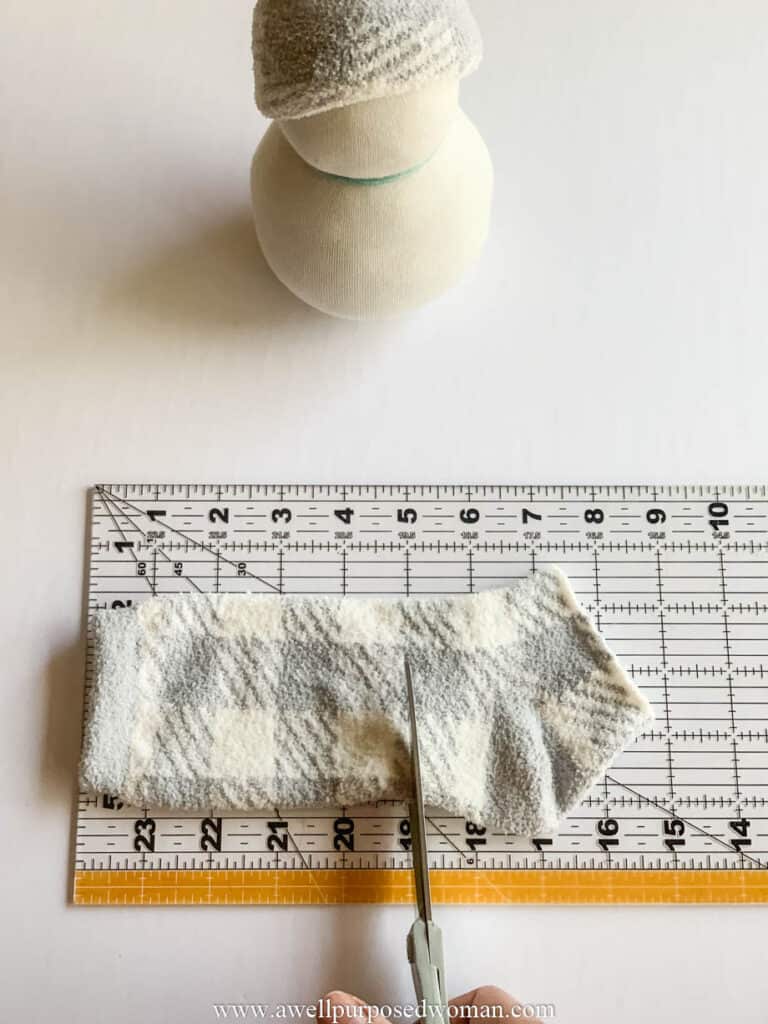
Fold the bottom 1/2″ unfinished side in and hot glue it in place for the sock snowman’s jacket.
I used the remaining heel portion of my sock to make a pom pom for the top of my sock snowman’s hat.
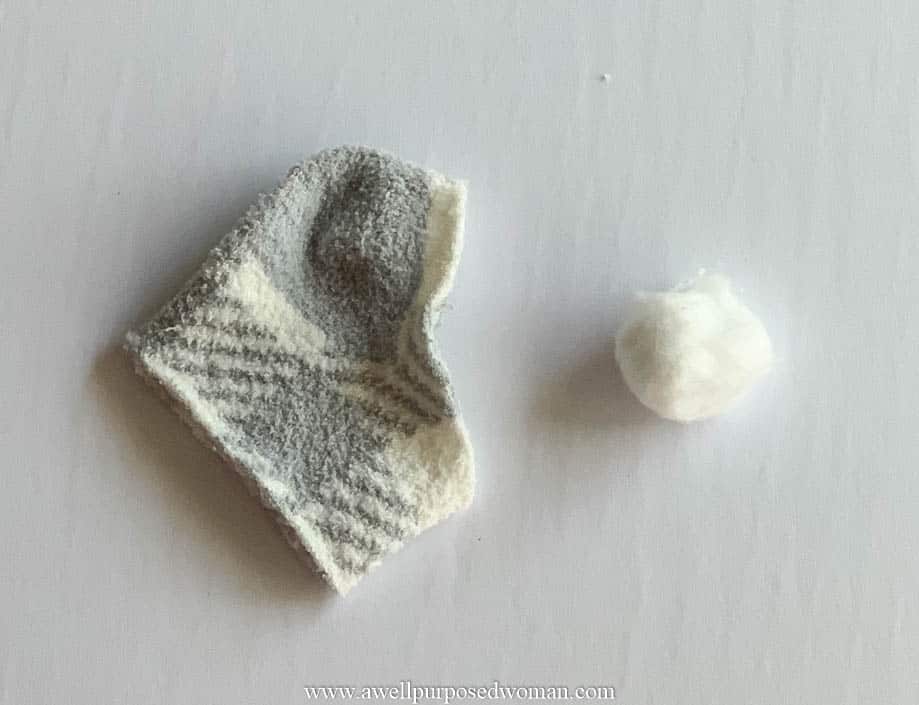
Take a cotton ball and cut around it with the heel portion of the sock.
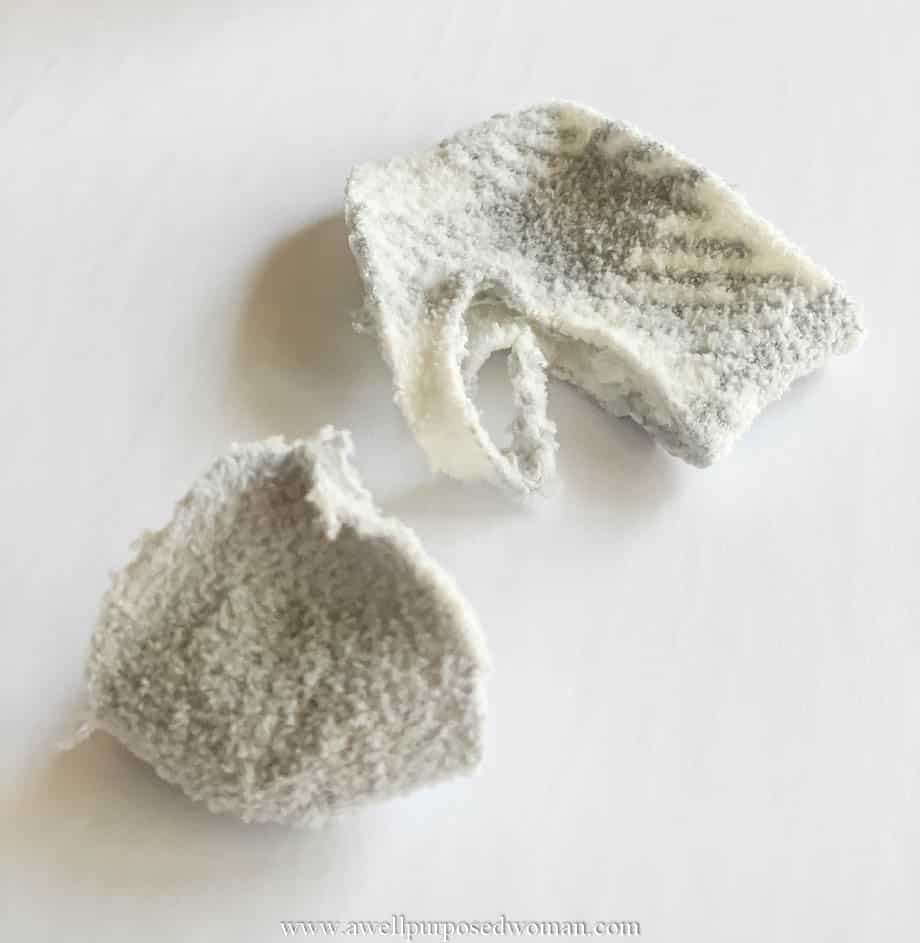
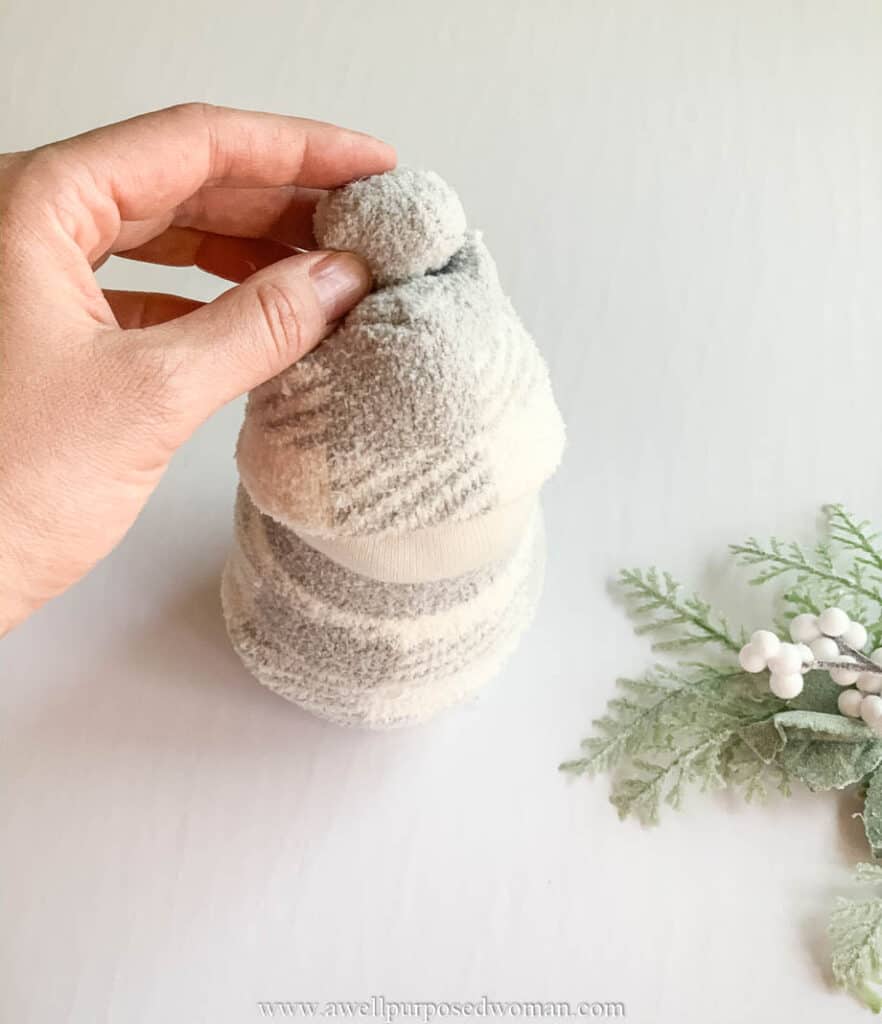
Then glue the sock around the cotton ball. Glue it on the top of the hat.
Step 4: Hot glue your buttons on your sock snowman’s face and jacket
Take your hot glue gun and glue the buttons in place on your snowman’s jacket.
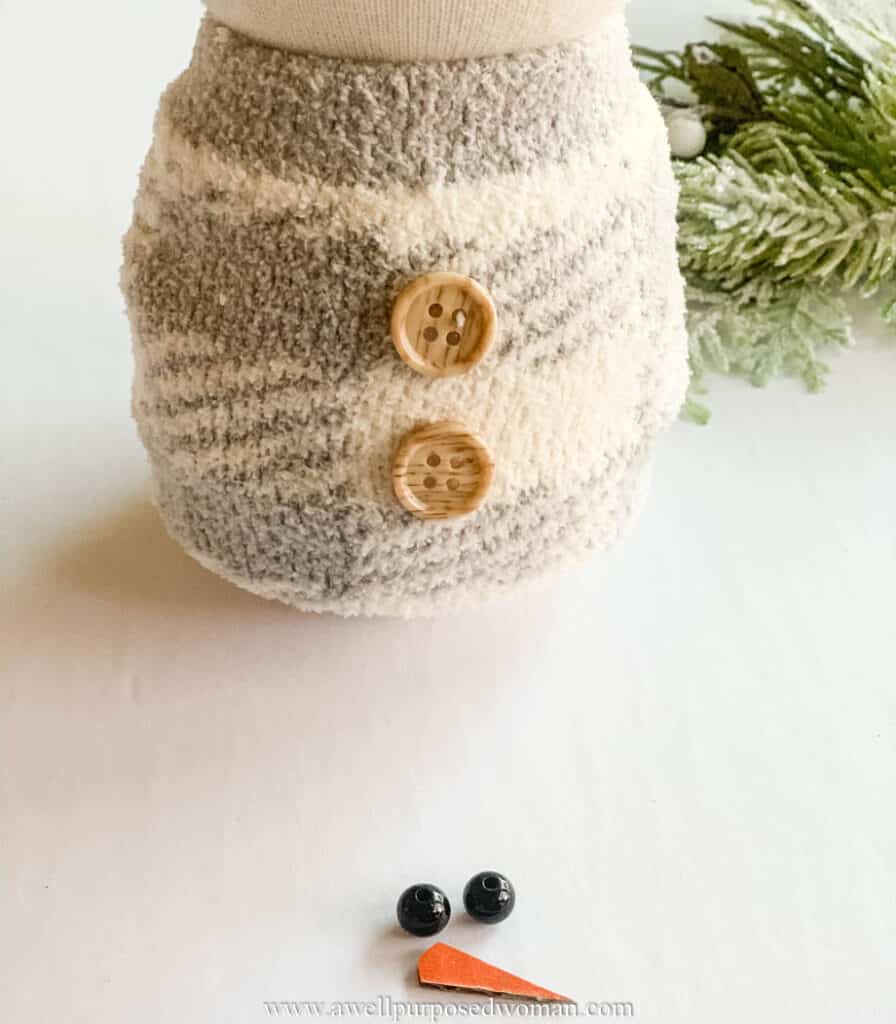
Next take your hot glue gun and glue your black beads on your snowman for the eyes. Press the beads into the snowman while gluing them in place.
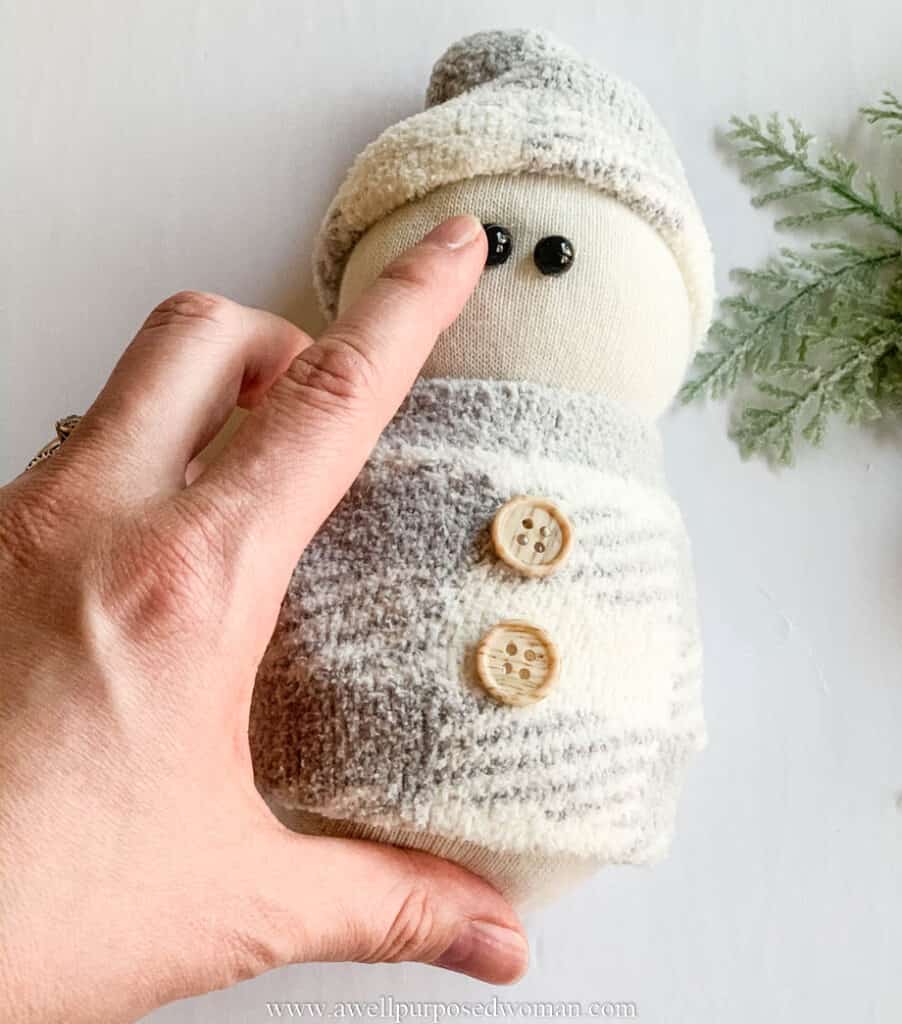
Then glue on your snowman’s nose. For my snowman I took a small piece of cardboard and painted it orange. You could also wrap a toothpick in orange thread or yarn to make a carrot nose.
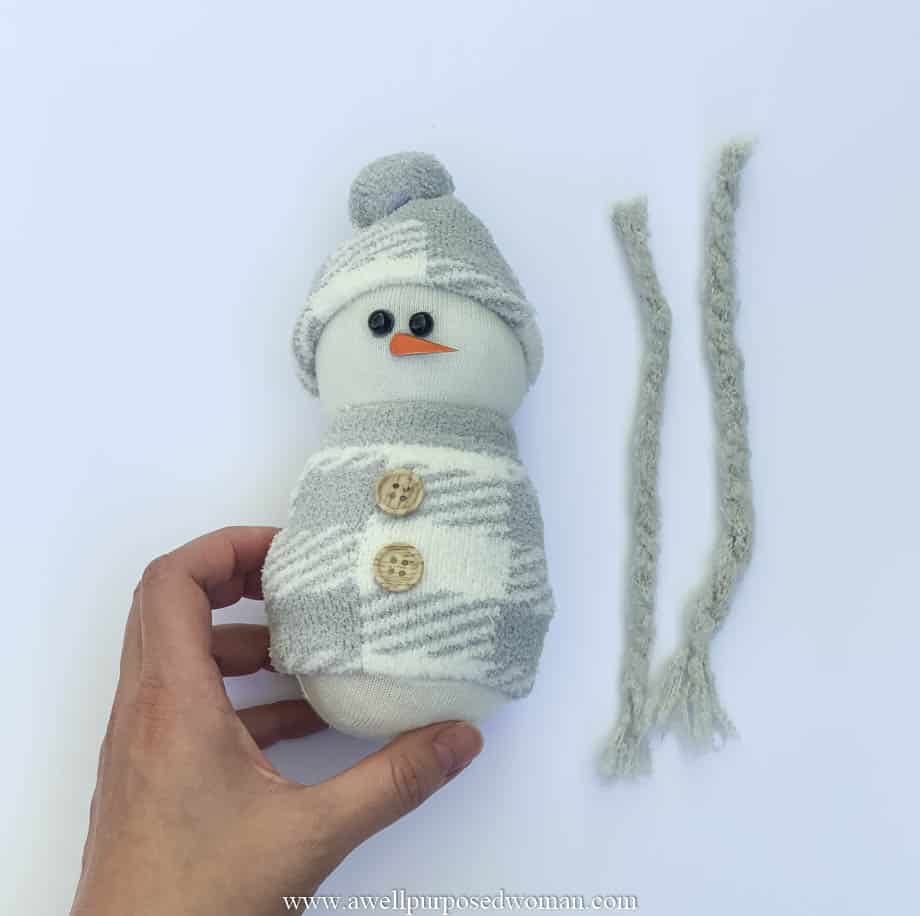
I thought my snowman could use a little more emphasis around his neck. So I also took two pieces of yarn from an old scarf I had and added them around his neck. You can also add any embellishments you like to make your sock snowman just right!
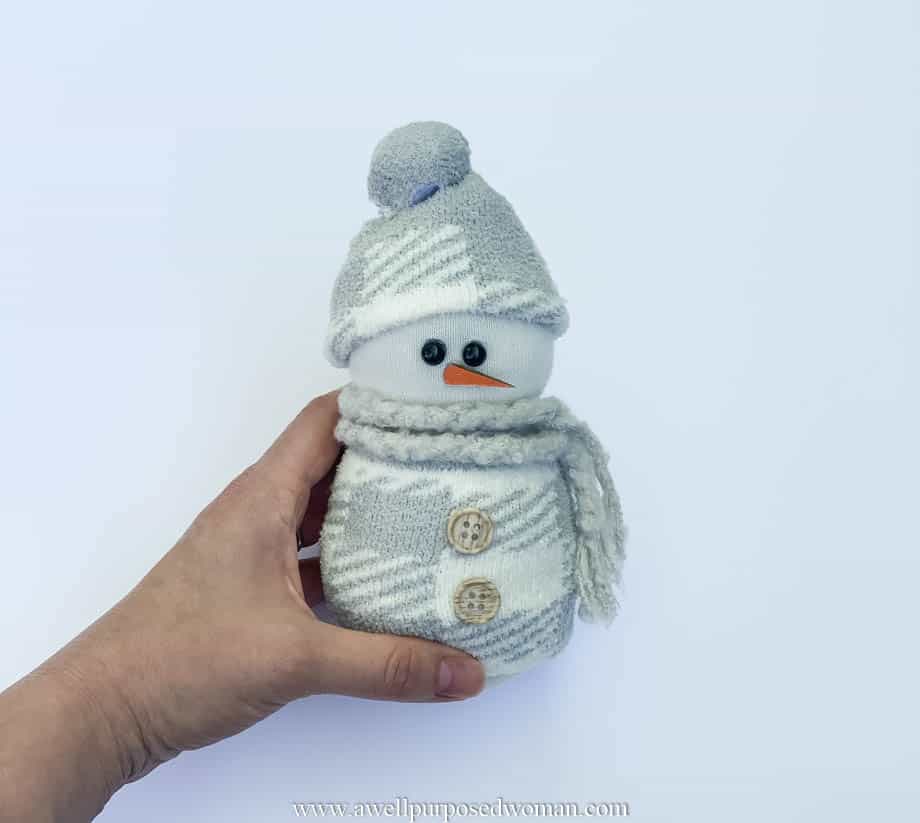
And that’s it!
Now you have a cute little snowman for winter. And he’s a perfect gift for friends and family this Christmas.
If you love giving old socks a new purpose!
If you love this sock craft you might also want to check out these other sock crafts… gnomes for Christmas, Valentine’s Day, a sock bunny for spring or pumpkins for fall!
Share your creations!
I also love to see what you are working on. Send me a picture of your latest creations at: elizabeth@awellpurposedwoman.com.
Happy Crafting!

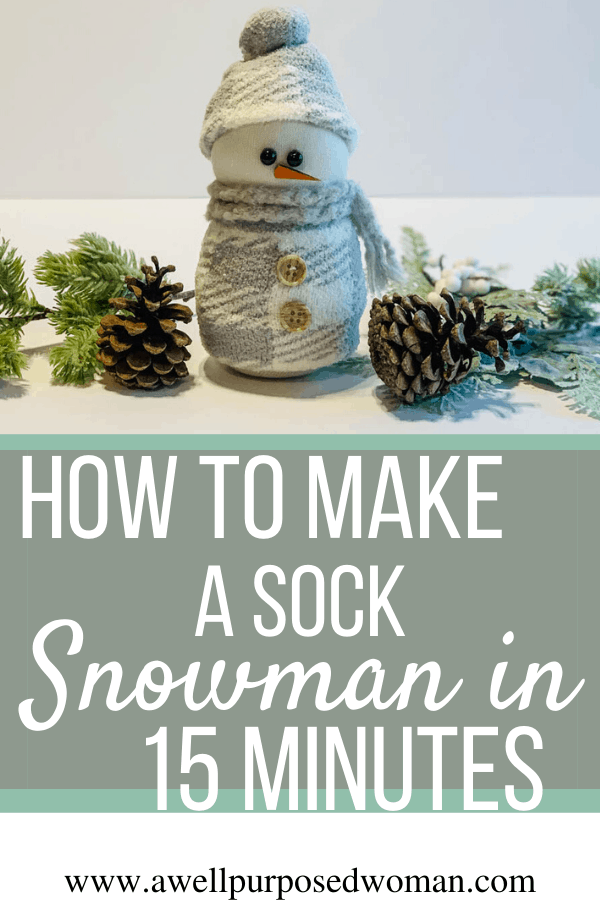
P.S. No time to craft now, pin it for later!







So very cute and I would love to try these.
One question: what size are the beads? About 4mm?
Thank you!
Hi Anita, yes you could try those. I think they are about 1/8”. Elizabeth