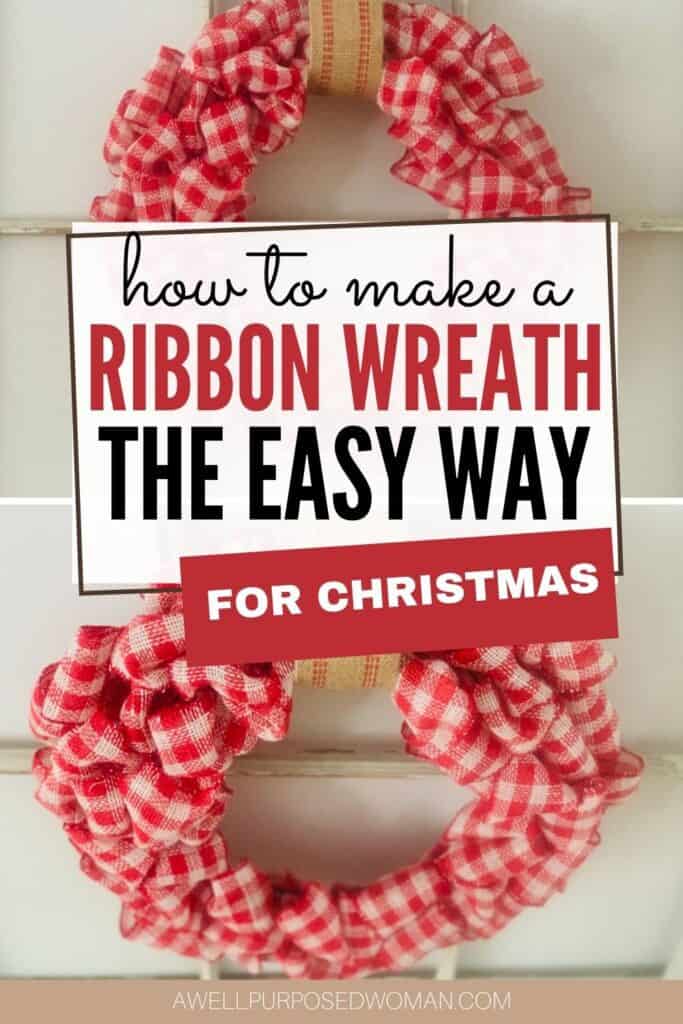
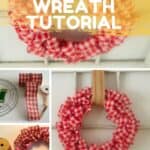
Learn how to make a ribbon wreath the easy way, with burlap ribbon. This tutorial is for a ribbon wreath that is super simple, but beautiful! Anyone can learn how to make a ribbon wreath in literally just a few minutes. Ribbon wreaths make a wonderful housewarming or Christmas gift.
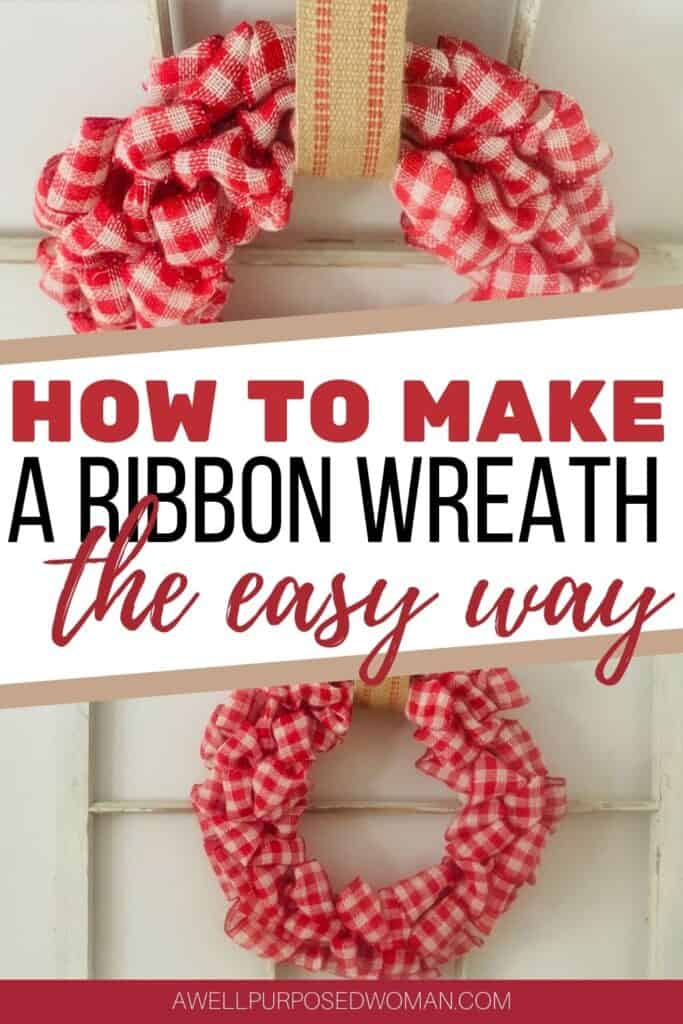
Last year I shared with you how to make a burlap wreath the easy way, using burlap and a wire wreath form. Today I want to show you how to make a ribbon wreath the easy way using this same technique. And I promise you the best part is it really is simple! But maybe you are still wondering if you can do it. I am here to tell you…yes you can!
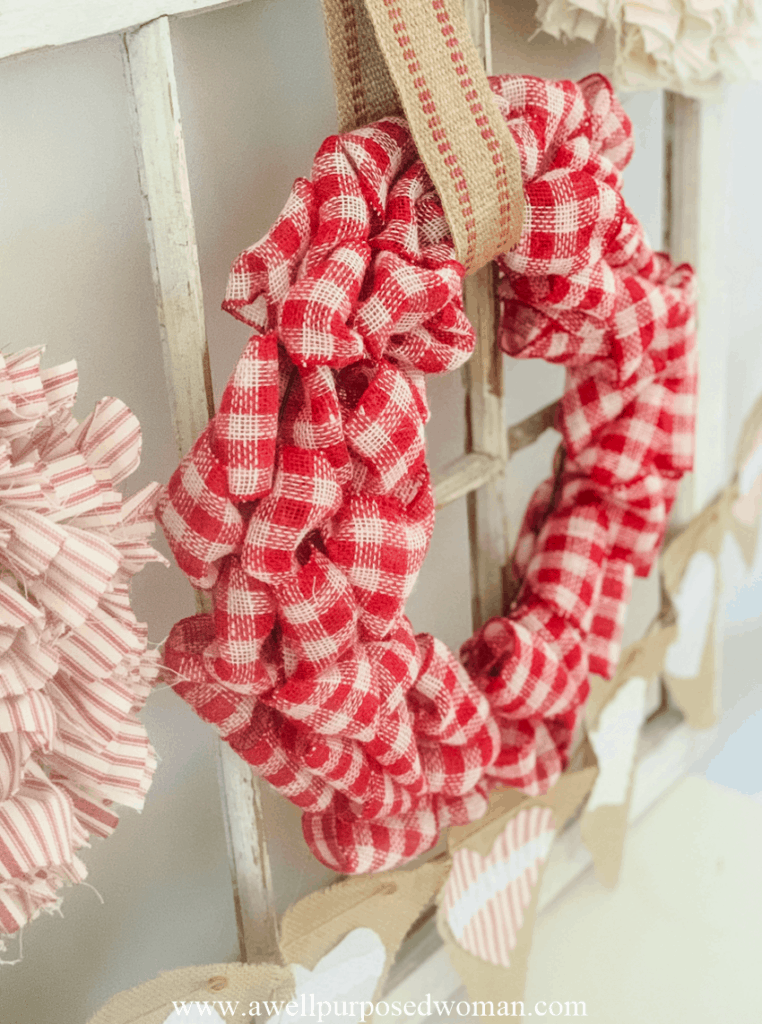
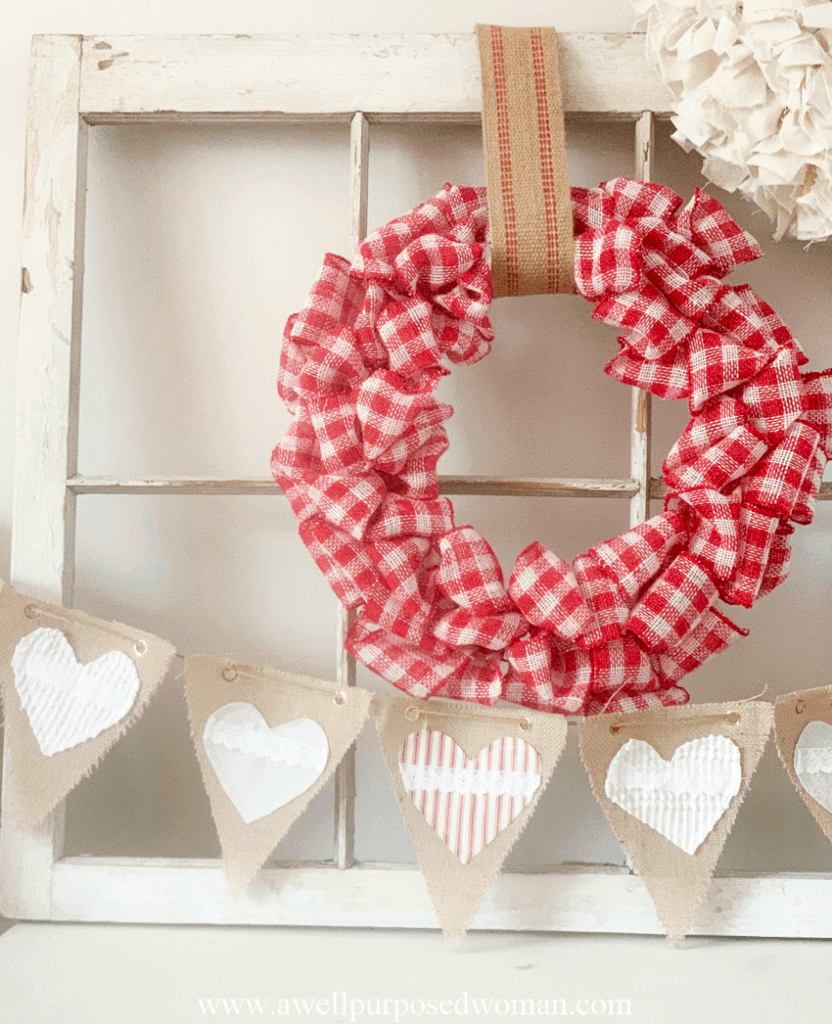
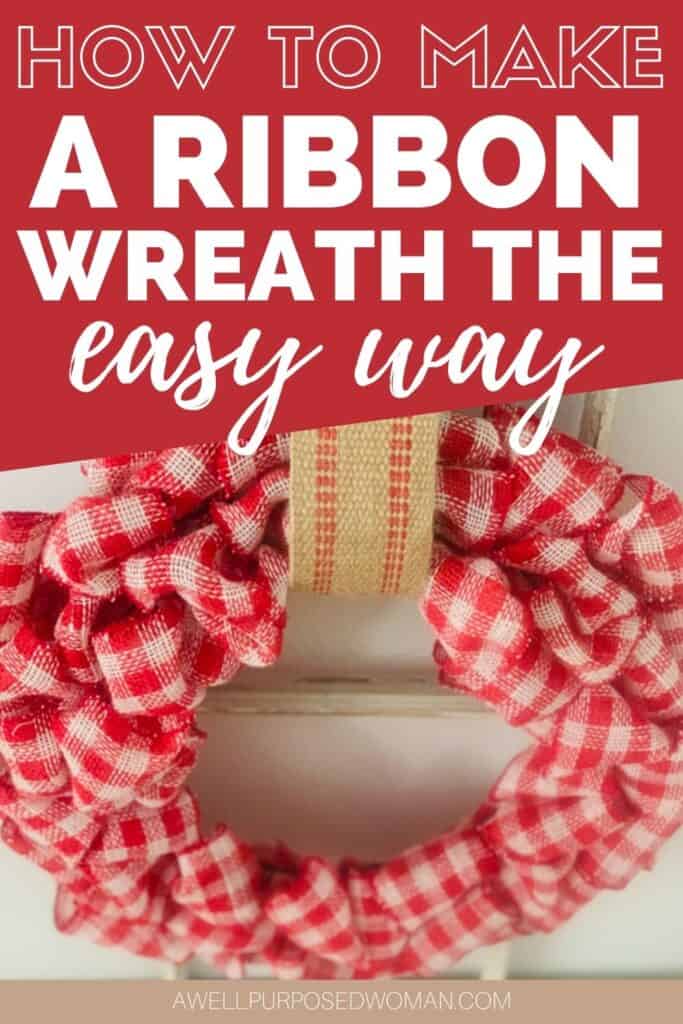
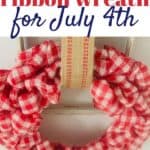
When you use ribbon or mesh the wreath is called a ribbon wreath. But making it is just as simple, if not easier than making a burlap wreath. I used farmhouse buffalo check ribbon for this ribbon wreath. I thought that it would work for Valentine’s Day, the 4th of July with a few American flags added. And for sure Christmas with some greenery like was added to this red burlap wreath.
With this ribbon wreath you will want to use ribbon that has a wire in it. This will help the ribbon wreath stay in place and maintain the bubble look. The trickiest part of making this ribbon wreath is the very beginning. So when you are getting started with it, the ribbon might move around more than you would like. But as you continue to add more rows of loops it will stay in place better.
So as you make your ribbon wreath, give yourself some grace in the beginning if it feels a little clumsy. You will get the hang of it and the more loops you make the better the ribbon wreath will start to look.
If you are ready to get started on making your own ribbon wreath! Let’s get started!
Prefer watching a video on how to make a ribbon wreath?
If you would rather watch a video I have created a video with the step by step instructions for you below.
I have included affiliate links to make it easier for you. (So if you would purchase a product after clicking a link, I receive a small commission but don’t worry there’s no extra charge to you.)
How much ribbon is needed to make a ribbon wreath?
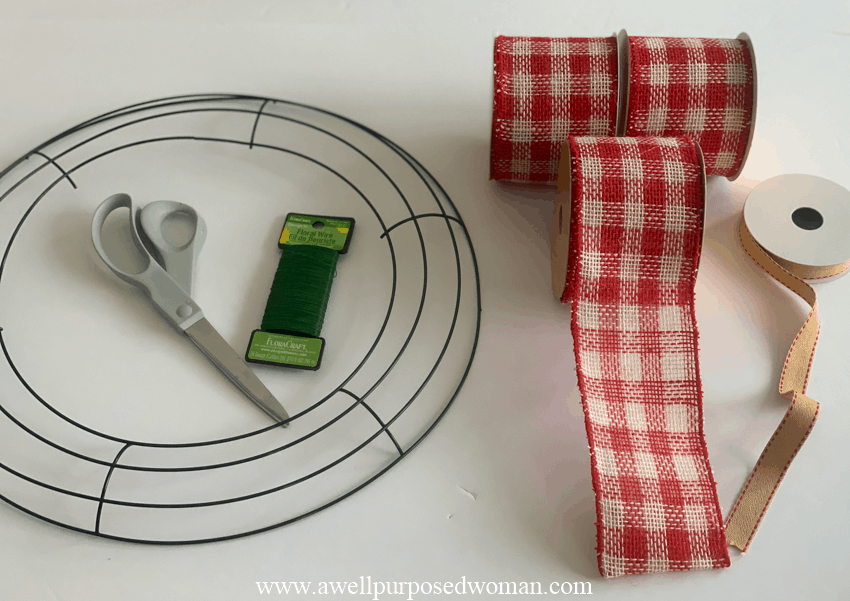
Here are the supplies needed to make a ribbon wreath:
- Free written instructions
- Wire wreath form (12″-14″)
- 2- 3 rolls of 3″x 15 ft ribbon (2 rolls for 12″ form, 3 for 14″ form)
- Floral wire
- Scissors
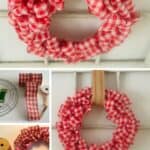
Here’s how to make a ribbon wreath the easy way from ribbon :
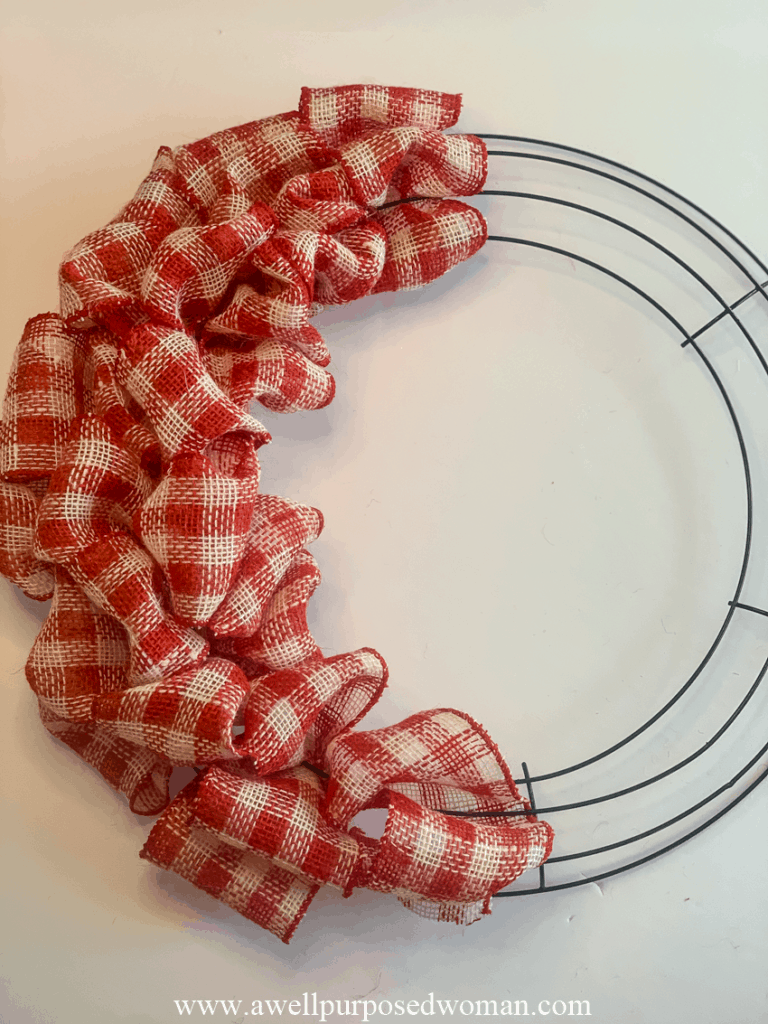
Step 1: Wrap ribbon around the wreath
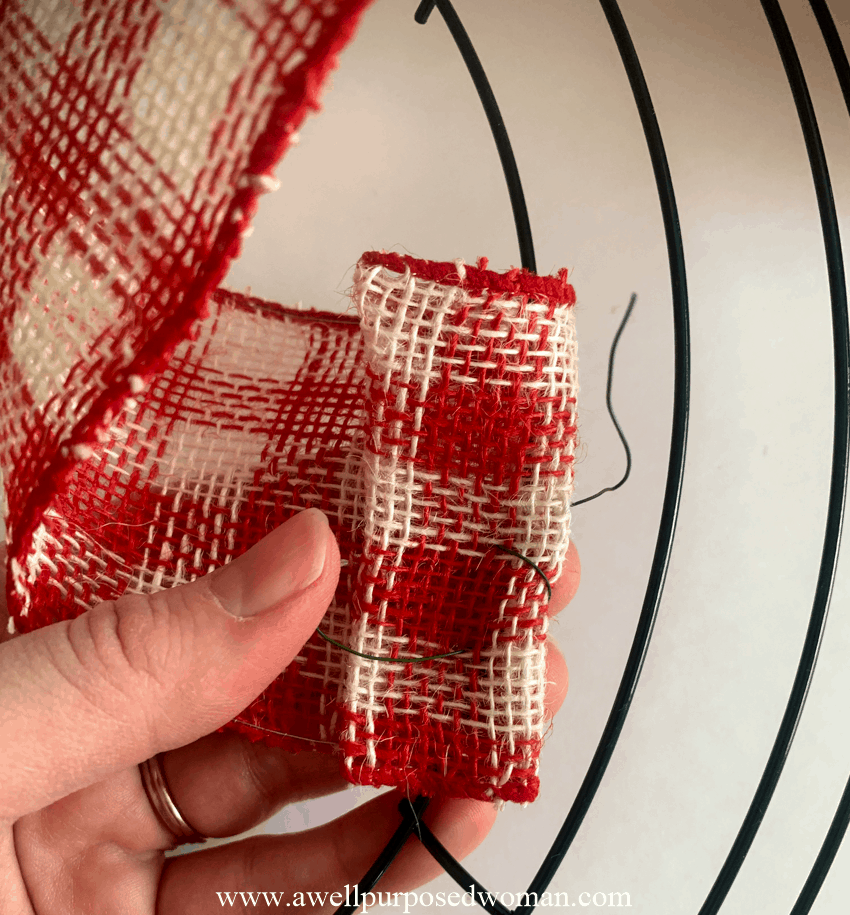
Fold the end of your ribbon and attach to the wire wreath form. Start with the end of your ribbon. Fold the end in half and use floral wire to attach the ribbon to the innermost ring of the wire wreath form.
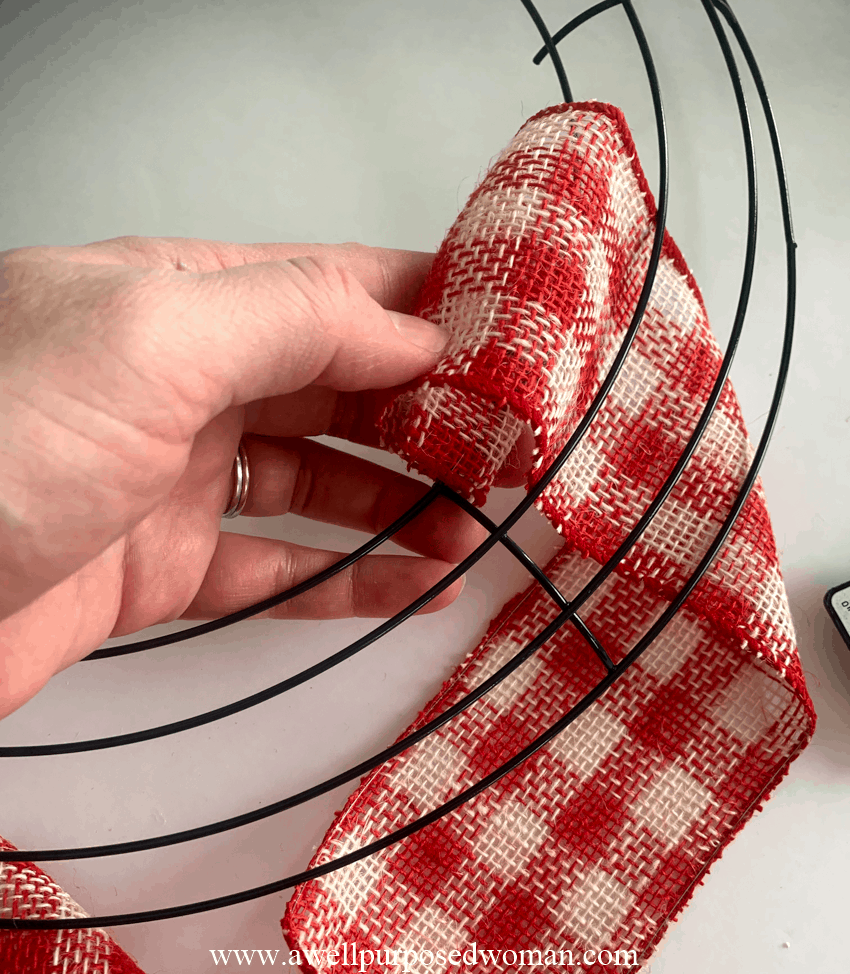
Step 2: Loop the ribbon through the wire wreath form
Starting with the innermost ring. Loop the ribbon through each space in the wire wreath from. Make your loops about 2″ tall. This is really a personal preference if you prefer a tighter wreath you could also make your height closer to 1.” But to make nice bubbles that cover the wire form you need about 2″.
Make loops in the other two spaces.
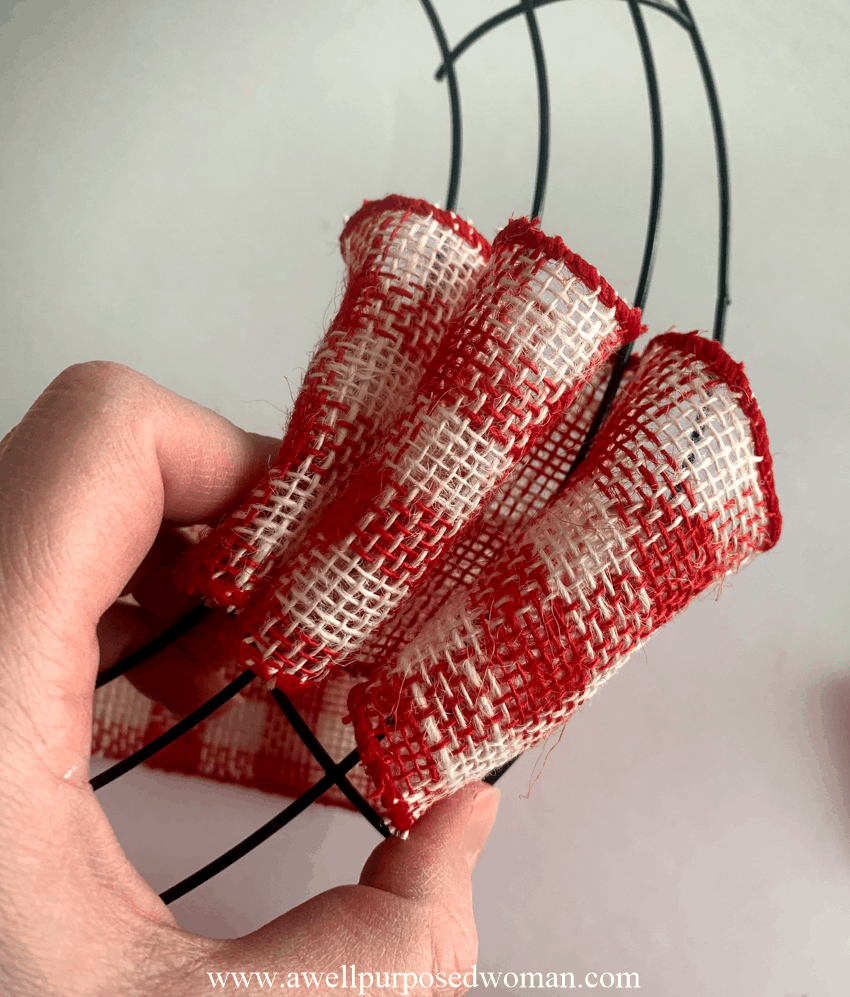
Tip: Vary where you make your loops so that the ribbon covers the wire wreath form completely.
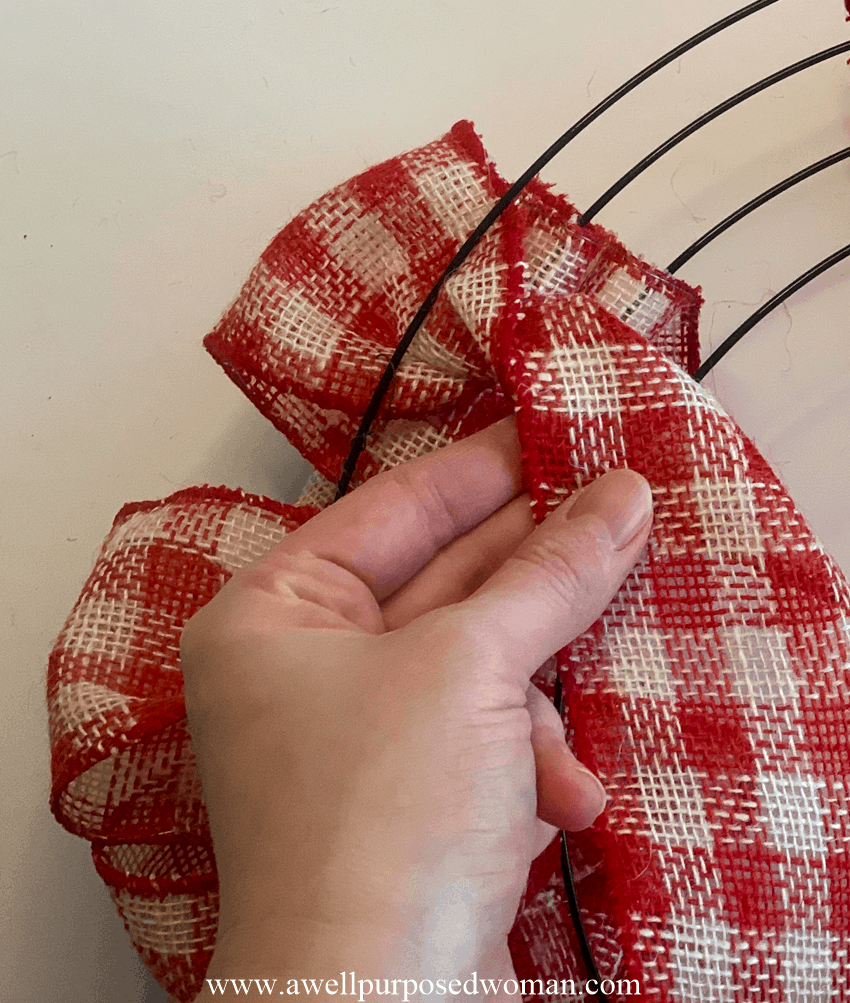
Step 3: Twist the ribbon on the under side of the wire wreath form
Once you have loops in all the three spaces of the wire wreath form, twist the ribbon on the underside before starting the next row. Then start again and loop your ribbon in the first, second, and third spaces of your wreath form, twist on the under side, three loops, twist on underside…. Continue repeating this pattern until you get to the end of your ribbon. Adjust your ribbon to your liking as you go.
Step 4: Attach the end of the ribbon to the wire wreath form

When you get to the end of your roll of ribbon, attach the end of the ribbon to the wire wreath form with floral wire. This doesn’t have to be perfect and the bubbles will help disguise the start and end points of your ribbon.
And that’s it…. just repeat this process for your next roll of ribbon!

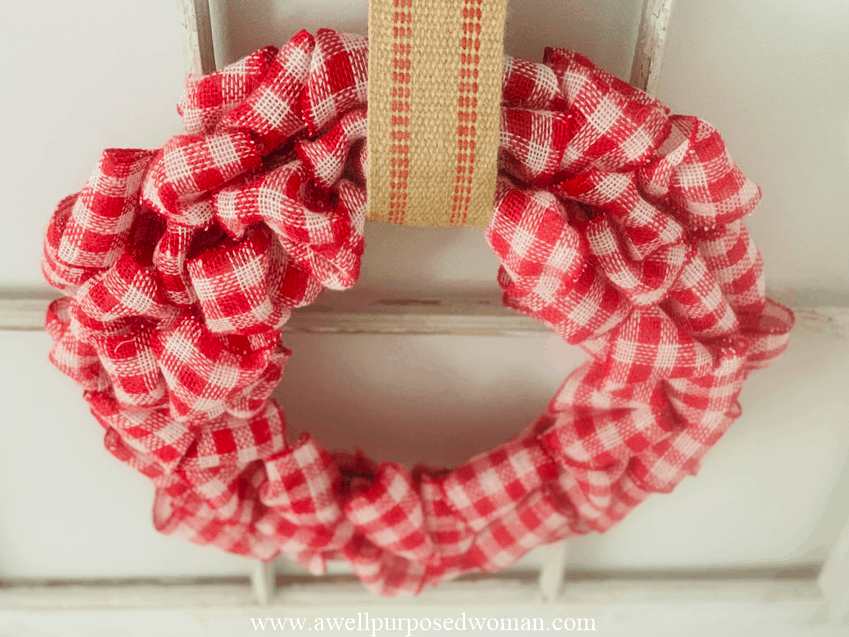
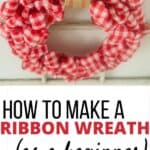
Then just hang up your beautiful ribbon wreath!
The last step is to hang up your bubble wreath. Because I like a farmhouse feel I used upholstery webbing to hang my wreath, similar to the red burlap wreath I made for Christmas. You can use plain twine or ribbon as well.
I am kind of amazed at how easy these wreaths are! And as I mentioned earlier these bubble wreaths make such beautiful gifts for housewarming or any occasion. You can still make one in time for Valentine’s Day tomorrow,for a gift that can be used throughout the year.
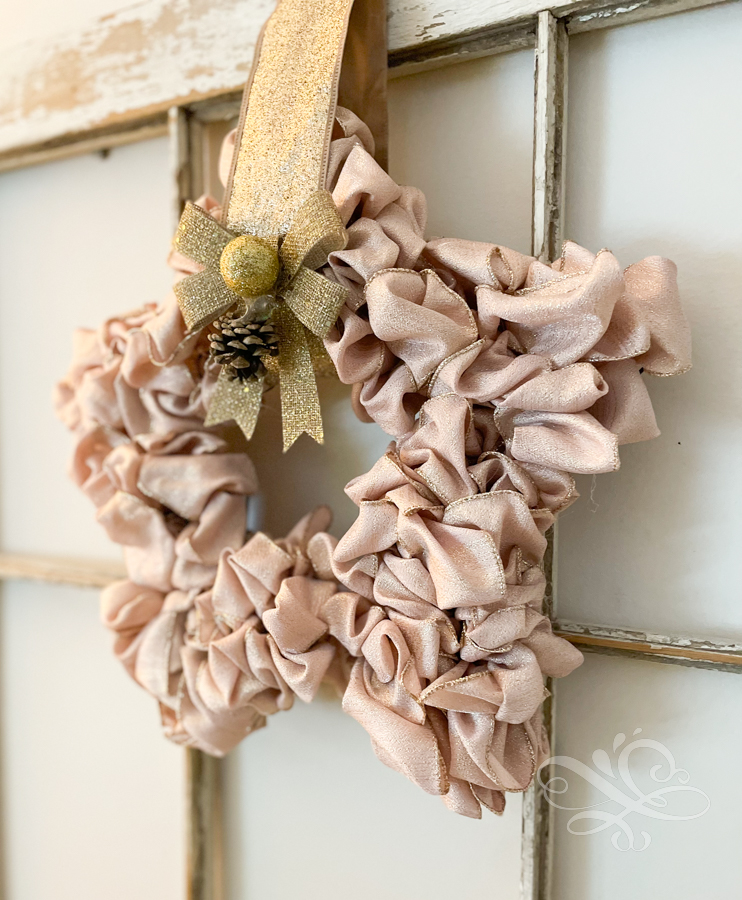
Do you know you can make ribbon wreaths in different shapes?
I made this star ribbon wreath out of a star wreath form. The process is the same as making the regular ribbon wreath with a few special exceptions for the star wreath form.
No time to craft now? No worries! Just pin it for later!
Thanks so much for stopping by! As always I love to see the work you do too. Please email me at: elizabeth@awellpurposedwoman.com if you make a ribbon wreath and let me know how it turns out!
Happy Valentines Day to you!
Love,


Will the loops not pull out if someone pulls at them? Thanks. I want to try this but I am worried about that. I wonder if you could put a little hot glue on the back of the wreath where you come through to make the loops?
Thank you,
Karen
Hi Karen, The loops are a little loose at the beginning but they actually stay in really well as you add more. I don’t think hot glue is neccessary at all as it makes a very sturdy wreath but you could always give it a try. Happy Crafting! Elizabeth
Thanks for sharing, it was very easy. tried to post a picture of my wreath but wasn’t able too.
Hi Donna! I am so happy to hear that! Take care and Happy Crafting! Elizabeth
Can I use a non-burlape ribbon and can I use a 2 1/2 inch ribbon?
Hi Annie! Yes to both questions. Happy Wreath Making! 💕 Elizabeth
About how many sets of loops in each section?
Hi C, I do about 5 loops in each section. Take Care and Happy Crafting! ELizabeth
WOW! THIS WAS SO HELPFUL! THANK YOU!!!
ESPECIALLY THE TWIST ON THE BACKSIDE…THAT WAS THE MISSING PIECE FOR ME
Great! So happy it helped! Happy Crafting! Elizabeth
I would love to make this. Where can I purchase the ribbon?
You can purchase the ribbon at any craft store? I will link to some ribbon in the post. Elizabeth
Do you have to pull the ENTIRE length of ribbon through for each loop? All 15 feet of ribbon? What am I missing?
No you are just looping the ribbon through. You aren’t pulling the full length of the ribbon through. Elizabeth
I like this wreath is does look easy to make thank I am going to try it
Yes! It is! Please let me know if you have any questions. Elizabeth
I would love to do this. I only have one question … How do you do the next row. I understand how to weave it and how high the loops, but how do you do the next row once you come to the end?
Hi Kathy, just make the three loops. Then twist the ribbon behind the wreath and come back up on the bottom and make the three loops again. Elizabeth
Do you go back to the top row or start again in the row you twist off in?
Hi Vo, After you twist in the back. Start again with the top row. Elizabeth
LOVE IT!
Great! Happy Crafting! Elizabeth