Learn how to make an ornament wreath the easy way with this step by step tutorial. Making an ornament wreath can be quite a feat, so read through this tutorial to learn how to make one with less hassle. Learn how many ornaments you need to make an ornament wreath and other tips to make it go faster.

Welcome to Day 6 of our Craft a Day Countdown to Christmas tody we are making Ornament Wreaths! Ornament wreaths are quite expensive and if you search for them you will find most of them are upwards of $100! So this is a perfect project to DIY and save yourself some extra money.
Three years ago I bought the ornaments to make this wreath on sale after Christmas for just a few dollars. So I think in total this wreath cost less than $20 to make. Plus you get the added bonus of conquering a new DIY skill!
To be honest with you making this ornament wreath takes a little longer than most wreaths. It requires an extra amout of patience. In total this wreath took me 2 hours to make, but that does include time to snap pictures and videos to share with you. 😀
Learning how to make an ornament wreath is a bit of a feat, but if you are up for a challenge then let’s get started!
A list of the supplies needed to make an ornament wreath:
- Straw Wreath Form
- 50 Large ornaments
- 50 Medium Ornaments
- 80 small ornaments
- 20 miniature ornaments
- High temp glue gun & glue sticks
- Ribbon to Hang the wreath
- Patience 😂
Watch a video tutorial on how to make an ornament wreath:
Here’s how you make an ornament wreath the easy way:
Step 1: Attach your ribbon to hang your ornament wreath
The first step you don’t want to forget is to attach your ribbon, wire or twine to the top of your wreath. This will be how you hang your ornament wreath.

Step 2: Remove your ornament caps
Before you attach your ornaments to your wreath form remove the ornament caps from the oraments.
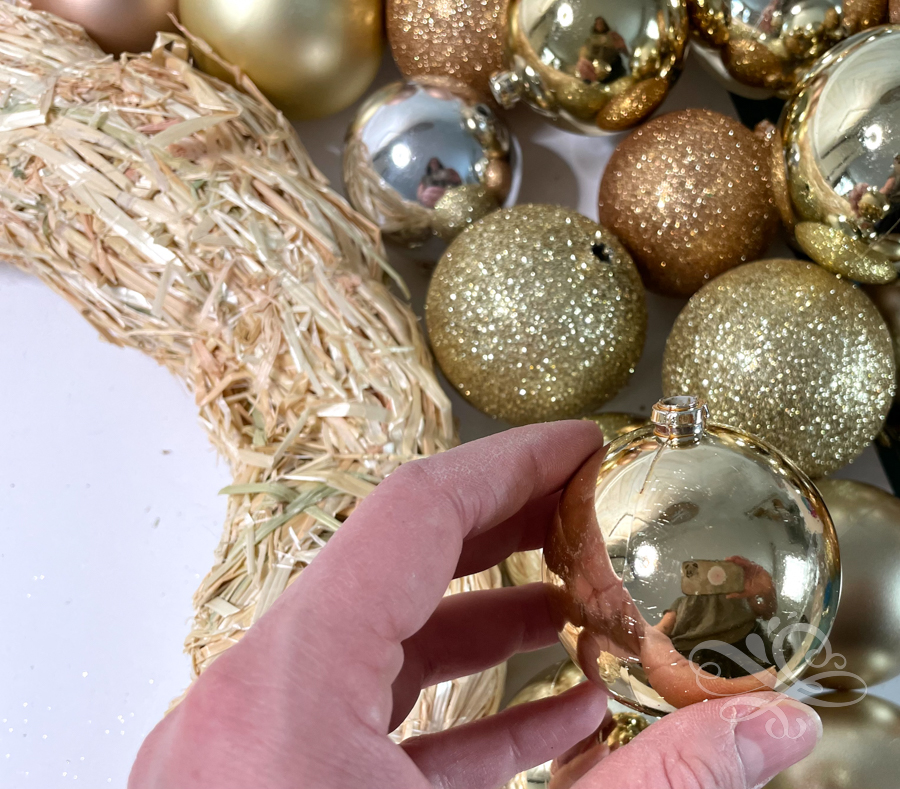
Step 3: Attach your larger ornaments on the outside perimeter of your ornament wreath
Now we are going to start on the outside of our stray wreath and attach all of our larger ornaments. I had three to four colors of ornaments. I just picked a pattern with the color and attached the ornaments all the way around the wreath.
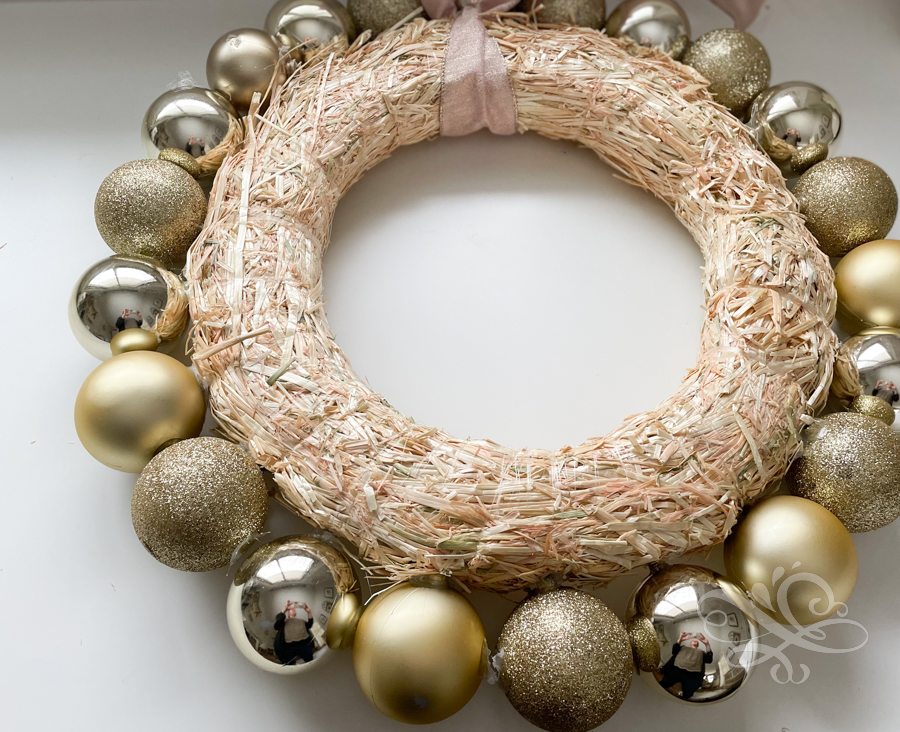
Hot glue the area where the ornament touches the straw wreath form and glue in between the ornaments.
A couple of tips I learned on making a ornament wreath:
1. Attach your ornaments just to the side of the center of your ornaments where the cap attaches. The center of the ornmament does not adhere well to the straw wreath form, so hot glue just to the side of the center to get the best adhesion.
2. Patiently hold your ornaments in place until the glue dries. The only bummer with using the high heat hot glue gun is that the glue takes longer to dry. You will need to be more patient to ensure that the ornaments are adhering well to the straw wreath form and to the neighboring ornaments.
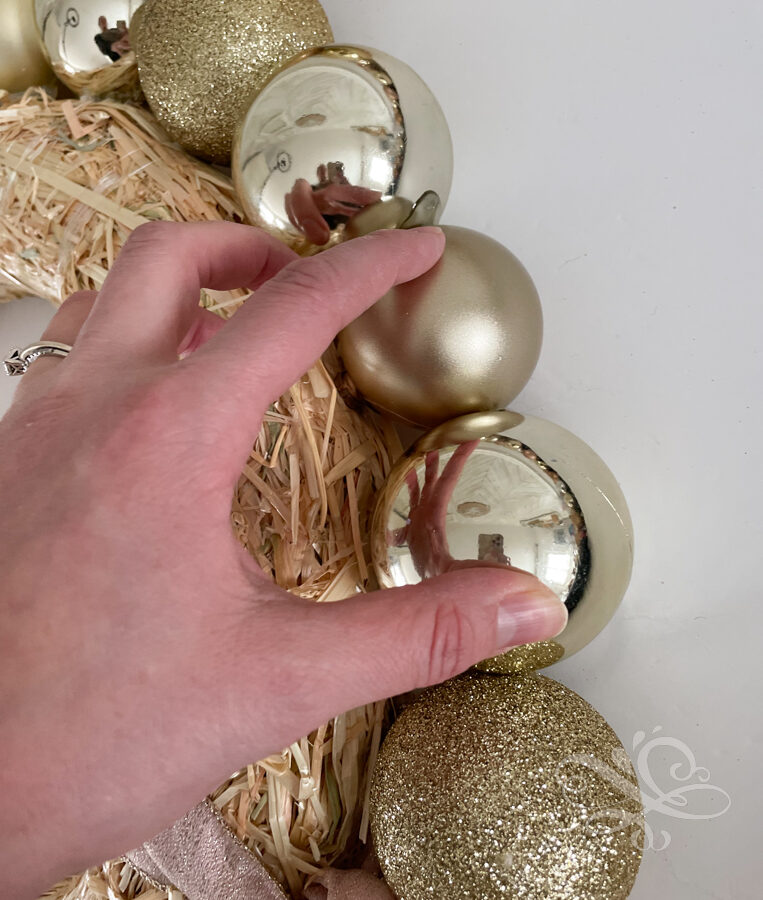
3. Don’t worry about gaps in between the rows of ornaments. The smaller ornaments will fill in the gaps.
Step 4: Attach the medium sized ornaments on the inner ring of the wreath form
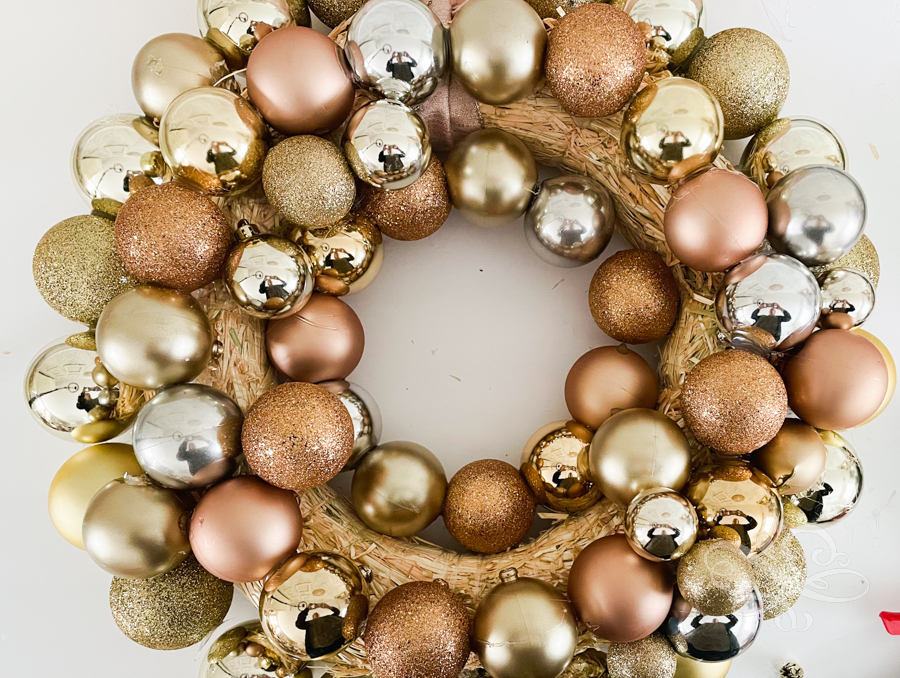
Now move to the center of your wreath form. In the same way as you attached ornaments to the outside of the wreath form, attach ornaments to the center of your wreath form. Hot gluing the ornaments to the wreath form and to the ornament next to it. Do this all the way around your wreath form. Allow the glue to thoroughly dry.

Step 5: Attach ornaments around the top of the wreath form
Now move to the top of the wreath form. Hot glue a circle of ornaments on the top face of the wreath right in the center. Again hot gluing the ornaments just to the side of the place where the ornament cap was located and on the side of the ornament attaching it to the neighboring ornament.
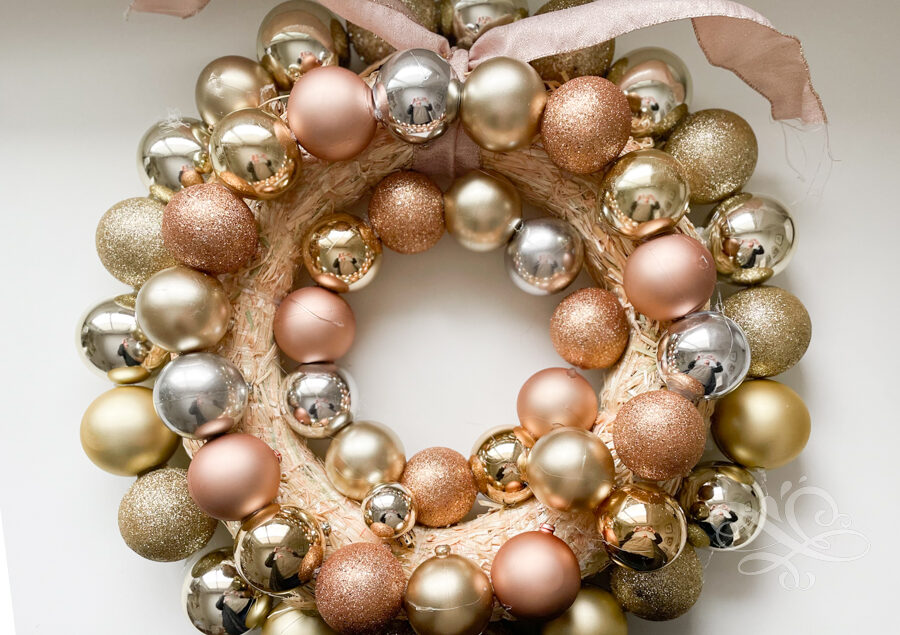
Fill in any bigger gaps with any ornaments you have available. Once the glue dries we are ready to move on to the next step.
Step 6: Attach the smaller ornaments & fill in any gaps
Now that you have a lot of your wreath covered the rest is like a jig saw puzzle. Fill in any gaps with the ornaments that best fill in the space. Use the smaller ornaments to cover any small areas.
Step 7: (Optional) Add a bow & any extra embellishment
If you feel like your wreath could use a little embellishment like a bow or ribbon. Tie a bow and attach it to the wreath at this point. I used this shimmery ribbon to make a bow that matched the wreath.
And that’s it! Now just hang your wreath where you want it.
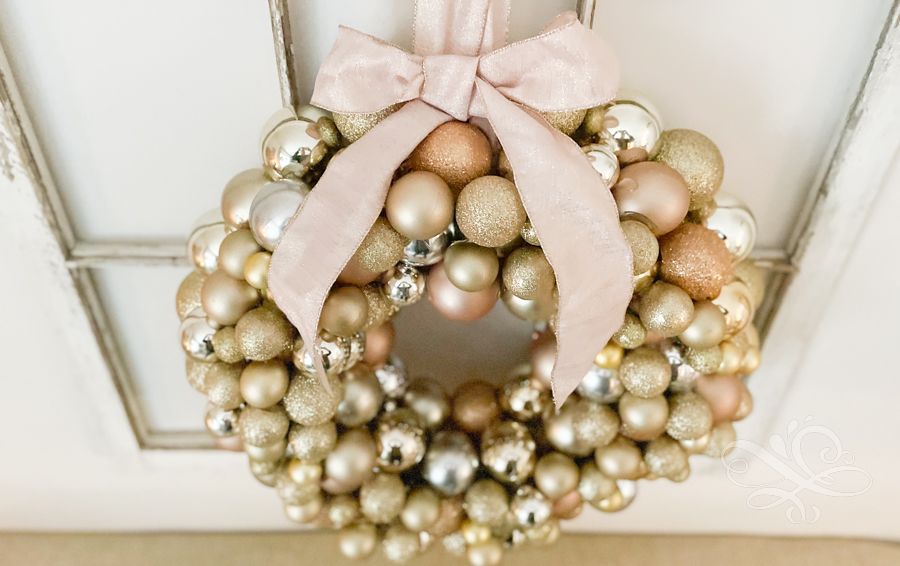
I do have plans to give this ornament wreath to someone as a gift, but it’s a secret for now!
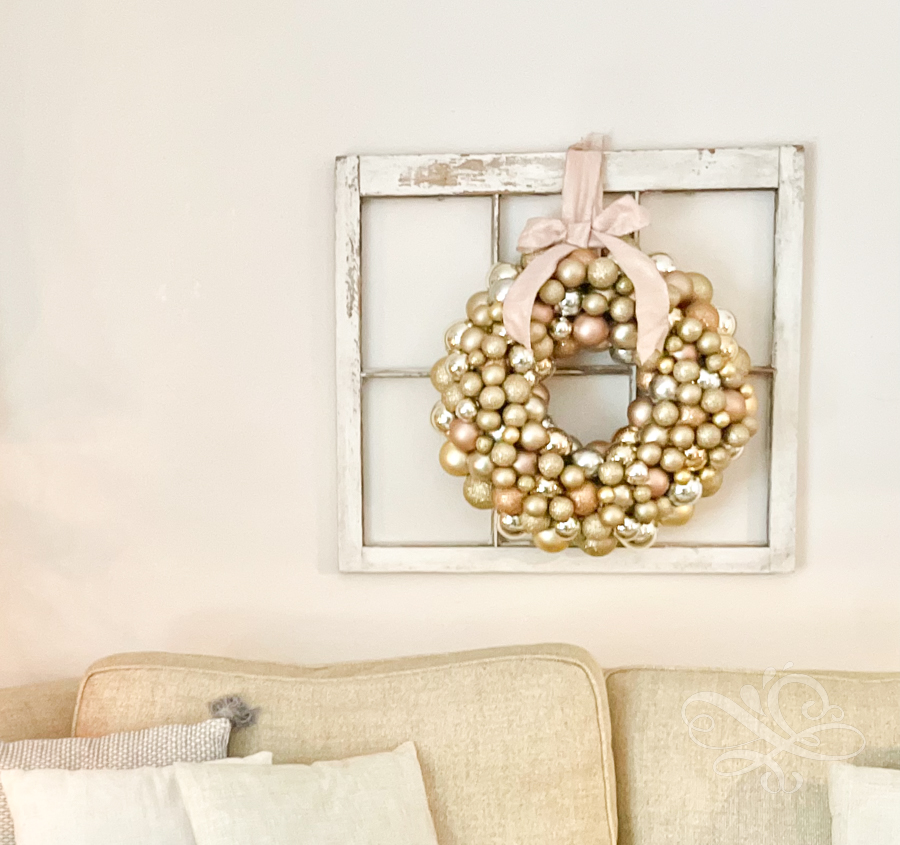
So today I liked hanging the wreath in our living room since the ornaments on our Chrismas tree are the same as the ones in the wreath.

My husband said the wreath is, “Stunning.” And I think I agree. It was a little bigger project than I thought it would be but I do really love how it turned out! What do you think of it?
Please let me know if I have inspired you to try to take on this feat of a wreath for yourself this Christmas!
Take care and God bless!

Did you miss the other days in the Christmas Craft a Day Countdown? No worries Check them out below:
1: Dry Out Oranges for Garlands and Ornaments
4: How to Make a Star Wreath out of Chunky Yarn
5: How to Make Christmas Trees out of Yarn
No time to craft an ornament wreath now? No worries! Just pin for later.


Leave a Reply