Disclosure: This post contains affiliate links.
I am so glad it is spring! I love all the new life that appears and seeing the snow disappearing. In Minnesota we had so much snow this year I thought it would be here forever but now it is almost gone!
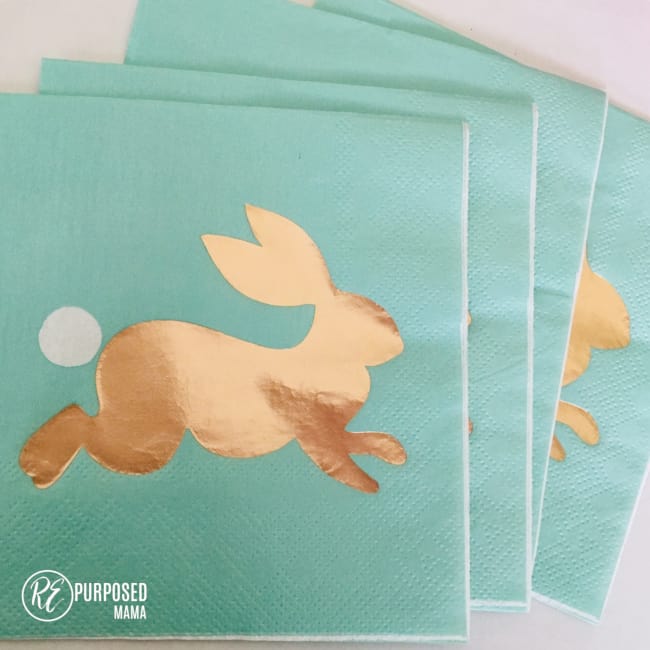
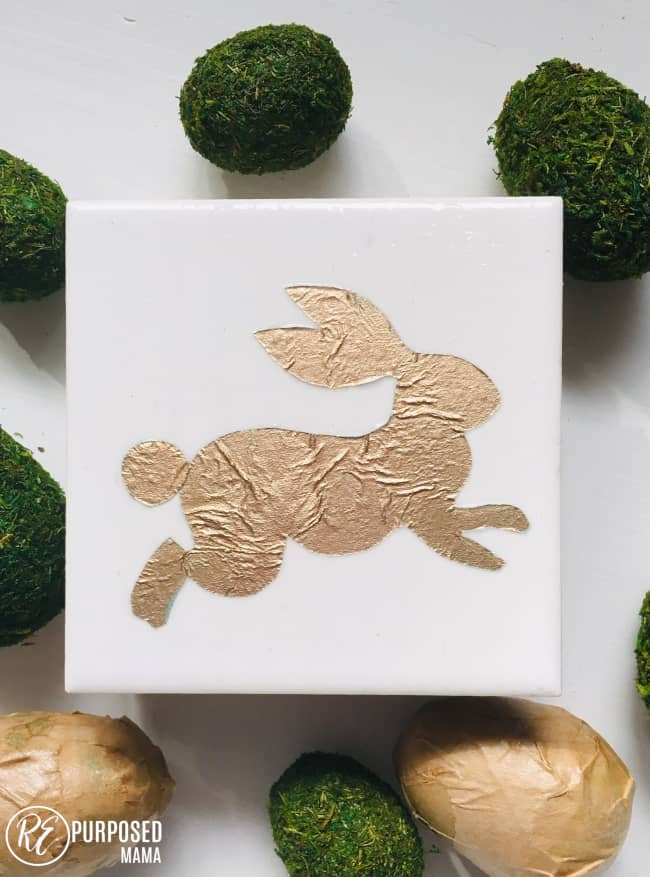
Since it is finally spring I decided to take out my Easter decorations. One of the things I had found on clearance last year were these cute bunny napkins. Since these napkins were almost too cute to use. I thought bunny coasters would be a fun way to make them last longer!
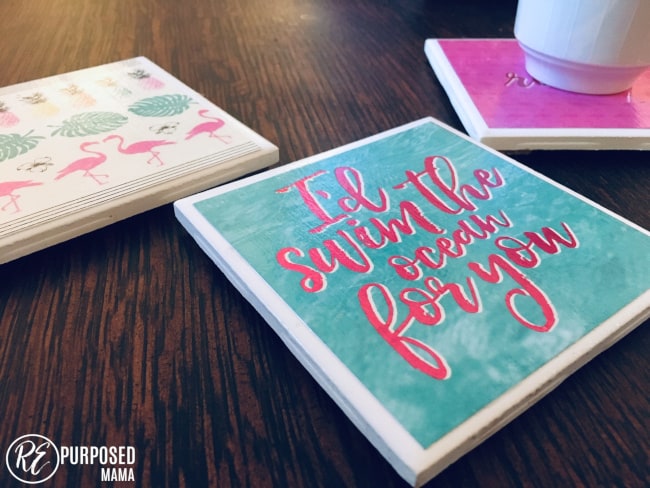
These coasters are a quick and easy project that are inexpensive and will add to your home decor. You can actually make these coasters for every different season. And just switch them out as the seasons change.
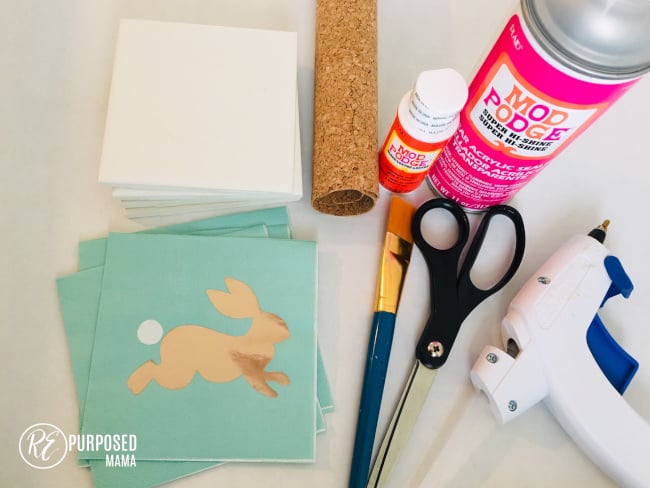
Here’s what you need:
- 4- 4 x 4 Ceramic tiles (you can also purchase these individually at stores like Home Depot)
- Mod Podge
- Foam Brush
- Napkins/ Paper
- Clear Acrylic Sealer
- Cork Board
- Hot glue gun & glue sticks
Here’s how to make them:
Step 1.
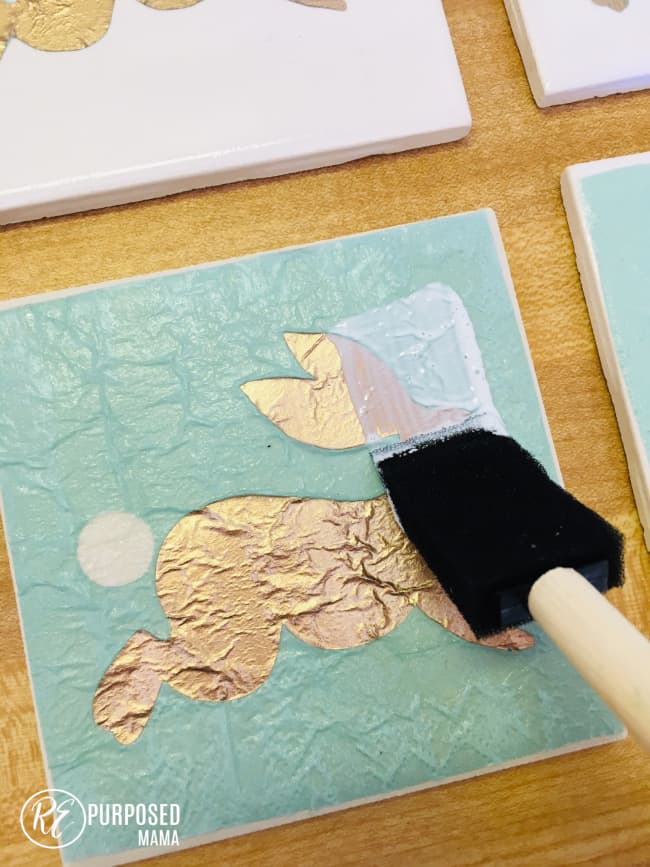
Pick out your paper or napkin. Cut the paper or napkin to be slightly smaller than the coaster. 1/4″ smaller than the coaster on all sides. Since what I liked the most about these napkins was the gold bunny. I cut around the bunny on two of the napkins and just used the shape of the bunny.

Tip: If you are wondering whether to try a napkin or paper. I would definitely recommend paper over napkins. Paper is sturdier so it doesn’t shrink up as much and isn’t as fragile as a napkin.
I used napkins for this project because I wanted to use these bunnies for spring. But don’t think I would ever do it again. The coasters below are made from paper and you can see how much smoother the finish ends up being.
Step 2:
Use your foam brush to apply mod podge to the top of the ceramic tile. Place the paper on top of the tile. Mod Podge over the paper. Cover all parts of the paper and work in straight lines. Let the Mod Podge dry for at least 1 hour.

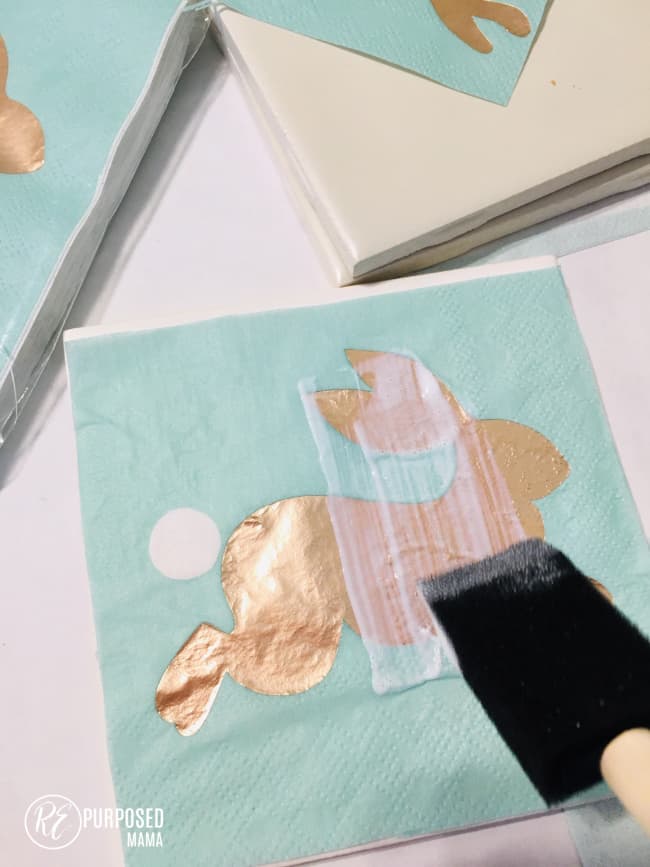
Repeat the Mod Podge over the top of all the tiles for a second coat. Again let the Mod Podge dry for at least an hour. The tiles should feel dry to the touch and no longer sticky.
Step 3:
Spray the top of the tiles with the clear acrylic sealer. Make sure to cover all parts of the tile. This is what will keep the tiles from absorbing liquids when you are using them as coasters. Wait at least an hour for the tiles to dry. They should be dry and not tacky. I usually wait overnight if I have time.

Step 4:
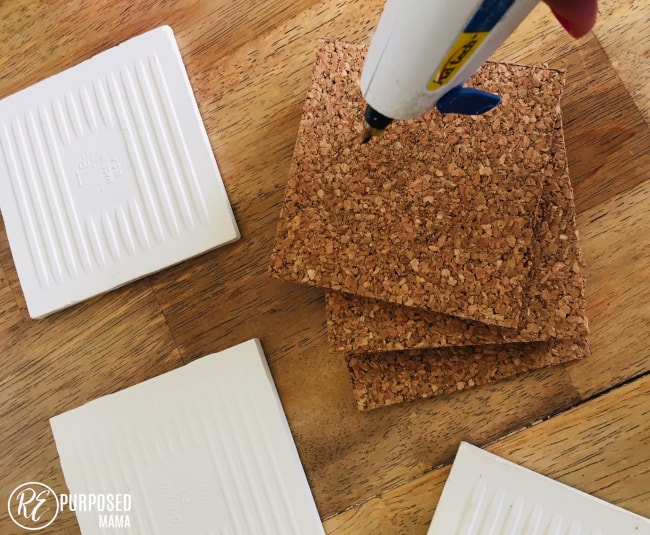
Cut out the cork in a square. 3 1/2″ x 3 1/2.” Hot glue the cork squares to the bottom side of the tiles. Allow hot glue to dry.
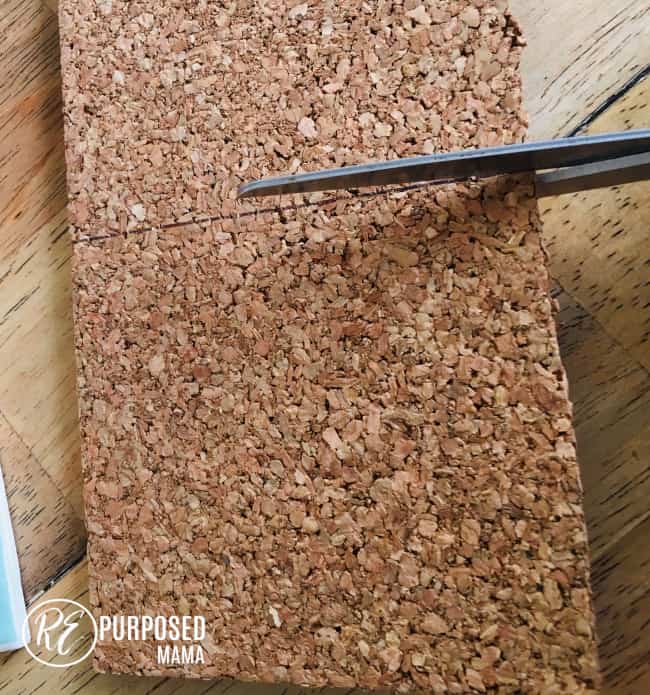

Tip: Since the cork is probably the most expensive part of this project. A money saving tip is to just cut 4 small squares for each coaster. Hot glue them to the four corners. Instead of covering the entire coaster in cork.

And that’s it! They are ready to use for all your Easter guests!
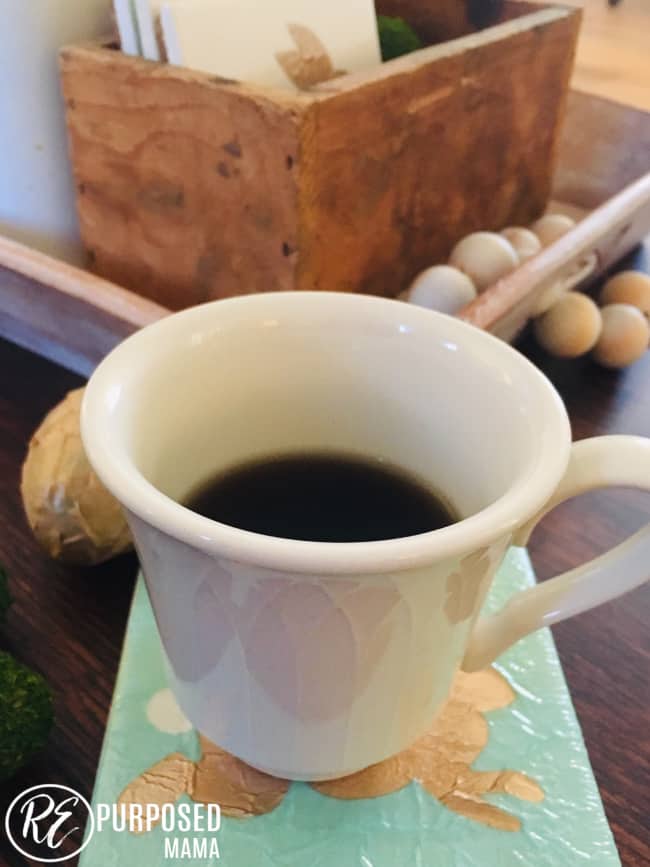
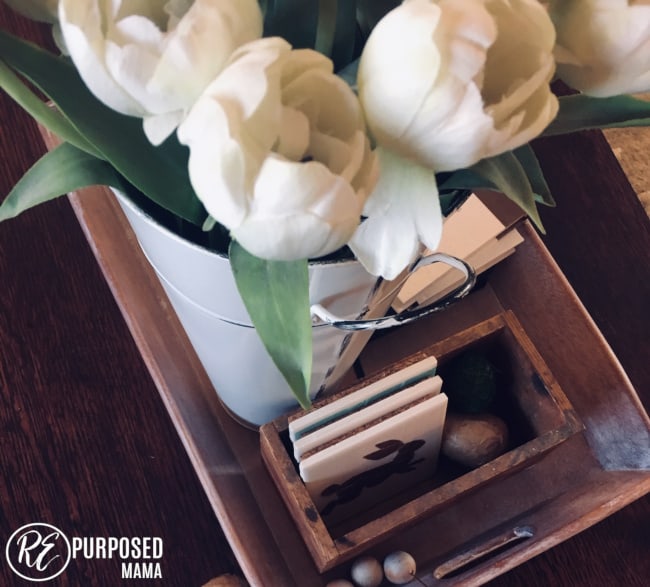
I like to keep mine in a little planter box like this one on my coffee table.
These are so simple and yet very practical! They make a perfect inexpensive gift for friends, family or coworkers.
Just cut squares out of brown paper bags and use them in between the coasters. Then tie some pretty ribbon to bind them together. It’s also easy to make a bigger batch of them and give to multiple people, especially for Christmas presents.

So if you want a simple way to update your home for spring or a quick and easy gift for a friend. Try making these coasters, which are so practical and lovely. Remember to use paper instead of napkins. And let me know if you have any other questions.
Happy Spring!
Elizabeth
[…] and friends. They really are beautiful and fairly inexpensive. You can add some Christmas mugs or handmade coasters to give a complete Christmas basket or […]