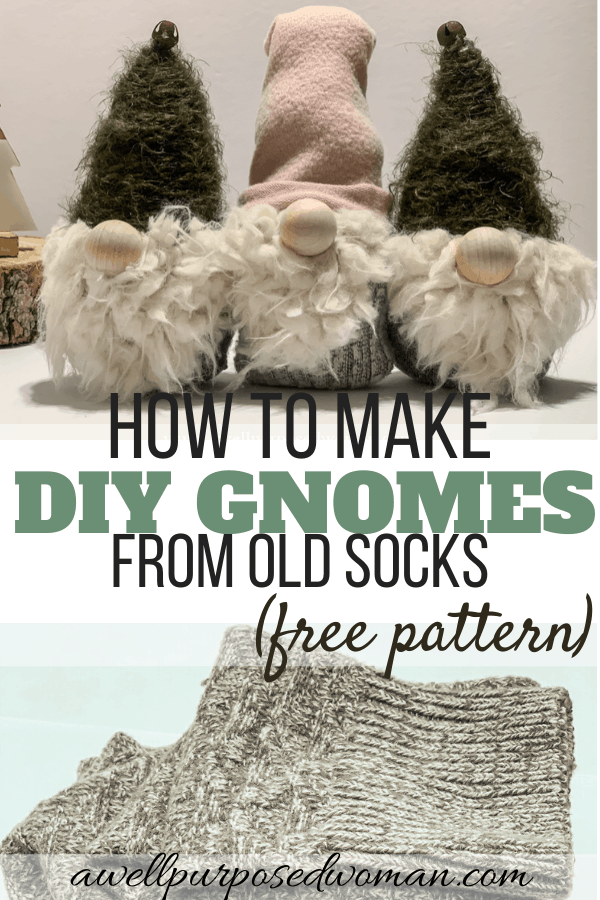
Learn how to make DIY sock gnomes from mismatched socks. These little gnomes are adorable and make a perfect gift for family or friends. DIY sock gnomes are simple to make and can be made in 20 minutes or less.
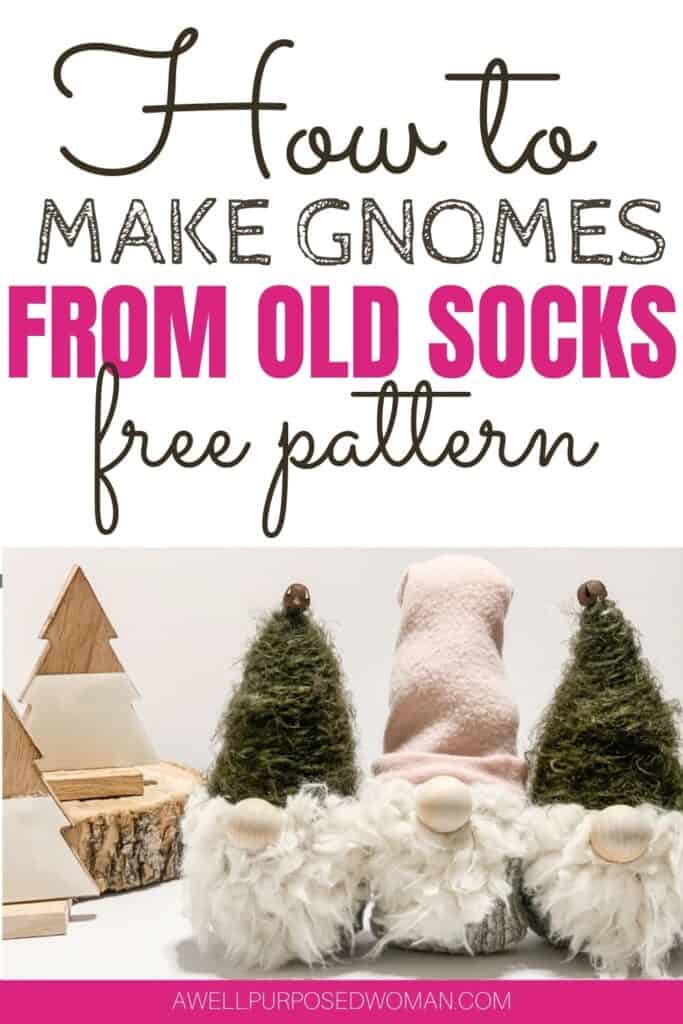
Welcome back to day 7 of our 12 days of Christmas, today we will be making DIY Sock Gnomes! Did you know you can make a gnome out of your old socks? You probably aren’t too surprised, since we have made diy gnomes out of wood scraps, tin cans, mason jars and Dollar Tree hearts.
If you saw my sock pumpkin post earlier in the fall or my sock snowman you know I love using old socks on projects! So today’s gift is a free pattern for these DIY Sock Gnomes. The pattern will work for both girl and boy gnomes.
These little gnomes are really a simple project and they are made out of re-purposed items. And I was especially excited to do this project because it is involves faux fur!
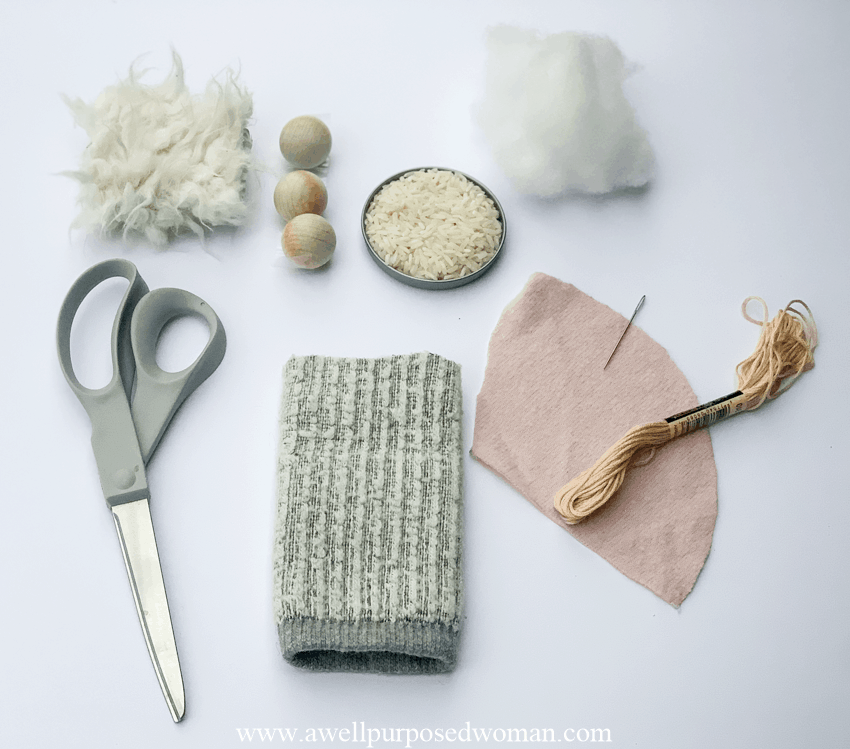
It just so happens that I have a bag full of faux fur that I almost threw away from garage-saleing last summer. We happened upon a sale where the woman wanted things gone asap! Everything was a quarter or a full bag for a $1. She happened to have a stock pile of faux fur. I filled a bag full of it!
I am glad I didn’t throw it away, because it’s going to be perfect to use for our DIY Sock gnomes! So let’s get started!
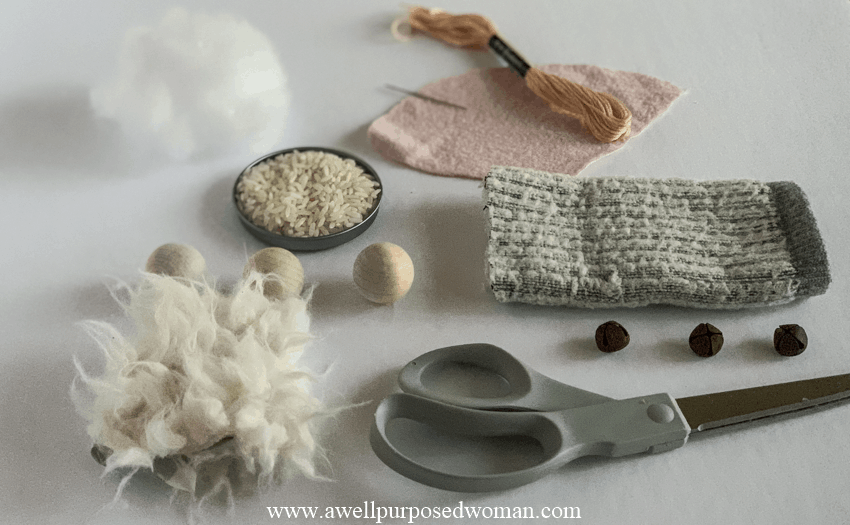
Here’s the materials you need to make DIY Sock Gnomes:
This post contains some affiliate links for your convenience (which means if you purchase an item after clicking on a link I will receive a small commission, but there is no extra charge to you).
- Socks
- Free gnome pattern
- Sewing Machine (optional)
- 1″ or 25 mm Wooden balls
- Faux Fur
- Yarn or old sweater (for hat)
- Rice and Polyfil
- Scissors
- Holt glue & glue sticks
- Embroidery floss and needle or rubber bands
- Embellishments
Here’s a full step by step video tutorial on how to make DIY Sock gnomes:
If you prefer to just watch a video on how to make these adorable these adorable sock gnomes I have included one below or just click: video on how to make gnomes.
Here’s how to make DIY sock gnomes
Step 1: Fill your DIY sock gnome
Start by filling a sock with 1/4 cup rice or rocks to weigh down your gnome.
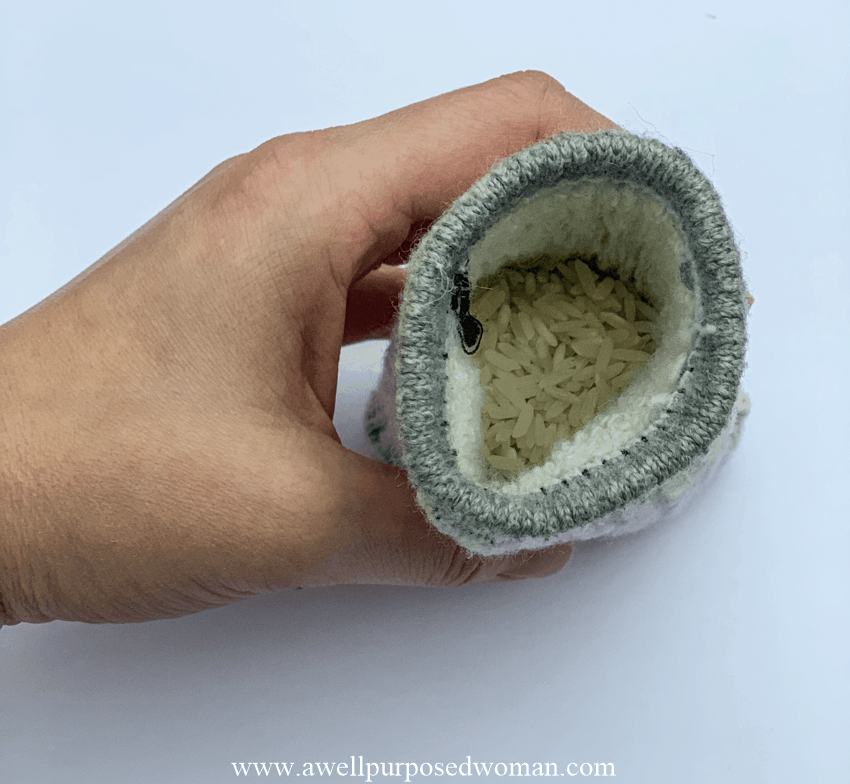
Then fill the remainder of the sock with poly-fil. You will fill your sock about 1/2-3/4 of the way with poly-fil.
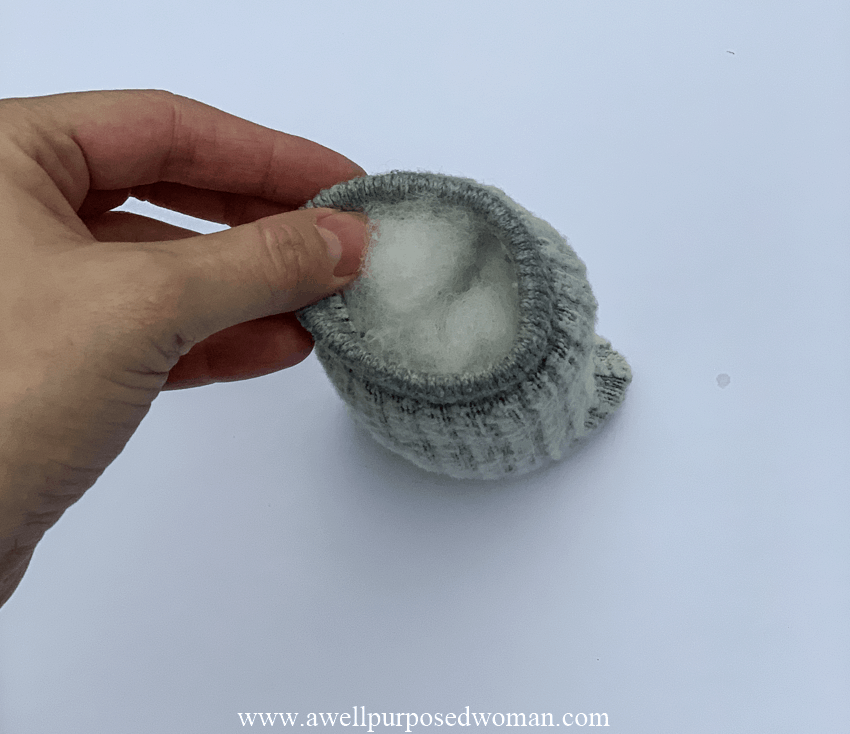
Tip: You do not necessarily want your gnome to be super full. Just fill it enough so you have a nice body to place your hat. If you fill him too full you can remove some of the poly-fil or adjust your hat size so it fits.
Do you want to make several diy sock gnomes out of the same sock? Keep reading otherwise skip to step 2:
For a longer pair of socks you can make multiple gnomes out of the same pair of socks. Here’s how you can use up the top portion of your socks.
If you still have about 7″ of your sock. You can use it to make another diy sock gnome.
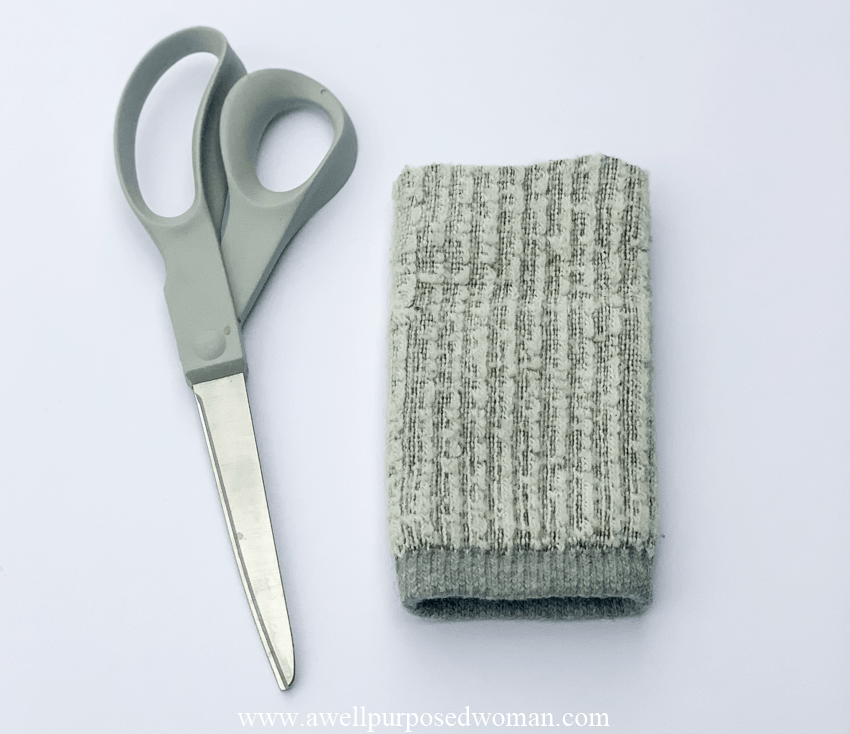
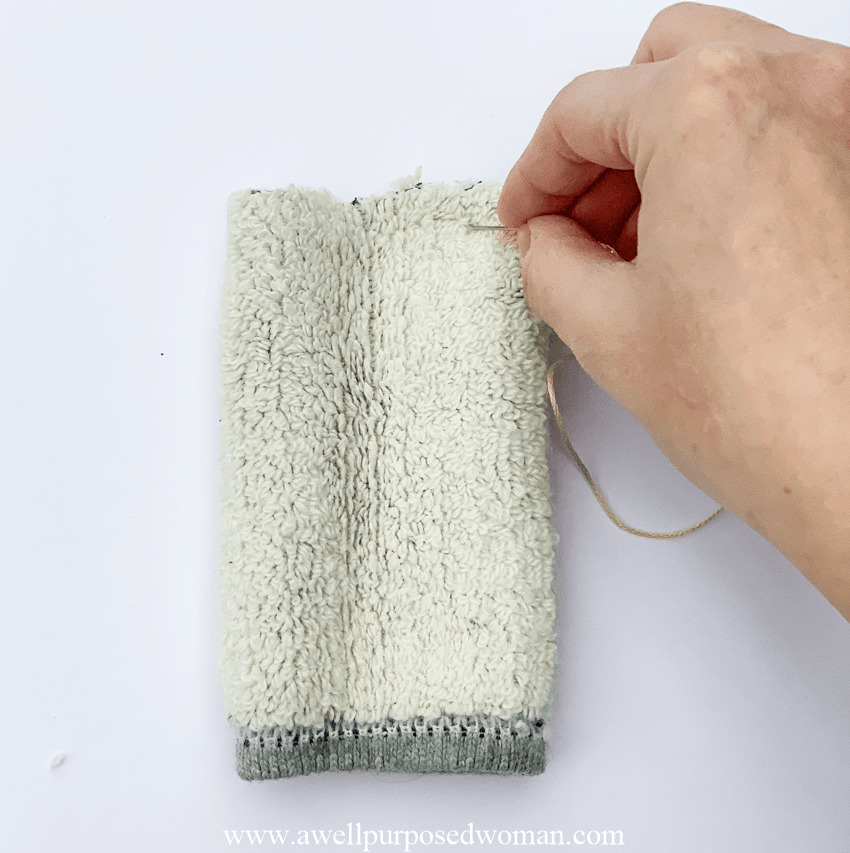
There are two ways to do this, with or without sewing. Turn your fabric inside out and do one of the following.
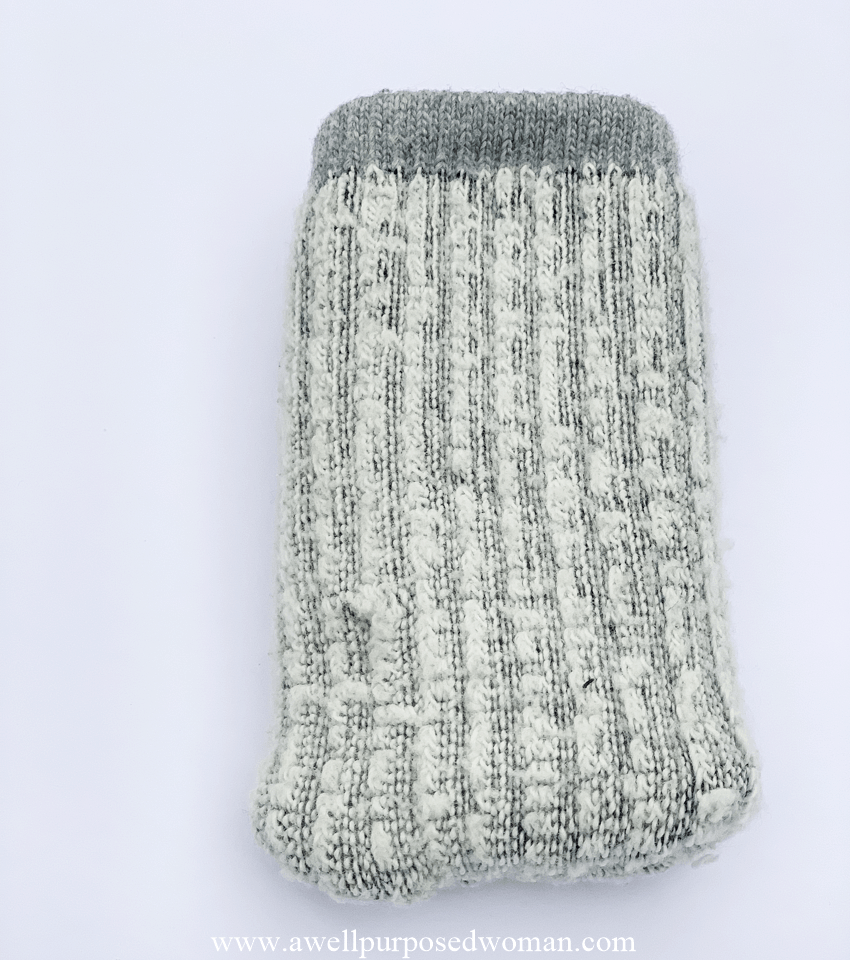
To Sew- Using your embroidery thread and needle sew a stitch to close one end of your sock. Put your thread tight and run your needle through the entire sock once making it nice and tight. Tie off your ends. Turn your sock right side out.
Alternative No Sew- You can turn your fabric inside out and take a rubber band to close up one of the ends of the sock. Turn your fabric right side out.
Step 2: Tie off the body of your DIY sock gnome
Again you can do this one of two ways. Both of these ways work just as well because you will be adding a hat on the top of your gnome anyway.
No sew- you can use a rubber band and wrap it around the sock to close it.
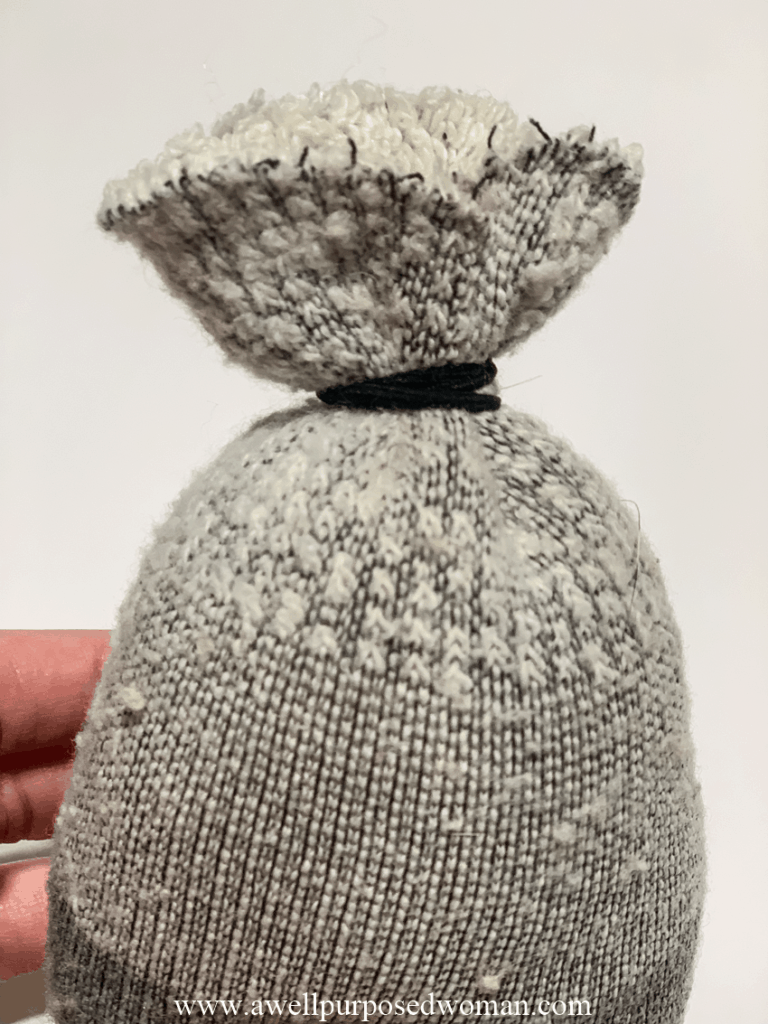
To sew– you can use your embroidery thread and stitch your gnome’s head closed. Use your thread and go through the sock several times to make it tight.
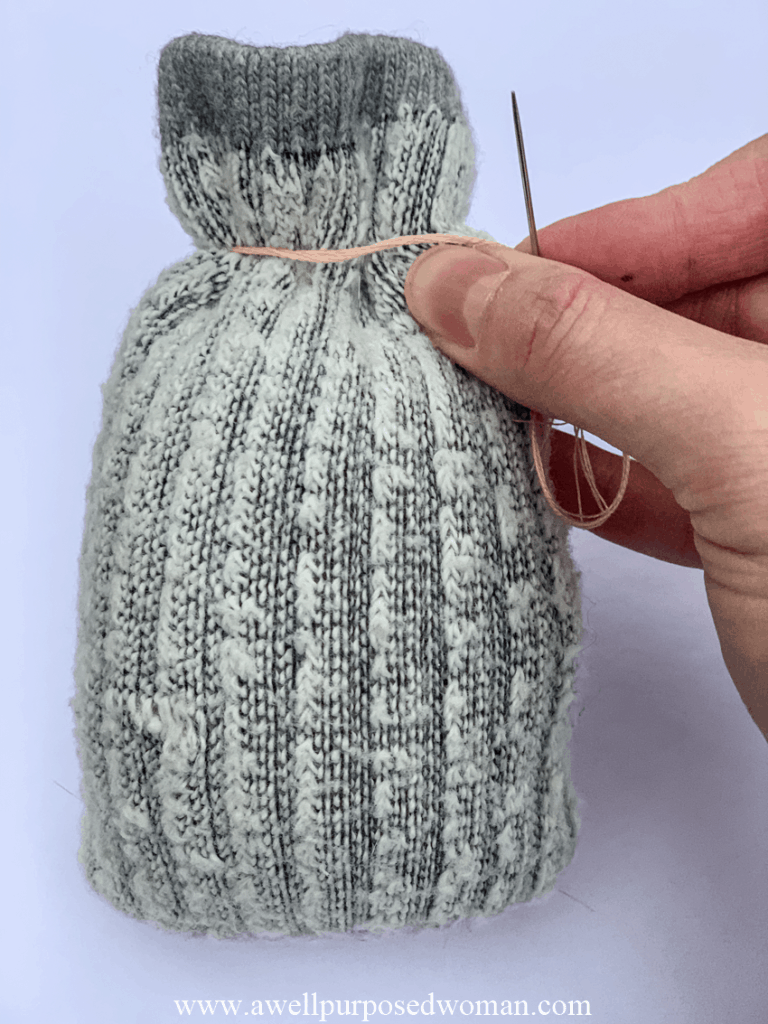
Cut off any excess sock on the top of your gnome.
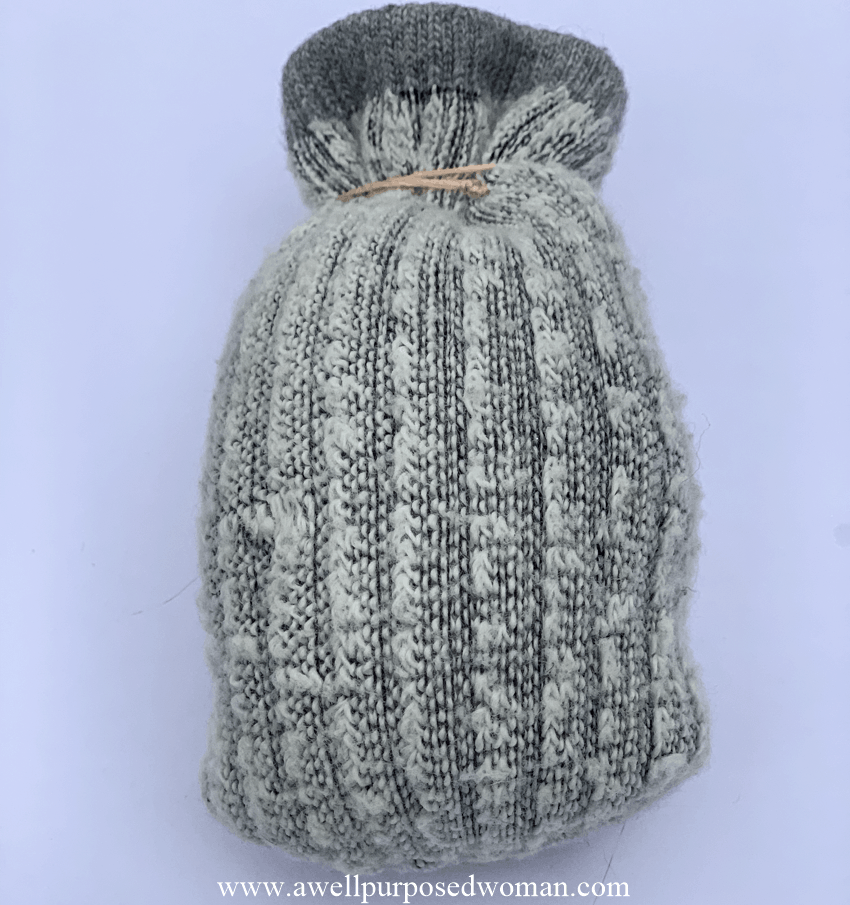
Step 3: Add your beard and nose to your DIY sock gnome
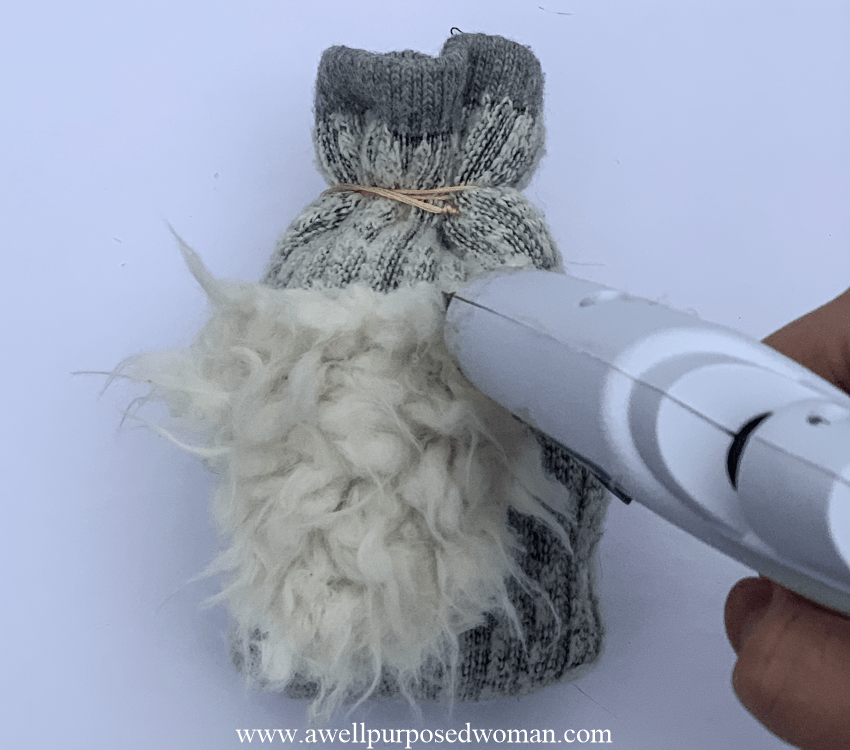
Cut your faux fur into a triangle shape. I have a pattern for it if that would be helpful to you. Then place the fur on your sock gnome and make sure it looks the way you want.
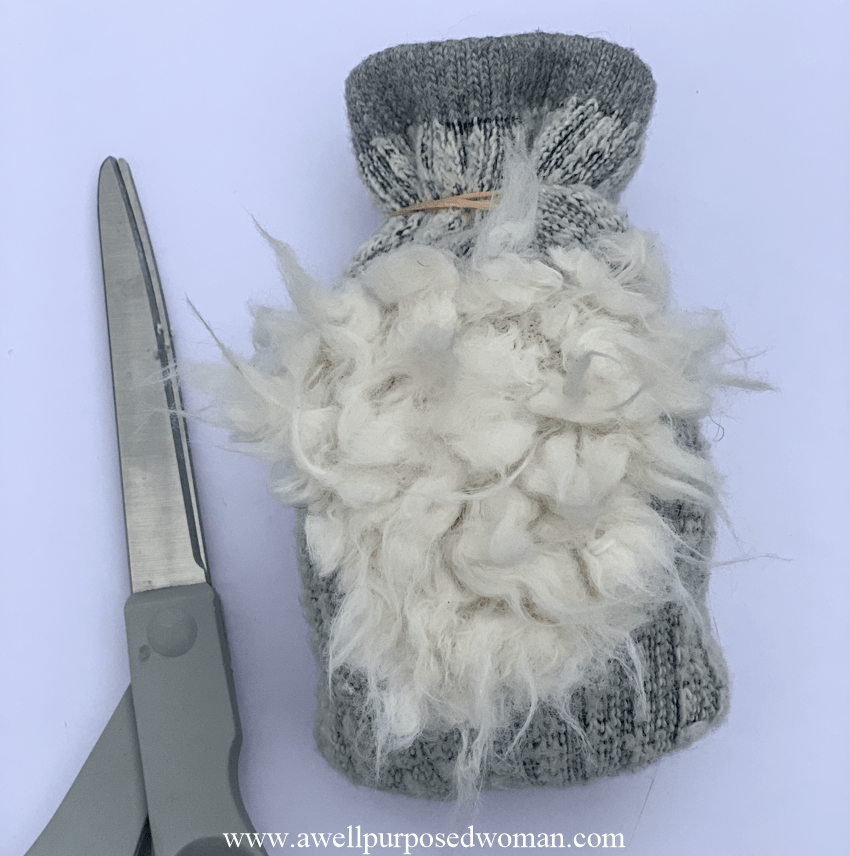
Then hot glue the beard onto the sock. Some of the fur may come off, but as long as you hot glue the edges you should stop it from fraying too much.
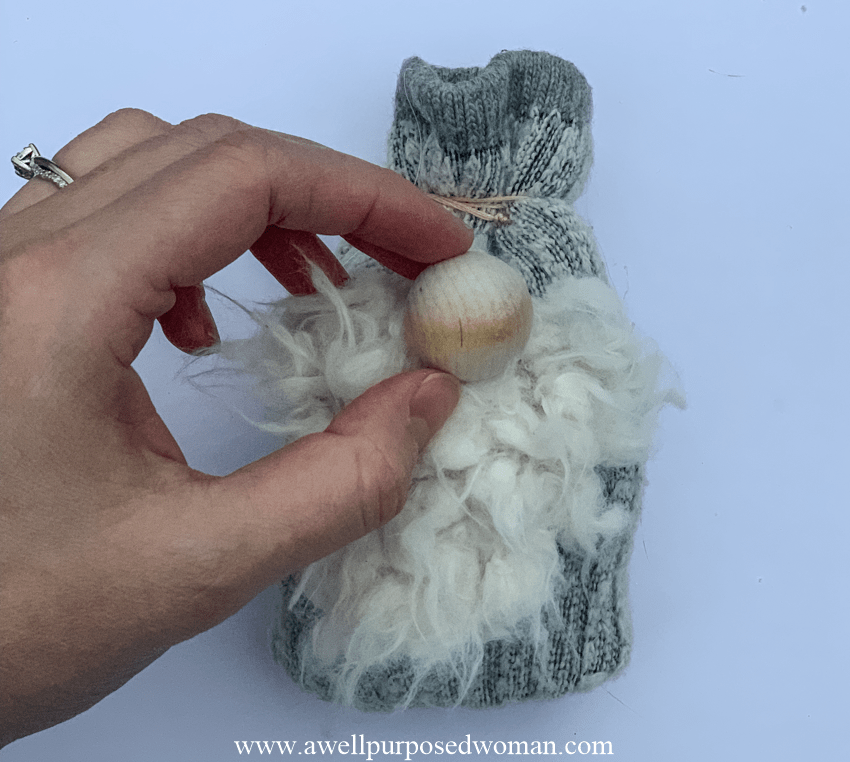
Hot glue your wooden bead in the middle of the beard for your gnome’s nose.
Step 4: Make your DIY sock gnome’s hat
The final step is to attach your sock gnome’s hat. Download the free pattern. Cut out the pattern and then lay it on your fabric. Cut out a hat from your fabric. Fold the hat in half and sew a seam along the edge or hot glue it.
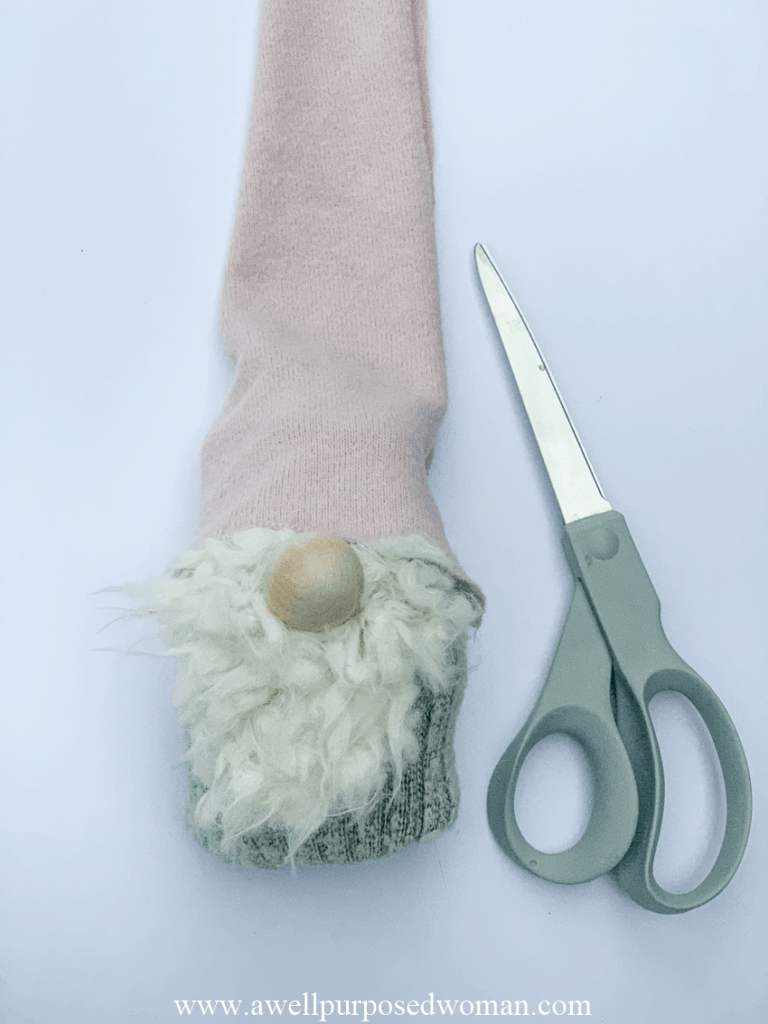
In order to make the hat to stand up better I added poly-fil and a kebab skewer to my hat. Wire or a wooden dowel in the center of the hat would also support the hat.
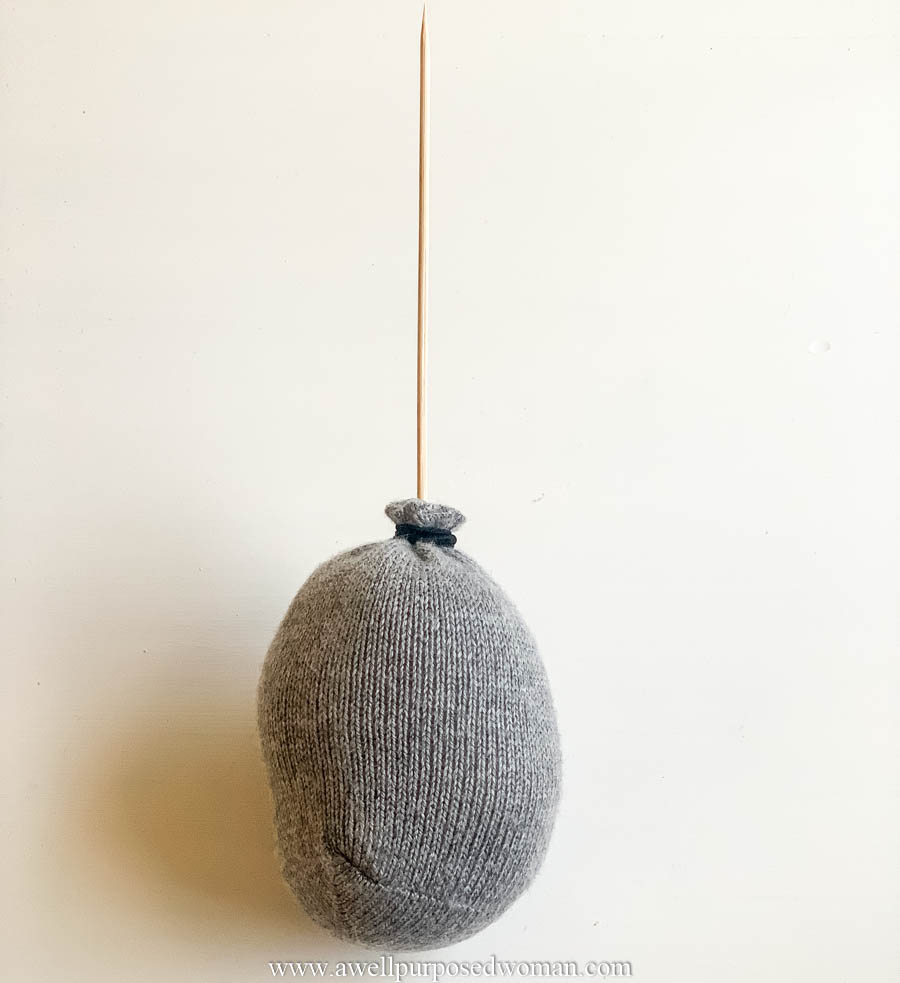
You wouldn’t have to add the poly-fil or kebab skewer if you like the hat to just lay flat. I suggest playing around with your hat until you get a look you like.
Step 5: Hot glue your hat onto your diy sock gnome
Once you got the look! Hot glue your hat onto your gnomes head. I tried to get the hat as close to the beard and nose as possible.
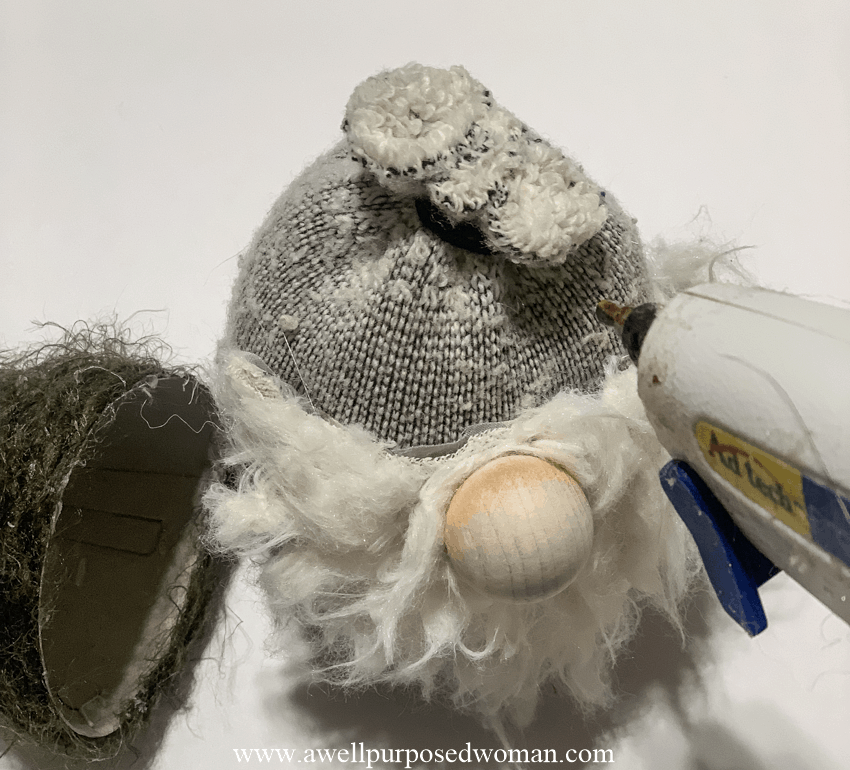
But that’s really all there is to making DIY Sock Gnomes!
You can also add embellishments to your gnome for different seasons. I added a few rusty bells on the top of the green hats. And I share some gnomes from different seasons down below to give you some inspiration!
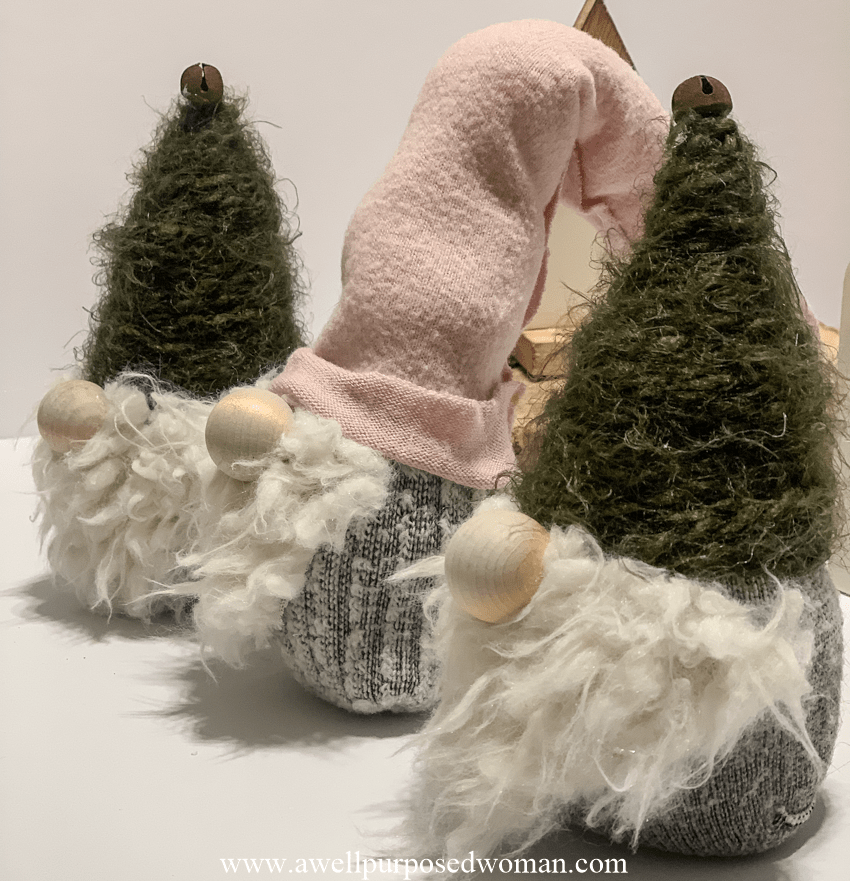
Now you have these adorable sock gnomes to add to your Christmas decor.
Aren’t they cute?
I think the noses on these little guys are my favorite! They totally make the look.
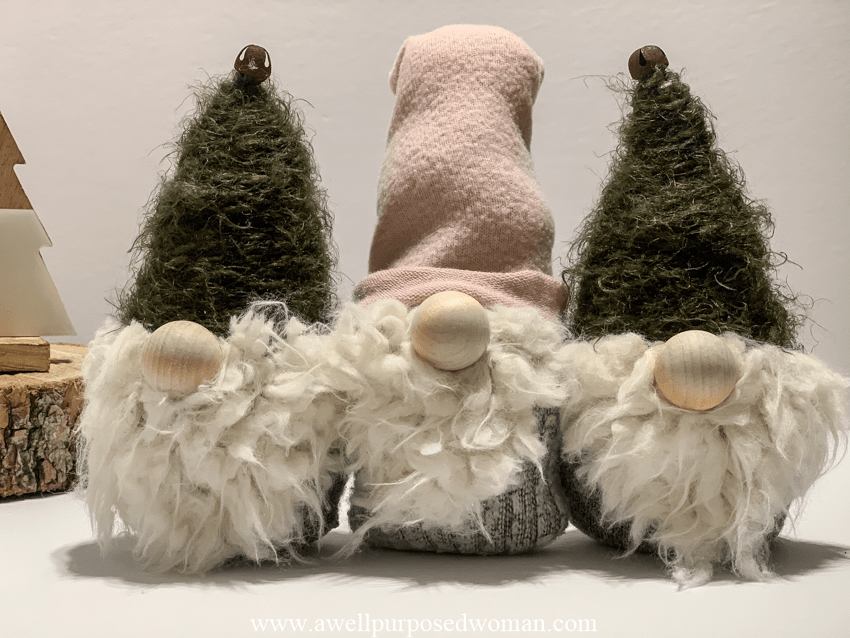
I also love that I was able to make them from old socks. Holiday decor doesn’t have to be expensive and you can make cute creative little crafts by rummaging through your old sock drawer!
If you want to make a matching girl gnome I also did a full tutorial on how to make girl gnomes the easy way. It is very similar to this but I show you the easiest way to turn them into girl gnomes!
Here’s a quick reminder on how to make diy sock gnome!
Want to see more diy sock gnomes?
The fun thing about gnomes is that they can be used for any season. Here are some ideas to personalize gnomes for different seasons.
BOY AND GIRL ANGEL DIY SOCK GNOMES
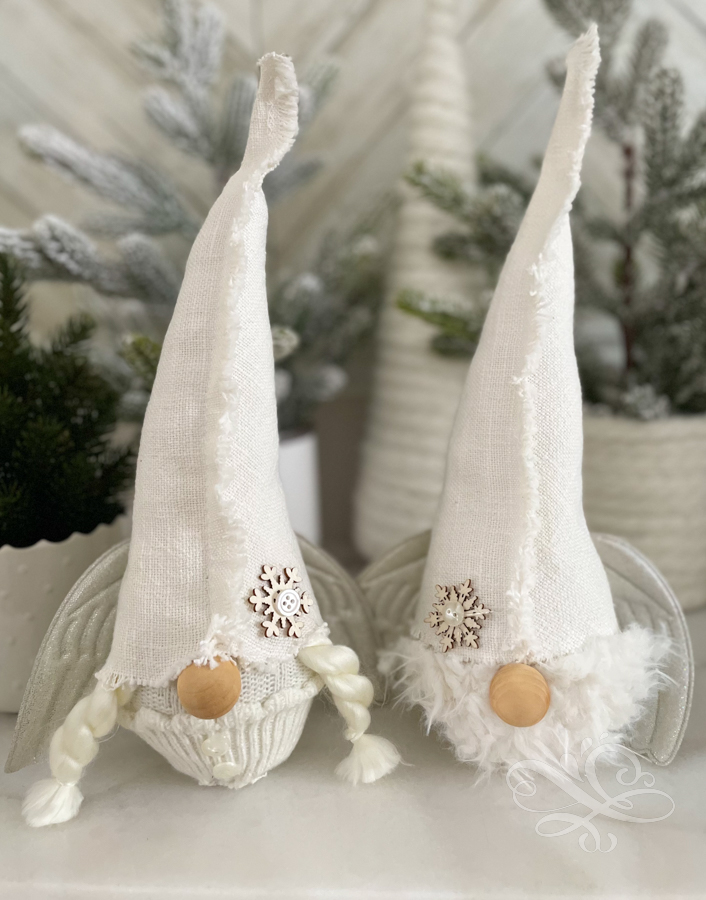
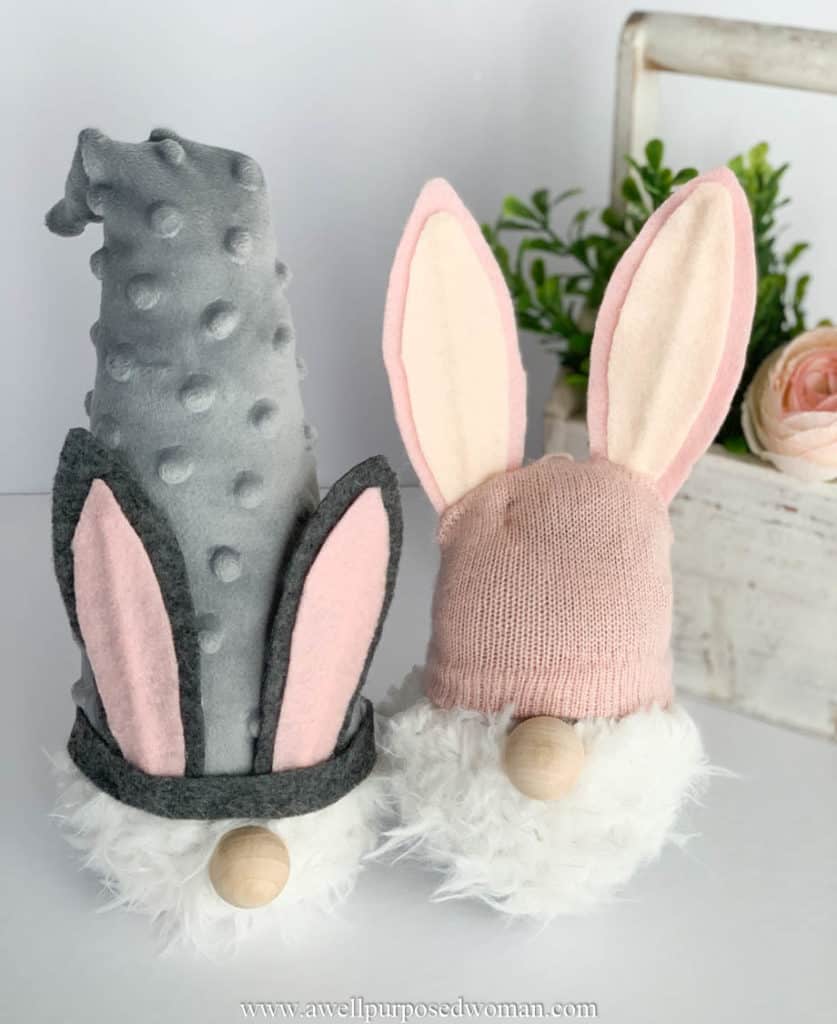
EASTER DIY SOCK GNOMES
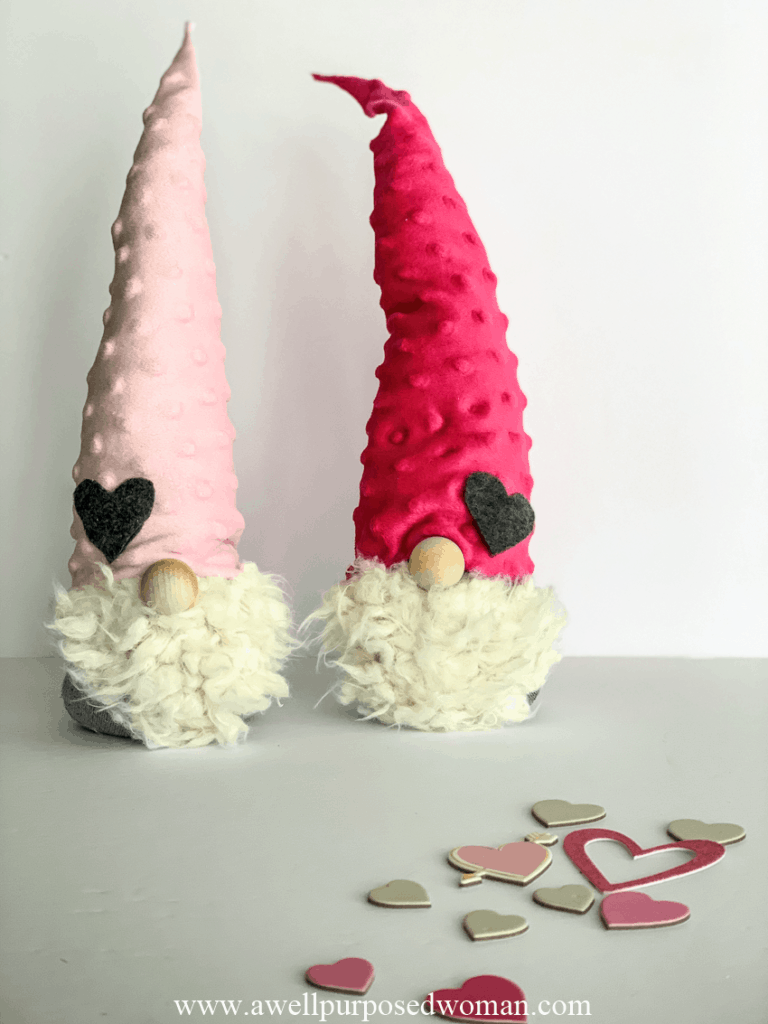
VALENTINE DIY SOCK GNOMES
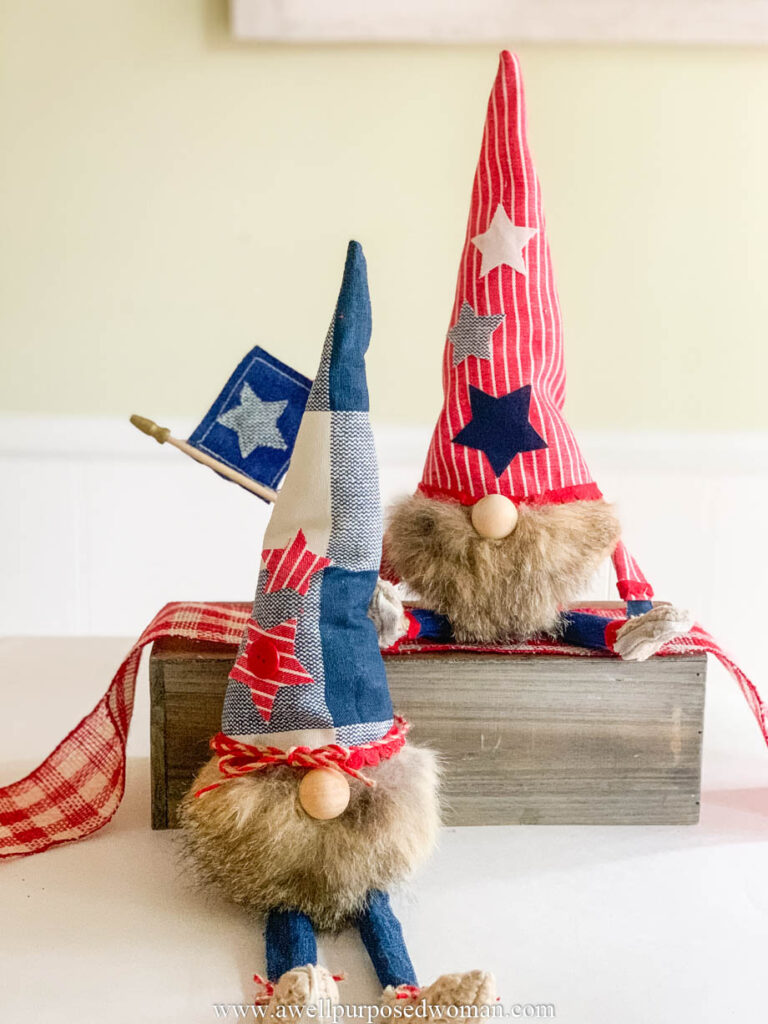
PATRIOTIC DIY SOCK GNOMES WITH ARMS AND LEGS
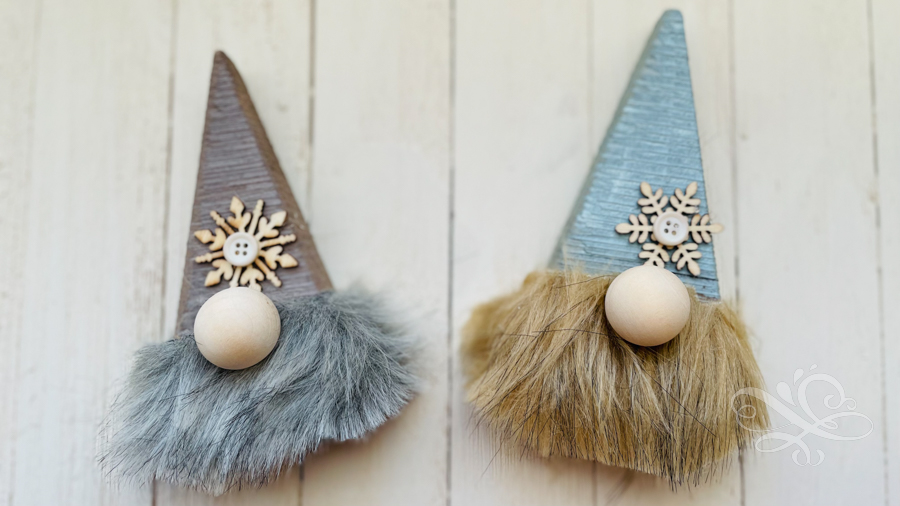
GNOMES MADE FROM WOOD
Comment below if you will be making these little DIY sock gnomes or if you were inspired to do a project of your own.
I hope you enjoyed today’s tutorial and gift. Again, f you missed any of the other days of Christmas check them out below.
Happy Christmas crafting!

Check out the rest of our countdown to Christmas below:
1: Fabric Christmas Tree (Free Pattern)
2: Easy 30 Minute Pine Cone Wreath
3: Free Farmhouse Christmas Printables
4: Grain Sack Fabric Snowman (Free Pattern)
5: Simple Christmas Tree Craft (With Template)
6: Farmhouse Christmas Stockings (Free Pattern)
No time to make these now, no worries, just pin for later!


Thanks for emailing me all the neat and cute things to make, I really like having both the videos and the directions.
Hi Peggy! Thanks for the kind words. I am glad that you are finding the instructions helpful! Happy Crafting! Elizabeth
I’m new to your page here though “old” to your FB page and You Tube. I can’t wait to try the gnomes! While I don’t have access to any fur, I’ll come up with something!
Also looking forward to decorating some tin cans also and using one to make a gnome too! Thank you for the inspiration!
Take care~
Hi Claudia! I am glad you are here! Happy Crafting! Elizabeth
I love watching all your videos you are so understanding on how to make the gnomes . Thank you so much
Hi Caren, thank you for your kind words! Happy Crafting! Elizabeth
I love these gnomes and wanted to get the pattern. I am going to make them with my special needs students however, I filled my email in several times but I can’t seem to get the pattern. Please advise.
Thanks
Maggie
Hi Maggie, Did you ever find the pattern? I am hoping you received it. If not email me at: elizabeth@awellpurposedwoman.com
Loved watching on making the gnome
Hi Marie! Thanks so much that means a lot to me! Happy Crafting! Elizabeth
I am a newbie at making gnomes but am anxious to try them. I hope they aren’t too difficult.
Hi Kathi, they are very easy to make. Please let me know if you have questions. Elizabeth
I love your gnomes, getting ready to make one!!!
Yay! Let me know how they turn out. Elizabeth
These are really cute.
I made mine a little too fat so the hat didn’t fit as I wanted it to but it still turned out cute.
Thanks for the great ideas.
Hi Marilyn, thanks for sharing. They do get easier once you make them a few times. Elizabeth
I made one for my granddaughter and she loved it! I finished right when she walked into the house! I have a photo is you would like to see him!
Hi Maria! I would love to see a photo of him. Thank you for sharing! Elizabeth elizabeth@awellpurposedwoman.com
Just wondering what size is the wooden ball. On the gnomes?
Hi Harriet, about 1″. Happy Crafting! Elizabeth
What shape of the faux fur fabric did you cut? oval? rectangle? Or did you just glue chunks on there?
Hi Ashley, it is a triangle shape. There is a pattern you can download above. Elizabeth
I’m so excited to start making these adorable gnomes!!! They are the cutest gnomes I’ve ever seen! I also plan on making all of the other sock goodies for my grandkids!!!
Hi Tanya! Yay, sounds fun! Let me know if you have any questions. Would love to see how they turn out.
Take care, Elizabeth
These are adorable!! Thank you!
Sure! Please share if you make some I love seeing what others come up with too! If you are on Facebook you can share it here: http://www.facebook.com/awellpurposedwoman
You did a awesome job they are so cute!!
Thanks Renee! I love how cute they turn out and are so easy. Elizabeth
I love these little guys! They’re adorable!!! Definitely need to make some!a
Yes! So easy and I love their little noses most of all! 🙂
I love the hats too. What did you use for the one with green on his hat? I liked it.
Hi Jeanette, I actually used party hats from the dollar store and covered them in a fuzzy yarn. Here’s the tutorial with a free pattern to make the hats. Elizabeth
I love gnomes!! Thanks for a great easy pattern!!
Sure! These are right up your alley then! 🙂 Elizabeth
Adorable!
I love these gnomes!!! Can’t wait to try them. I’m a bit confused about the green hats where you wrapped yarn around a cone, did you put the whole cone on so it would stay sturdy? Thanks for sharing.
Carol
Hi Tammy! Thank you! Yes I did make the green hats with the cones and wrapping yarn. I haven’t made them this way since but it is a different way to make them. Happy Crafting! Elizabeth