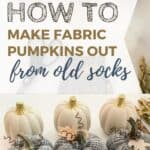
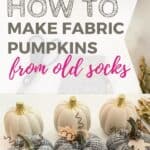
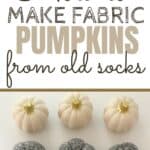
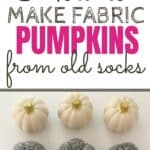
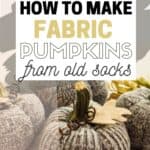
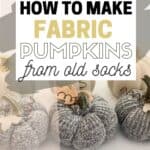
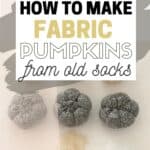
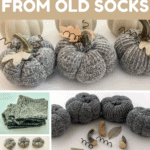
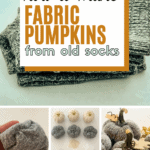
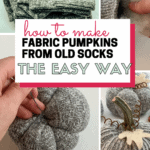
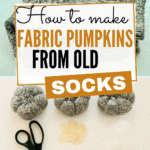
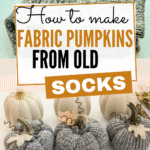
Learn how to make sock pumpkins from old socks with this step by step tutorial. Fabric pumpkins are a fall decor favorite and now you can make your own sock pumpkins just by using up your mismatched socks. This step by step tutorial will show you how easy it is to make fabric pumpkins from old socks.
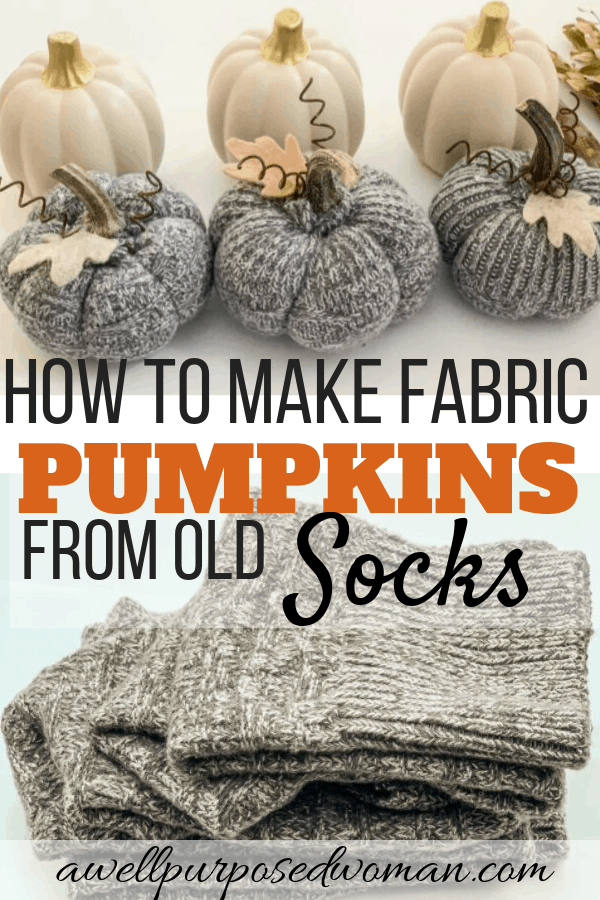
These little sock pumpkins are made from old socks, but you can re-purpose old sweaters or pretty much anything to make fabric pumpkins. And because I love fall, I love these adorable little sock pumpkins! With the smells, the beautiful colors, and the cooler weather that fall brings, it’s pretty much the perfect season to sit down and start making some of these cute litte sock pumpkins!
I have a lot of things planned for fall, and recently signed up for a local craft market. But I told myself I couldn’t focus on anything fall or related to the market until after my daughter’s birthday last week.
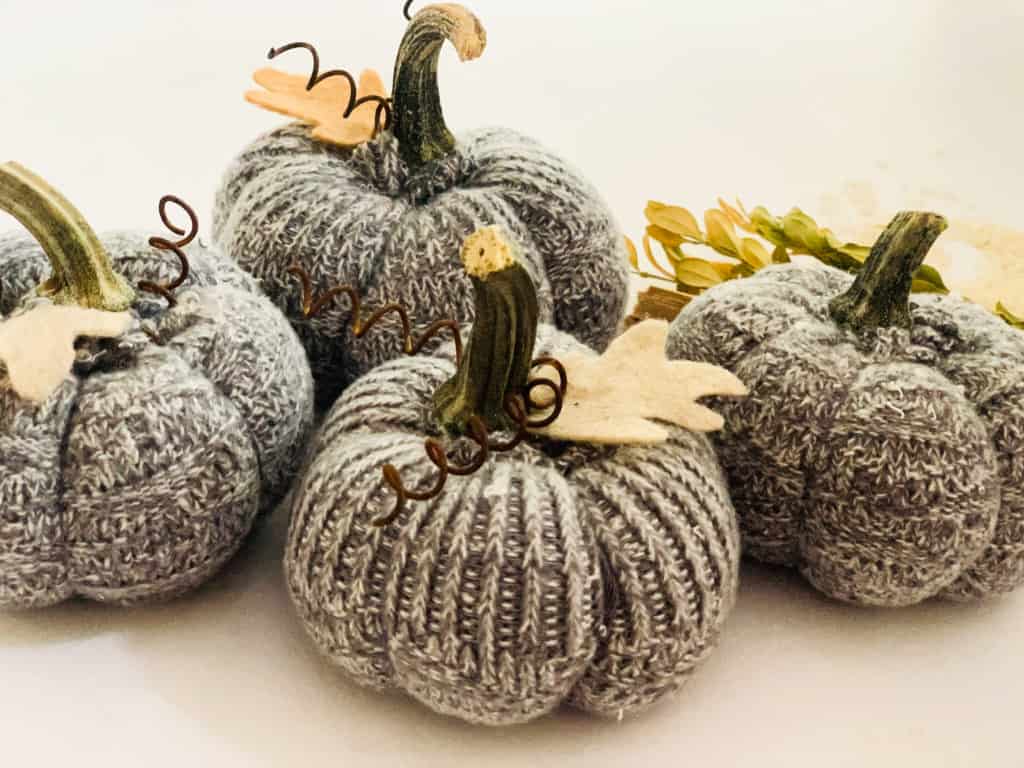
I wanted her to feel really special and not feel like she was competing with fabric pumpkins and pine-cones. And I pretty much stuck to nothing fall related until we were driving to our weekend destination. Like when making farmhouse style fabric wreaths, I used the time in the car to make a few of these cute and super easy little pumpkins.
I started making fabric pumpkins last year and fell in love with them. Don’t little fabric pumpkins just melt your heart! They are so petite, cozy and add a nice touch to fall decor because they are a different texture than real pumpkins.
The fabric pumpkins I made on our car trip were made from an old pair of boot socks. I found them at a garage sale for $1 and was able to make 8 pumpkins from 2 boot socks.
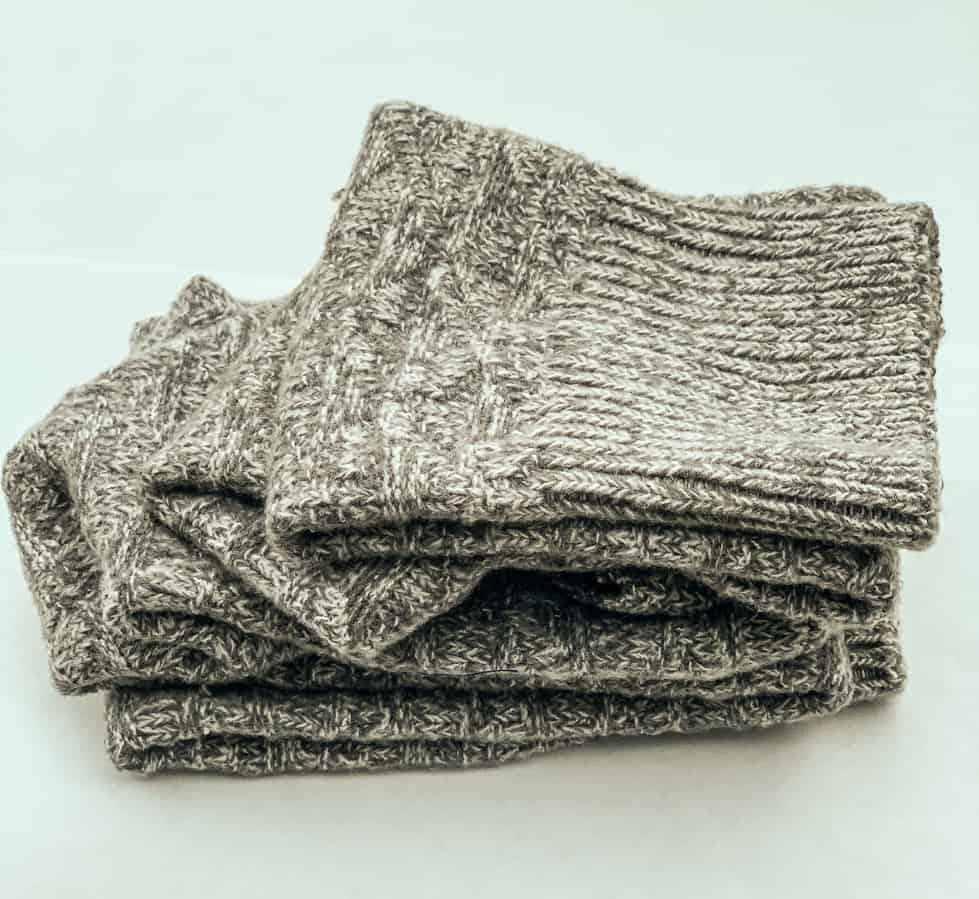
You can also just buy fabric for these but I would also say take a quick look around your house. Maybe you have some thick socks you never wear, an old sweater, or a shirt with some nice fabric but it’s out dated or doesn’t fit any more. You can make fabric pumpkins from almost anything. Last year I found some velvet skirts at the thrift store and used those instead of purchasing velvet because velvet fabric can get pretty pricey.

I am going to show you how to make fabric pumpkins out of old socks but a shirt/sweater sleeve or really any other fabric would work.
Learn how to make sock pumpkins in this step by step video:
If you want a quicker abbreviated version of making sock pumpkins in just one minute:
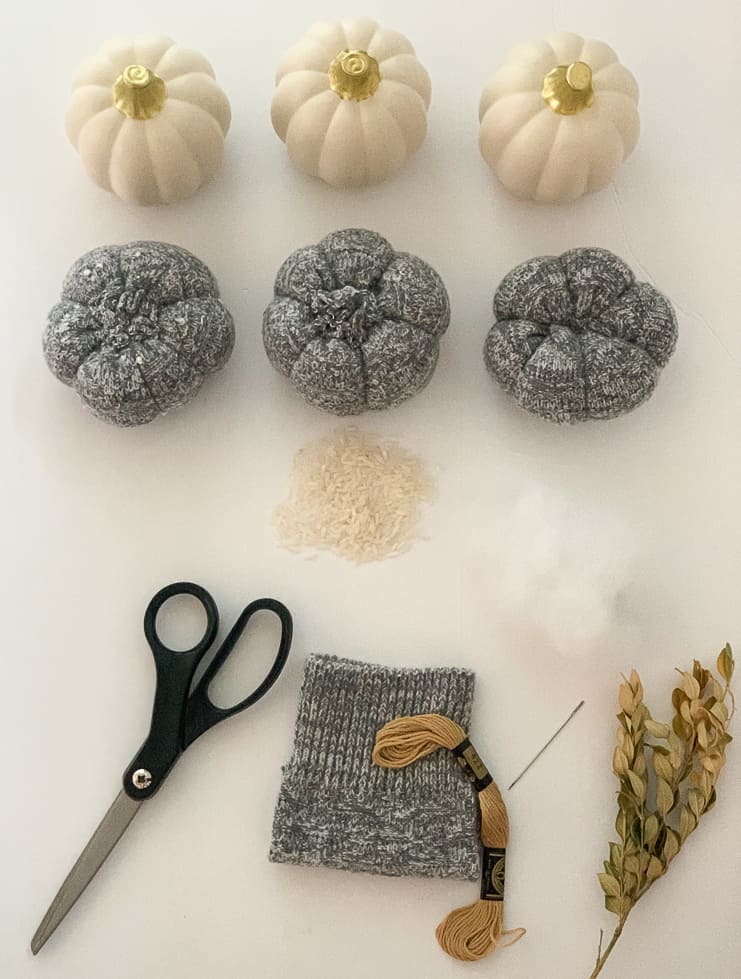
Here’s the materials list to make sock pumpkins:
- Free Pumpkin Guide
- Socks (if you don’t have old ones you can use this kind) Each pumpkin requires a 7″ x 3.5″ piece.
- Embroidery floss or dental floss also works. Try to match or compliment the colors of your fabric.
- Needle with a large eye
- Polyfil Stuffing
- Rice (optional)
- Pumpkin stem or small twig, felt for leaves (optional), rusty springs (optional)
- Hot glue gun and glue sticks
- Vine Floral wire or rusty springs for the pumpkins curls
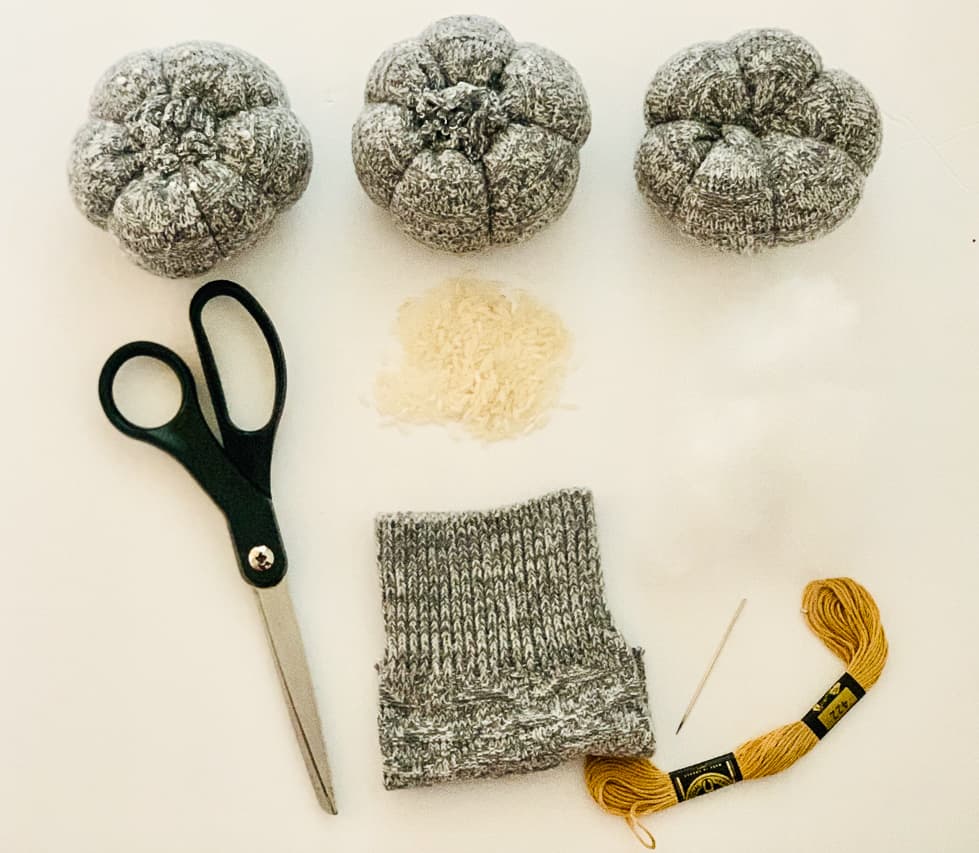
Here’s how to make sock pumpkins:
Step 1: Make a tube out of the sock
If you are making fabric pumpkins out of old socks like I did. Then it’s easy! Just cut a section of the sock that is the size you want your pumpkin. I cut mine to be 7″ long x 3.5″w.
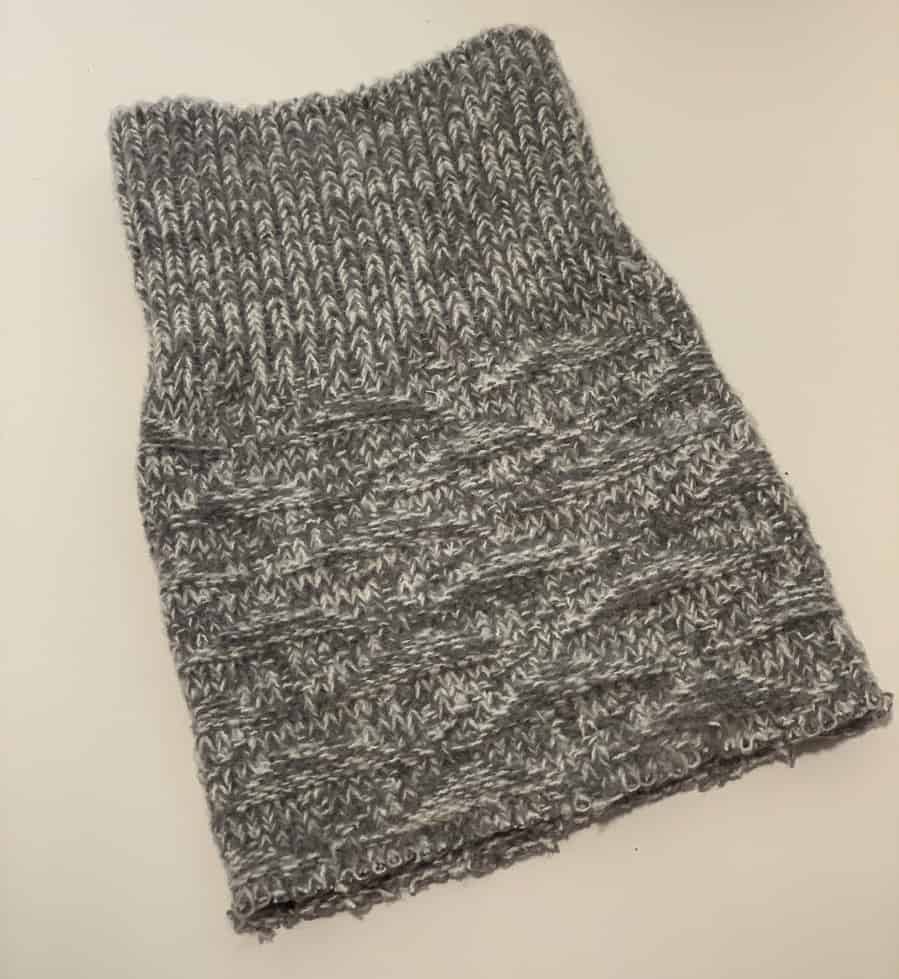
Step 2: Use your floss and close up the bottom side of the sock
Turn the tube inside out and sew up the bottom of the tube with your floss.
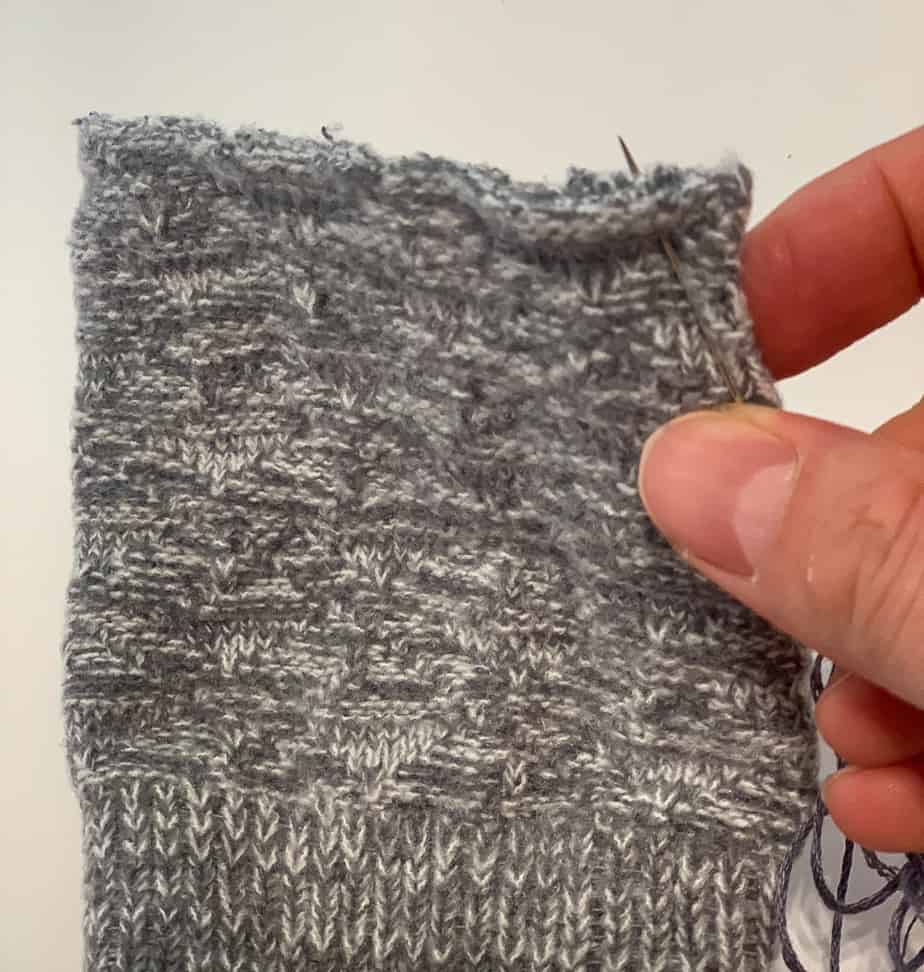
Pull the seam tight so it is bunched together. Sew a few more stitches through the center of the bunch. You basically want your fabric to be bunched as tightly as possible. This is going to be the bottom of your pumpkin.
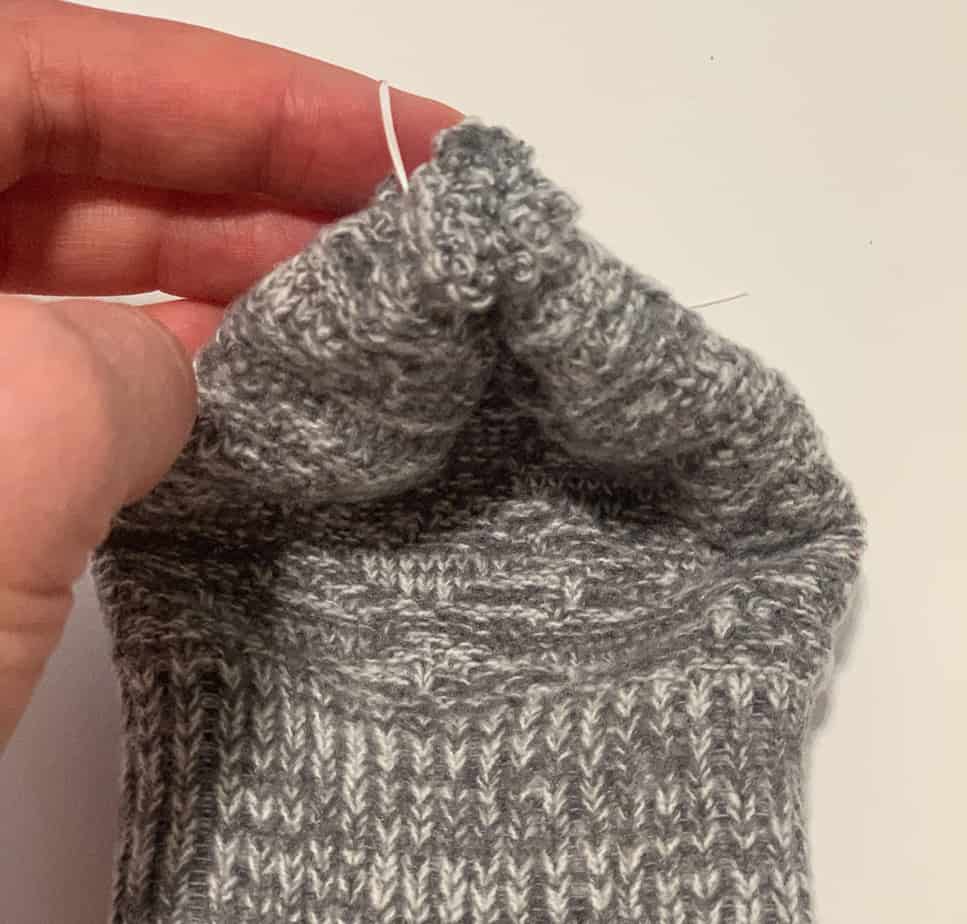
Then turn your fabric right side up.
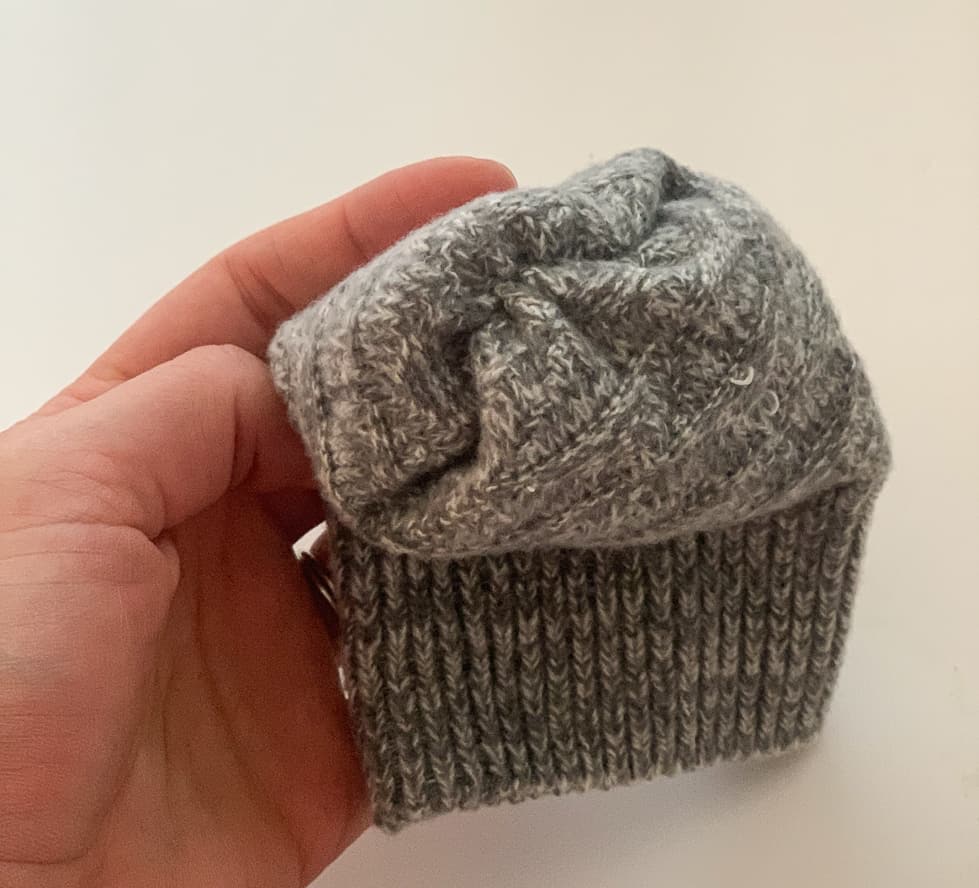
Step 3: Stuff your sock pumpkin with rice and poly-fil
Now it’s time to fill your pumpkin. I like to use about 1/4 cup of rice in the bottom of the pumpkin for some extra weight.
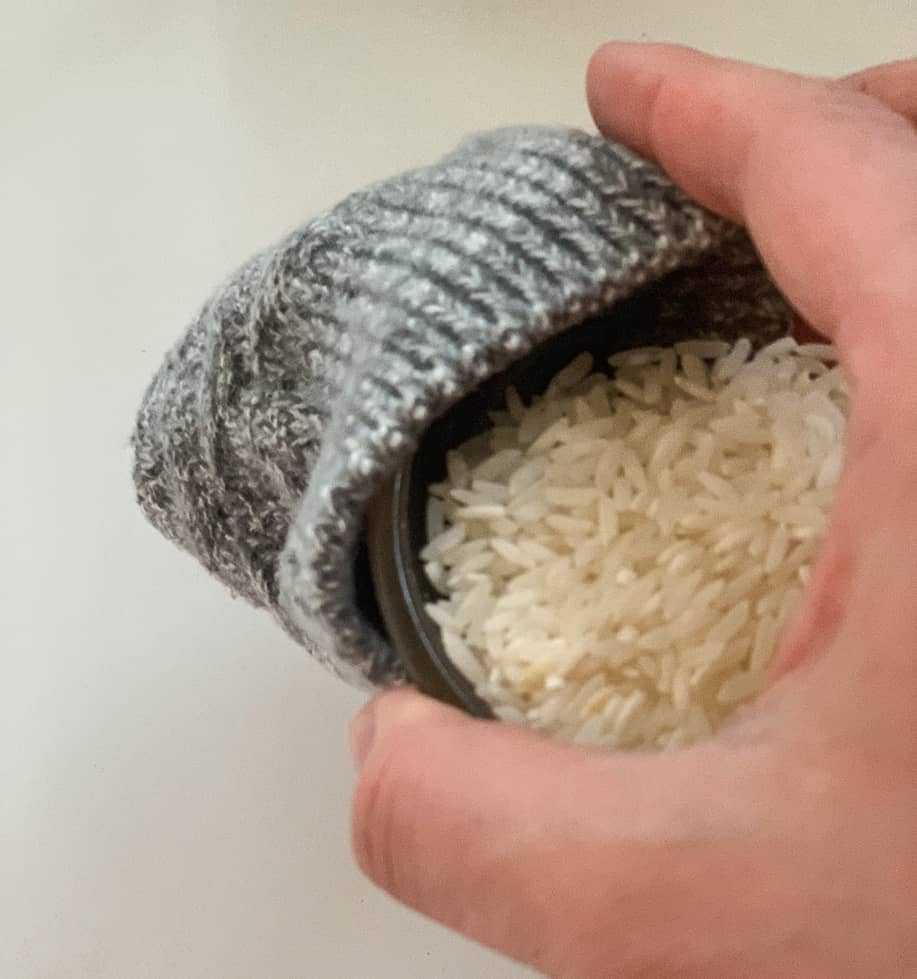
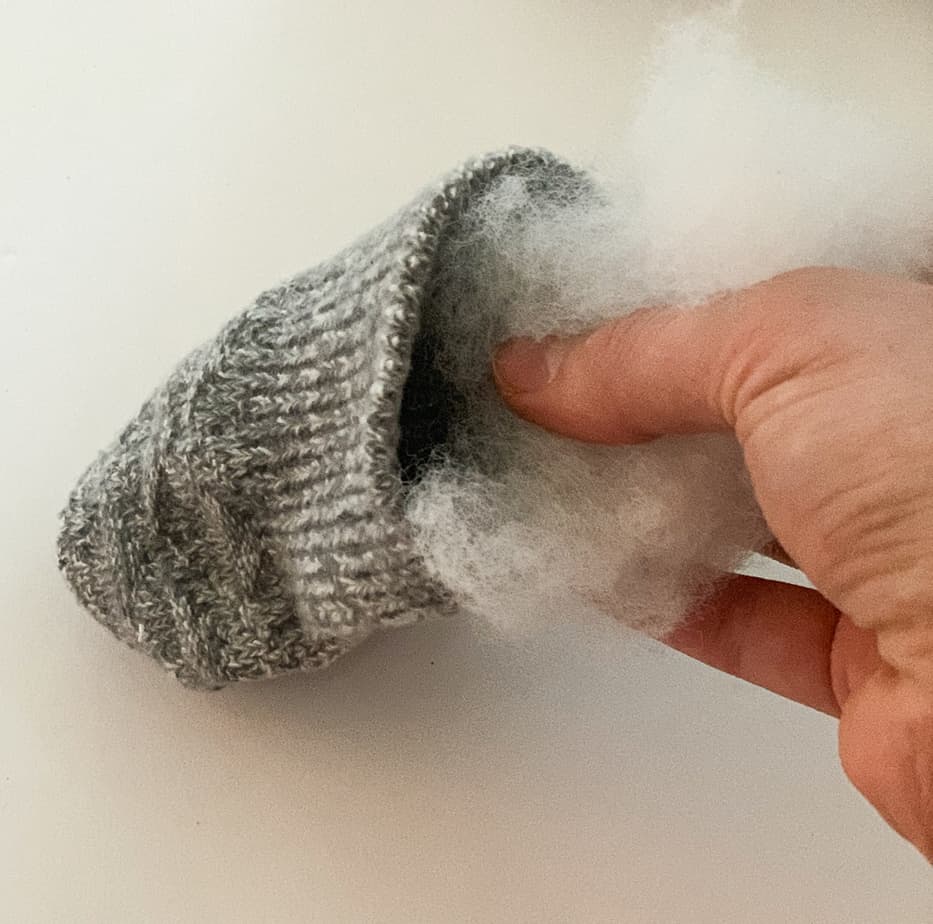
Then I fill the rest of the pumpkin with Poly-fil. I like to make a plump pumpkin. Just stuff it to your liking.
Step 4: Stitch the top of your sock pumpkin closed and make sections with the embroidery floss
With 20″-30″ of embroidery floss, stitch a seam around the top of your pumpkin. Then pull the embroidery floss tight to close your pumpkin. Cut off any extra fabric above the seam you have just sewed. But do not cut or tie off your embroidery floss.
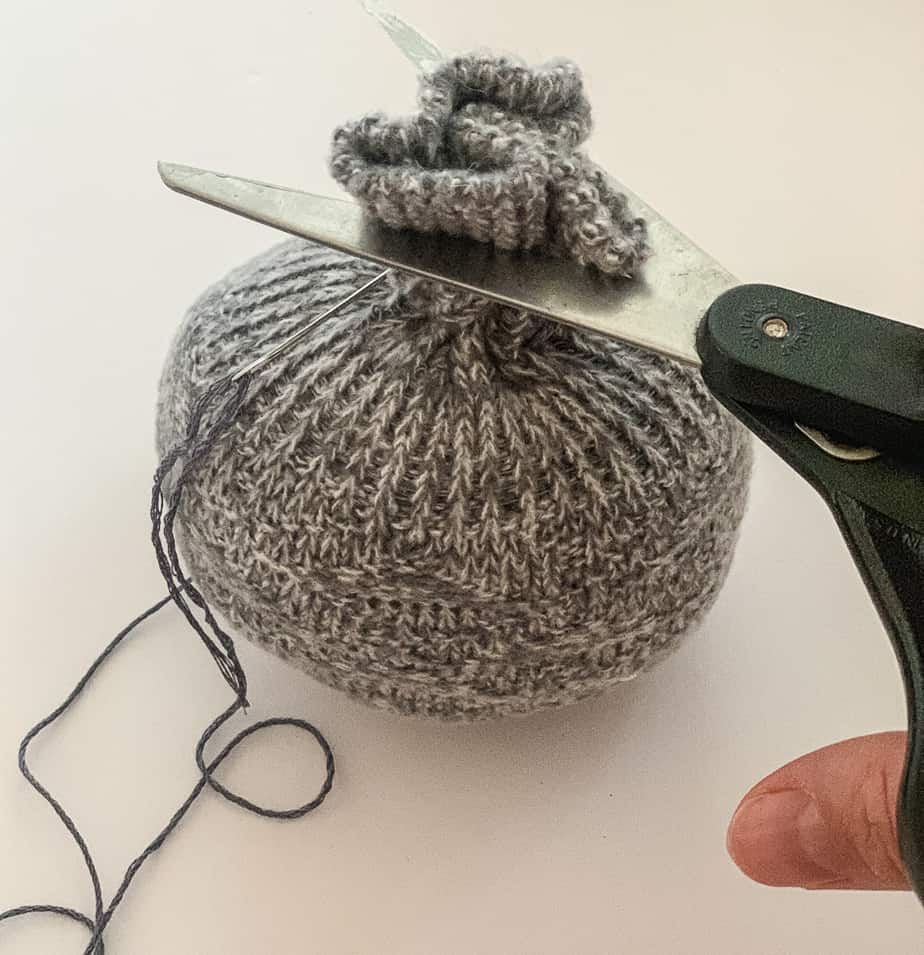
Take the embroidery floss and go through the center of the pumpkin. Divide your pumpkin into sections by bringing your floss through the center of the pumpkin and then around the pumpkin, making six sections.
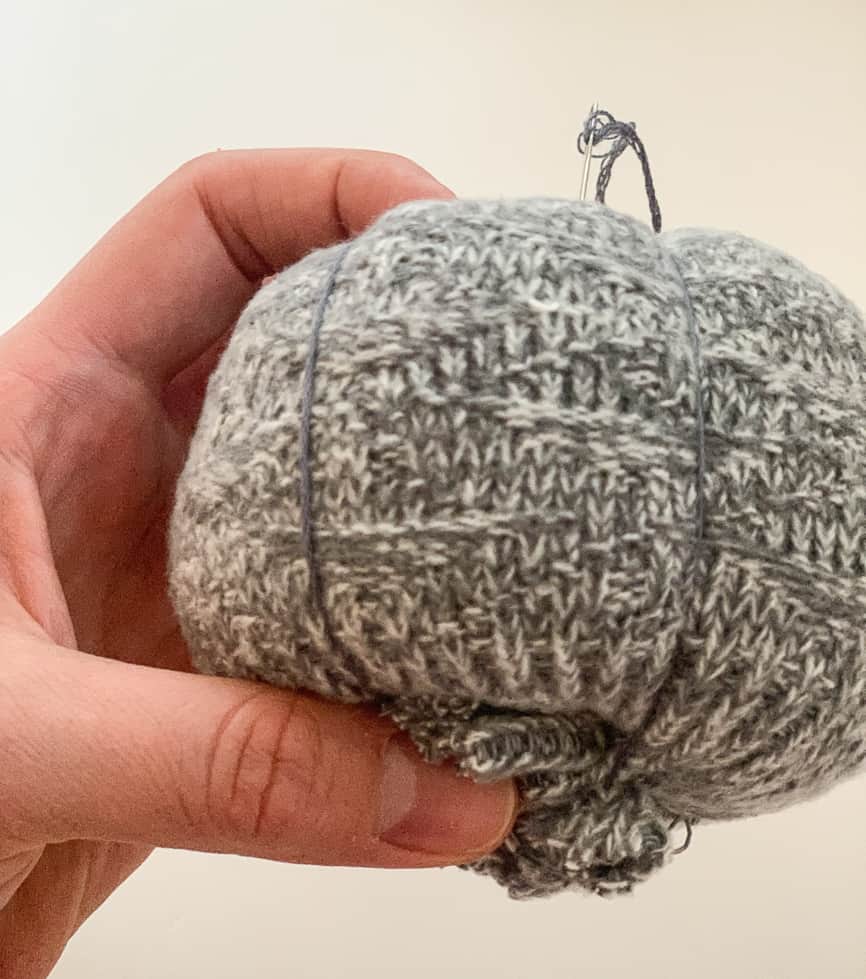
When you make the last section pull the floss tight and tie it on the underside of the pumpkin.
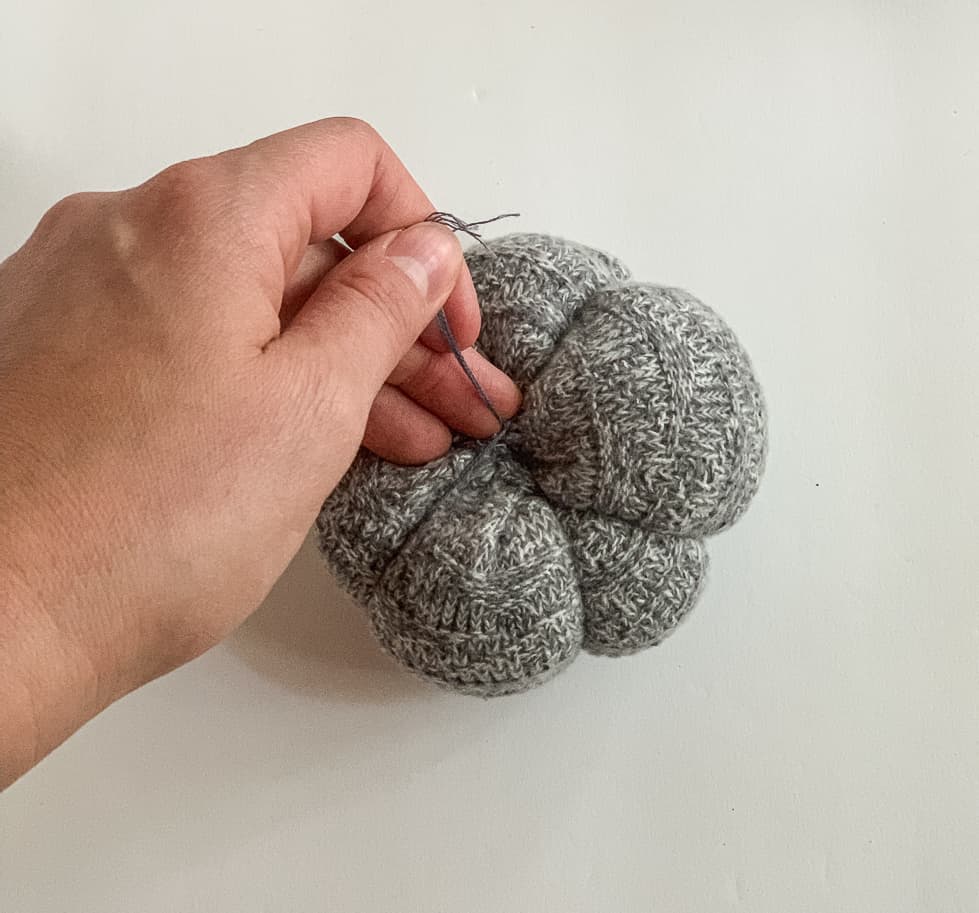
Step 5: Glue on your stem, leaves, or other accessories onto your sock pumpkin
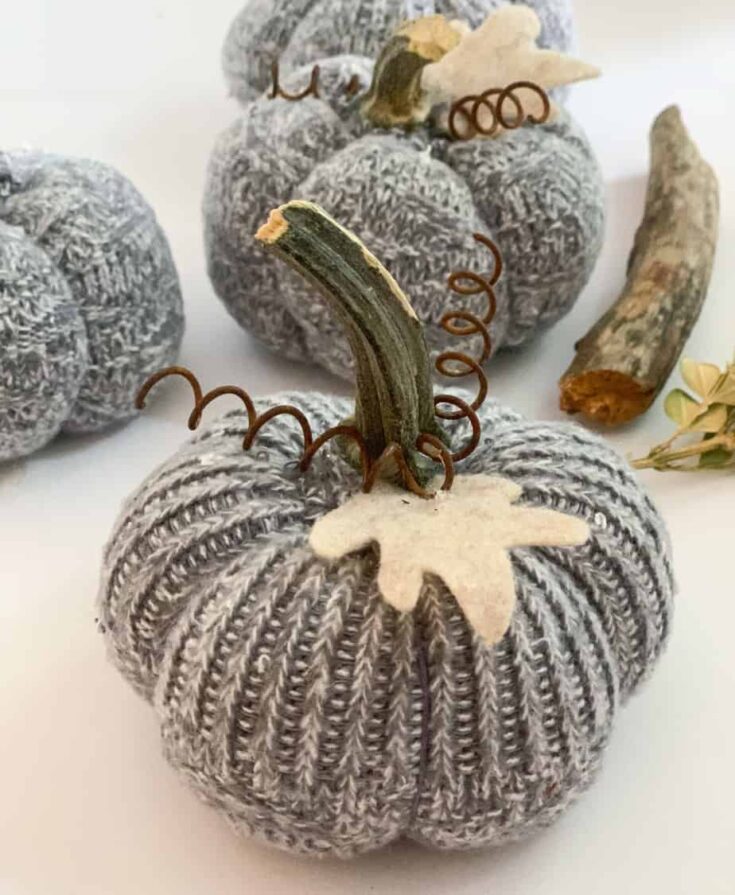
The final step is to use your hot glue and attach your stem and leaves. Last fall I collected a bunch of real stems from squash and pumpkins. I cleaned them off and left them in my garage to dry out. So this year I had a bunch of them ready to go. But you can dry out pumpkin stems within 24 hours using this method.
If you find it hard or expensive to use real stems. Here is a post on the best places to find real pumpkin stems for next to nothing. Also instead of real stems you can use small twigs or branches.
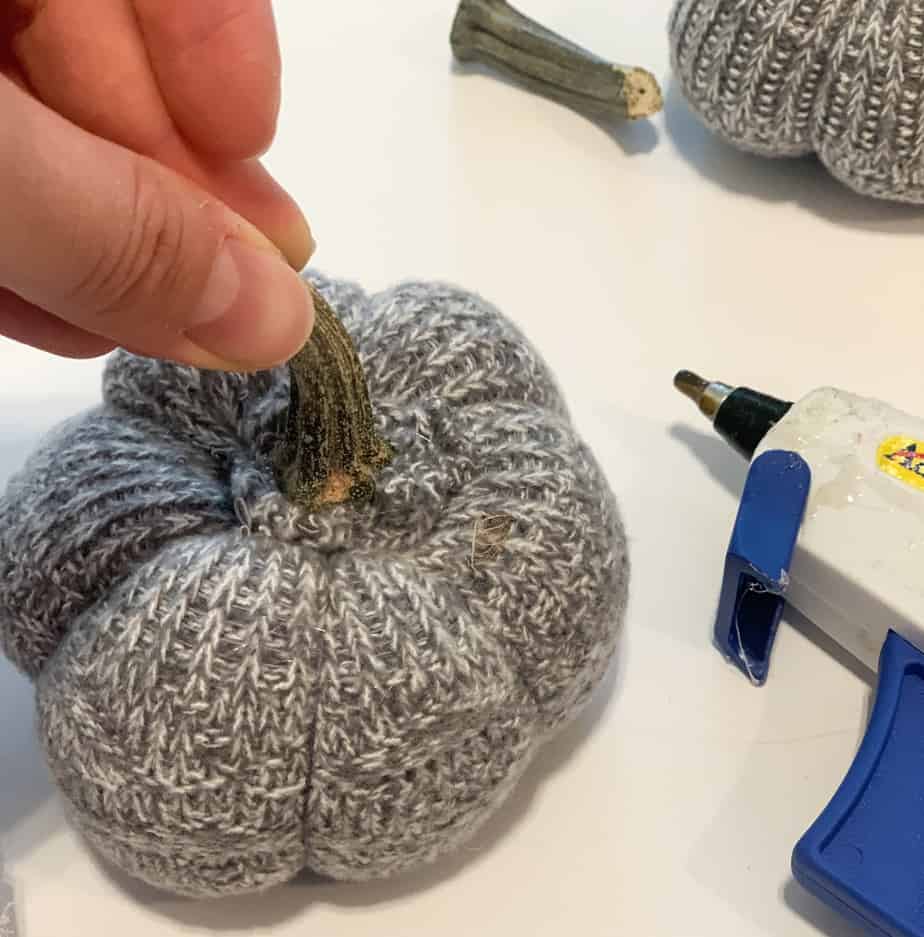
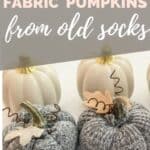
I also had these little rusty curly cues from my husband’s aunt Colleen that I thought looked super cute. They were from an old crib mattress. Aren’t they adorable?
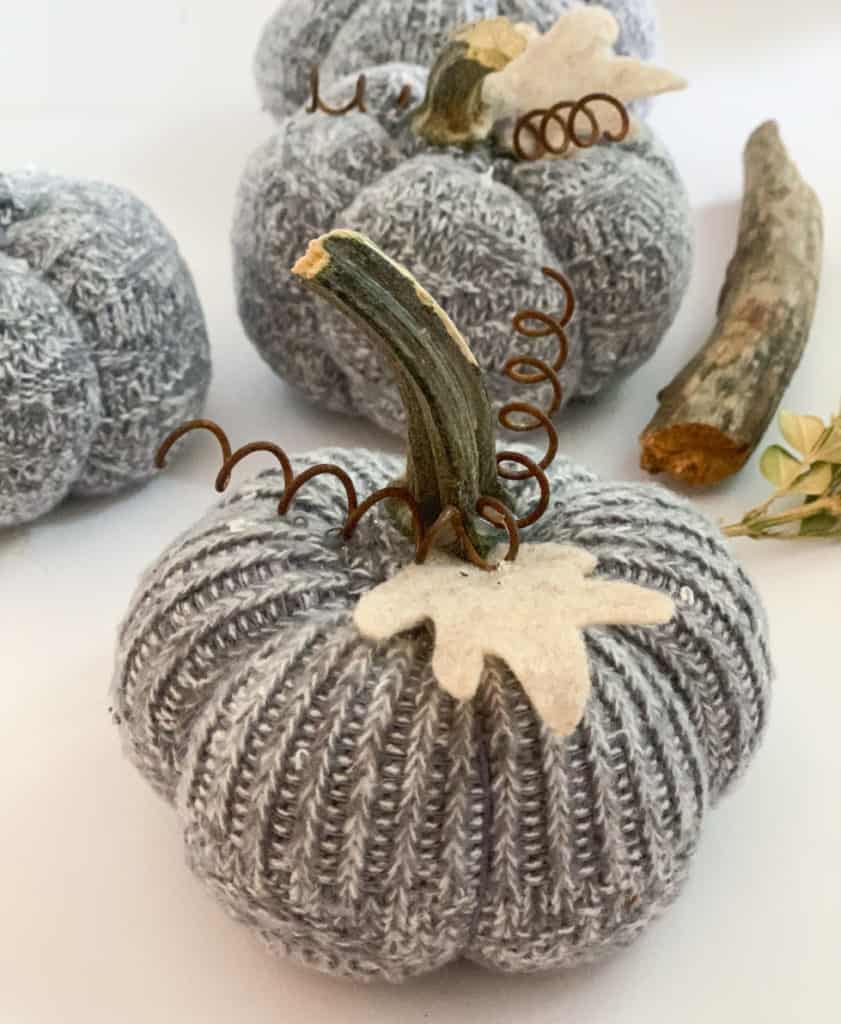
How to make the Pumpkin Curls
Since first writing this post I have been asked by countless people how to make the pumpkin curls. Well I have searched high and low for some really great alternatives to the rusty springs. And I actually did a short tutorial and video on making them. You can check out how to make pumpkins curls in this video.
Tip: You can make fake pumpkin leaves from felt or leather. Glue the stem on first and use the leaves to cover up and glue that is peeking through or any fabric that is bunching over on the top of your pumpkin.
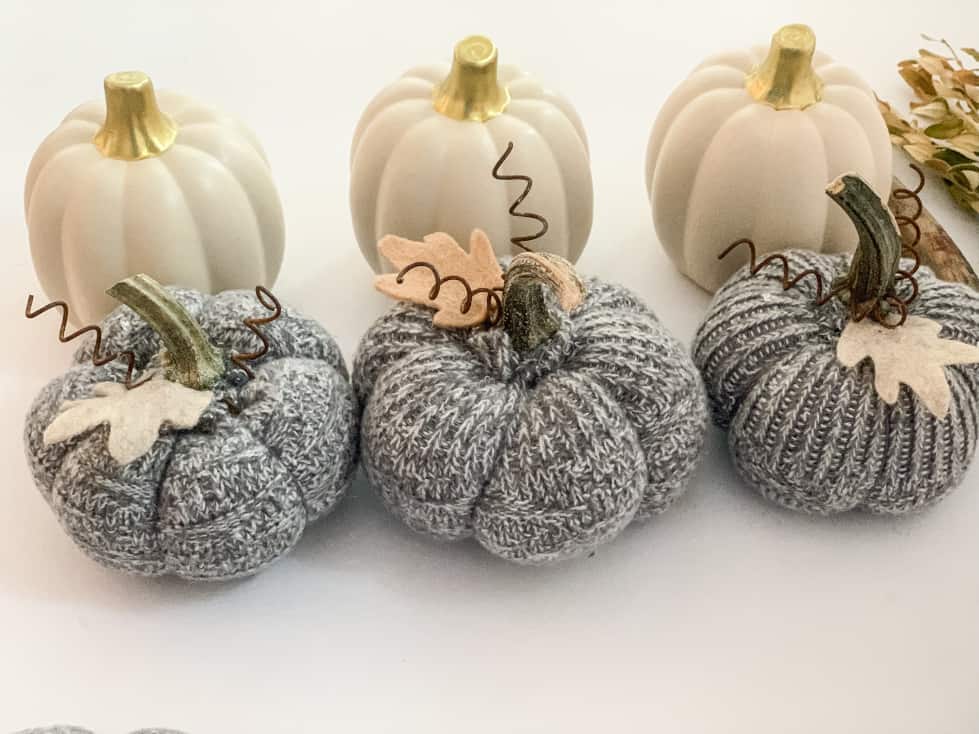
And that’s it! Now you have a new purpose for those old socks that have been hanging out in your dresser since last Christmas. I love these little pumpkins and I think you will too! Once you make a few you might be addicted and start seeing pumpkin potential in your whole wardrobe! Don’t forget to check out this tutorial on how to turn old sweaters into pumpkins as well! You may also want to check out this these cute fall coasters I made recently.
Have an extra pair of socks?
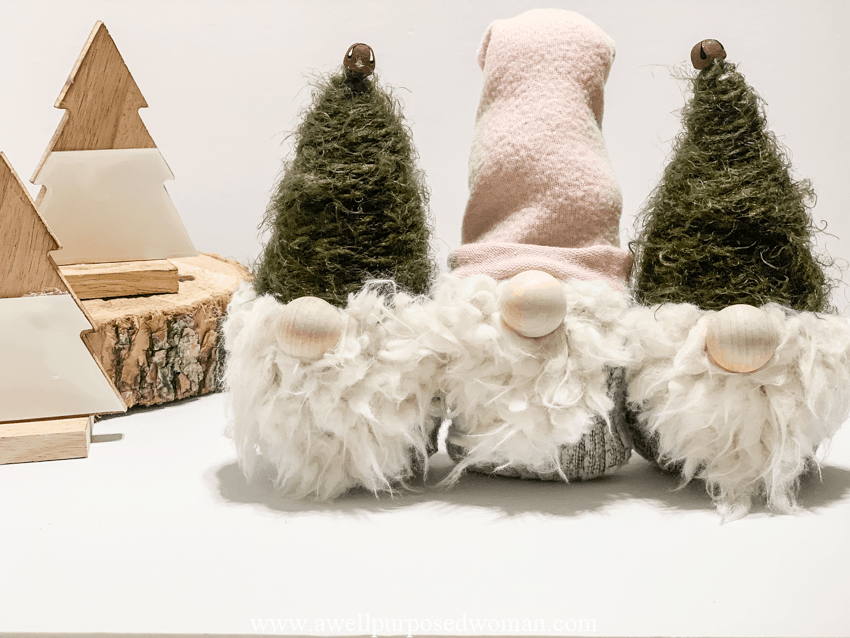
Check out how to make DIY Sock Gnomes for Christmas or Valentine’s Day!
Hope you are having a great week!

P.S. If you like this tutorial be sure to pin for later, so you can easily find it!
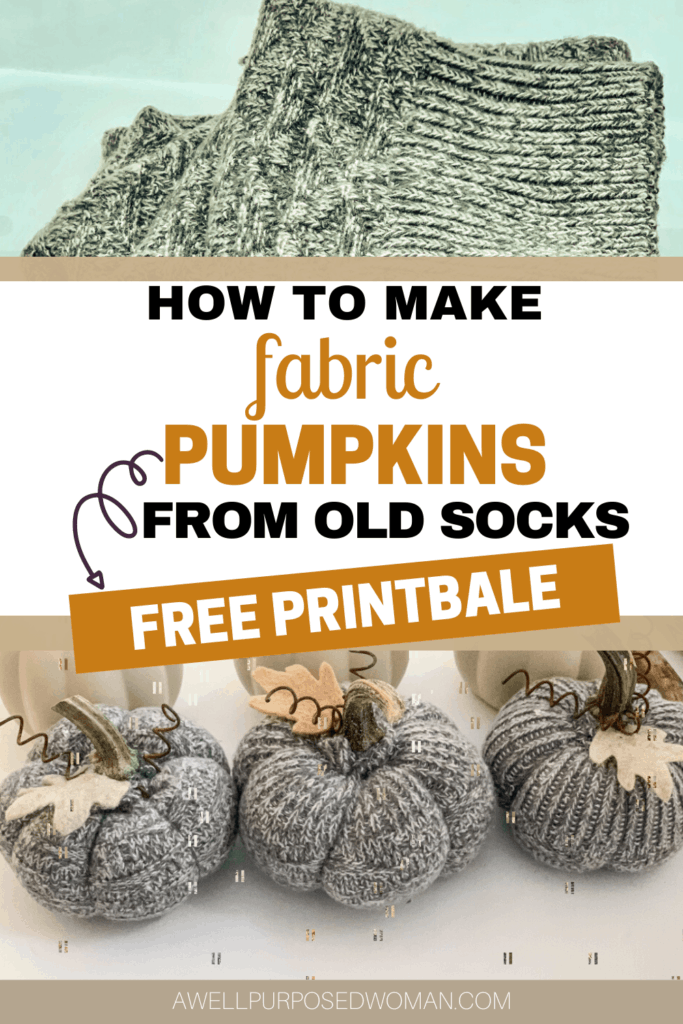
How to Make Fabric Pumpkins from Old Socks
Learn how to make sock pumpkins from old socks with this step by step tutorial. Fabric pumpkins are a fall decor favorite and now you can make your own sock pumpkins just by using up your mismatched socks. This step by step tutorial will show you how easy it is to make fabric pumpkins from old socks.
Materials
- -Free Pumpkin Guide
- -Socks (if you don't have old ones you can use this kind) Each pumpkin requires a 7" x 3.5" piece.
- -Embroidery floss or dental floss also works. Try to match or compliment the colors of your fabric.
- -Polyfil Stuffing
- -Rice (optional)
- -Pumpkin stem or small twig, felt for leaves (optional), rusty springs (optional)
- -Vine Floral wire or rusty springs for the pumpkins curls
Tools
- -Needle with a large eye
- -Hot glue gun and glue sticks
Instructions
Step One: Cut a section of the sock that is 7" x 3.5." Now your sock will be in the shape of a tube.
Step Two: Turn the sock inside out. Take your embroidery thread and needle and sew up the bottom of the tube.
Step Three: Pull the seam tight so it is bunched together. Sew a few more stitches through the cent er of the bunch. Turn the sock right side out.
Step Four: Now fill your pumpkin with 1/2 cup of rice and the rest with poly fil.
Step Five: With 20- 30" of embroidery floss, stitch a seam around the top of your pumpkin. Then pull the embroidery floss tight to close your pumpkin. Cut off the extra fabric above the seam you just sewed. But do not cut off the embroidery floss.
Step Six: Take the embroidery floss and go through the center of the pumpkin. Divide your pumpkin into 6 sections, go through the center of the pumpkin and come back up.
Step Seven: Embellish the pumpkin with a stem, leaves and pumpkin curls.
Notes
These little sock pumpkins are made from old socks, but you can re-purpose old sweaters or pretty much anything to make fabric pumpkins.

Flip the pumpkin over and use the other end for the top. Also small pebbles also work if you don’t want bugs eating the rice,
Good tips! Thanks for sharing! Elizabeth
Where do you get your stems?
Hi Charlotte, I have a blog post on where to find pumpkin stems. Happy Crafting! Elizabeth
Thanks for sharing . so cute I will try. to make some.
Thank you Carolyn! Please let me know how they turn out. Elizabeth
Hi there,
I have made many knocked for Christmas to give as gifts to friends and family, they loved them. I will be making those cute little pumpkins this year as I have lots of material and old shirts for this project. Thanks for sharing.
Happy 2021for lots of fun ideas.
Stay safe and well, Juanita
Thank you Juanita! I would love to see how your projects turn out. You sound very crafty too. Elizabeth
Going to start on this project today hopefully. Using hubby’s old “white” (haha) socks. Purchased some orange dye. We’ll see how it goes! I think I’ll try and use the cut off portion of the sock instead of polyfil with the rice. Repurpose, reuse! Wish me luck.
Hi Deb! All the best to you! How did they turn out? Elizabeth
Hi Elizabeth!
Wonderful idea! Thanks for sharing your “how to make” sock pumpkins. 👏🏼
I will try them this fall. 😁
Happy “what’s left of” 2020! 😊
Thank you Pam! Please let me know how they turn out. Elizabeth. Yes, to you too!
You are so creative and talented! Thanks for sharing the photos and detailed directions.
The sock pumpkins with real stems, felt leaves, and mattress springs are absolutely adorable!
(Please don’t add me to any mailing lists. Thanks.)
Hi Carolyn! Thanks so much for stopping by! Let me know if you try the pumpkins. Don’t worry you will not be added to any lists. But stop by again 🙂
I always wondered how these were made. How simple and fun. No wonder you could mke then in a car! I think they are so pretty. I love the tiny, dried, pumpkin stems too.
Hi Lee-Ann, thanks for stopping by and commenting! Yes they are a great activity for a car ride, if you are not driving of course 🙂 Thanks! Elizabeth
THANKS for sharing how to make the pumpkins they are lovely,will get my grandsons making them,we did sock monkeys ,so these pumpkins will go with them.
Hi Ann, how fun to do them with your grandkids! Please tell your grandsons I am very impressed with them making sock monkeys and now pumpkins! What great skills to share with them. Thanks for stopping by!
What A Great Idea and project to get my granddaughters involved. Love re-purposing items Have left over cedar limbs to use from wooden pumpkins I finished. Thanks Alesha
Hi Candance, thanks for stopping by! I hope you have fun with your granddaughters!
Thanks for sharing!! Super cute cozy pumpkins for home decor and little treats to give to teachers friends etc. for Halloween! Definitely going to give this a try!
Hi Jill, thanks for stopping by! What a great idea to give as gifts to teachers and friends! I love it!
Adorable idea thanks for sharing!! I am off to hunt appropriate socks!
Awesome Sherry! Let me know what you come up with on your hunt! Thanks for stopping by 🙂
Try a dollar store. They may have Halloween themed socks!
Love these pumpkins!!!
Thanks Alesha! Are you planning to make some this year?
thanks for sharing!
Thanks for sharing and thanks for stopping by! Come again 🙂 Elizabeth
Thanks for sharing!!