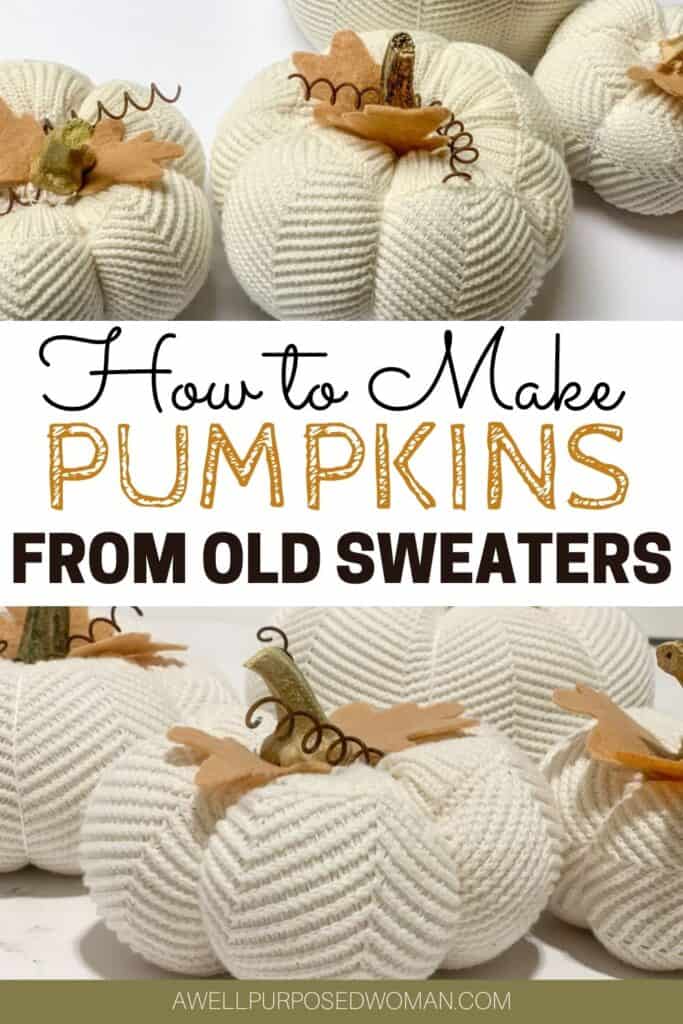
Learn how to make sweater pumpkins from old sweaters. These beautiful pumpkins are made from an old sweater. This tutorial will show you step-by-step how to make beautiful sweater pumpkins.
Have you seen beautiful cozy sweater pumpkins and wondered how to make sweater pumpkins? Well today I wanted to show you just how easy it is to make sweater pumpkins…from old shirts and sweaters!
Last week I shared about making fabric pumpkins from old socks. It’s a simple way to make fabric pumpkins because the main seams are already sewn for you. Making pumpkins from sweater sleeves is just as easy!
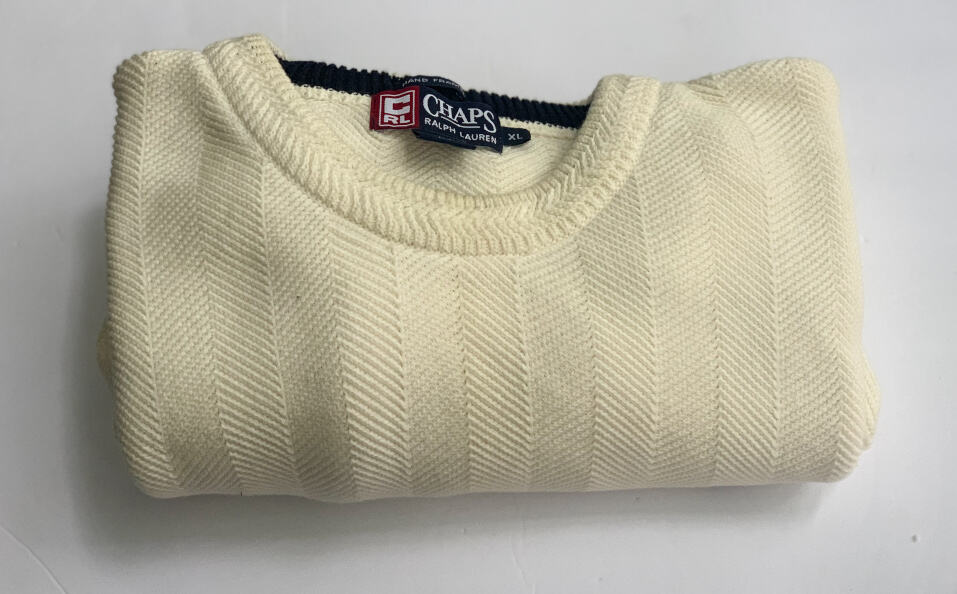
Today’s pumpkins were made from my father-in-law’s old sweater. It was one he no longer was using and it created the cutest little pumpkins.
The steps for making sweater pumpkins are almost identical to the fabric pumpkins from sock pumpkins. The only difference is you will have to sew an extra seam when using the fabric from the body of the sweater. I will show you how to choose a good sweater or shirt fabric and how to make the tube out of the sweater.
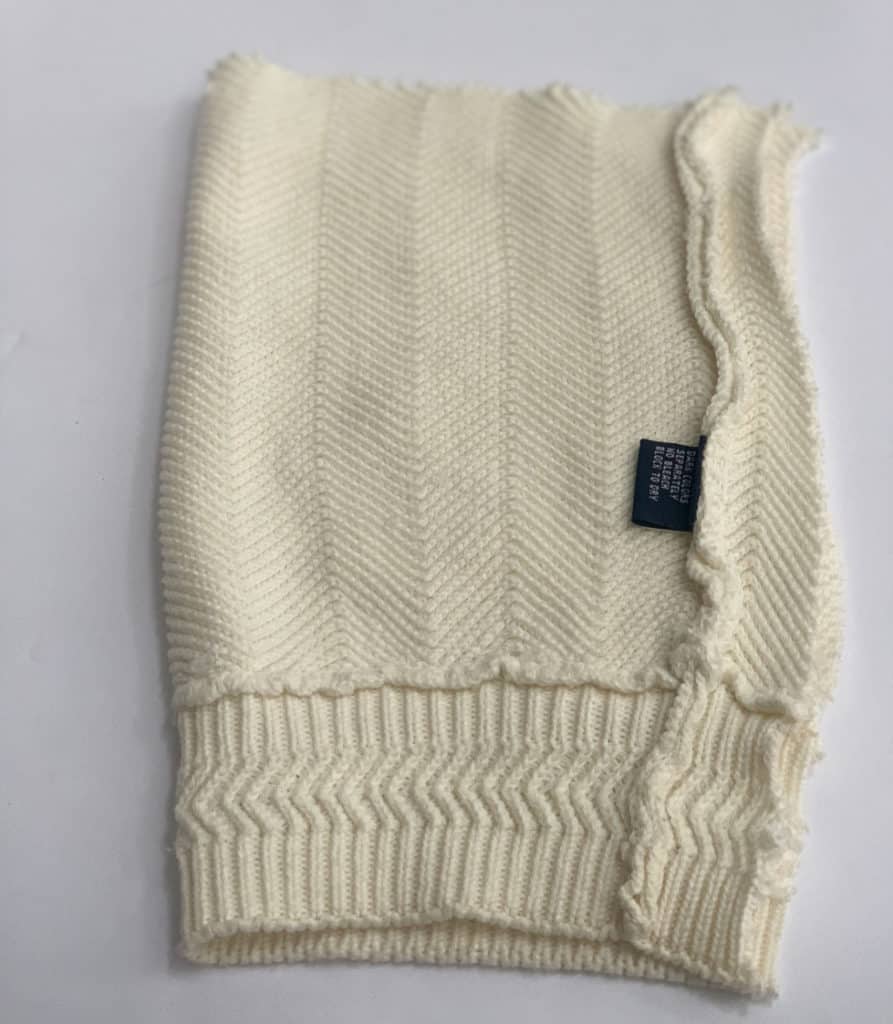
Here’s how to pick the right sweater for sweater pumpkins:
So start digging though your closet and find an old sweater or shirt to join in the fun! Here’s what you should look for in your sweater or shirt fabric.
- Pick a sweater or shirt with a tight weave. When making these pumpkins you are going to be using embroidery/ dental floss, so you don’t want a pumpkin with spaces that are too big. Because you will have a hard time getting the floss to hold.
- Pick a sweater that is not too thin. Although I have seen some lighter weight sweaters that I think would make pretty little pumpkins if the fabric is too thin and you can see through it, it’s probably too thing. You will be pulling the floss tight, so this may tear the fabric.
- Don’t pick a sweater that is too stretchy- although some stretch is totally fine. I avoided fabrics that were super stretchy. Because I found filling the pumpkin and getting the right shape were more difficult.
- Don’t pick a sweater that is super bulky- I find it works better to use a sweater fabric that you can pull tight. If you use a sweater that is too bulky you will have difficulty pulling the floss tight and creating the sections of the pumpkins. Choose sweaters that are medium or somewhat bulky.
Here’s the supplies needed to make sweater pumpkins:
- Old sweater or shirt
- Embroidery or dental floss
- Embroidery needle with a large eye
- Rice
- Polyfil
- Stem, leaves or other accessories
Here’s how you make sweater pumpkins:
1. Create a tube out your sweater
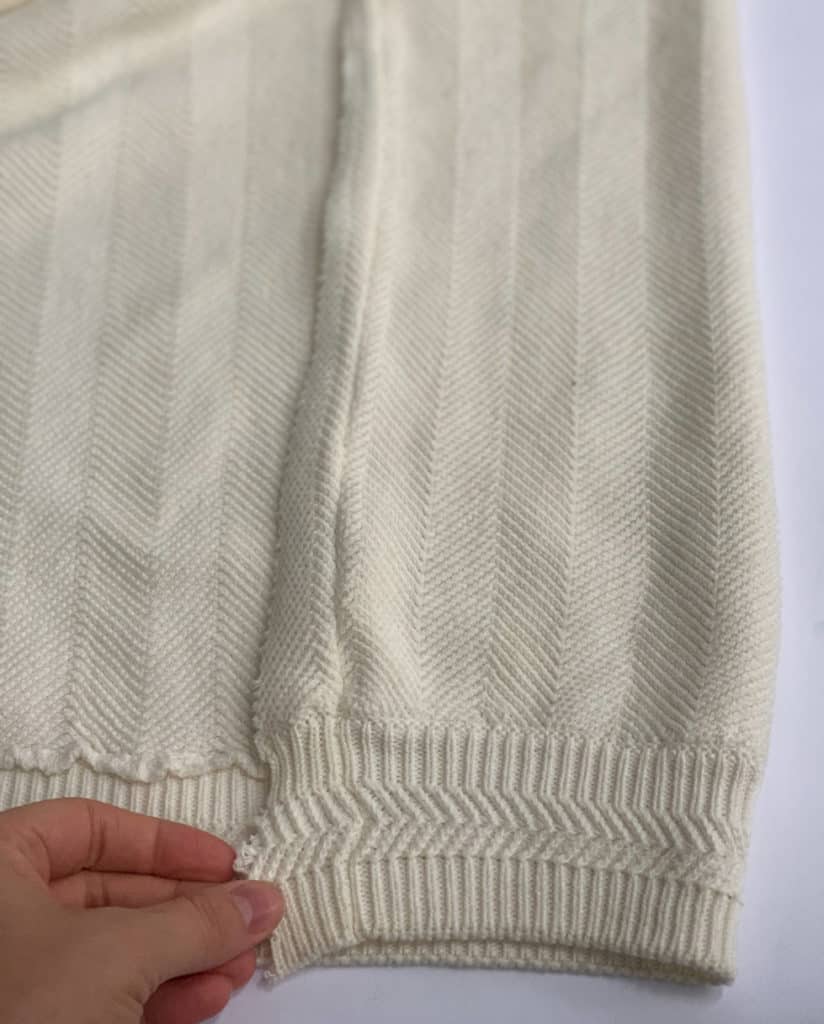
For your convenience I have created a printable download so you can use it whenever you want to make sweater pumpkins. But if you just want to get started. You will need your fabric to be in a tube shape. You can use the sleeves of the sweater and cut off a portion for your tube. I usually make my pumpkins about twice as long as wide. So if I am cutting the sleeve I will make it 7″ long if the sleeve is 3.5″-4″ wide. For a bigger pumpkin you can make it 10″ long if it is about 5″ wide. It doesn’t need to be perfect. You can play around with the size to get a shape you like as well.
When you are cutting into the body of your sweater, cut out a portion of your fabric that is similar to the sleeve. Do this by folding the fabric into a rectangle shape (like below). Then cut out the rectangle.
You can vary the size of you cut your fabric to get a variety of pumpkins. For a larger pumpkin cut your fabric into a 10″ x 10″ piece. Then fold it into a 10″ x 5″ Tube. For a smaller pumpkin start with a 6.5″ x 7″ wide piece. Then fold it into a 6.5″ x 3.5″ tube.
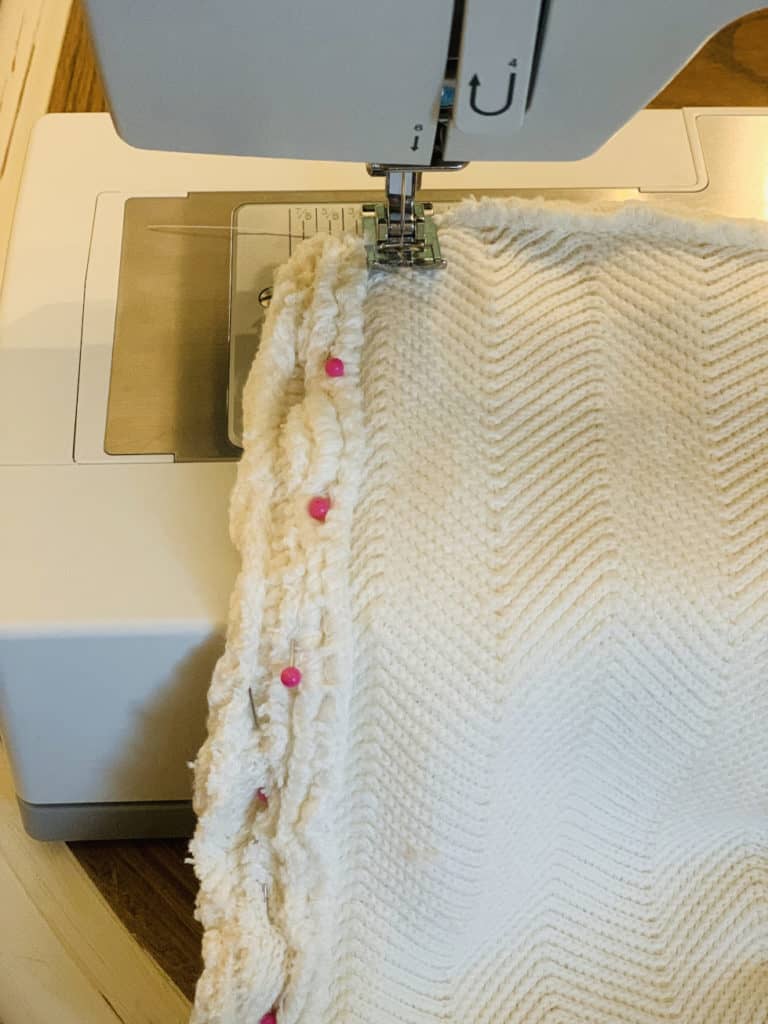
Sew the sweater to make a tube shape
With your fabric folded. Pin along the longer sides of the rectangular piece.
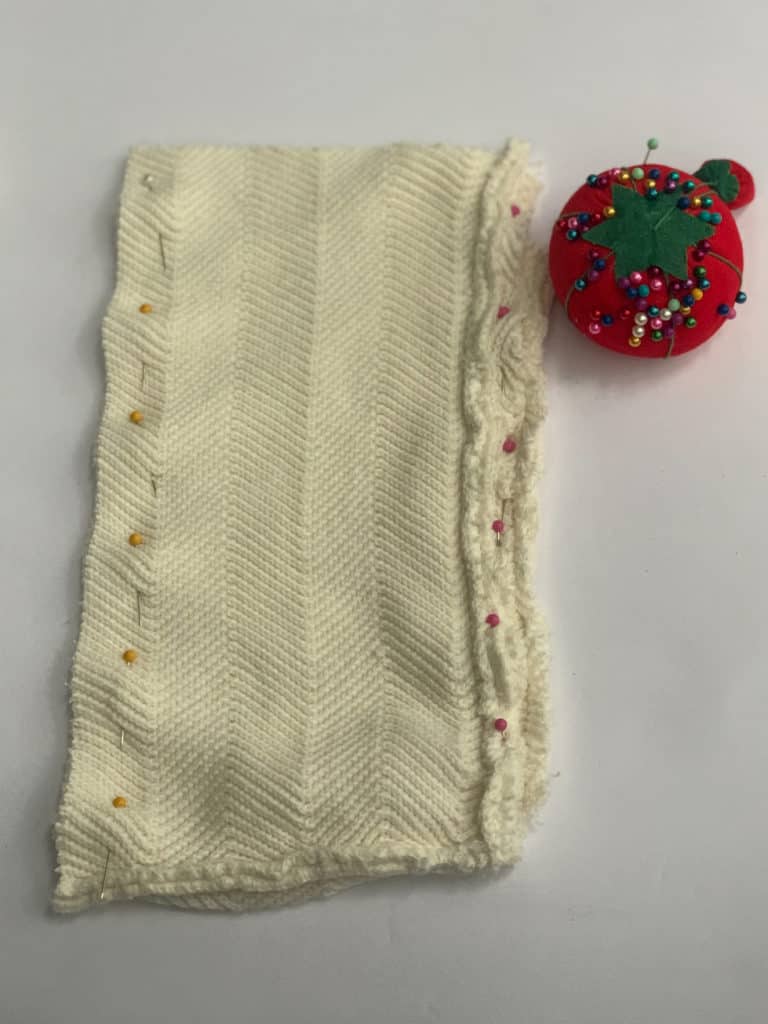
Then sew a seam on the long edges to create a tube.
Turn your fabric inside out. Now you will have a sweater tube to use for your pumpkin.
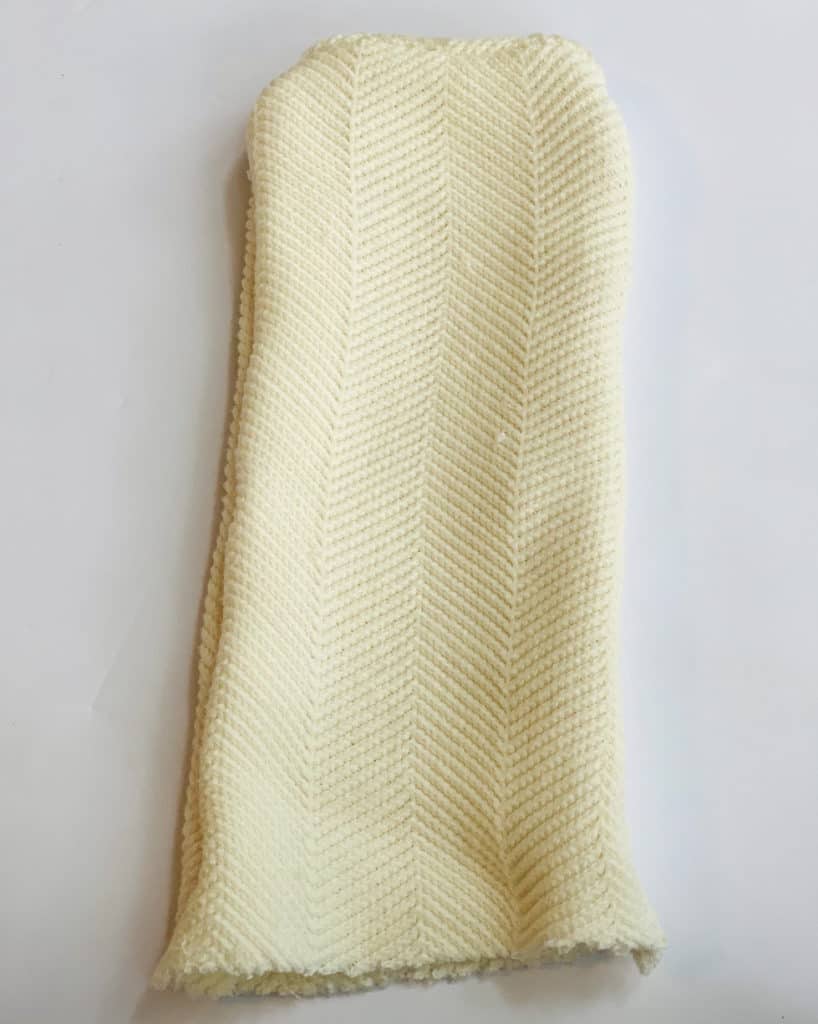
Now that you have a tube shape you can finish by following in the printable download or follow along with the sock pumpkin post. Go to step 2 and finish your sweater pumpkins the very same way you finish the sock pumpkins.
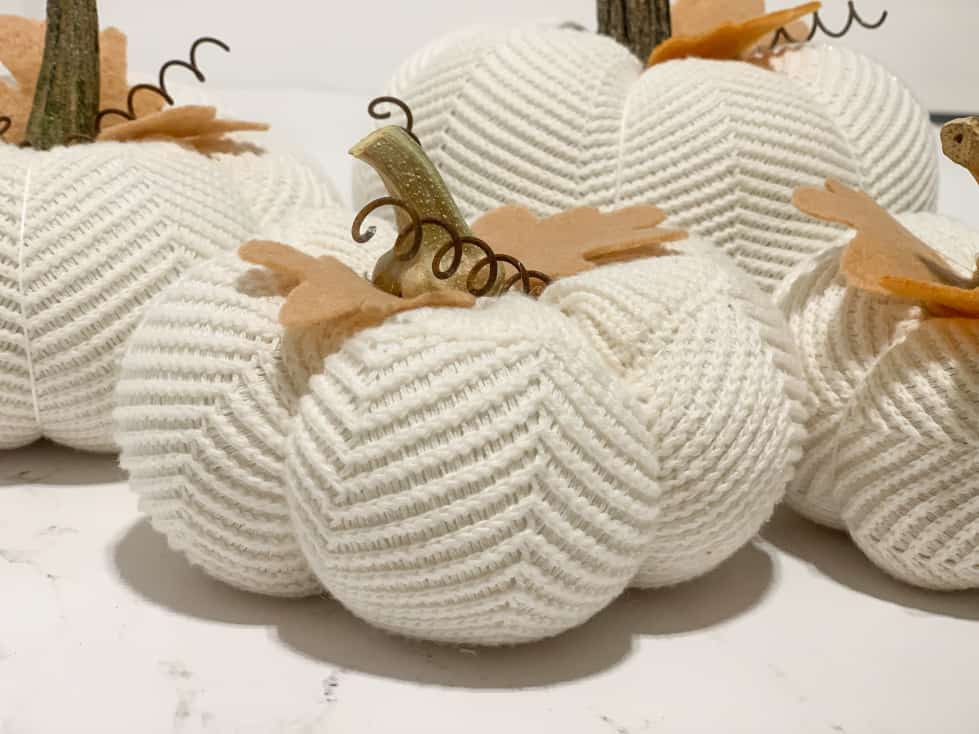
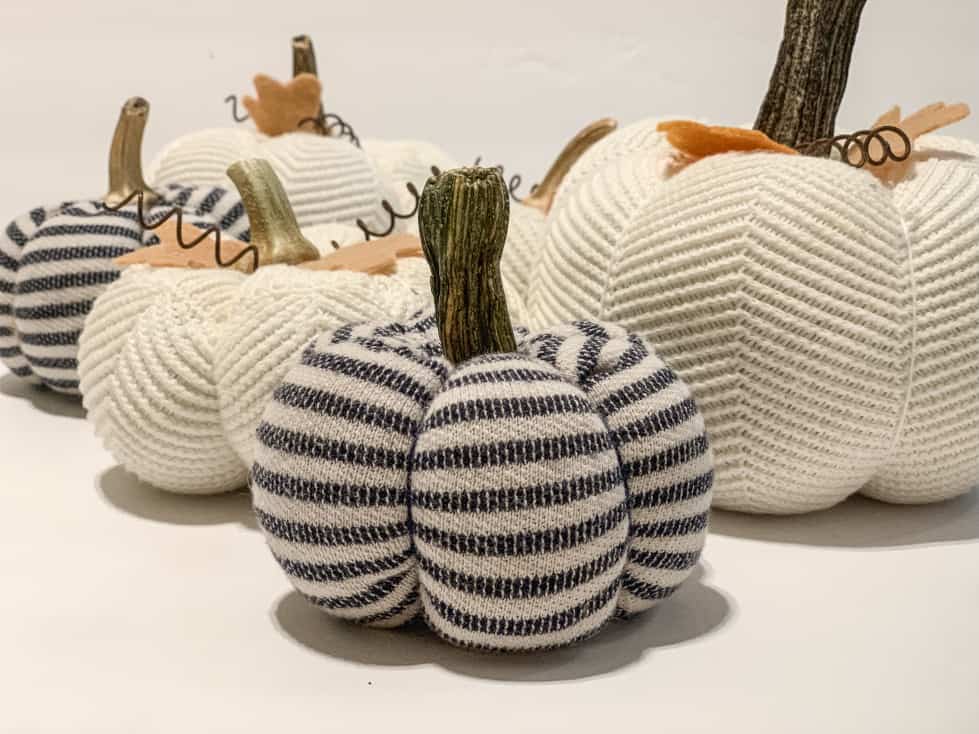
I love making these pumpkins! Because I love fall but I also just love giving something old a new purpose. It’s a great way to add some different textures to your fall decor! Also saving you money by using fabric you may already have on hand. And these cute little pumpkins can be used from year to year!
Go to Step 2 of the sock pumpkin tutorial to finish your pumpkins. Click here.

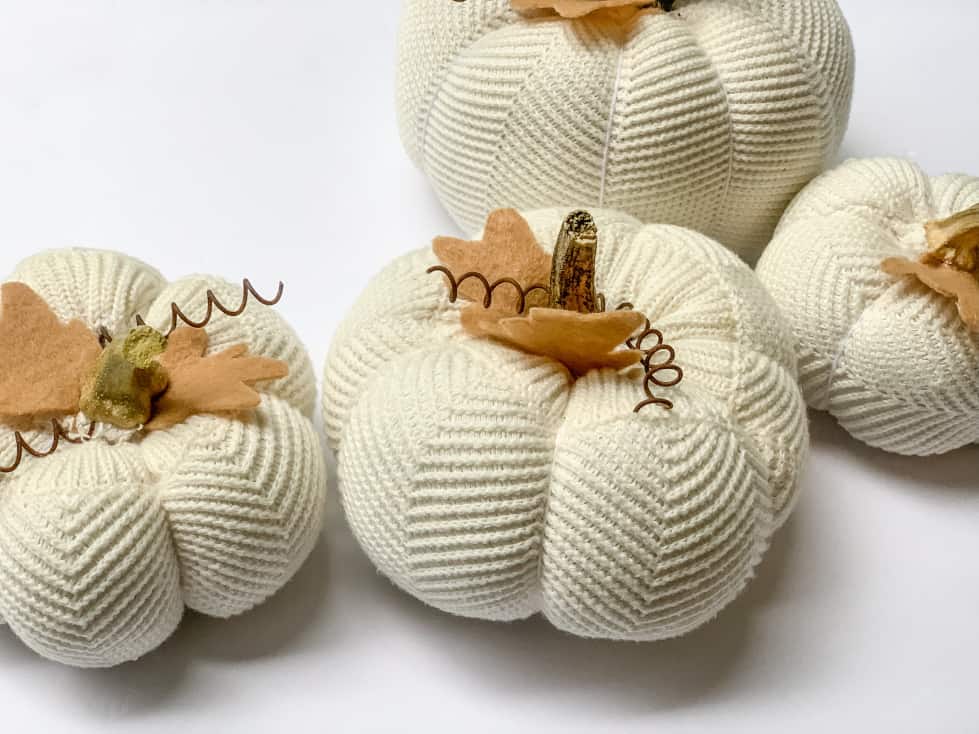
I hope you enjoyed this tutorial and that you can add some cozy little pumpkins to your fall decor this year!
God bless,

P.S. If you liked this tutorial don’t forget to pin it!

I love the pumpkin sock pumpkins. I have a quick question when using the embroidery floss/yarn. Do you use all six strands at once or do you use one or two strands at a time?
Thank you
Paty
Hi Paty! I do use a 6 strands at once. When you pull the thread it can easily break so I like to to be as strong as possible.
Where can I find the tiny springs?
Hi Patty, these were old rusty crib sprigs. But you can purchased paper covered wire from the floral section and wrap it around a pencil. Here’s how to make them. . Happy Crafting! Elizabeth
The original ones I used were rusty crib springs. Since those are a limited to commodity, now I mostly used paper covered wire. Here’s how I make them: https://awellpurposedwoman.com/how-to-make-pumpkin-curls-the-easy-way/.
💗Elizabeth
These turned out so cute, and you make it seem so easy! In the past I’ve always decorated with real pumpkins, but I feel like they get so messy and I always wind up calling my carpet cleaner every season. So I’m excited to try making these cozy faux ones that will (hopefully) last for years to come, thanks!
Sure! I know what you mean. These are addiciting once you start making them. Happy Crafting! Elizabeth
These are so cute!!! Who knew dad’s sweater would make such cute pumpkins+
Yes..it definitely looks really good on pumpkins too! 🙂