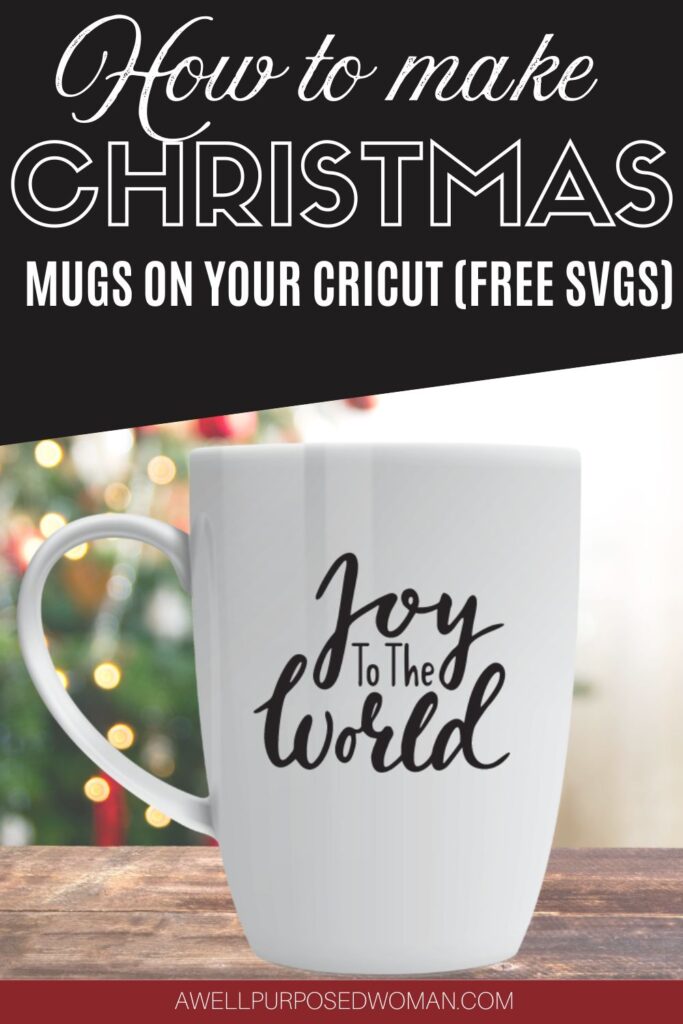
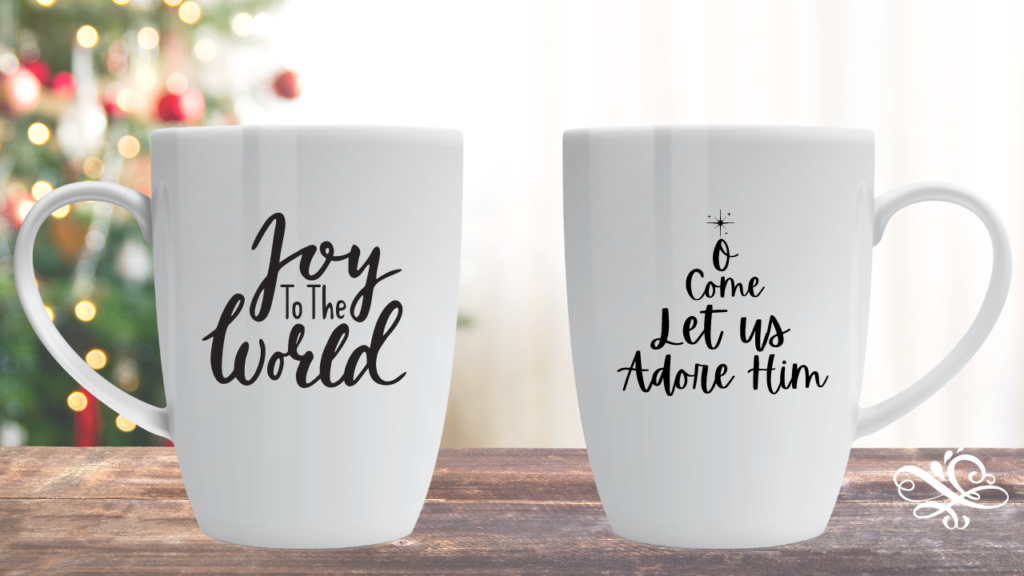
Learn how to make mugs with a Cricut but not a mug press in this step by step tutorial. Did you know you can make personalized mugs using a Cricut even if you don’t have a Mug Press? Today we are going to be making mugs for Christmas!

Welcome to Day 11 of our Christmas Countdown- today we are making Christmas mugs on our Cricut machine! Have you ever wondered how to make mugs with the Cricut without a mug press? Would you like to personalize some mugs as Christmas gifts?
Well if so, today’s your day! We are talking all things MUGS and we are going to use our Cricut machine to help us design our mugs. This is another great beginner Cricut project just like the wood slice ornaments we made last week.
I am designed several Christmas sayings for you and you can just use my free SVGs for Christmas if that is helpful to you.
So let’s get right to it!

Here are the supplies needed to design mugs on your Cricut machine:
- Free SVG designs or personalize and design your own
- Cricut Maker or Explore Machine
- Permanent Outdoor Vinyl
- Blank Mug
- Rubbing Alcohol
- Weeding Tool
- Scraper
- Transfer Tape
- Dishwasher Safe Mod Podge
Watch how to make a mug with your Cricut for Christmas gifts this year:
Here’s how to make a personalized mug on your Cricut Machine, without a mug press:
Step 1: Measure your mug and clean your mug
The first step is to measure your mug. Since you want to have an idea of how big you will make your design. Measure the horizontal and vertical size of your mug.
Then take rubbing alcohol and rub any areas of the mug where you will be attaching your vinyl design. This removes and dust, grime and helps the vinyl adhere better.
Step 2: Get the free SVG files
The next step is to get your free SVG files. You definitely don’t need to use my designs but if you find it helpful you can download them here.
Step 3: Upload the SVG files into Cricut Design Space & cut your design
Once you have downloaded your SVG files onto your device, now open up Design Space and upload them there. Select the files you will be using and add the design to your canvas.
Re-size your design so that it matches the size of your mug. My mug had a space of about 2.5″ so I made my design around 2″. Now select the entire design and click “Attach.”
Now it’s time to make your design. Just select “Make it”. Then select vinyl and cut at the default pressure. Load your vinyl into your machine and then press the “Cricut” button when prompted to do so.
Step 4: Weed your design with your weeding tool
Now that you have cut your design, unload it from the machine. Cut a piece of transfer tape that is the same size as your design. Use your weeding tool and weed any areas of the vinyl that are not included in your design.
Step 5: Transfer the design onto your mug
Now cut a piece of transfer tape that is the same size as your design. Cover your design with the transfer. tape and scrape over the top of it. Peel away the vinyl backing so that the design is now on your transfer tape.
Cut small slits around the design. This will help the design conform to the mug’s round shape.
Now smooth the design onto your mug. Use the scraper if needed to smooth the design onto the mug. When you are satisfied with your design. Pull away the transfer tape in pieces (due to the slits).
You’re almost done, becasue now your design is on your mug!

Step 6: Seal your mug with Dishwasher safe Mod Podge
The last step is to seal your mug with dishwasher safe Mod Podge. Take a paint brush and evenly brush your mod podge on top of your design. It is not necessary to spread it over the entire mug but just focus on the area of the design you are covering.
Once the mod podge is dried, add a second or third coat to seal the design. Even with several coats of dishwasher safe mod podge I still reccommend washing these cups by hand.
And that’s all! Now you have your beautiful personalized Christmas mugs to give this year as a Christmas gift!

Thanks for being here today! If you missed any of the other days of our Christmas Countdown you can read them below:
1: Dry Out Oranges for Garlands and Ornaments
4: How to Make a Star Wreath out of Chunky Yarn
5: How to Make Christmas Trees out of Yarn
6: How to Make an Ornament Wreath
7.How to Make a Star Ornament out of Beads & Strings
8: Free Gift for Email Subscribers
9: How to Make an Outdoor Planter
10: 10 Last Minute Mason Jar Lid Crafts
No time to craft now? No worries just pin this post for later!


Leave a Reply