Learn how to make sweater mittens with fleece lining for kids. These mittens will keep your chidren’s fingers warm and toasty this winter! With this free pattern you can make as many pairs of sweater mittens your child needs. This tutorial will show you step by step how to make sweater mittens with fleece lining for your kids!
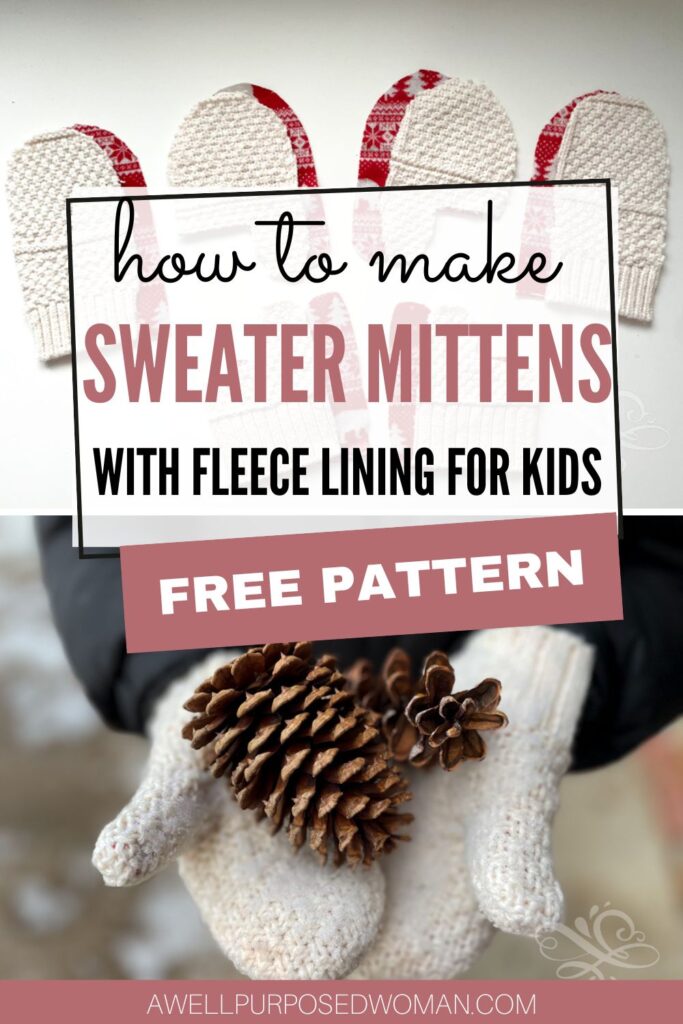
Several years ago I posted on how to make sweater mittens from an old sweater, and many people requested a post on how to make sweater mittens for kids with fleece lining. Well today I am finally sharing a free pattern for kids mittens with fleece lining.
Every summer I am looking for nice sweaters at garage sales that can be upcycled into mittens or other crafts. Garage sales are the best place to get sweaters because they are usually significantly lower in price (even more so than thrift stores). And last summer I happened upon a jackpot of a garage sale that had a rack full of sweaters for 50% off.
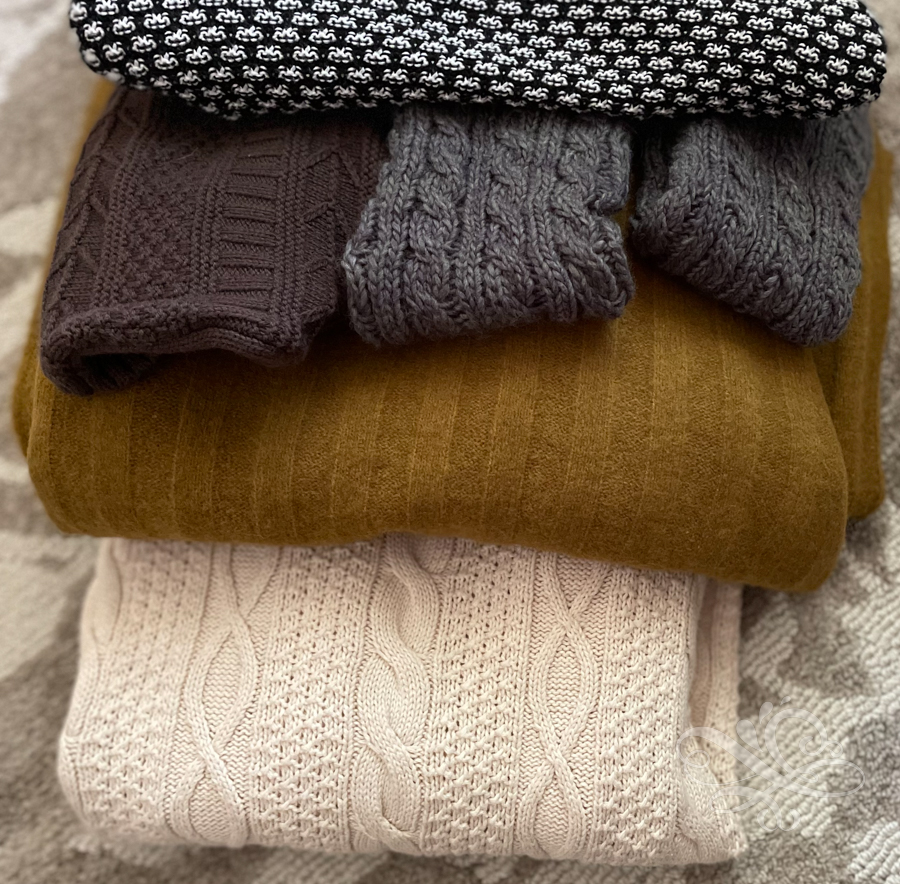
I used the beautiful cream sweater on the bottom of the stack to make my daughters sweater mittens today.

Here’s what you need to make sweater mittens with fleece lining for kids:
- Free mittens pattern
- Old Sweater
- 1/4 yard fleece, flannel or other lining fabric
- Scissors
- Sewing machine & thread
- seam ripper
How do you do you turn a sweater into mittens with fleece lining:
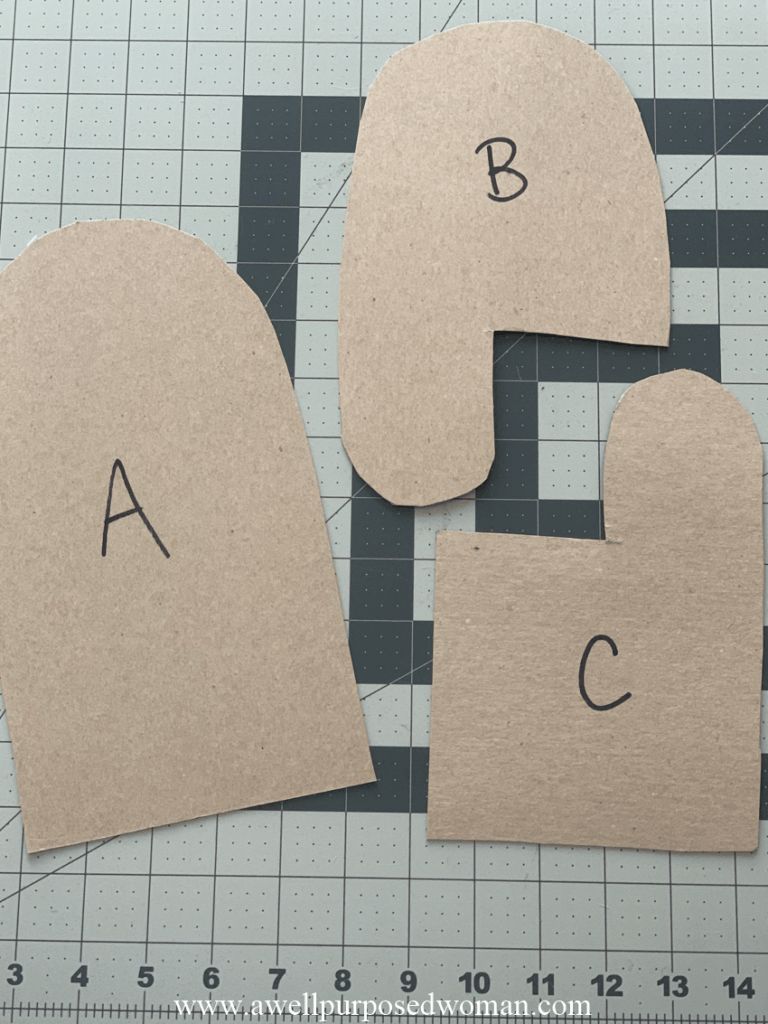
Step 1: Download Free Sweater Mitten pattern & print out
The first step is to print out the free pattern. Get the free pattern from your email and print it our. Cut out all parts of the pattern. You can trace the pattern onto cardstock so that is more durable and you can use it mulitple times.
Step 2: Cut out a right and left hand mitten from your pattern
Cut out the sweater pieces from your pattern
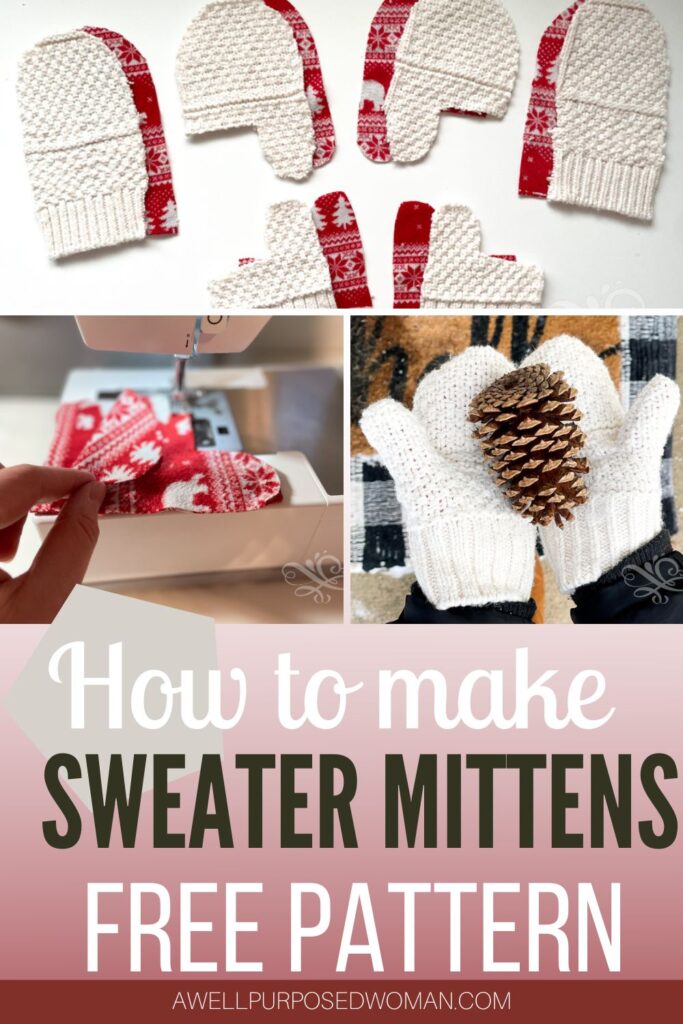
Now you will want to cut out your mittens. You will want to cut out a right and left hand piece from both the fleece and the sweater material. I started with my sweater material and lined up the pattern pieces. I cut out the pieces then I flipped the pattern over and cut out the pieces again.
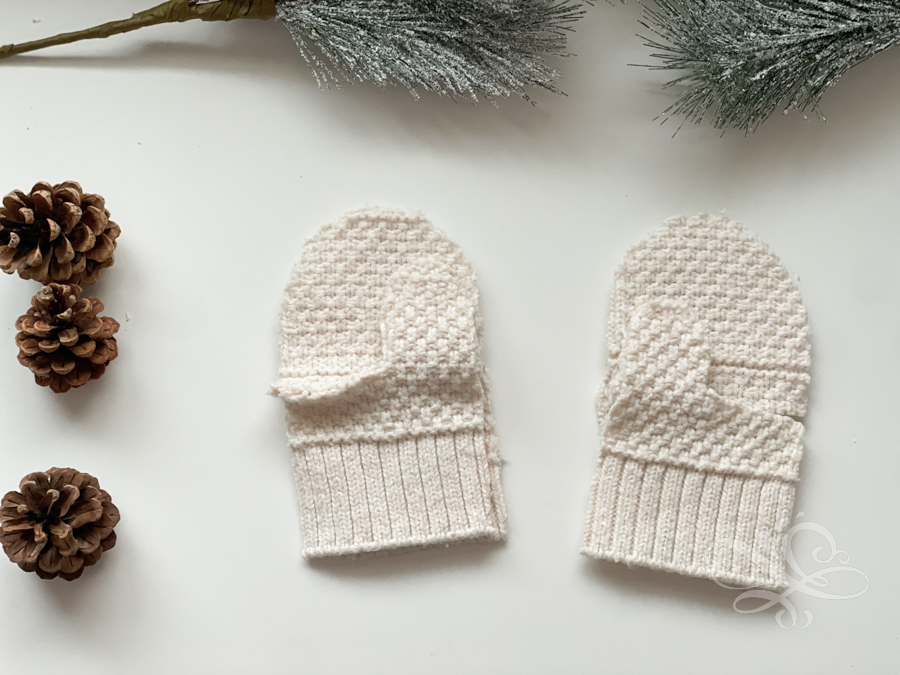
Tip: Before you start cutting your sweaters, line up the pattern on top of your sweaters. To ensure you have enough of each fabric to make your pattern. And so the weave and patterns match on both of the mittens.
Cut out the fleece pieces from your pattern
Now just use the pattern to cut out a left and right mitten from the fleece. I went in at least 1/4″ from the pattern on the fleece. The fleece material is the lining for your mittens. So the lining will be slightly smaller than the outside sweater mitten. You can also cut around the mitten after you sew the fleece and sweater material together if any of the fleece is showing.

Now you will have 2 pieces for each part of your mitten. For each hand you will have 6 pieces- 3 pieces of the sweater material and 3 pieces of the fleece material (see picture above).
Withe these mittens you can see I cut my sweater along the edge. So there is a cuff on the bottom of my mittens. If you are not using the cuff part of the sweater you can also add a cuff to your mittens. You can see how to do that in the sweater mittens tutorial.
Step 2: Sew your sweater mitten pieces together & sew your fleece lining pieces together
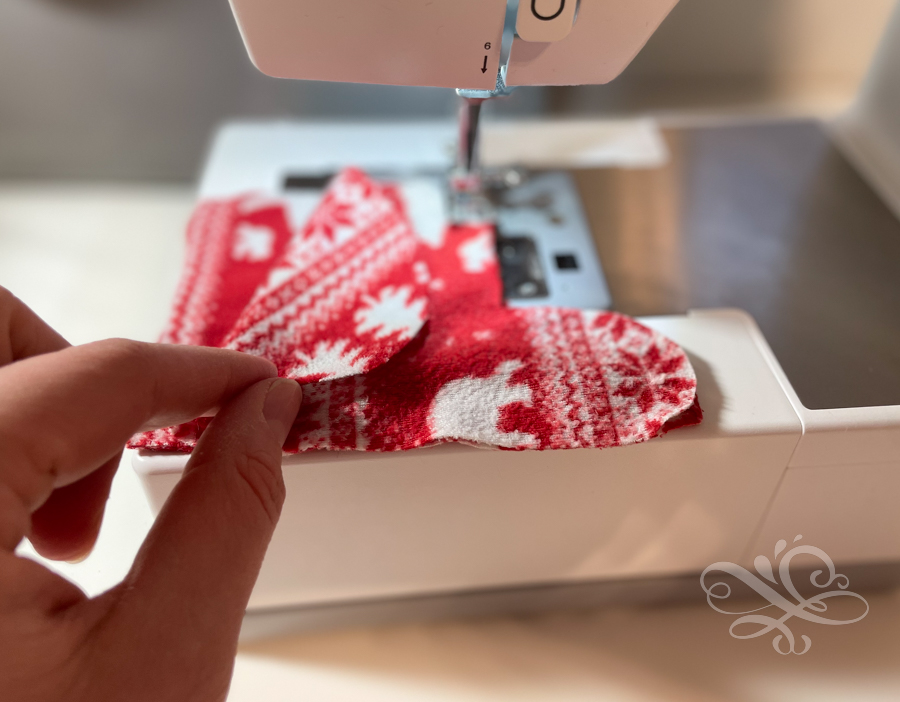
Now it’s time to assemble your sweater mitten. Start by pinning the sweater pieces of your mitten together. Then starting by sewing part B and C of your sweater mitten together.
Take time while pinning to check your work. Make sure that you are making a right and left mitten. You don’t want to end up with two left mittens!
Start with the outer edge and sew the two pieces together. End the first seam at the bottom of the finger. The picture below shows how the direction you will sew part C and B together.

Tip: Also make sure you are pinning the right sides of the fabric together. Otherwise you will end up with the wrong fabric on the wrong side of the mitten.
Now place part A on top of the piece you just sewed (part C and B together) right sides together. Sew around the mitten.
Then just repeat these steps for your fleece lining. Sew Part B and C together, and then sew Part A right sides together on top of that pieces.
Step 3: Sew the sweater pieces of the mitten to the fleece pieces
Now line your sweater mittens with your fleece mittens. Put the fleece lining on top of your sweater piece and place the sweater pieces right sides together.
I started by placing part A of the fleece piece on top of part A of the sweater piece with the right side facing up. Then I sewed the two pieces together. Then I sewed the piece made from Part B and C of the sweater to the piece made from B and C of the fleece.
After your sweater pieces are sewn together with your fleece pieces. You will sew your mitten together. Start by pinning your pieces right side together.
Next sew a seam around the outside of the mitten. Of course leaving the bottom side of the mitten open for your child’s hands.
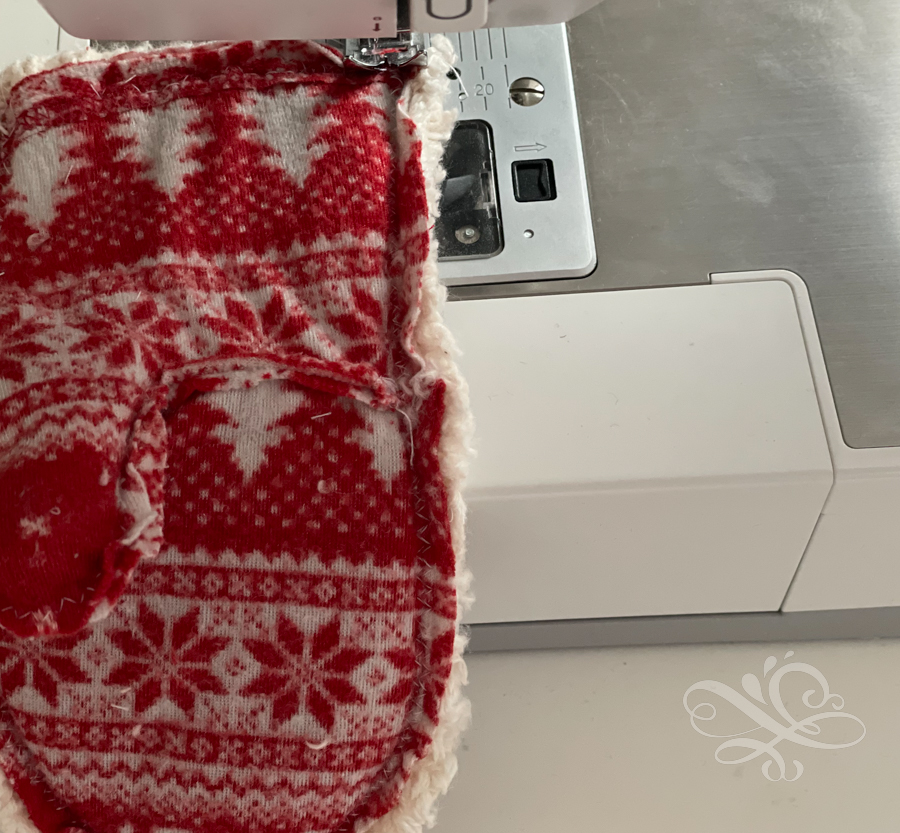
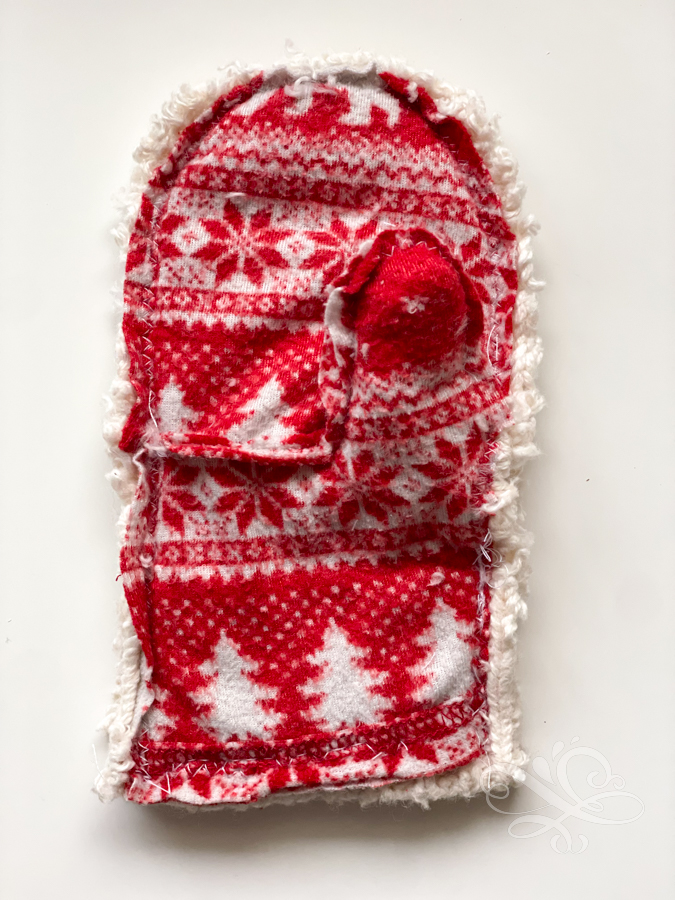
Now your mitten will be sewn together like below. Turn your mitten right side out and you are done with your mittens! As I mentioned earlier if you would like to add a cuff to your mittens additionally, you can check out the sweater mitten tutorial.
This is a very special way to keep your child’s hands warm this winter. My daughters took the mittens outside for a test drive after I had finished sewing them and they both said that they did an excellent job of keeping their fingers warm!

Hopefully you are inspired to try your own hand at making mittens! I hope the free pattern helps get you off to a great start but one other piece of advice would be to measure your child’s hand before making the mittens. If your child’s hand seems quite a bit bigger or smaller than the pattern you can always adjust the pattern by 1/2″ or whatever is needeed on each piece of the pattern.
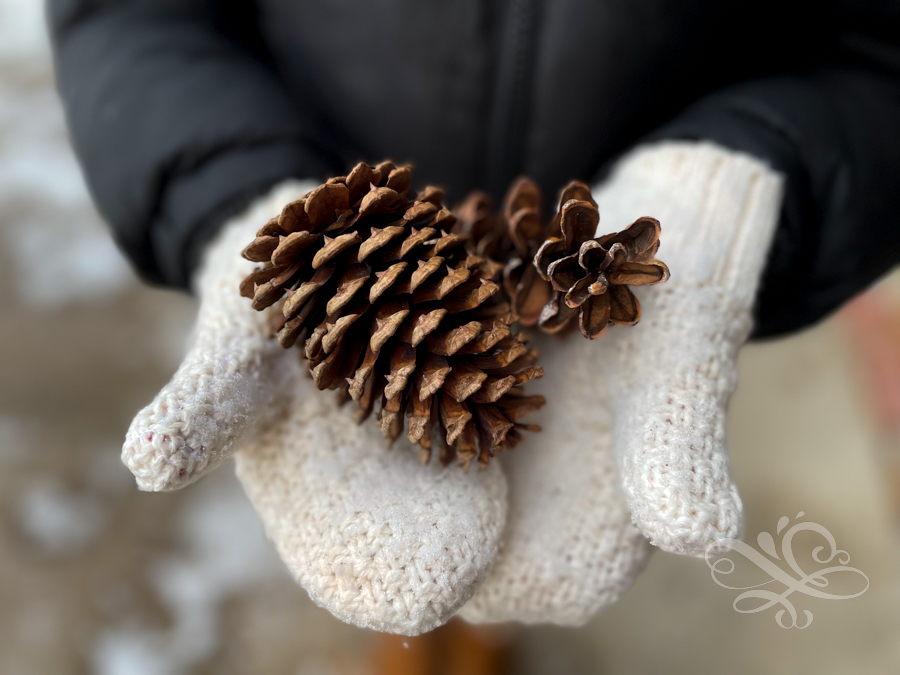

No time to make sweater mittens now? No worries! Just pin it for later.
so, are all the raw edges on the inside of mitten??
Yes! That’s exactly right. Elizabeth
Great use for old sweaters that are out of style. Love the idea of using fleece inside for warmth. Thank you for the pattern and great advice. I look forward to your emails.
Thank you Paula! So glad it was helpful to you! Elizabeth