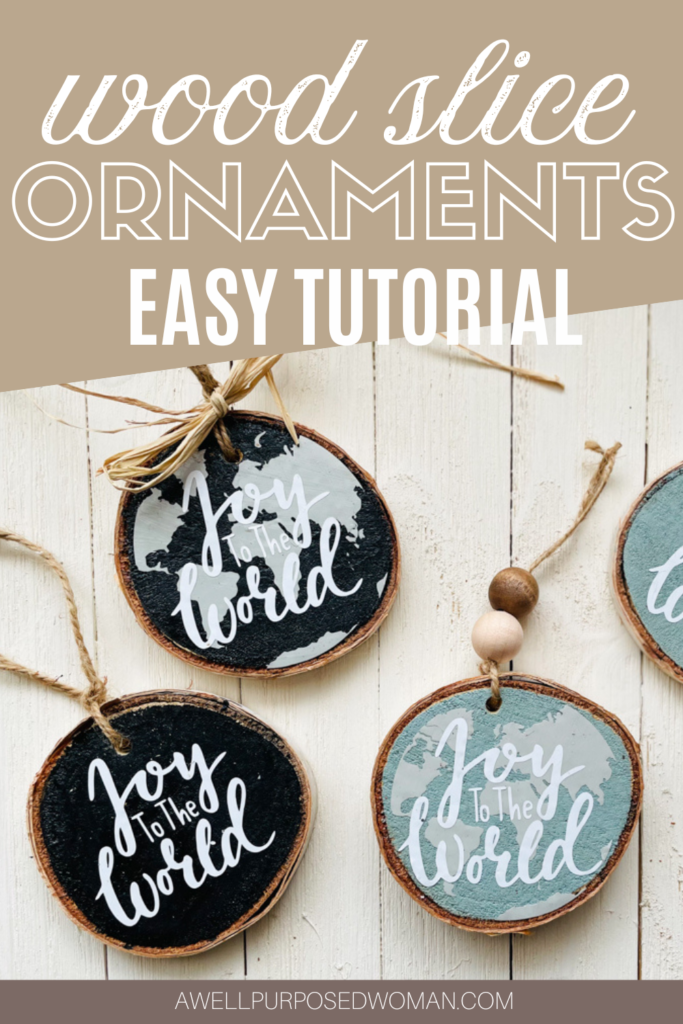
Learn how to make wood slice ornaments in just a few easy steps. This tutorial will show you how to make wood slice ornaments using your Cricuit machine. You will also learn how to paint and seal wood slice ornaments. Wood slice ornaments are a natural way to make beautiful ornaments this Christmas!
Today for Day 2 of our Craft a Day Countdown to Christmas we are going to be learning how to make wood slice ornaments. I will be using my Cricuit machine to make these wood slice ornmanets but you can definitely make them even without a Cricuit machine.
The back story of how I made my wood slice ornaments started when my neighbor cut down a beautiful birch tree next door. It was the middle of April, and I was really pregnant with my third daughter. I saw him cutting down his birch tree and I just had to ask if any of the branches were up for grabs. Fortunately he said take whatever you want! And there you go..wood slice ornaments for LIFE!
Making wood slice ornaments in pretty simple and I think you will love the finished result. So let’s get started on making our wood slice ornaments for Christmas!
Here are the supplies Needed to Make Wood Slice Ornaments:
- Free SVG Files (Joy to the World and Globe SVG)
- Wood Branch or wood slices
- Oven (Optional)
- Chalk paint, chalkboard paint or acrylic paint
- Cricuit Machine
- White vinyl
- Transfer Tape
- Weeder
- Scraper
- Mod Podge
- Twine, wooden beads or raffia
Video on How to Make Wood Slice Ornaments:
How to Make Wood Slice Ornaments:
Step 1: Clean and cut your wood slices
If you plan to just purchase your wood slices you can skip to step 2, but if you are making your own wood slices then read on. The first step to making your wood slice ornaments is to clean and dry your wood.
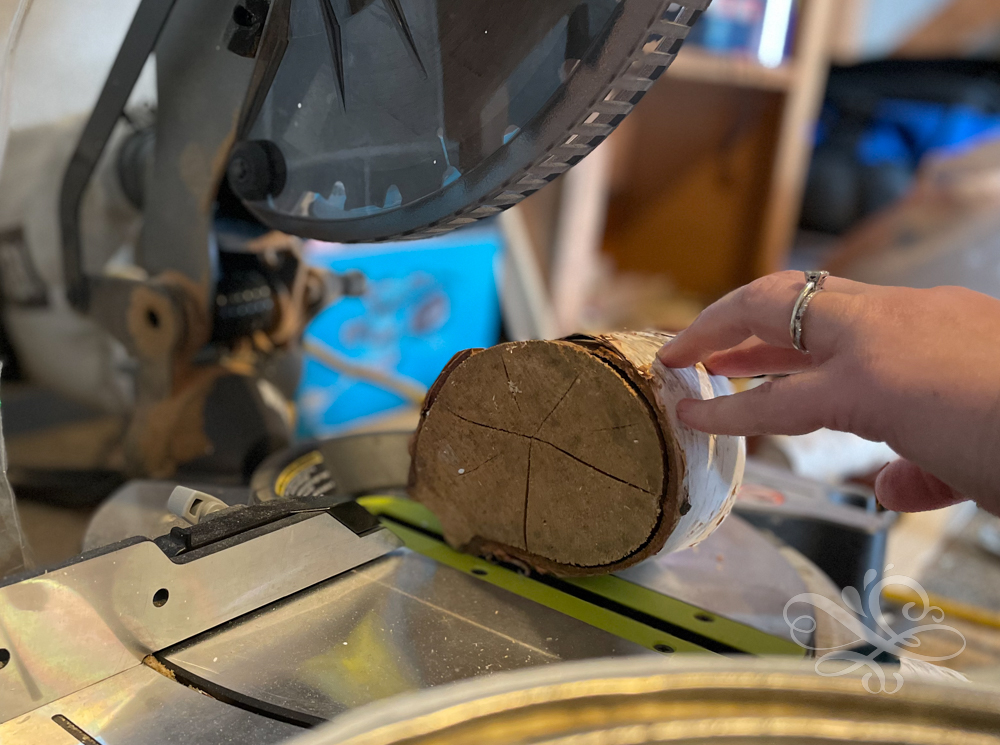
After cleaning your wood use a miter saw to cut 1/4″-1/2″ wood slices. I made wood slices out of a birch branch that was 3.5″ in diameter. So each of my wood slices were about 3.5″ in diameter.
Tip: you will want to dry our your wood slices before using them. I slowly dried out my branch in a cool dry room for a full year. But you can also dry the wood slices quickly by putting them in the oven at 150-200 degrees for 1-2 hours. Make sure to keep a close eye on the wood and flip when needed.
Step 2: Paint your wood slices with chalkboard paint
Use chalkboard paint, chalk paint or acrylic paint to color a background on your wood slices. I used chalkboard paint and chalk paint on my wood slices.
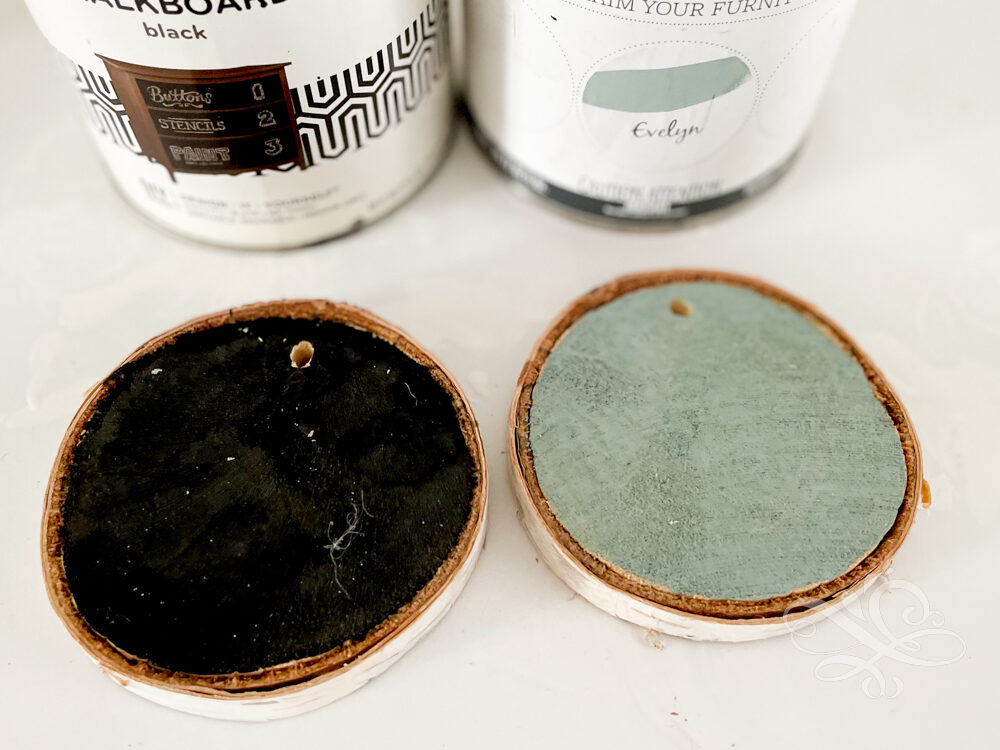
Let the paint dry and add a second coat if needed. Allow the second coat to dry.
Step 3: Upload your free SVG and cut it with your Cricuit machine
If you are going to use your Cricuit machine start by dowloading your free SVG files. Upload them into your Cricuit Design Space program and size them according to the size of your wood slice.
Cut out your designs on vinyl. I used white vinyl for my wood slices.
Step 4: Weed your design and transfer onto the wood slice
Take your designs and weed them. Start with the smallest areas that need to be weeded.
Next use your transfer tape and rub the design onto your transfer tape. Then rub the design onto your wood slices.

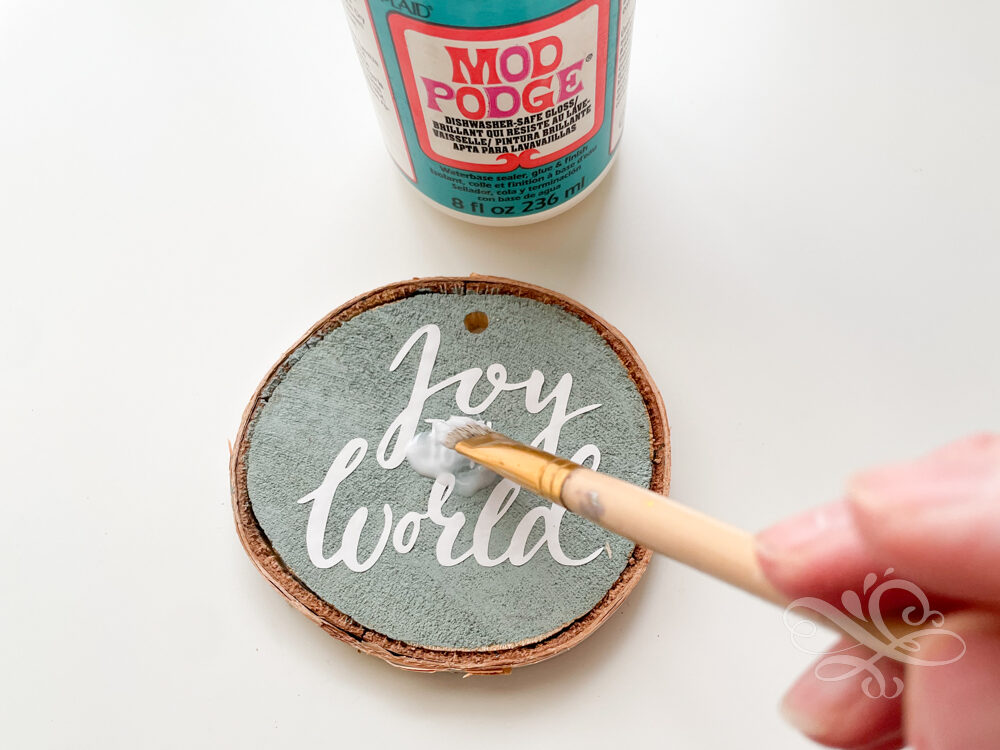
Step 5: How to seal your wood slice ornaments
After your vinyl design is applied to your wood slice it is a good idea to seal the ornament. I spread a thin layer of Mod Podge on the top of the ornament.
Step 6: Attach twine, to hang the wood slice ornament
Drill a small hole in top of the wood slice. Then pull twine through the hole and tie a knot. Make a loop with the twine and tie another knot at the top so you will have something to hang the ornament with.
Optional: You can also add beads to the twine for an added look.

Optional: Add the world SVG first onto the wood slice ornament
Another way to take your ornament to the next level is to do two layers of vinyl. First download and cut out the globe SVG file and use the transfer tape to add it onto your ornamnet.
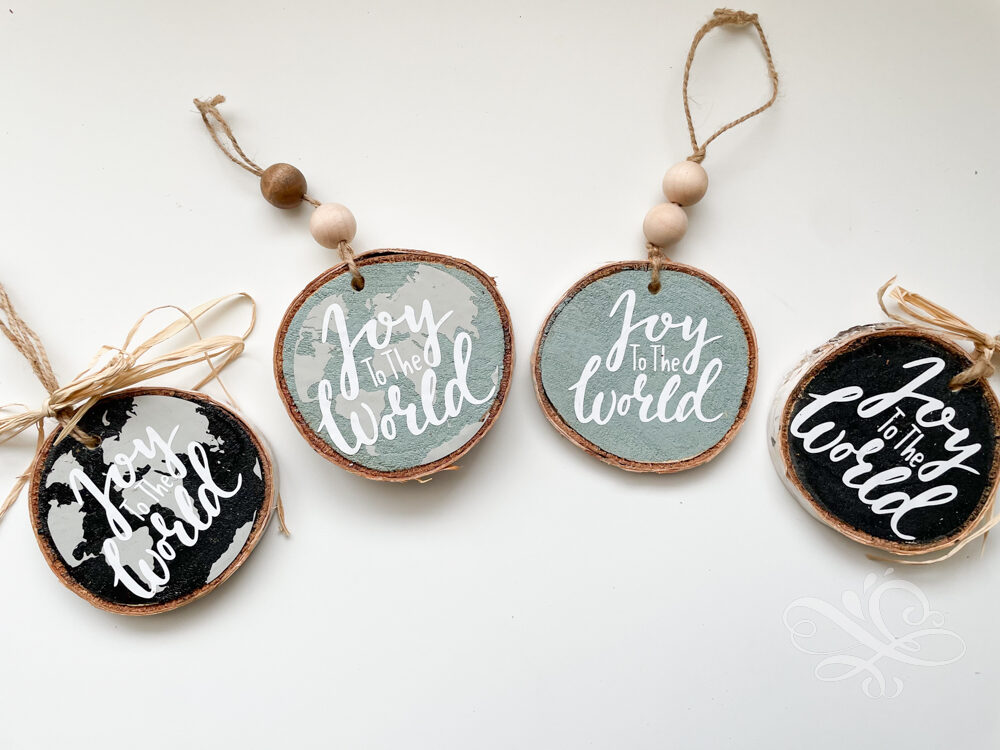
Then layer the “Joy to the World” words on top of the globe layer. Your ornament will look like the one below! So cute right? Then just seal and finish it like you did in the previous steps.

Alternative to using a Cricuit machine to decorate wood slices:
Also If you don’t have a Cricuit machine but want to use the designs you can also cut out the designs and attach them with mod podge to the top of your wood slices.
And that’s it for today! Stay tuned tomorrow for more Christmas crafting ideas!

P.S. If you missed Day 1 of our Craft A Day Countdown to Christmas check out how we used dried orange slices to make timeless decorations!
No time to make wood slice ornaments now? No worries, just pin this post for later!
Love all of your projects. I will be making some for Christmas. Thank you for sharing and may all of your holidays be happy!