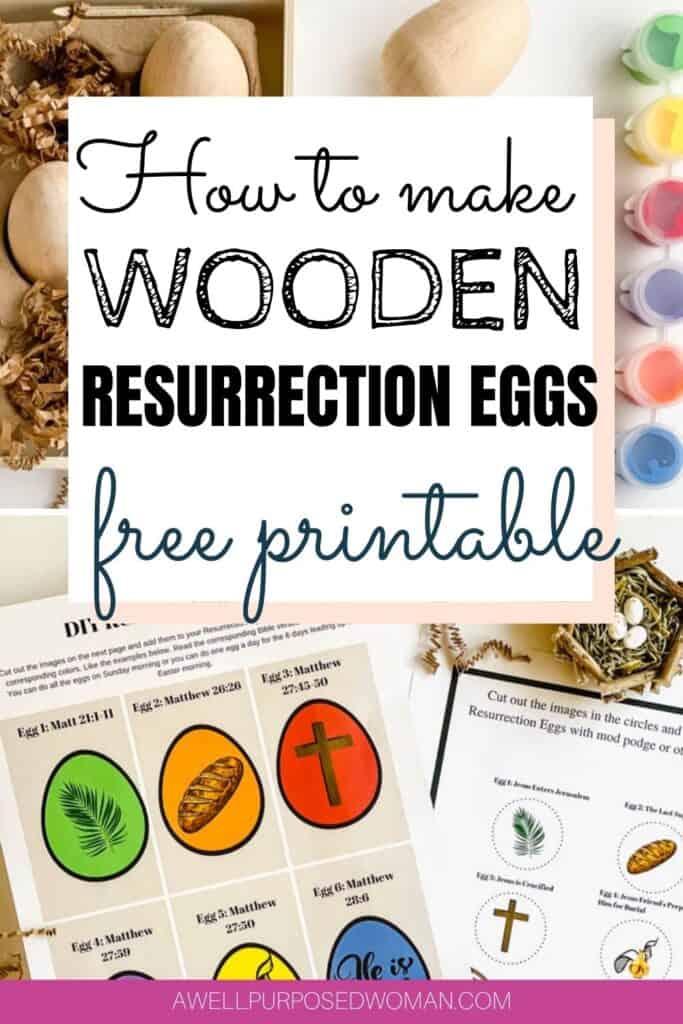
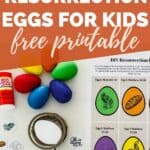
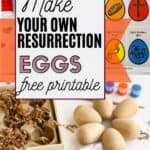
Learn how to make a beautiful set of wooden resurrection eggs. These resurrections eggs share the story of Christ’s death and resurrection. And this tutorial contains a free resurrection egg booklet and printable to make your own set. Resurrection Eggs are a wonderful way I have found to share the importance of Easter with my children.
Easter has become my favorite holiday and DIY Resurrection Eggs are the best way I have found to share the joy of Easter with my children. Easter signifies the death and resurrection of Jesus, which is the entire basis of my faith. And Resurrection Eggs are a creative and intriguing way to share that good news with children in a tangible way.
When my daughters Annabelle and Emmie were toddlers, I made a set of DIY Resurrection Eggs for toddlers. Their favorite games was hide and seek. So we dedicated the Saturday before Easter to sharing these resurrection eggs with them. This dedicated time gave us the opportunity to linger and ponder things a little more deeply even though they were little. Since then we have used the eggs every year. And it is a special time that we share each Easter!
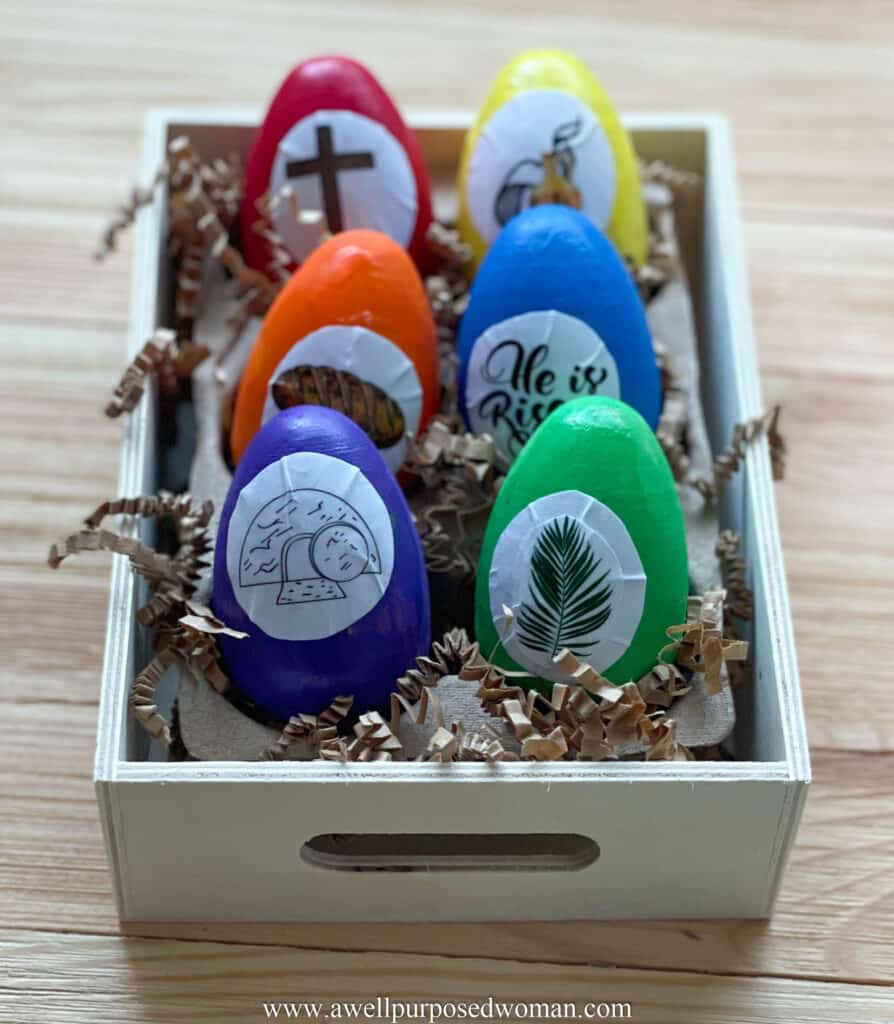
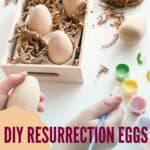
This year my daughters are a little older so we decided to make a wooden Resurrection Egg set. My middle daughter Emmie picked out the colors for the eggs. Then we worked together to make a set to tell the story of Easter.
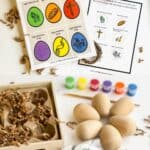
And to make it super easy I created a booklet and printable to accompany the wooden resurrection eggs. You can purchase a DIY Resurrection Egg kit or you can make your own with the free printable and the steps below!
So let’s get started!
This post contains affiliate links which means if you purchase an item from one of the links I receive a small commission with no extra charge to you.
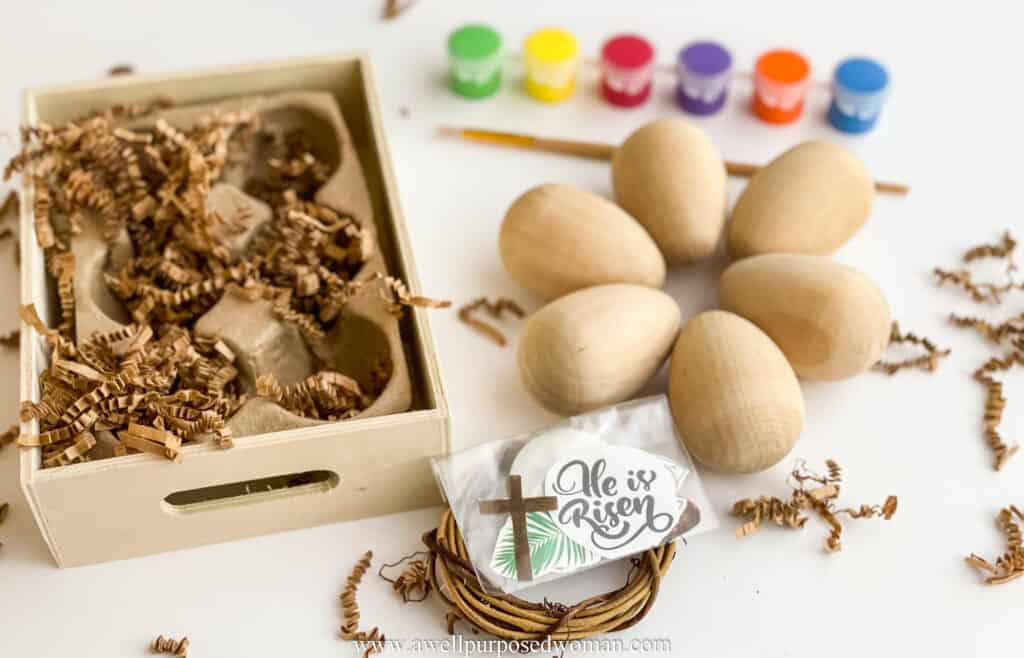
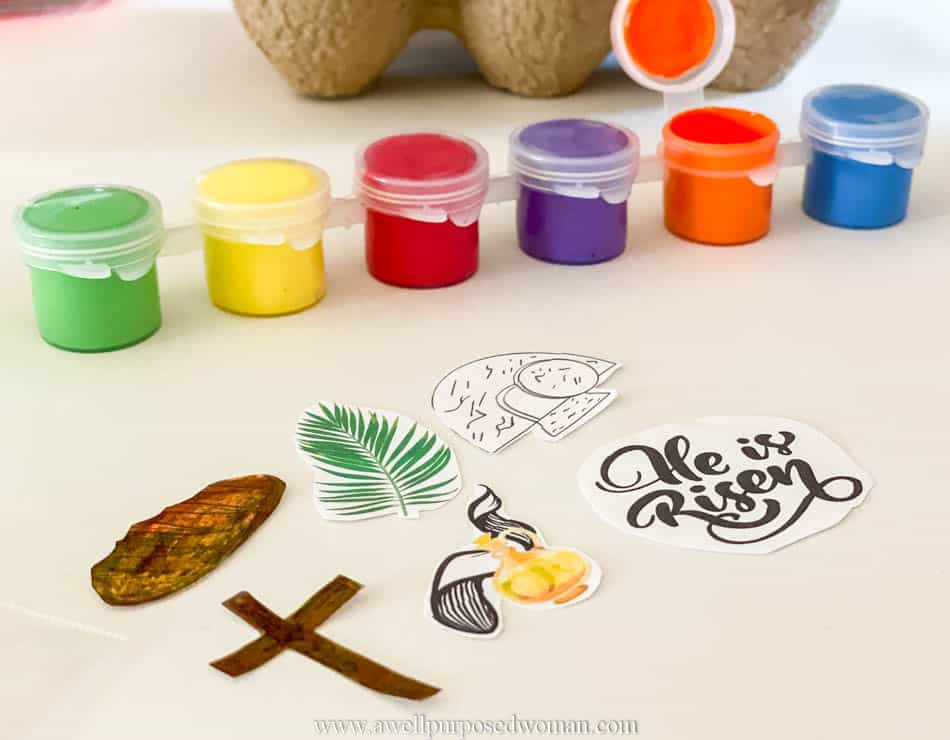
Here’s the supplies you need to make the wooden resurrection eggs:
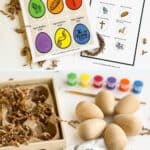
- Free Resurrection Egg Printable and Booklet
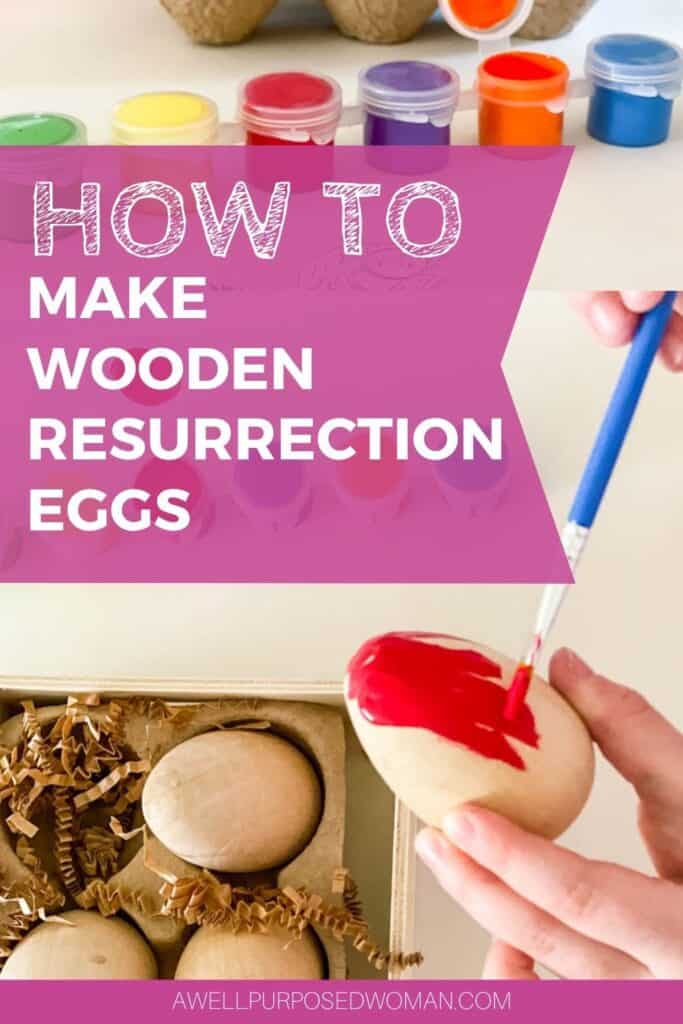
- 6 Wooden Easter Eggs
- 6 colors of acrylic paint (red, orange, yellow, green, blue, violet)
- Paint brush
- Mod Podge
- Foam Brush
Here’s how to make a wooden resurrection egg set:
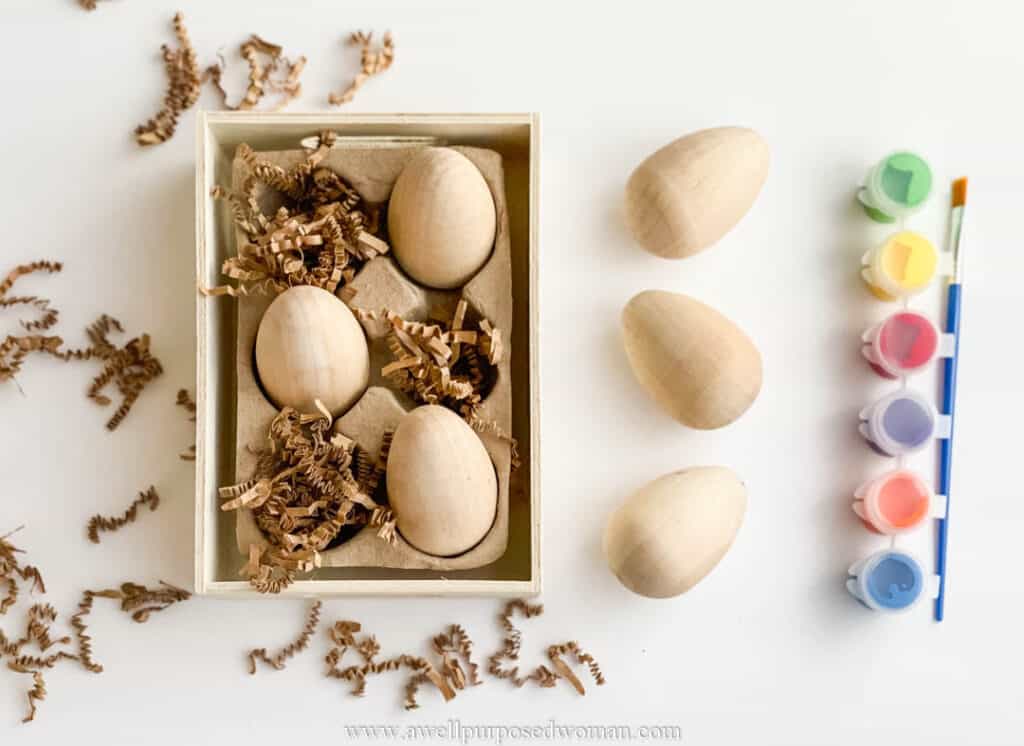
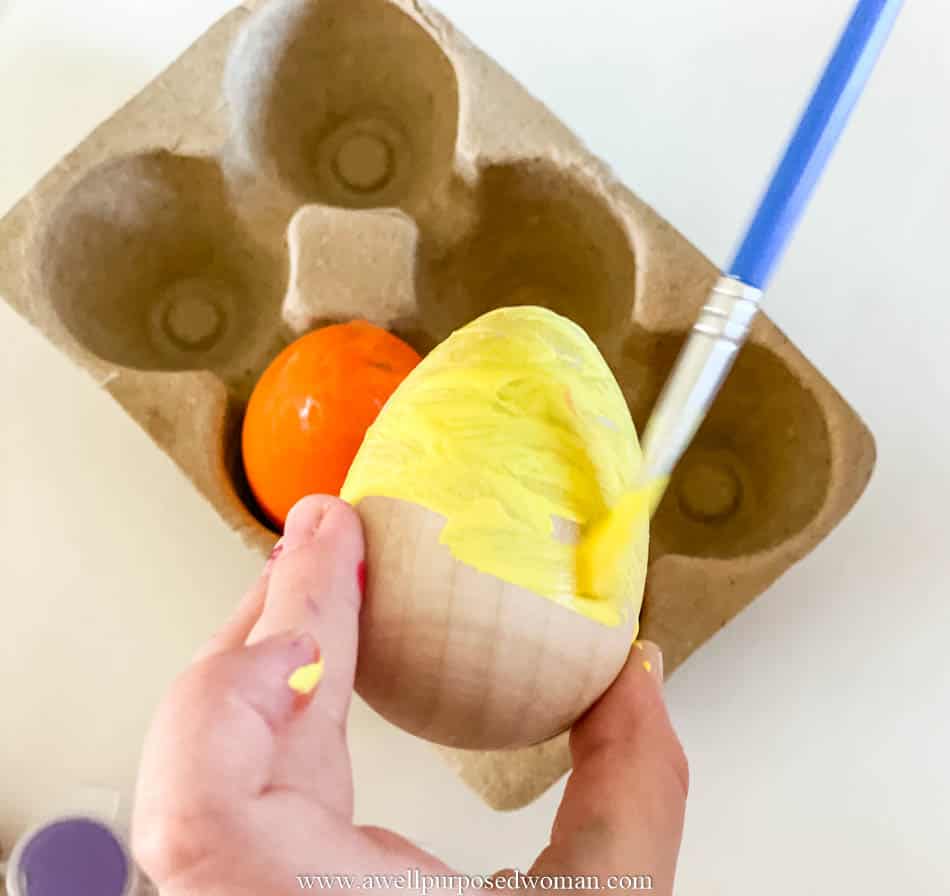
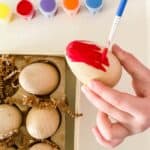
Step 1: Paint your wooden Easter eggs
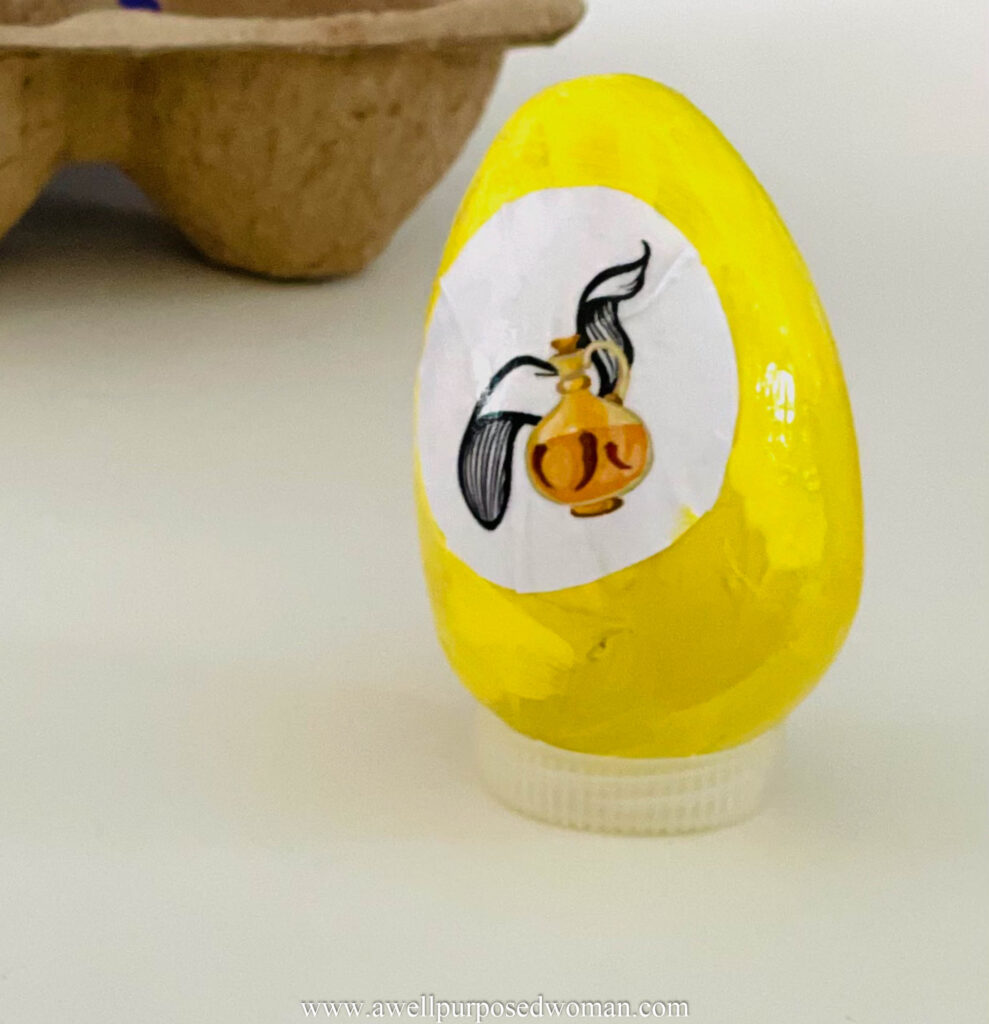
The first step is to have your children paint the Easter eggs. My daughter chose to use rainbow colors because each color helps to tell the story of Jesus’ death and resurrection. Each color has a corresponding symbol. But really your children could paint their resurrection eggs any color they chose.
Tips for painting your wooden Resurrection Eggs:
So there are a couple of tips that we learned while painting our Resurrection Eggs. Here are the two best ways we found to paint our eggs.
- Paint half of your egg at a time. If you are going to hold your egg while painting it, it works well to paint half of your egg at a time.
- Use a bottle top, or small egg holder and paint the egg standing up.
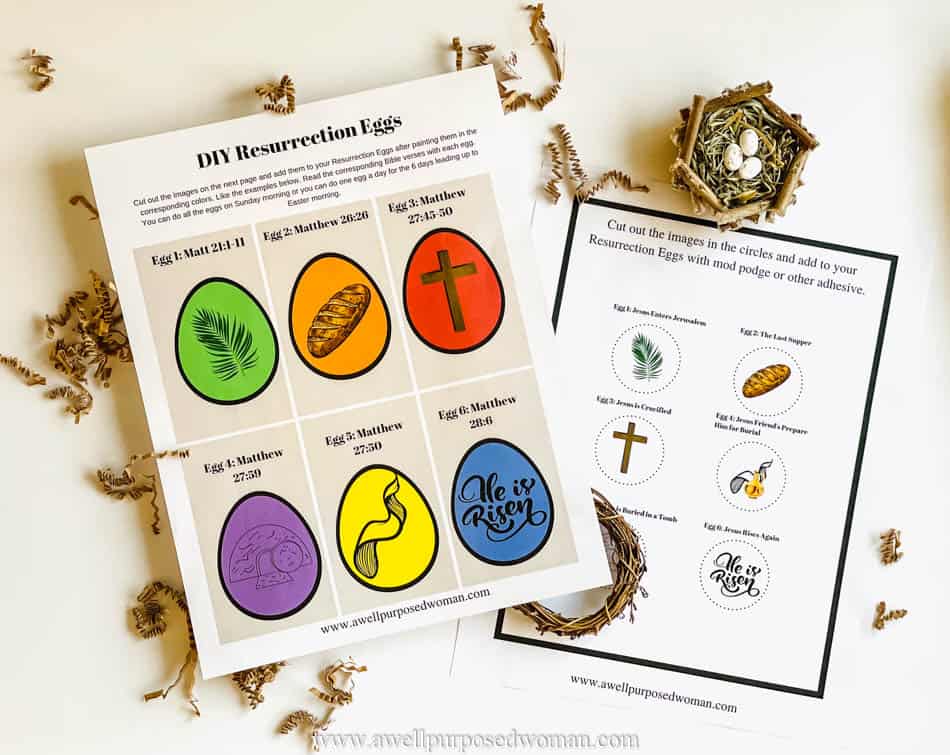
Step 2: Attach your Resurrection Egg printables to your eggs
Print off your free printable booklet. Cut out around the 6 resurrection egg printable circles.
Use mod podge to attach the circles to the eggs. Paint mod podge with your foam brush in the center of your egg.
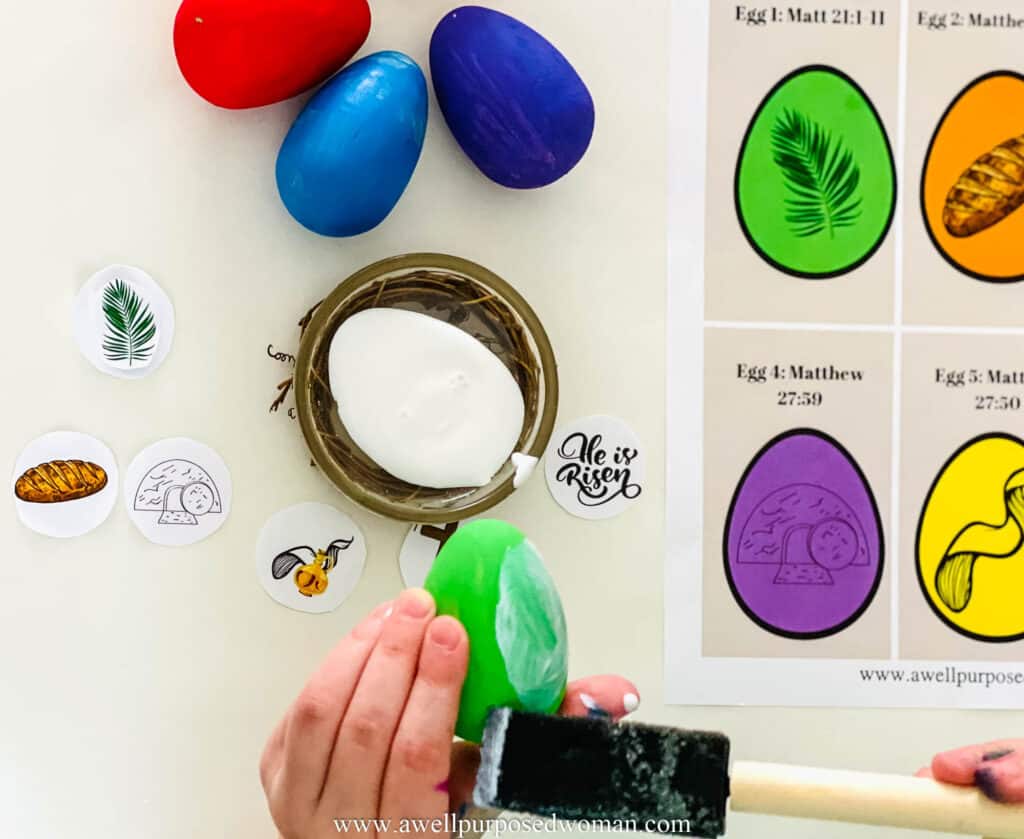
Press the circle onto the egg where the mod podge was painted.
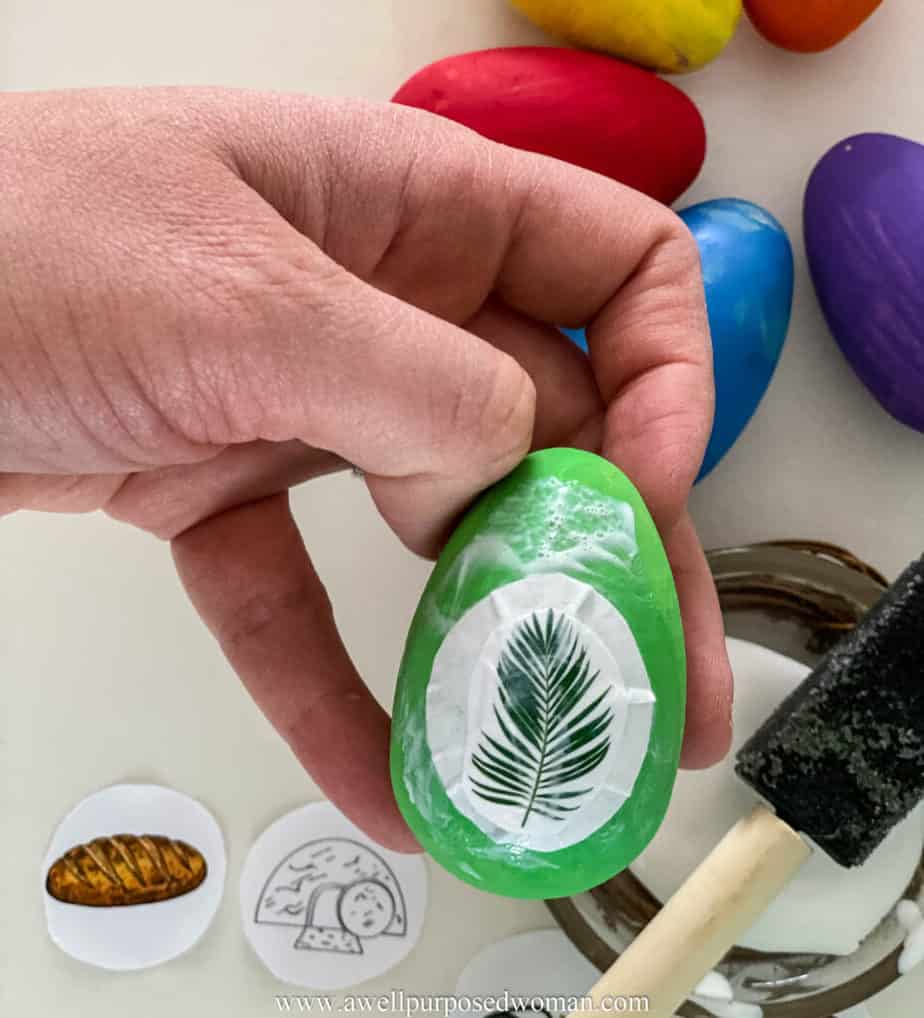
Then paint over the top of the circle with mod podge. Now wait for the mod podge to dry. You can apply a second coat to the top of the mod podge if you would like to reinforce it.
Tip: To seal the paint on your egg you can use the mod podge to cover the entire egg. You can spray a coat of sealer on top as well.
Step 3: Use your wooden Resurrection Eggs
The last step is to use your wooden Resurrection eggs to tell the story of Jesus’s death and resurrection. There are two ways to use the eggs. You can use the eggs throughout the week leading up to Easter. On Palm Sunday you can talk about the first egg and then have children find an egg for the next 6 days until Easter or you can do all the Easter eggs at once and make it a special day and time where you talk about Jesus’s death and resurrection.
Also with smaller children it works well to use a visual Bible, like the Jesus Storybook Bible, which has accompanying pictures along with the words. For older kids you can just use a Bible with words.
A great question for older kids is to talk about, “Why did Jesus have to die anyway?” It’s a great opportunity to share the need we all have of salvation from our sins and the very good news that came from Jesus not only dying but also rising from the dead! Alleluia!
My hope is that your family will be blessed through these wooden Resurrection Eggs! And that Jesus’s death, burial and resurrection would become sweeter to everyone in your family!
Take care and God bless!

No time now? No worries, just pin it for later!


Another great idea – that also acknowledges the reason for the holiday. Pinned your graphic. Thank you for reflecting on the Jesus’s death and resurrection.
Hi Anna! Thank you! Yes, I love ideas that point us to Christ! Thanks again for stopping. Let’s colloborate soon! Elizabeth