Learn how to paint a mirror frame antique white with this step by step tutorial. Do you have an outdated mirror? Before giving up on it check out how you can change the look in just a few minutes with chalk paint. Learn more about how to paint a silver, wooden or gold frame with chalk paint because no prep is needed.
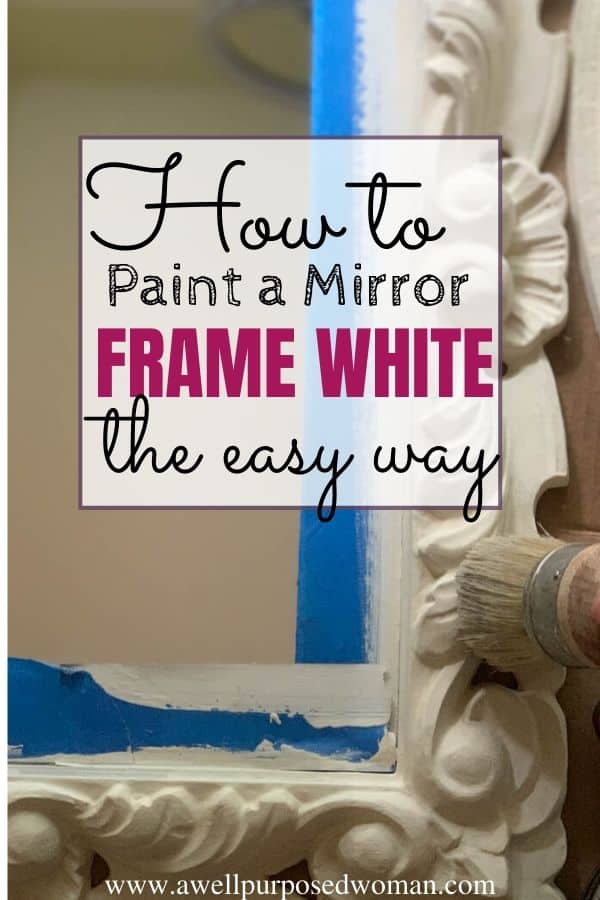
This week I wanted to show you how to paint mirror frames antique white. I collected these mirrors at a local thrift store almost a year ago for just under $5 each! They have sit in my living room just waiting for their turn to be painted.
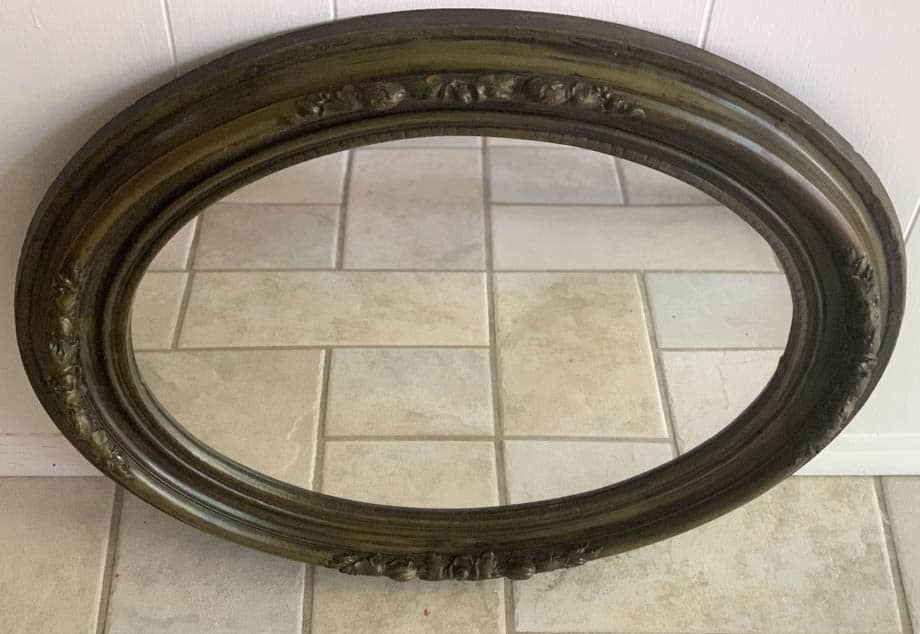
Yesterday in preparation for Thrifty Thursday this week I finally decided it was time to paint these mirror frames antique white! So today’s post is on how to paint mirror frames antique white. And please be sure to check out some of my fellow DIY bloggers at the end of this post for more thrifty home decor ideas!

But for now if you have a mirror that is outdated, but still in good shape, you may consider updating it along with me. It will give new life to your mirror that you thought was past its prime. So let’s jump right into how to paint a mirror frame antique white!
Here are the supplies needed to paint a mirror frame antique white:
- Cream or white chalk paint (I prefer off white for the antique white look)
- Paint brush
- Lint free rag
- Clear Wax and/ or Dark Wax
- Wax brush
- Sandpaper (optional)
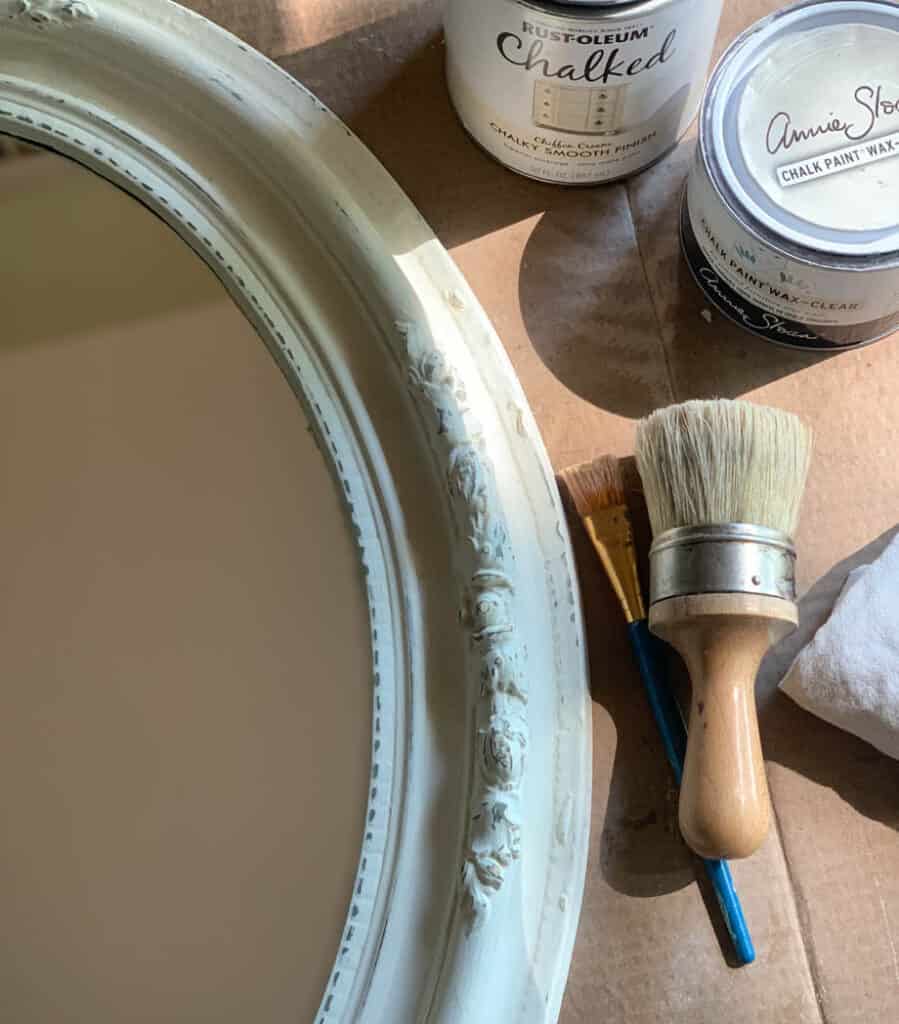
Here’s how to paint a mirror frame antique white:
Step 1: Wash your mirror frame
The first step is pretty basic. But just wipe off any dust or grime from your mirror frame using a rag.
Step 2: Tape around your mirror frame (optional)
Next take some painter’s tape or masking tape and mark off the mirror frame being painted white.
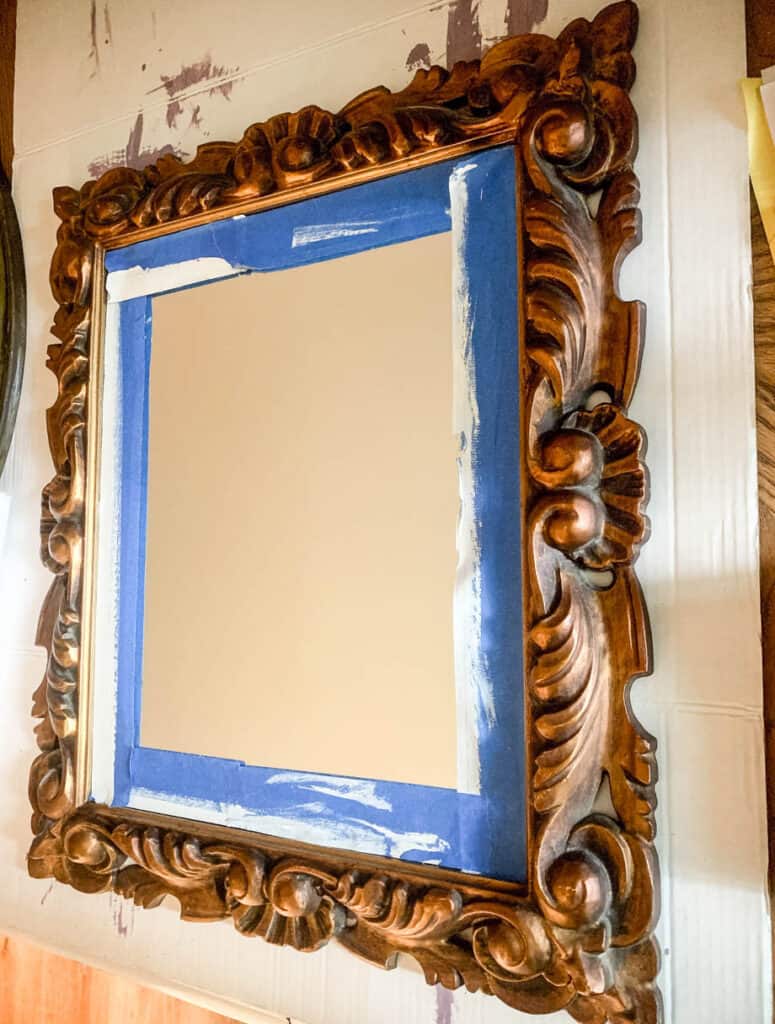
Step 3: Apply 2-3 thin layers of white chalk paint to your mirror frame
Now it’s time to apply your paint. If you are using chalk paint like I did you do not need to prime the mirror frame. Just start applying smooth thin layers of paint.
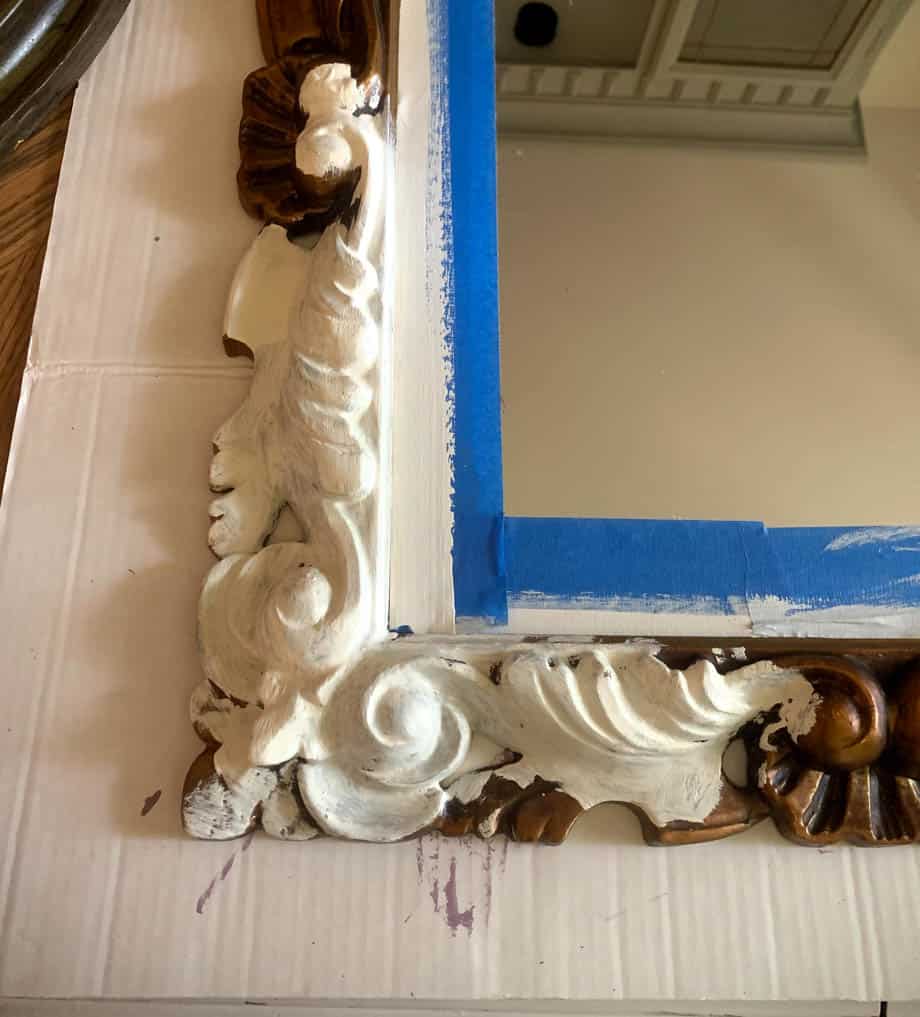
You don’t need to worry about fully covering the mirror frame with the first coat. The next coat will more fully cover the mirror frame. It is more important for the paint to go on smooth and not leave big drips or marks.
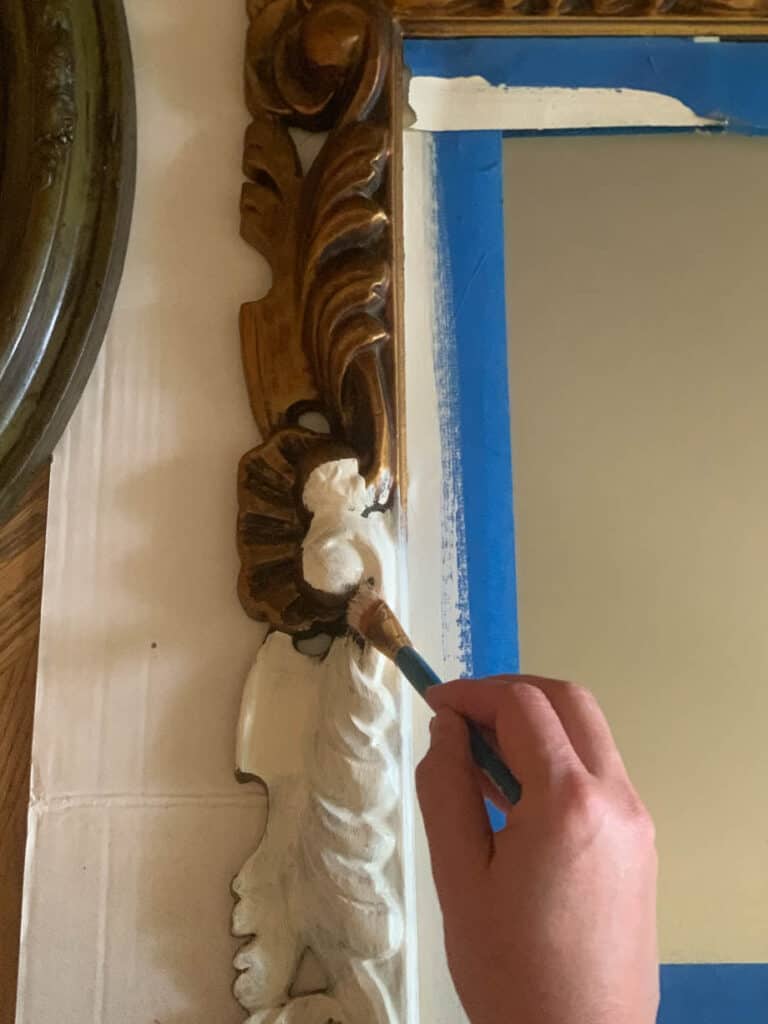
With these mirrors I used a small paint brush vs a chalk paint brush because of all the details in the mirror frame. It was easy to get into all the groves and crevices of the mirrors.
Tip: Wait until the paint completely dries in between coats. It took about 30 min- 1 hour for each coat to dry completely. You could also put a fan on your mirror frame to help it dry more quickly.
Step 4: Wax your mirror frame
After your mirror is fully dry it is time to wax your mirror frame. Take your rag or bristle brush and apply wax. I used my wax brush to apply the wax in small sections. Then rubbed the wax off with a lint free rag.
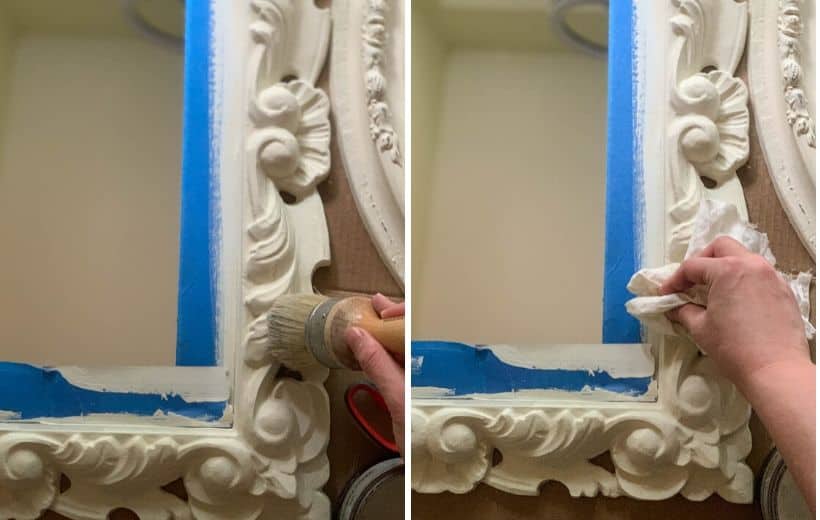
Tip: If you are using dark wax along with the clear wax make sure to apply the clear wax first. This helps if you accidentally apply too much of the dark wax.
Step 5 (optional): How to distress your mirror frame
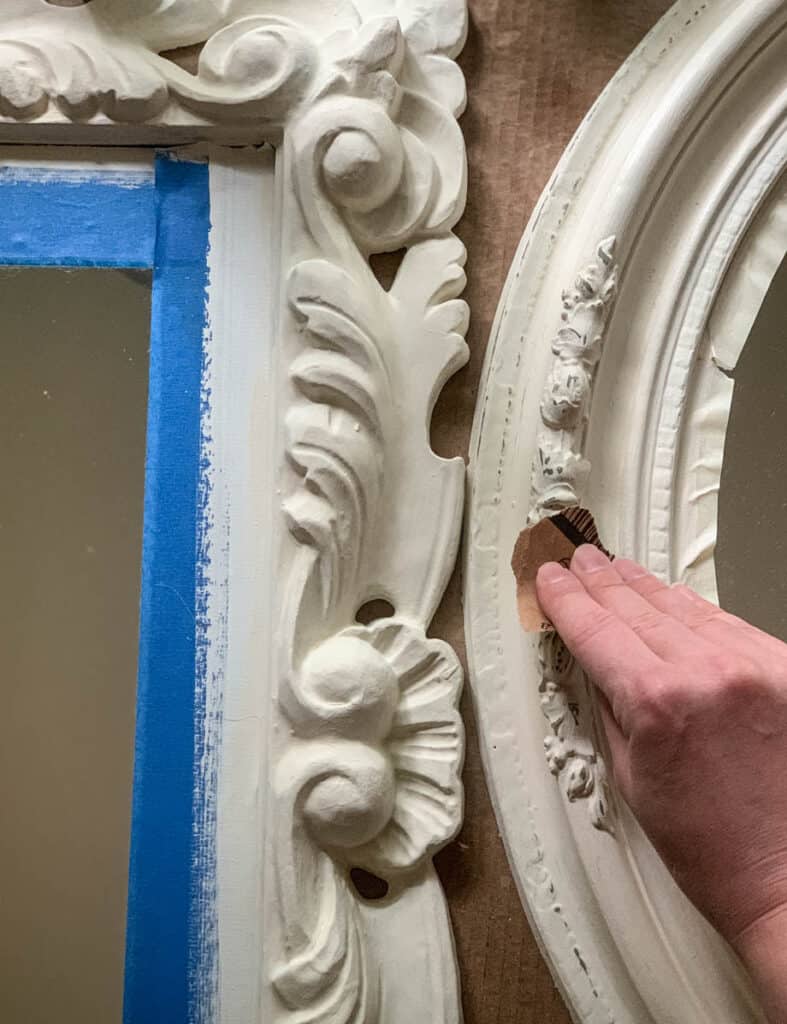
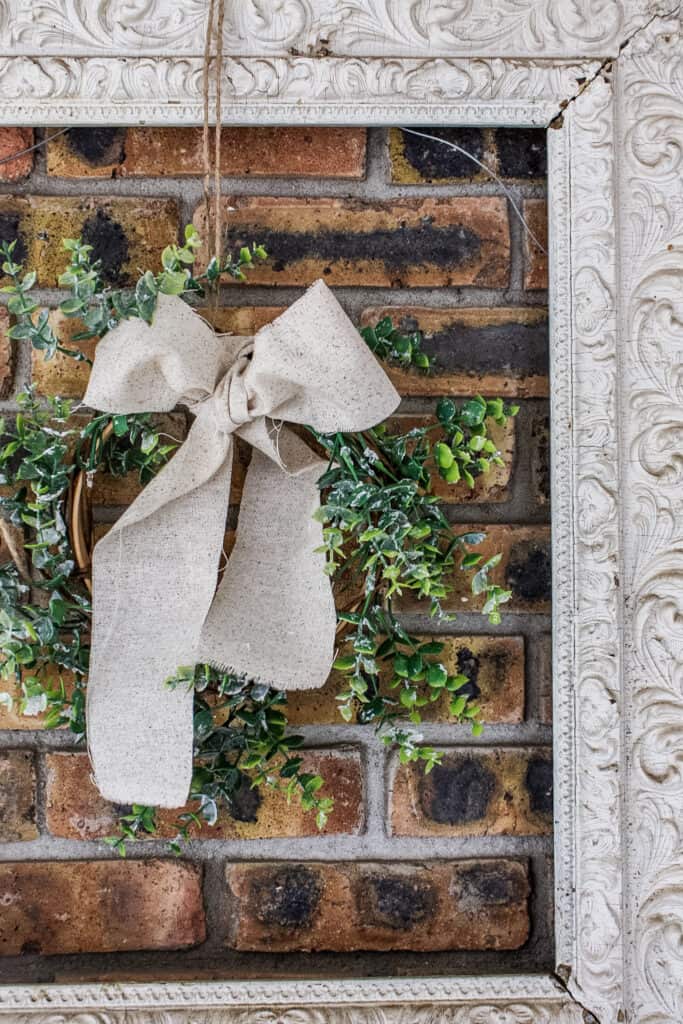
The secret on how to paint a mirror frame antique white finish is distressing your mirror frame. To do this rip off a small piece of 100 grit sandpaper. Use the sandpaper along the edges and the decorated areas. This will accentuate the interesting lines and curves.
To distress the right amount I would start off by lightly distressing your mirror frame. Then if you want more distressing continue to use your sandpaper and distress even more.
Tip: If you are nervous about distressing a newly painted mirror frame, remind yourself you can always paint over the areas again. Usually if you like the distressed look you will like your mirror frame even more when distressed.
And that’s it!
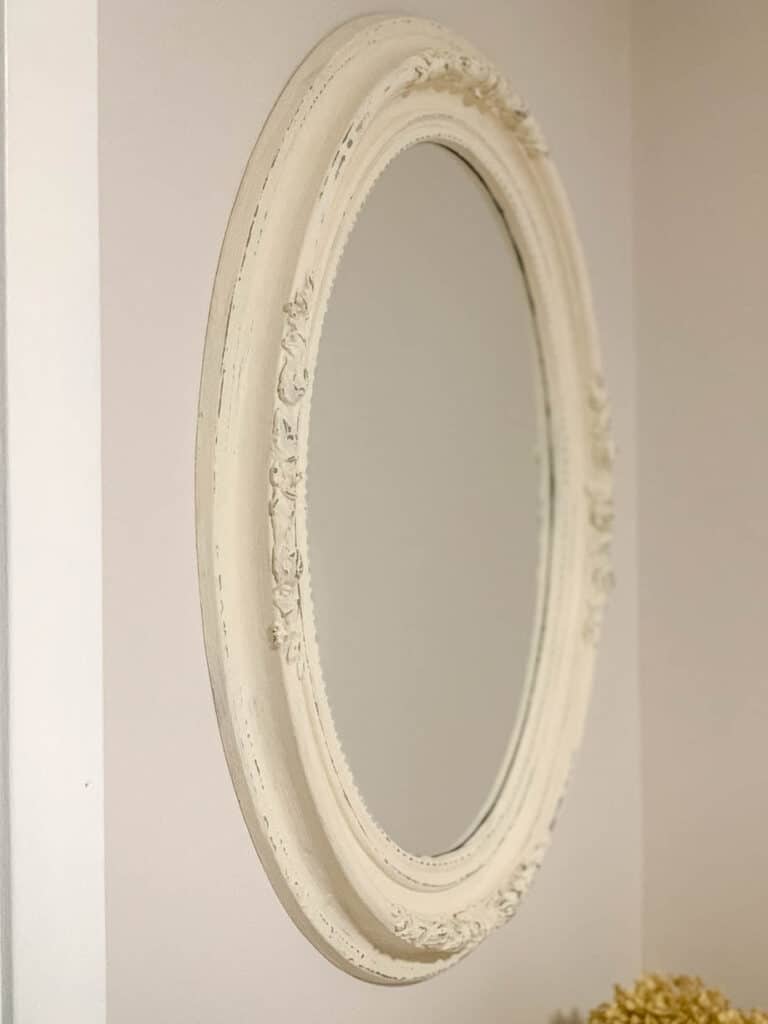
Now you have newly updated mirror frame that you can use again in your home. I was very happy with how my mirrors turned out and they are much more my style now!
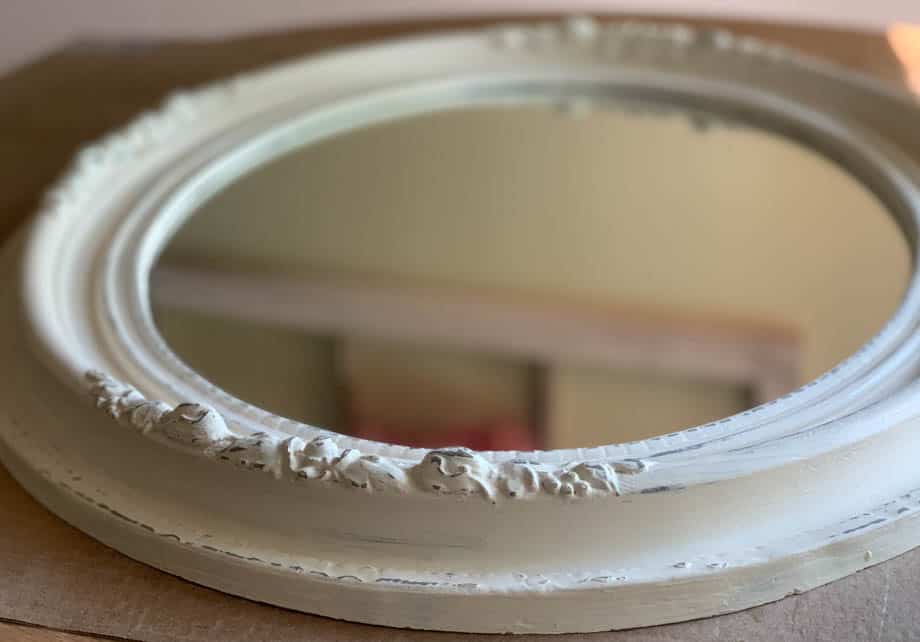
I decided to use the antique white oval mirror in the dining room.
But I am still trying to decide where to put the rectangle mirror. But I am thinking one of the bedrooms would be a nice place for it. The white definitely softened the mirror frame and I feel like it could be used almost anywhere and I would love it!

But now as promised checked out my amazing friend’s makeovers for our Thrifty Thursday post. Where we post about thrift-ed items that are re-vamped into beautiful home decor items. You won’t believe some of these before pictures!
Please let me know what makeover you like the best!
Until next time,

P.S. If this is your first time using chalk paint this is a helpful guide to get you started.

which chalk paint did you use? I’m debating between the rust-oleum and the annie sloan old white. i prefer the look of annie sloan but after seeing a review, it sometimes looks cakey. just not living the rustoleum only having a really bright cool white option and no off white options. any other choices to look at?
Hi Monika! I like off white colors as well. Annie Sloan is the top of the line chalk paint so it can be thicker than the other types. You can always add a little bit of water to it so that it is a smoother look. Here is a color I have used and had success with in the past. Happy Painting! Elizabeth
These turned out amazing! I haven’t tried chalk paint yet, but now you have inspired me to look for a fun chalk paint project to create.
These mirrors look so gorgeous now, Elizabeth! I love how they turned out; I wouldn’t mind having one of them in my home!
I think the distressed details add extra charm. And I love that antique white color
This turned out gorgeous! And I love all the distressed detail in the finish. Great job Elizabeth!
Thank you Martina! I didn’t get the best pictures of it yet so maybe I can take some more soon. Elizabeth