Read about how to paint furniture with black chalk paint. This step by step tutorial will show you how to prepare, paint, distress, wax and seal furniture with black chalk paint. Black chalk paint is easy to use and is very durable.
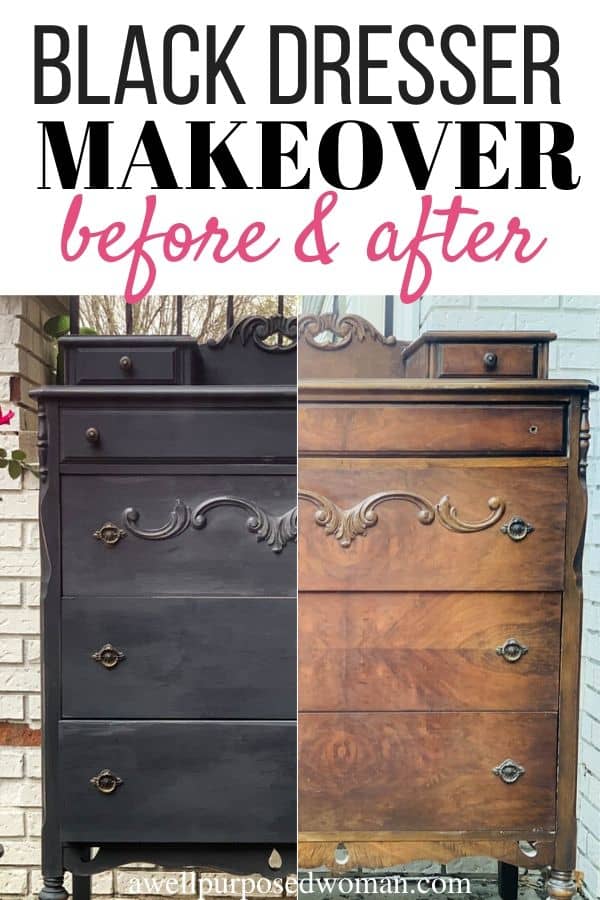
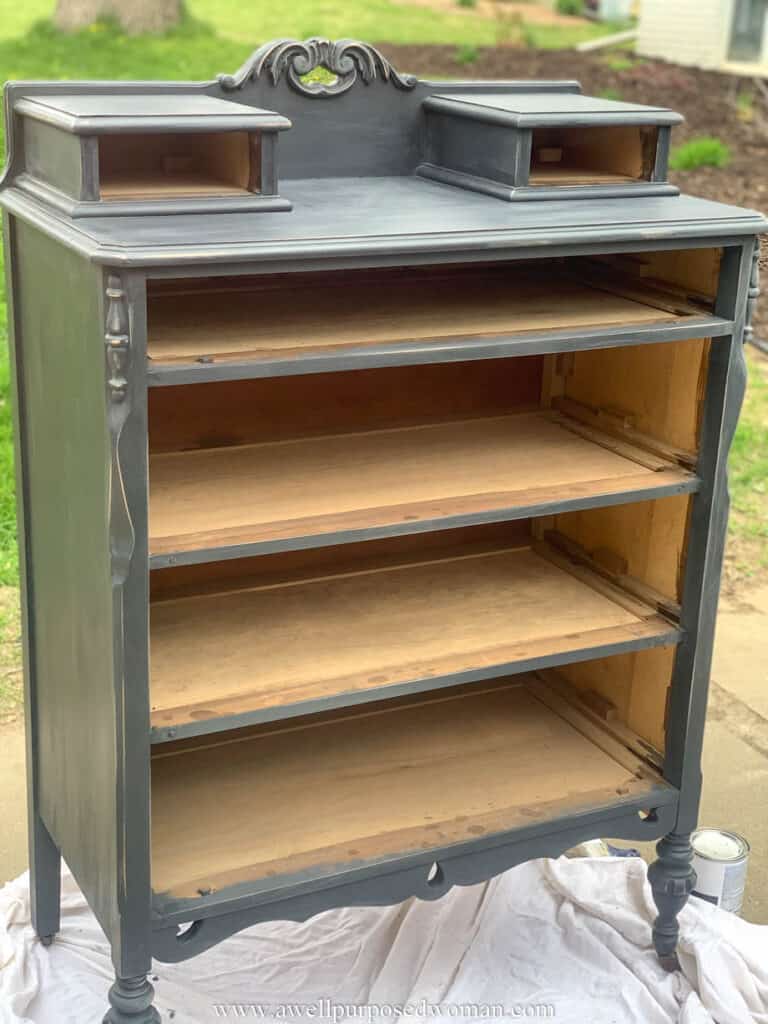
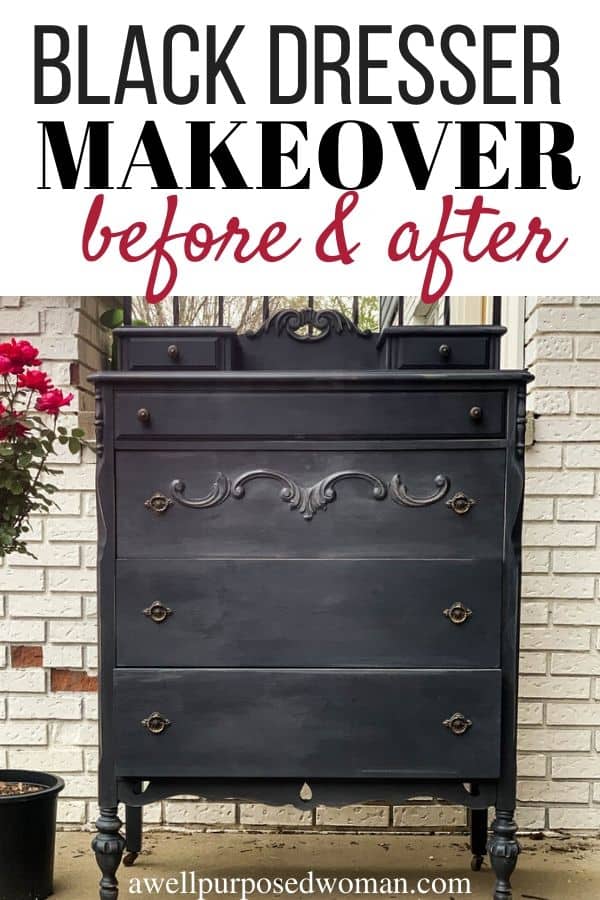
Last week I posted about the vintage dresser my neighbor and I started preparing for its black distressed dresser makeover. So today I wanted to share with you exactly how to paint furniture with black chalk paint. The dresser turned out beautifully! And the distressing was the perfect touch.
How to Paint Furniture with Black Chalk Paint
Once we did all the prep on the piece, which is very little with chalk paint, we were ready to get painting the dresser black!
Remember, I said using chalk paint is so easy. Well, my neighbor Brittney commented several times during the makeover. “I didn’t realize how easy chalk paint is to use.”
Well fortunately it is! And if you have the right tools it is as easy as can be. I listed all the supplies needed last week but I will list them here again for your convenience.
This post contains affiliate links for your convenience, which means if you purchase an item through a link I receive a small commission with no extra charge to you.
Supplies need to chalk paint the dresser:
- Free Chalk Paint Guide (below)
- Rustoleum Charcoal Chalk Paint
- Bristle brush or Wooster brush
- Wood filler
- Screwdriver (for removing knobs)
- Wash cloth and soap
- Clear Wax
- 100 grit sandpaper (for distressing)
- 220 grit sandpaper

Here’s how to paint furniture with black chalk paint:
Step 1: Apply 1-3 coats of black chalk paint
After your dresser has been prepped it’s time to start painting! The beauty of chalk paint is that it is super easy to use with the right tools.
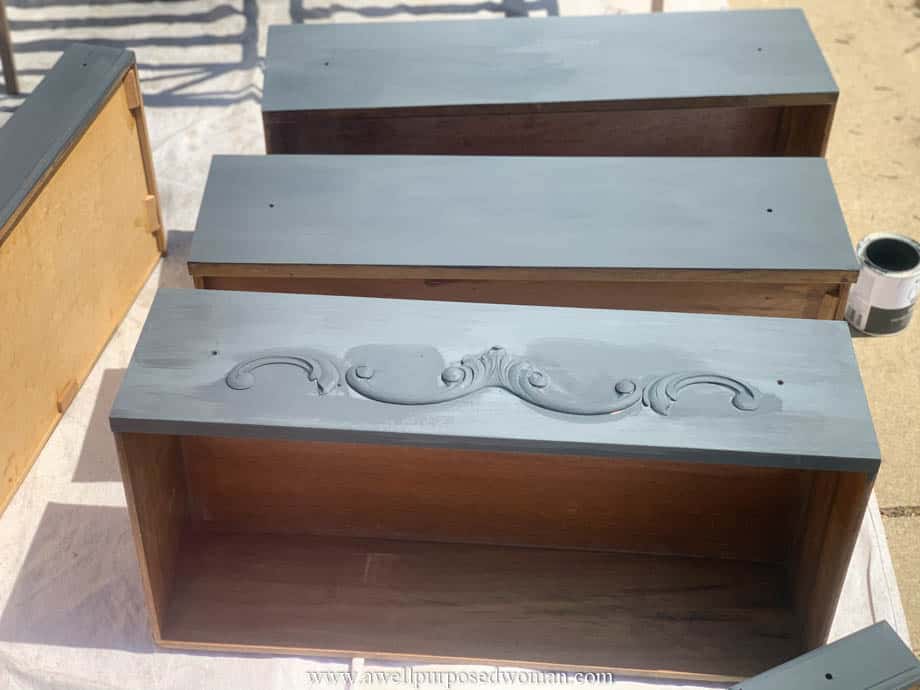
Take your bristle brush and do even strokes across the grain of your furniture. Try not to leave big brush strokes or big paint drips while brushing. Otherwise don’t worry if there are small areas of the wood still showing through with the first coat. You will cover it more thoroughly with the second coat.
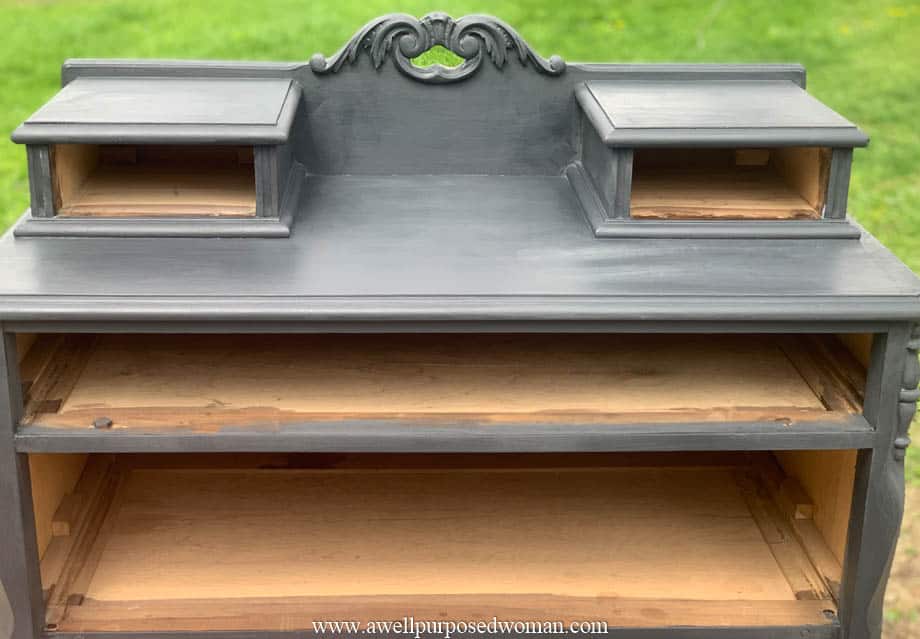
We painted this black dresser on a very sunny day. The paint dried almost instantly. I actually have never seen anything like it. But if not painting in direct sunlight (which probably is not recommended), wait until your paint is dry to touch before doing the next coat of paint. I usually wait 1-2 hours in between coats.
Tip: A lot of people ask if there is a certain type of brush to use with chalk painting. I recommend using a natural bristle brush or a short cut Wooster brush.
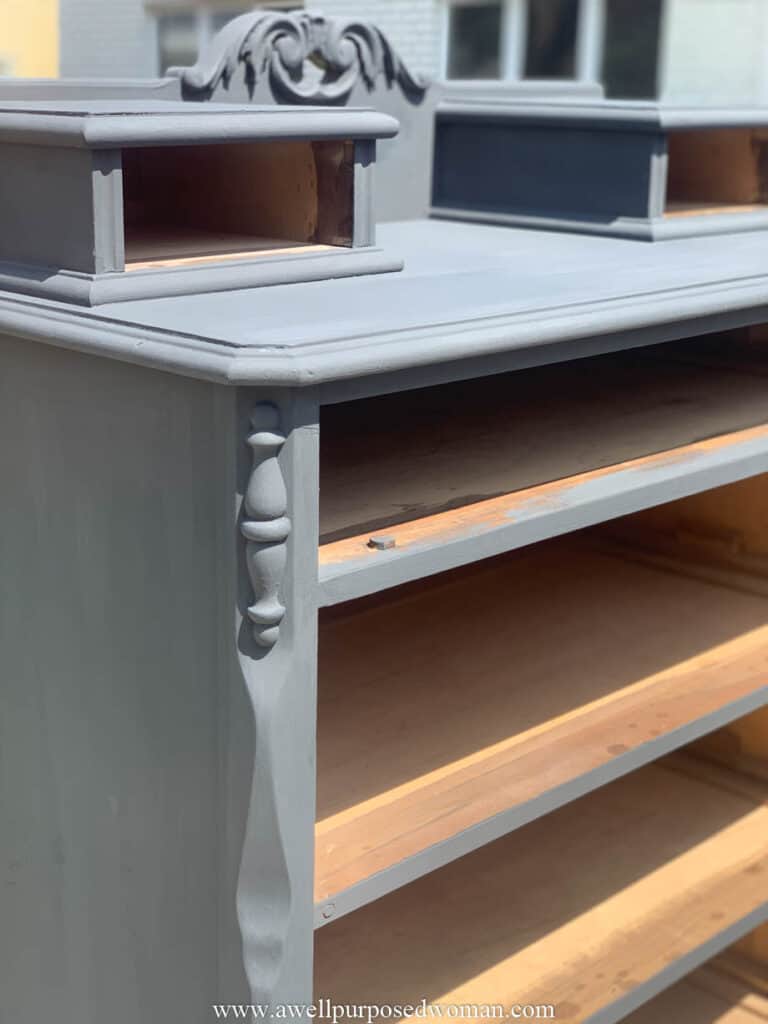
Step 2 (Optional): Lightly sand furniture
This step is optional, but somewhat recommended. After you have painted your entire dresser black you can lightly sand the dresser with a fine grit (220) sandpaper. Sand off any rough spots and wipe with a rag. Your furniture should feel smooth.
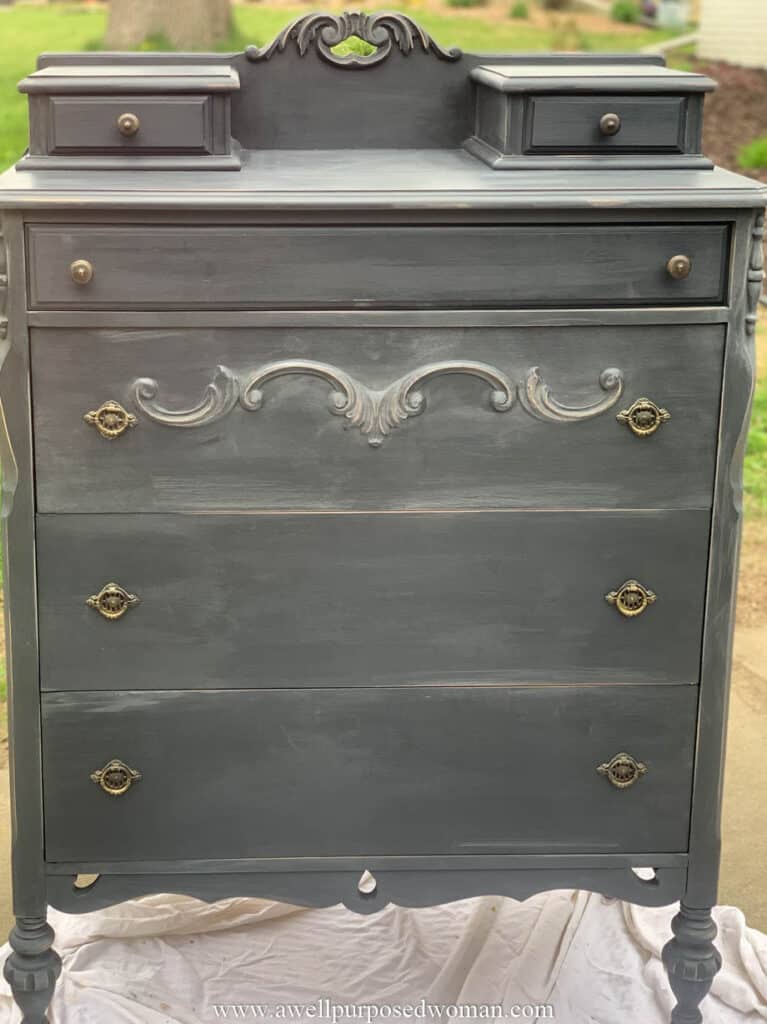
Step 3: Distress the black chalk paint furniture (optional)
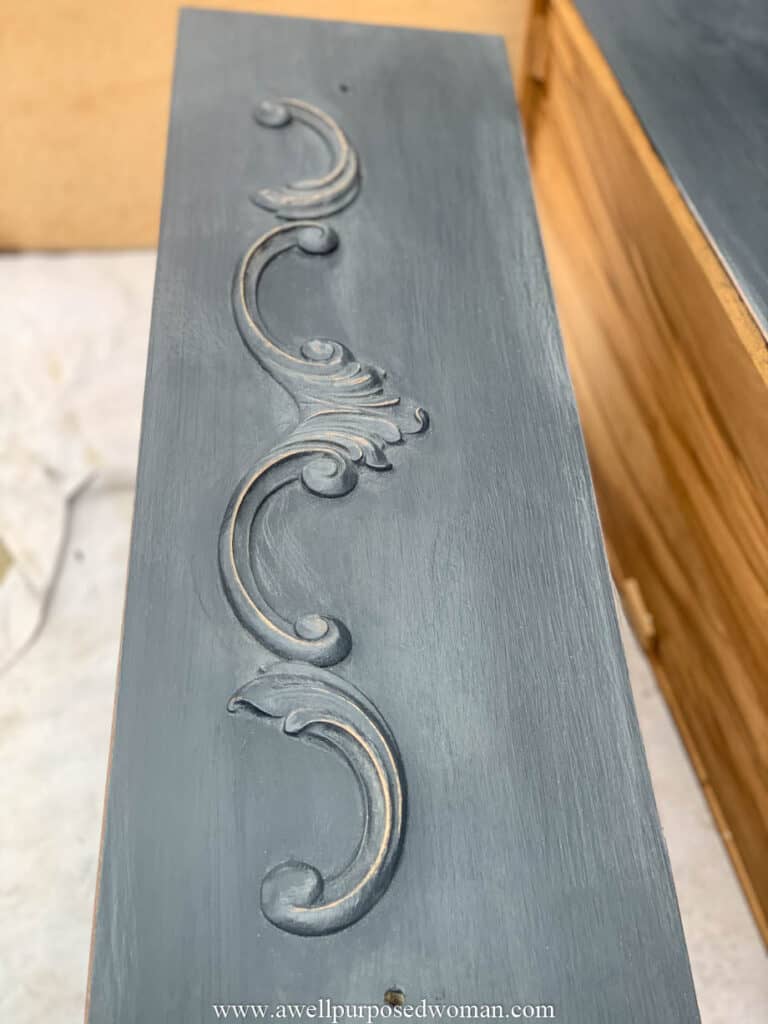
Once you have sanded the larger surface areas of the dresser you may also want to distress your dresser to give it an antiquated look. I did a whole post on distressing your furniture, but in general use 100 grit sandpaper and sand areas that would naturally get wear and tear.
The corners of the dresser, the legs, edges, and any decorative pieces are good candidates for distressing. Distressing on the legs and curves adds beautiful character to the piece.
Although Brittney planned to distressed this dresser when she saw the fresh coat of black paint she was hesitant to take sand paper to it. I have felt that many times with freshly painted furniture, but usually the distressing just makes me love it more!
Tip: After you paint a piece of furniture it is counter intuitive to take sand paper to the new coat of paint. You may feel confused about whether or not you should distress your newly painted piece of furniture or leave it un-distressed. I have found if you like the look of distressed furniture, you will probably like the piece as much if not better with the distressing.
Brittney decided to take a risk and distress her dresser. I think in the end she loved it even more because of the distressing.
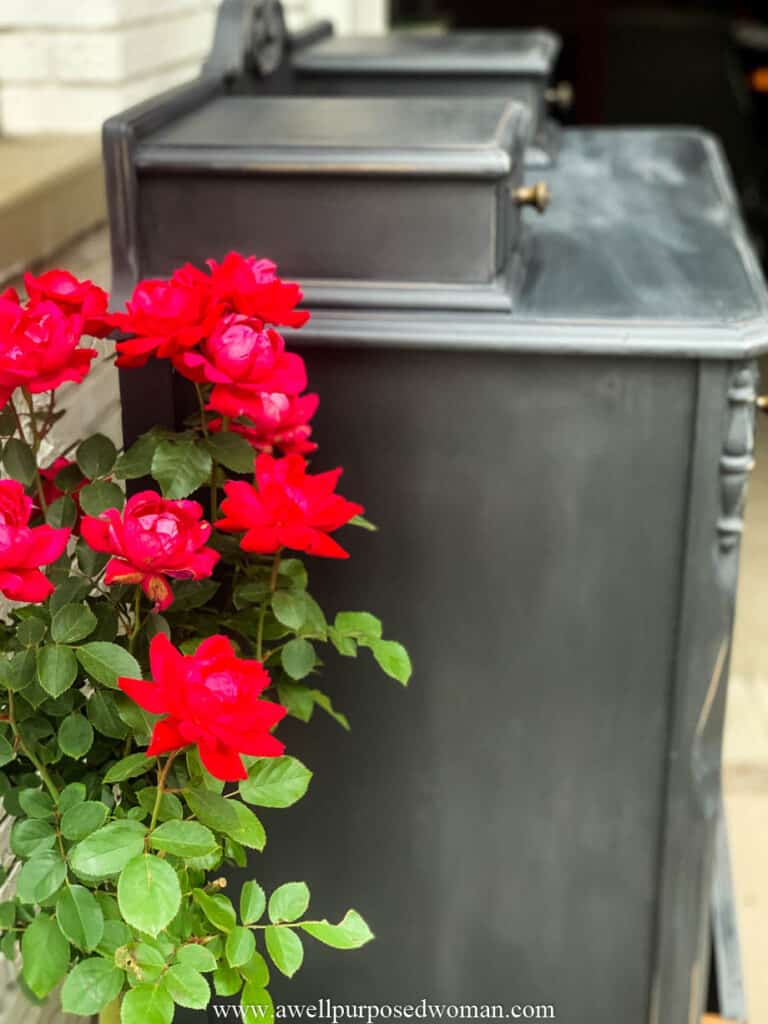
Step 4: Wax the black chalk paint dresser
Waxing the dresser is the last step. Take your wax brush and wax and rub wax on 8-10″ at a time in a circular motion. Continue rubbing or buffing your wax until the surface is smooth and no longer tacky.
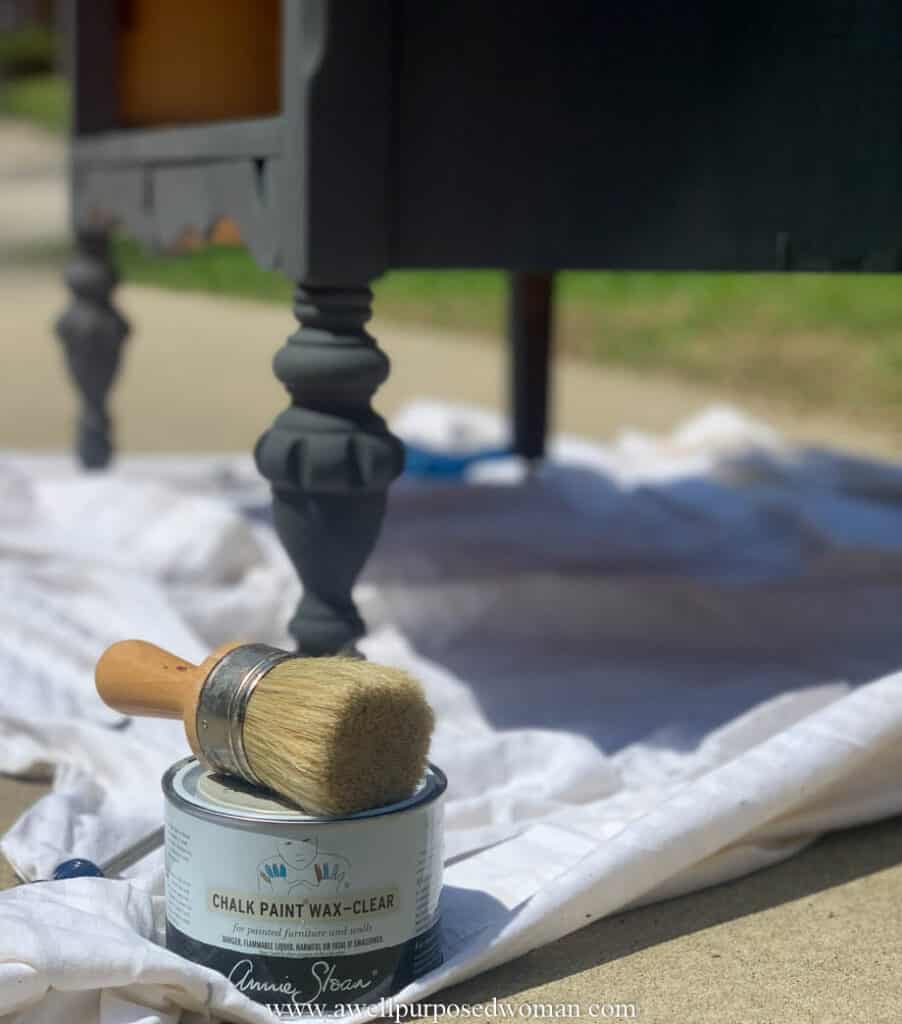
The wax adds a very smooth buttery finish to your black dresser. It was so warm outside that our wax almost melted when it was applied to the dresser. I don’t necessarily don’t recommend that but the important thing is to make sure the wax is rubbed in enough so it is no longer tacky.
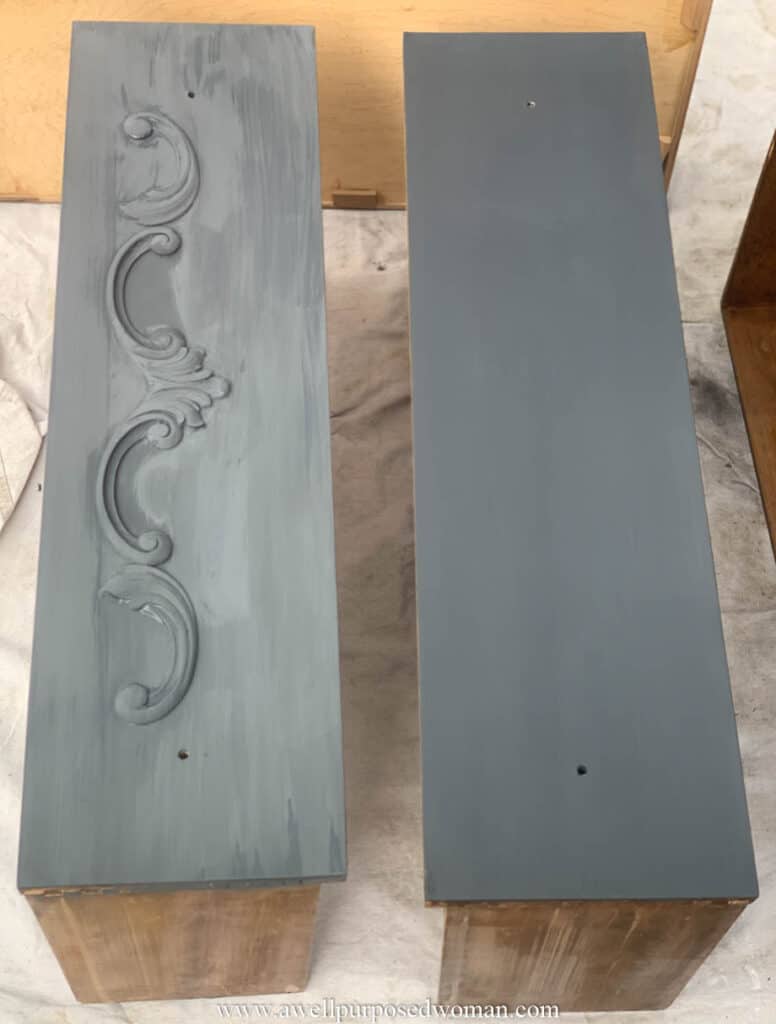
The wax, even though it is clear, does change the paint color slightly. You can see below the difference in color between the two drawers. The drawer on the right has wax, and the drawer on the left was not yet waxed.
Tip: Keep in mind the wax does not fully cure for about 30 days. So do not place liquids or anything that would scratch or damage the surface for at least that time frame.
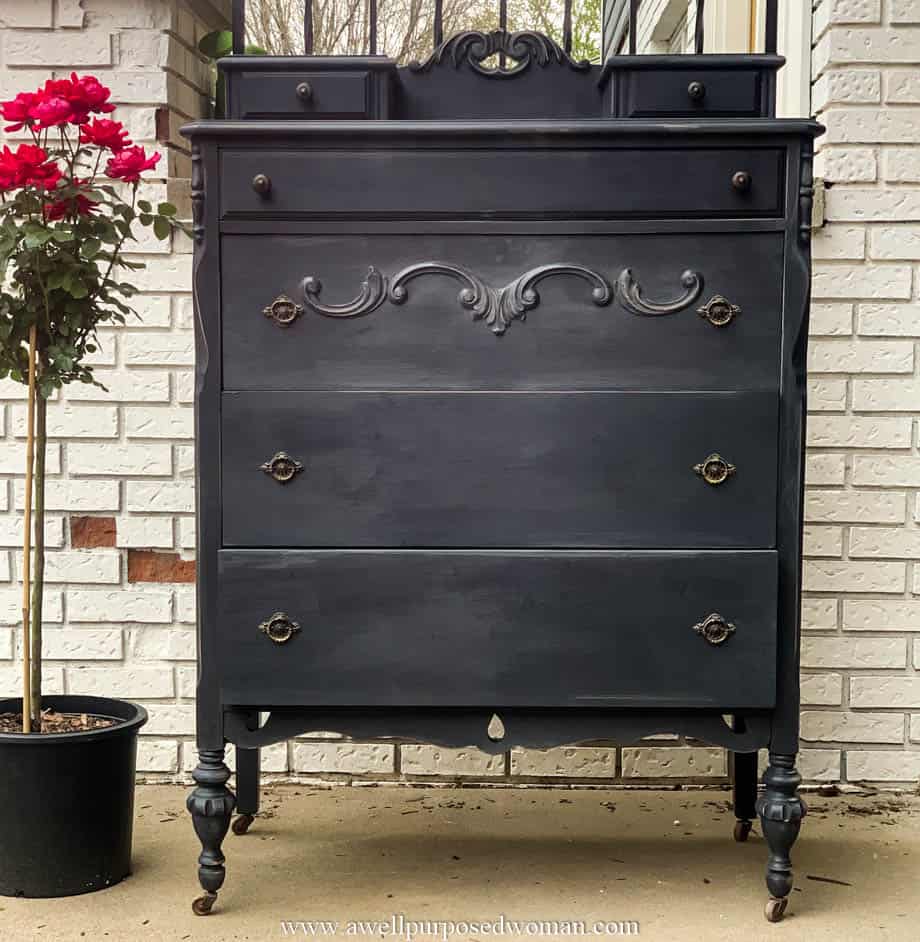
Step 5: Add the hardware back on your black dresser
Now that your painting is complete. Add the hardware back onto your dresser.

Many times I would replace the hardware on a dresser, but Brittney was fortunate to have very pretty antique hardware already on this dresser. So we just added the hardware back onto the dresser.
And that’s it!
That’s how easy it is to paint an antique dresser with chalk paint!
Let me know if you have any questions about chalk painting. It’s a great time to re-do furniture and update a room in your home! Below is a free guide I made if you want tips on chalk painting for the first time.
If you missed Part 1 on how to prepare furniture to be painted with black chalk paint go back and read that before you get started!
Lots of JOY to you!

P.S. Don’t forget to pin this tutorial for later!
I have painted a cabinet black. After light sanding the sawdust is making it appear grey.. black colour is no longer vibrant, even after wiping off dust. I intend on using a clear flat polyurethane top coat.. but am hesitant because it no longer is no long the rich black colour. Any suggestions?
Thank you!
Hi Pat, have you applied any wax to your cabinet? The wax will bring back some of the black color. Let me know if that helps. I would try that before adding the polyurethane, especially if you do not like the color currently. Elizabeth
Hi! This looks beautiful and I’m hoping to replicate. I keep seeing that this paint color is charcoal… is it black or dark gray? the look in the picture you have looks black, but then it says charcoal! So I was getting a little confused!
Hi Christina, it is a black color. It is called charcoal because when it dries it almost looks like a black chalk board. It’s very pretty! Elizabeth
Can you use chalk paint on a dresser that was already painted? Would prep be different?
Hi Katie, you can definitely paint over paint. There is no special prep needed. That’s the beauty of chalk paint. Elizabeth
It’s absolutely beautiful!!! I love the color you chose! You do beautiful work Lizzie!
Thank you so much Alesha!