Learn how to paint your deck the easy way. This step by step tutorial will show you how you can paint your deck in just a few steps. Painting your deck is beginner friendly and will save your family hundreds or even thousands of dollars.
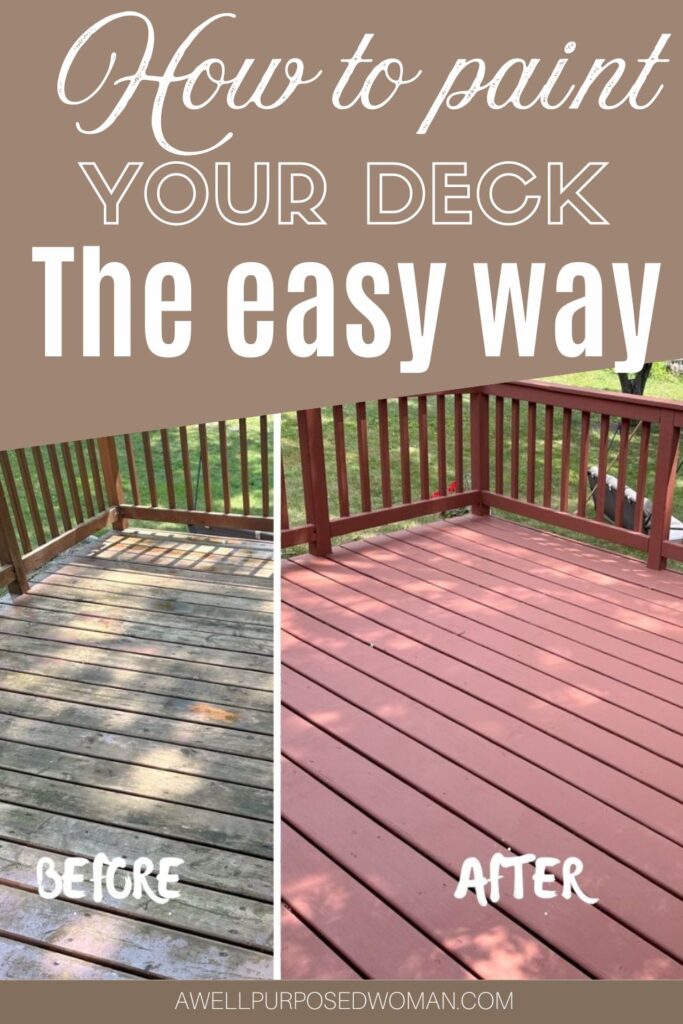
Today we are going to talk about how to paint your deck the easy way! If you have ever considered re-painting your deck on your own but you were’t quite sure where to start? Today’s post is for you!
Last spring we desperately needed to re-paint our deck. Our deck was very weathered, ugly and just needed attention. After excusing it’s appearance for the millionth time, I finally decided it was time to take action.
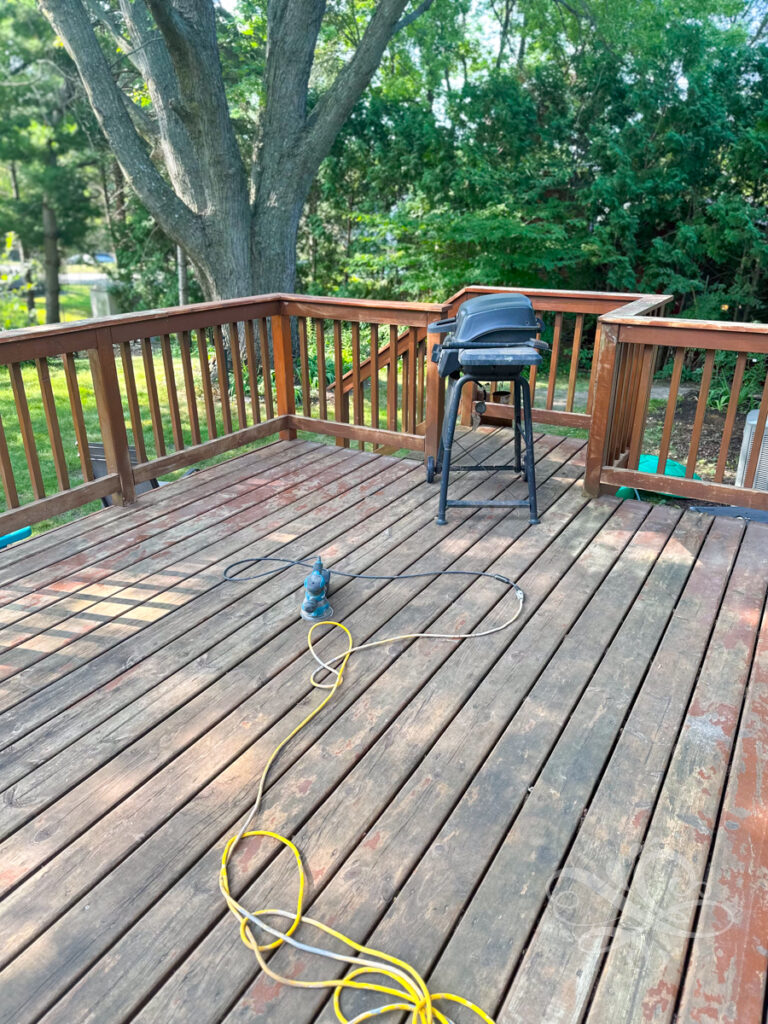
I had never painted a deck before. So I wasn’t sure what type of paint to use, whether to paint or stain it or what would be the most weather resistant product. So today’s post is an accumulation of what I learned by re-painting my deck, and the paint I came to love that was so easy and super durable! I will also share a section below with questions I had before starting.
So let’s get started!
Here’s the supplies you need to paint your deck:
This post may contain affiliate links. There is no addtional cost to you but if you purchase something from a link I receive a small commission from the transaction.
- Behr Deck Over Paint (we chose the color Terracotta)
- Deck Bristle Brush
- Paint Tray
- Wood Filler
- Sander and sand paper
- Hose or power washer
- Scraper
What is the easiest way to paint your deck?:
Step 1: Preparing the deck to paint
Clear everything off of your deck and you are ready to prepare your deck for painting. Preapring the deck for painting is probably the most important step in painting your deck. You want to remove any paint that is chipping and scrape it away.
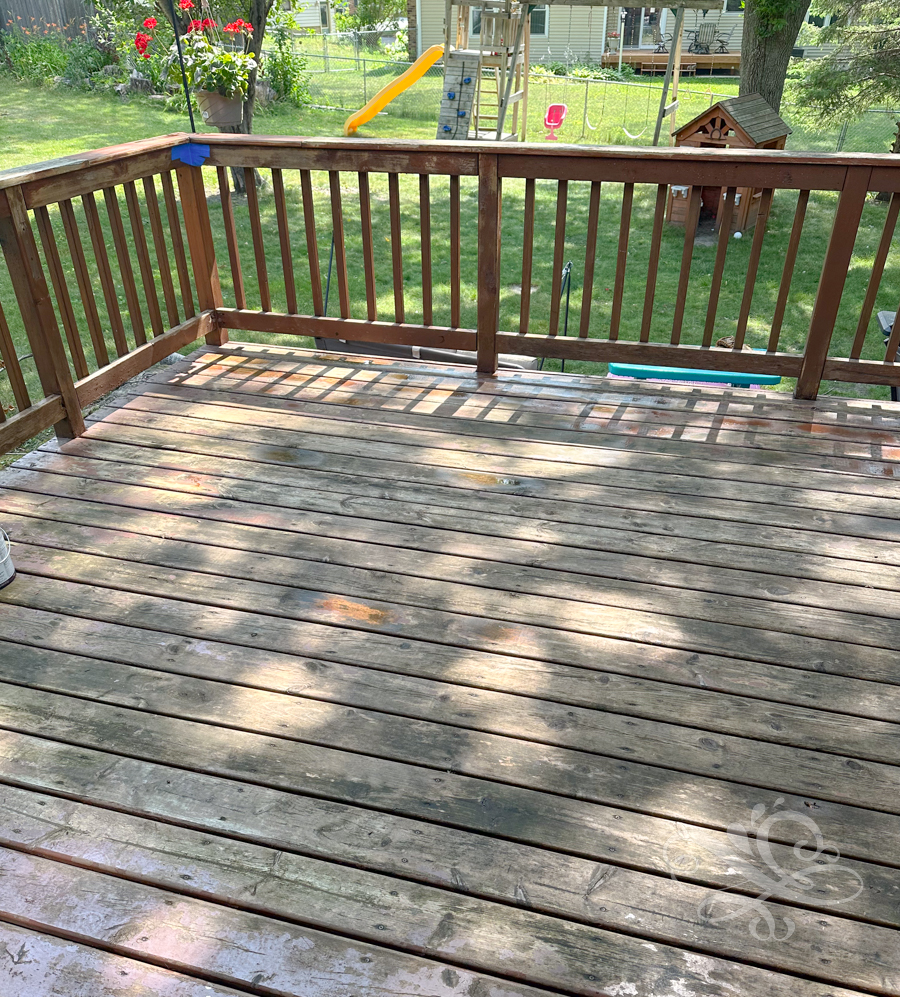
I used our hose on the jet setting and some brooms and it helped to bring up any areas that were starting to chip. You can also use a paint scraper. I also used the sander on some parts to smooth them out. But you do not need to sand down to the bare wood just enough so nothing is chipping.
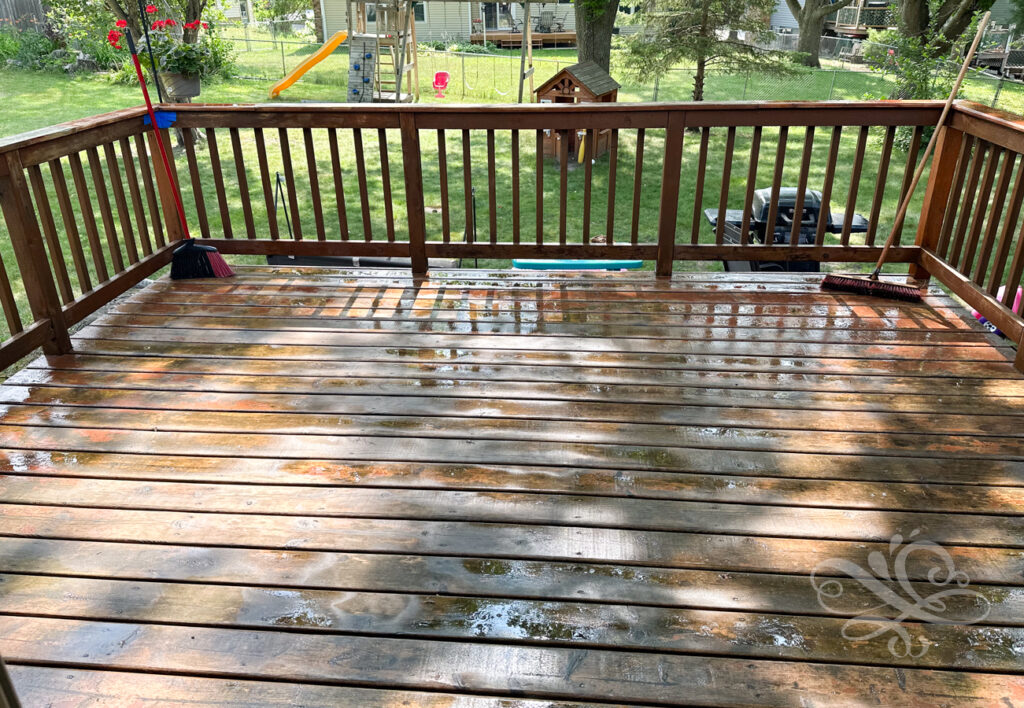
Remove any dirt or debris with your hose and a broom and your are ready for the next step.
Step 2: Fill in any cracks or holes in your wood
This next step will help you preserve your wood for longer. Use a wood filler and fill in any holes that are developing in your wood. We had some pretty big holes in the corners of our deck and the wood filler helped to keep the wood lasting longer. Once the wood filler is dry you can move onto the next step.
Step 3: Paint your deck
Now you are ready to paint your deck! This is the most satisfying part of the whole job! And the reason I say this is the easiest way to paint your deck is because of the paint. This paint is awesome! It is super thick and it almost reminds me of paint mixed with joint compound. You might be surprised at first by its thickness. But because it is so thick it will hide and heal wood that is weathered and old. It adds a whole new level of protection than regular paint.
Start by painting any railing, posts or spindles. We learned a good rule of thumb when painting is to start at the top and work your way down. So it’s easier if you do railings and posts first. We learned this when painting our trim white!
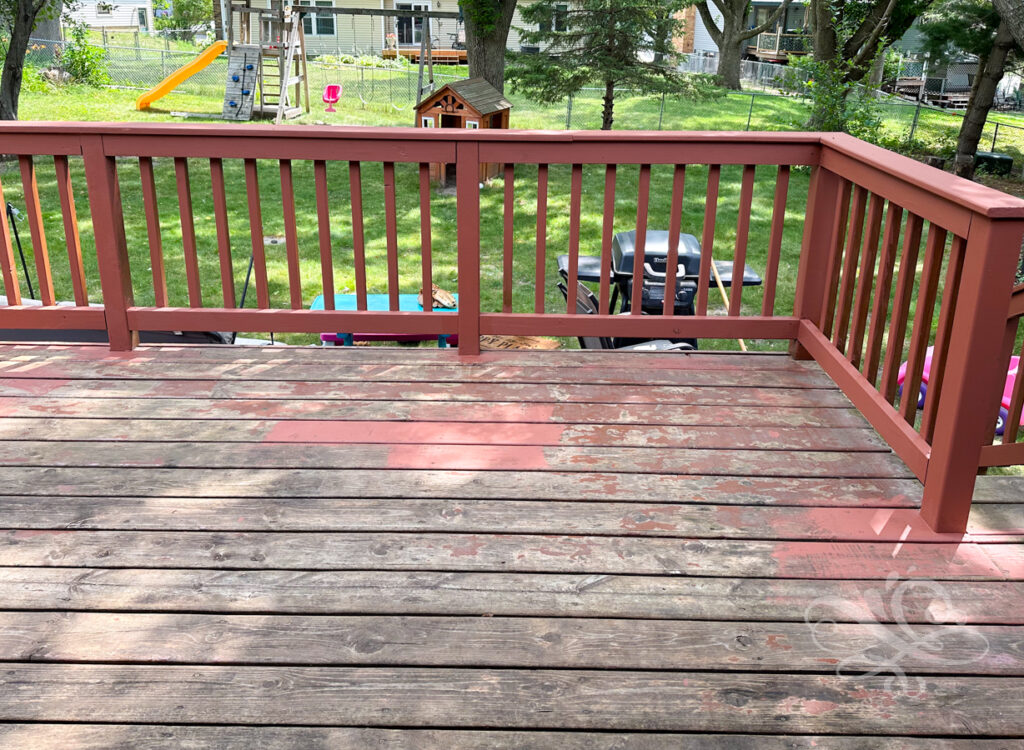
Then starting in one of the corners paint from the corner out. I used cardboard for my knees (I am getting older) and just moved it around as I painted. I painted myself into the patio door, so right in front of the patio door was the last spot I painted. Which in the picture is the area behind the milk jug.
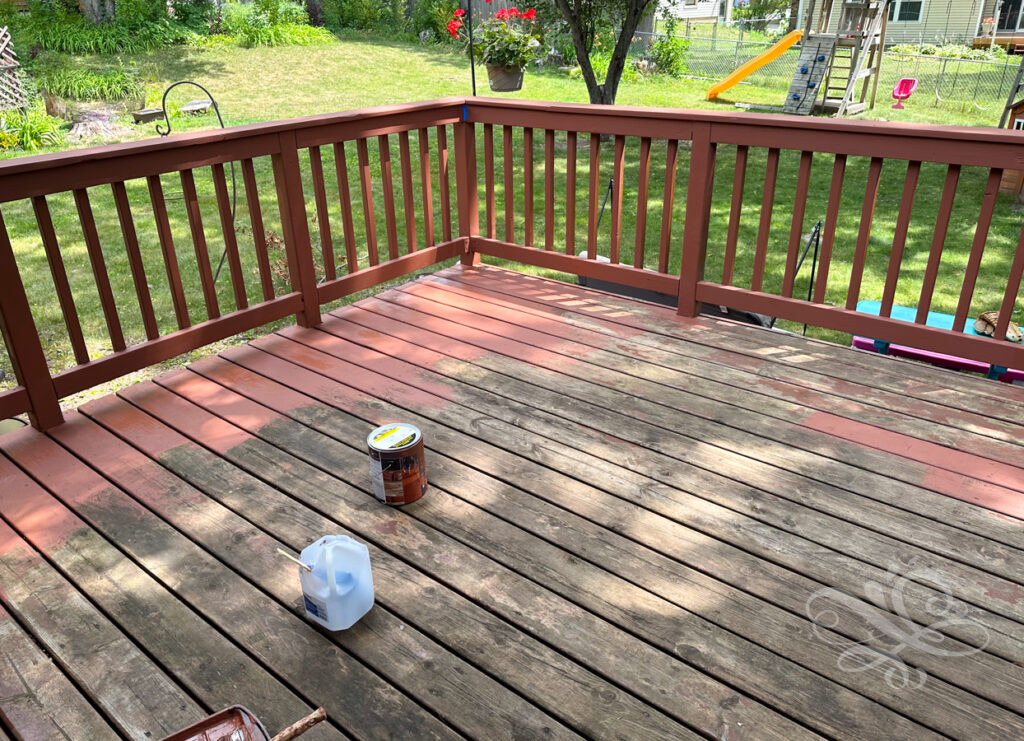
Step 4: Paint your deck with a second coat
I think the deck paint instructions say to paint 2-3 coats. I would say 2 coats is plenty! The second coat helps to add durability and weatherability but I didn’t do a third coat because I felt 2 coats was sufficient. Wait in between coats for the paint to dry.
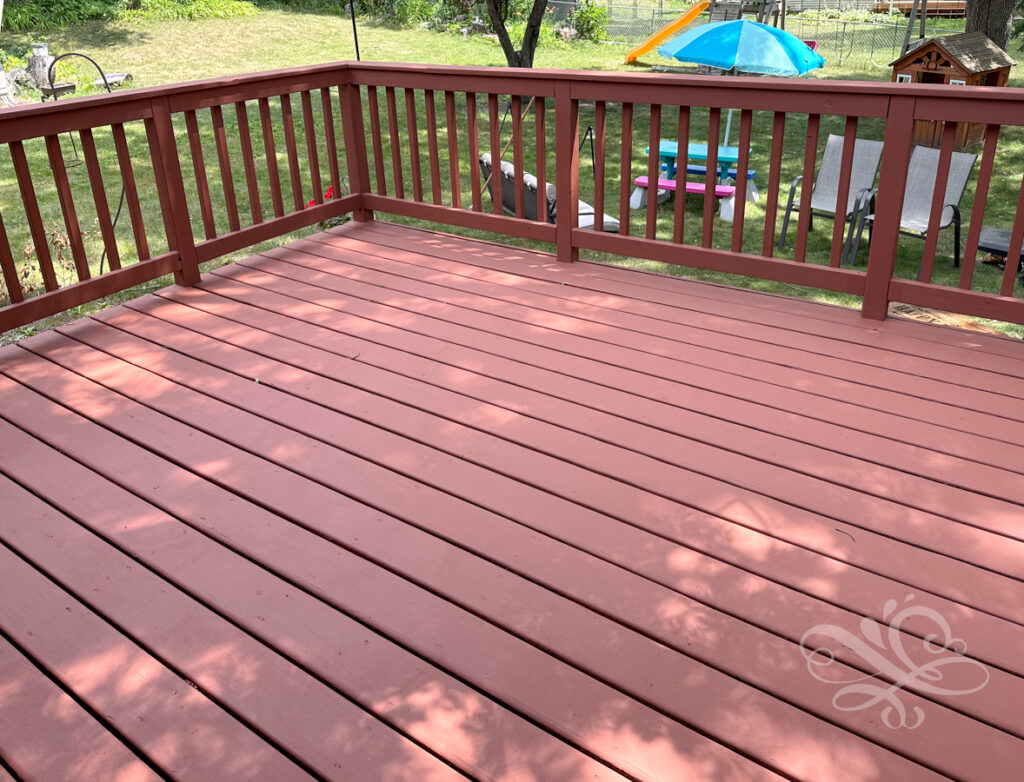
I was really surprised at how nice the deck looked after one coat! The paint was so awesome at covering up all the woods imperfections. I waited for the first coat to dry and then I started on the second coat of paint. I would say painting the floor of the deck went really smooth. And the hardest most time consuming part was painting all of the spindles on every side.
Tip: Since the spindles do not see as much as wear and tear as the railings save yourself the time, hassle, and money and just paint them with one coat.
Our deck is still a work in progress but oh my goodness it feels so much better after having re-painted it. In total I used three cans of the deck paint. This will obviously depend on your deck size and how many coats you apply. We purchased the paint one can at a time just to use as little as possible.
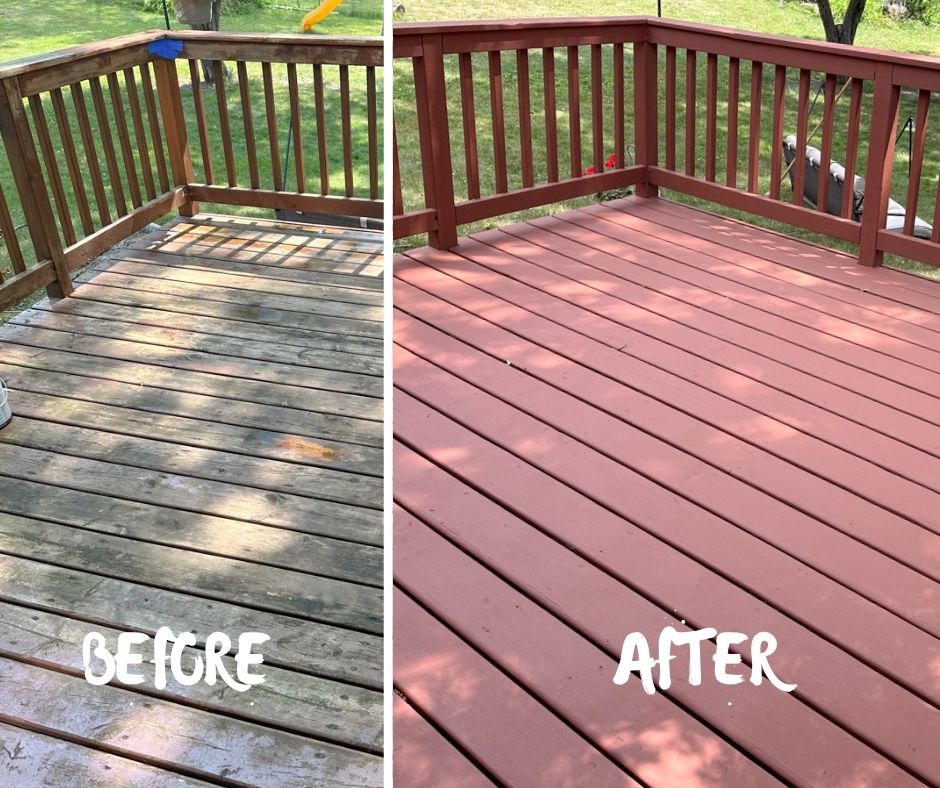
But once your second coat of paint has dried add some fun furniture back onto your deck! This felt so good! And the girls loved the nicer floor of the deck to sit and play on for the rest of the spring and summer!
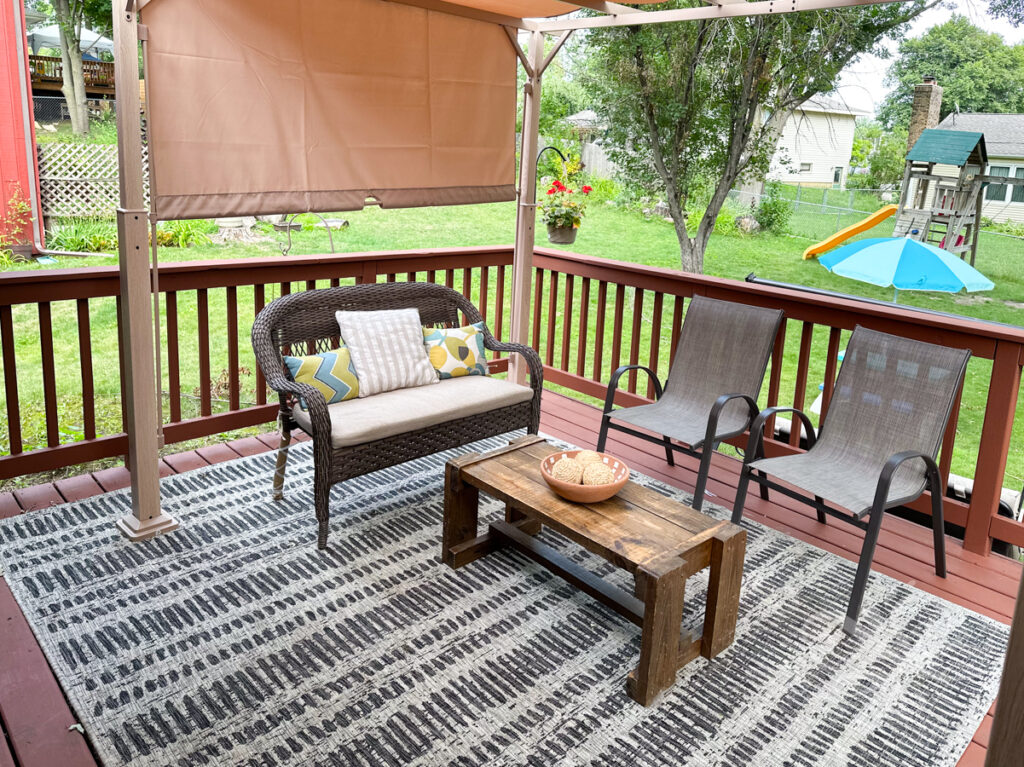
I hope you found this post helpful and below I have a list of questions and answers to futher help you with planning and re-painting your deck.
Here are questions people have asked about how to paint your deck:
Can I just paint over my deck?
Although deck paint is a lot more forgiving than regular paint it is a good idea to prepare your deck by removing any chipping paint or other debris before painting over it.
Do I need to prep my deck before painting?
Yes! This is a similar question ask a different way. Preparing your deck is a great way to ensure the best results. Although preparing is important it is pretty simple. Just remove any chipping paint or other debris. You do not need to sand down to the bare wood. The deck painting offers really good coverage and it is not necessary for the wood to be bare.
What is the best way to apply decking paint? What should I paint first on my deck?
As I mentioned in step 3 painting your deck, start by painting all of the railings, posts and spindles. You want to work from top to bottom. Then paint the floor of your deck by starting in one of the corners further away from your stairs or patio door. Paint your way to the door or stairs and then finish painting inside your patio or on the ground. Apply 2-3 coats as needed.
What is the best paint for an old wood deck?
I really like this Behr Deck Over paint. Our deck was old and had a lot of use. This paint did a really good job of covering up all of its imperfections.
How do you wash a deck before painting?
Use your hose on the jet stream setting or power washer with a floor broom. Brush away all the debris and use the hose to spray as you go.
Do I need to seal a painted deck?
No! As I mentioned this deck paint is really thick and there is no need to use a sealant. This may depend on what type of paint you use but a lot of times paints and stains made for decks have it all in one.
Do I need to prime over old paint deck?
Heck no! With this paint that is made for decks there is absolutely no need to prime. A lot of paints and stains made for decks will have it all in one.
Should I sand old deck before painting?
The answer to this question is yes and no. You don’t need to thoroughly sand down to the bare wood but if there is any chipping paint or old stain make sure to scrape or sand it off.
Can I just power wash my deck before painting?
Yes power washing can be very effective before painting your deck. But I would still reccommend scraping off or sanding off any chipping paint.
What is the best tool to paint a deck with?
There are a lot of great tools out there I found using a thick deck stain brush worked great on the spindles, railings and posts. For the floor of the deck you could definitely use a roller brush or sprayer.
Is it OK to paint over old deck paint?
Most definitely! If your deck paint is in good condition there is no need to remove it before painting over it. Again if there is chipping paint or the like you would want to remove the chipping paint first!
What is the best paint for a deck?
I am sure there are a lot of great deck paints out there. I found Behr Deck Over paint worked so very well. It is very thick and is very forgiving. It is almost the consistency of paint mixed with joint compound so it worked very well on our old deck.
Just let me know down below if you have any other questions!
Until next time God bless!

How long did it take for the paint to dry?
It actually dried really fast, but it was a nice sunny day. I would say within a few hours, but I did wait overnight to add a second coat. Thanks. Elizabeth