• THE SHOP
  • Nav Social Menu

    • Facebook
    • Instagram
    • Pinterest
    • YouTube

A Well Purposed Woman

Crafts, DIY, Faith, Encouragement

  • Home
  • About
  • DIY
    • DIY Tutorials
    • DIY Home Decor
    • DIY Paper Crafts
    • DIY Simple Sewing Projects
    • DIY Gift Ideas
    • DIY Christmas
  • Re-purposed Furniture
    • Furniture Makeovers
    • Furniture Tutorials
  • Kid’s DIY
    • Kid’s Crafts
      • Kid’s Christmas Crafts
    • Kid’s Birthday
    • Kid’s Bedroom
  • Purposeful Living
You are here: Home / Re-purposed Furniture / How to Put a Zipper into a Cushion

in Furniture Tutorials· Re-purposed Furniture· Reupholstering Projects

How to Put a Zipper into a Cushion

8 shares
  • Share
  • Tweet

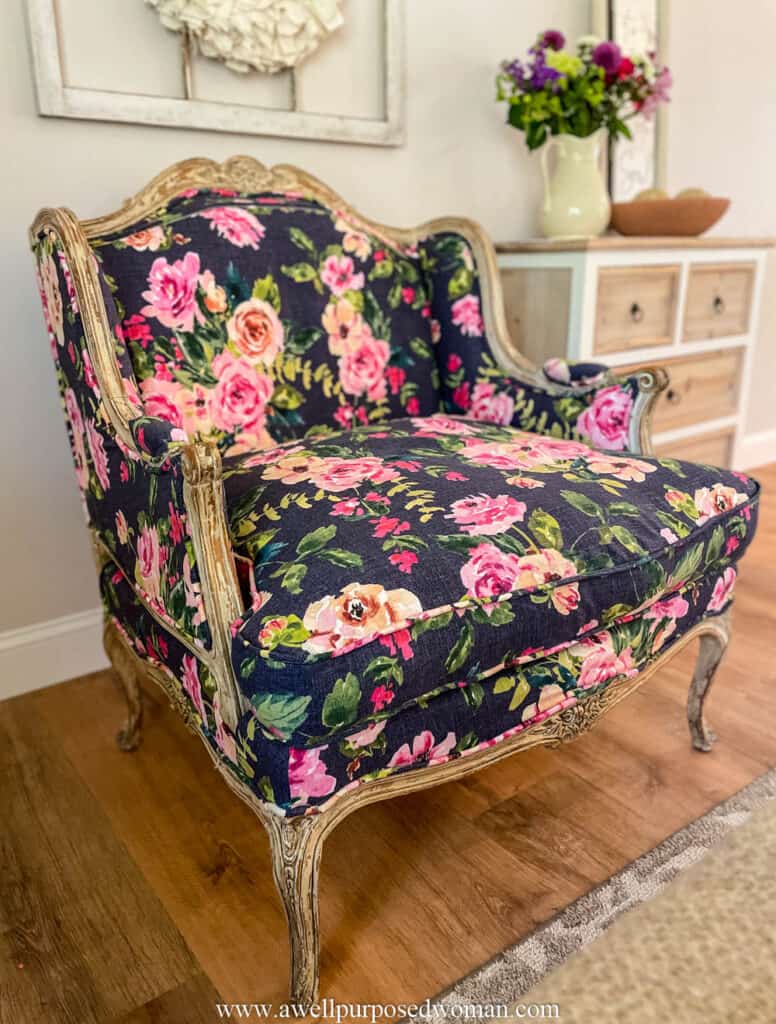
This step by step tutorial series will show you how to put a zipper into a cushion. You will learn how to put a zipper in a cushion for an antique French chair. Learning how to put a zipper in a cushion is a handy skill to have for box cushions or pillows.

This tutorial on how to put a zipper in a cushion is part of a 6 part series on how to reupholster a French Chair. If you missed the previous posts you can check out the original post on reupholstering a French Chair.

Today I will show you how I put the zipper in the cushion for this chair. But let me start by saying if you feel intimidated by adding a zipper to a cushion you are not alone. This was actually the first time I did it. And the good news I have to share with you today is that it is very easy.

So let’s get to it!

Here’s the supplies needed to add a zipper to a cushion:

  • Seam ripper
  • Zipper (the length of your cushion)
  • Old fabric from cushion as a pattern
  • Pull for your zipper
  • Fabric (the size of the pillow you are upholstering)
  • Sewing machine and thread

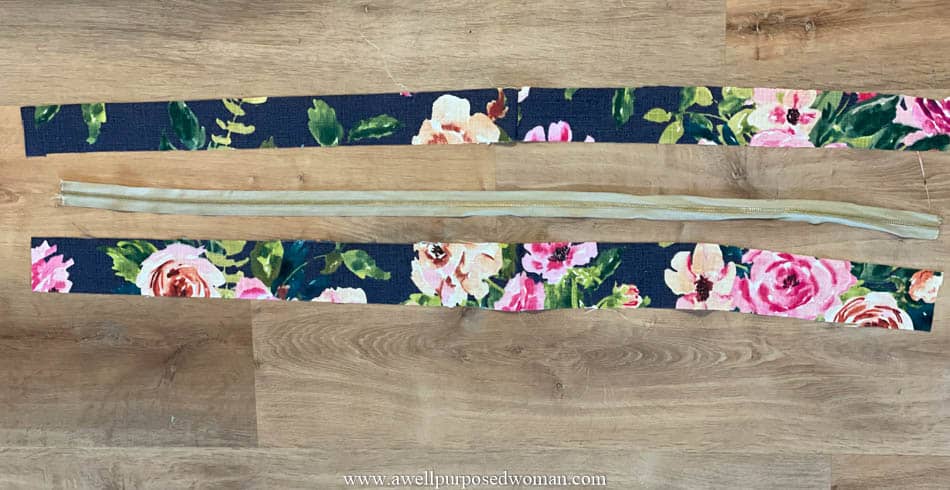
Step 1: Cut the fabric & zipper to size

The first step of adding your zipper is to determine the size of your fabric. I measured the original cushion and created the two fabric pieces that would attach on either side of your zipper using the previous cushion as a pattern.

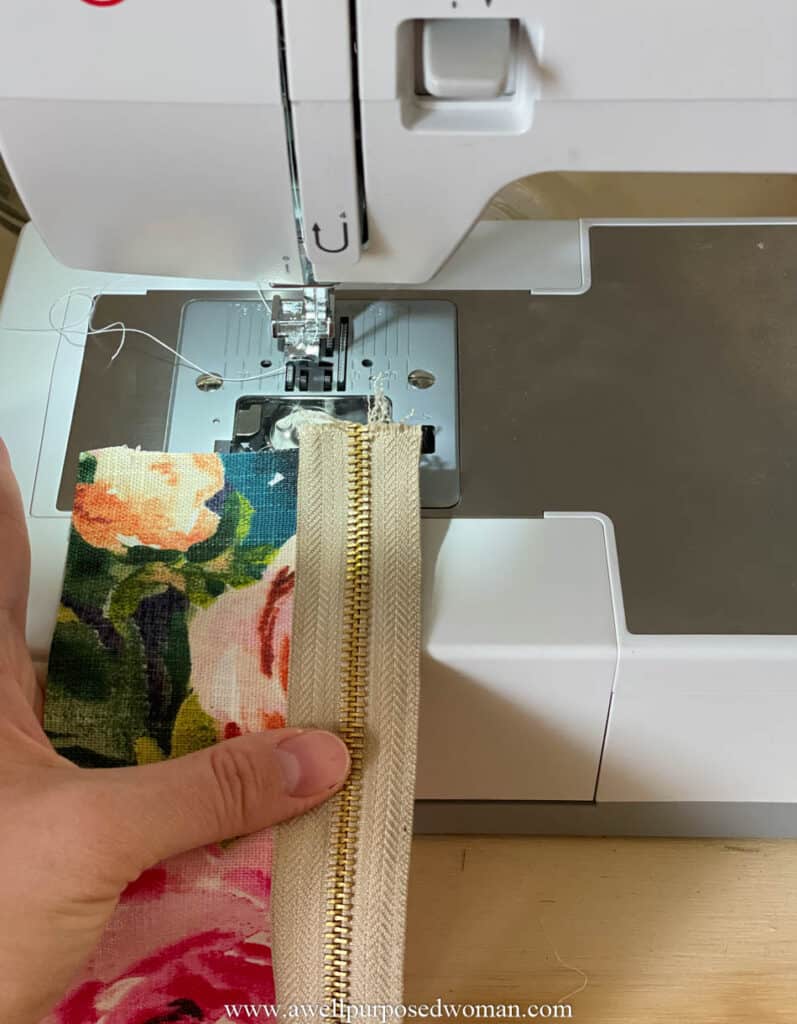
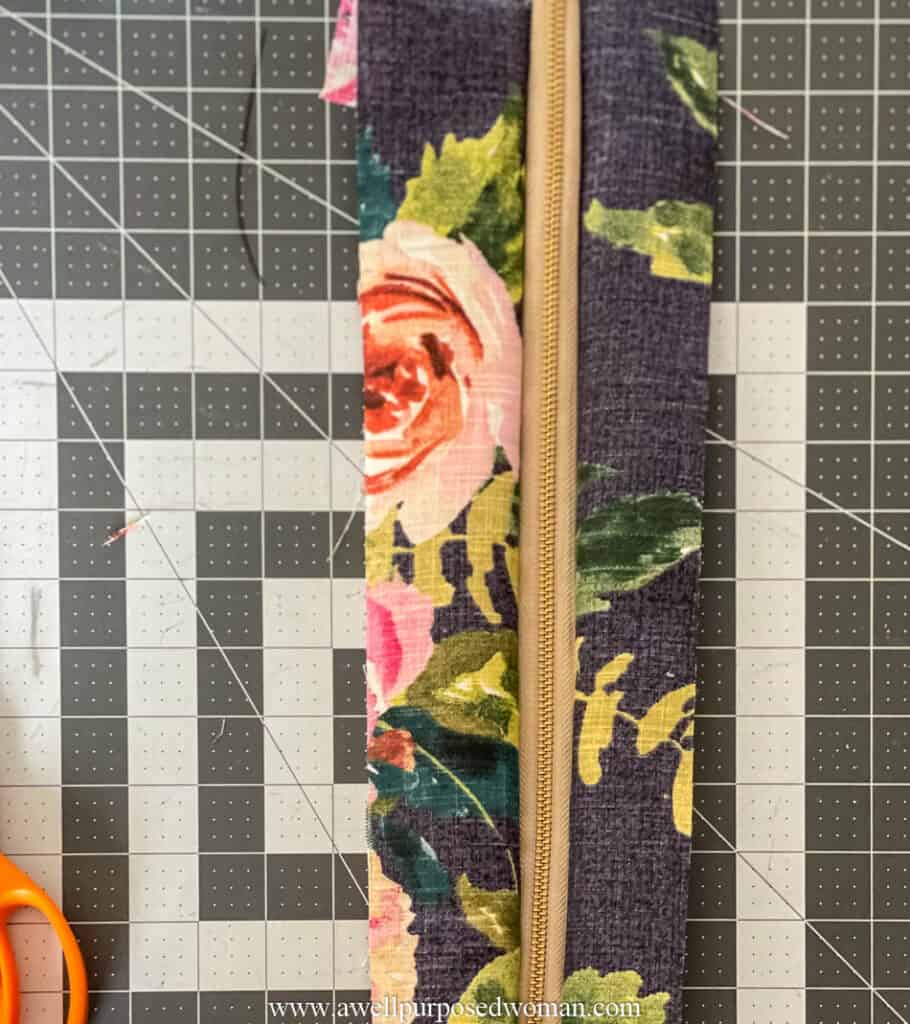
Step 2: Sew your fabric to your zipper

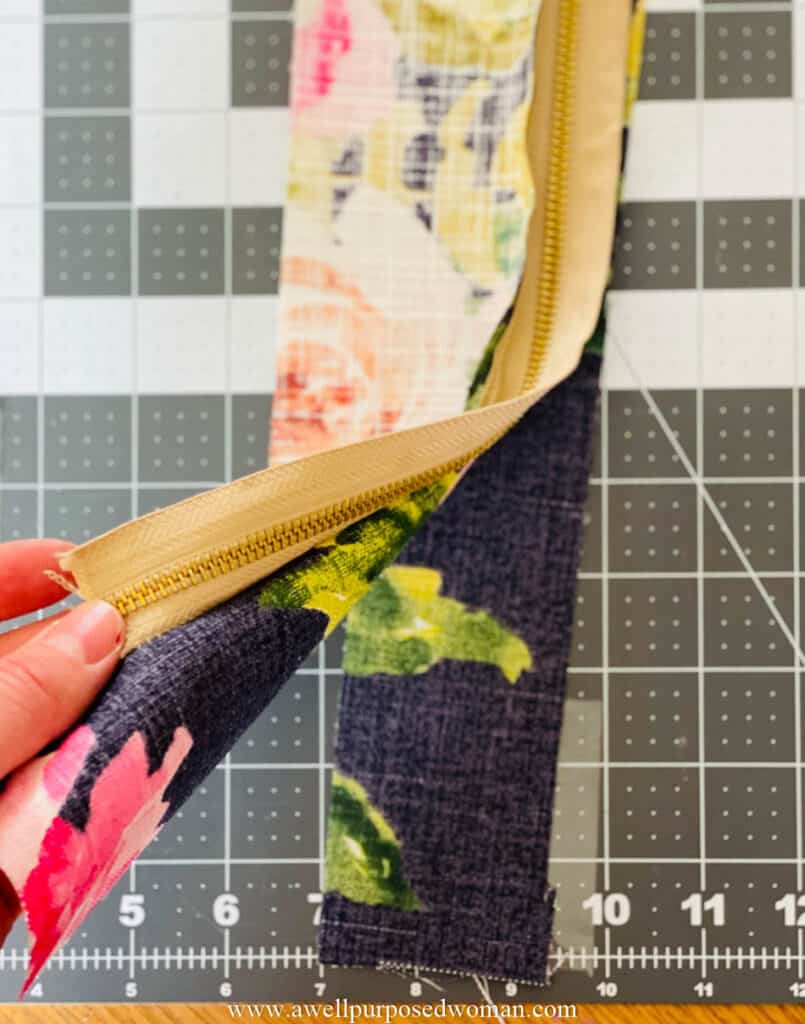
Using the zipper foot on your sewing machine, sew the fabric to the sides of the zipper. Making sure that the right side of the zipper will face up.

Now you will have your zipper sewn to the fabric.

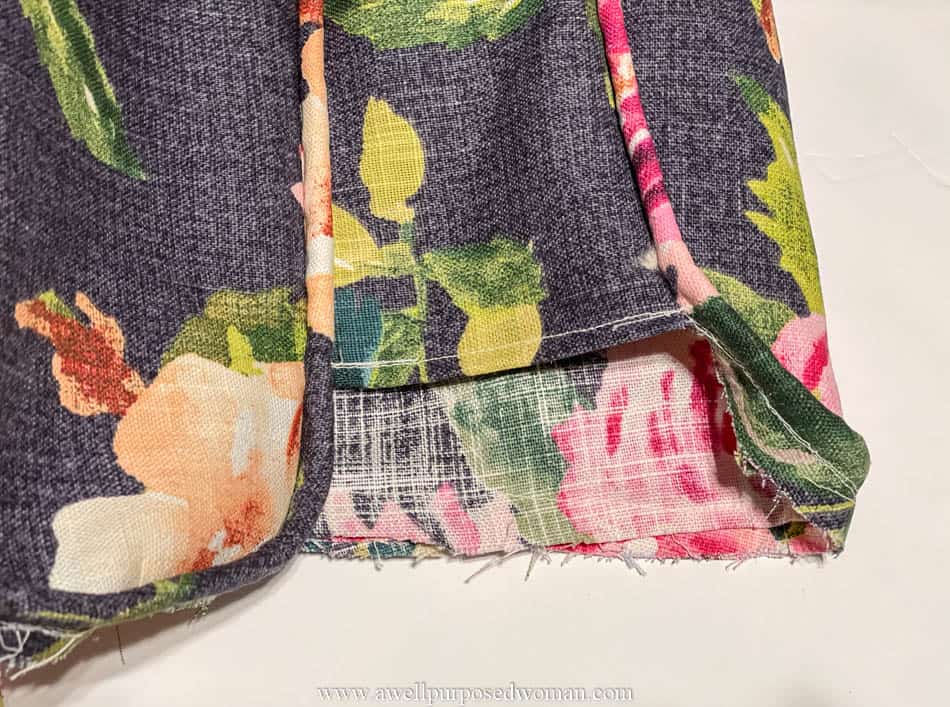
Step 3: Attach the fabric strip with zipper to the cushion

Now pin the zipper piece on the inside of the opening on the cushion. Sew the zipper piece right side together with the side you left open when you sewed the cushion with piping. Then turn your cushion inside out.

And unfortunately I did not take very many pictures of this process but you will use the old cushion as a guide for how to re-assemble to new cushion.

I will try to add more pictures of the zipper in the cushion really soon!

But for now take care and God bless,

Leave a Comment

Previous Post: « How to Make a Baby Blanket the Easy Way
Next Post: How to Reupholster a French Chair the Easy Way »

Reader Interactions

Leave a Reply Cancel reply

Your email address will not be published. Required fields are marked *

Primary Sidebar

WELCOME!!

I'm Elizabeth, and I believe creativity is a gift to glorify God, bless others and bring JOY into your day! And so I love teaching others how to make beautiful crafts by breaking projects down into simple easy to follow steps. I am so glad you are here and I am looking forward to crafting TOGETHER!!

Pinterest

Top Posts From A Well Purposed Woman

How to make a Ribbon Wreath

How to make a Ribbon Wreath the Easy Way

How to make DIY Sock Gnomes Tutorial

How to Make DIY Sock Gnomes Tutorial (Free Pattern)

How to Make Fabric Pumpkins from Old Socks

Popular Posts

how to make a burlap wreath the easy way

Recent Posts

  • How to Make Cute Fabric American Flags from Scraps
  • How to Paint your Deck in a Few Easy Steps
  • 10 Awesome DIY Mother’s Day Gift Ideas that Mom will Love (Free Printables)
  • How to Paint Furniture Black Distressed The Easy Way
  • How to Make a Fabric Cross Rag Wreath for Easter
  • How to Make a Fabric Heart Wreath for Valentines Day
  • Terms and Conditions
  • Disclaimers and Disclosures
  • Privacy Policy

Copyright © 2025 · Market theme by Restored 316