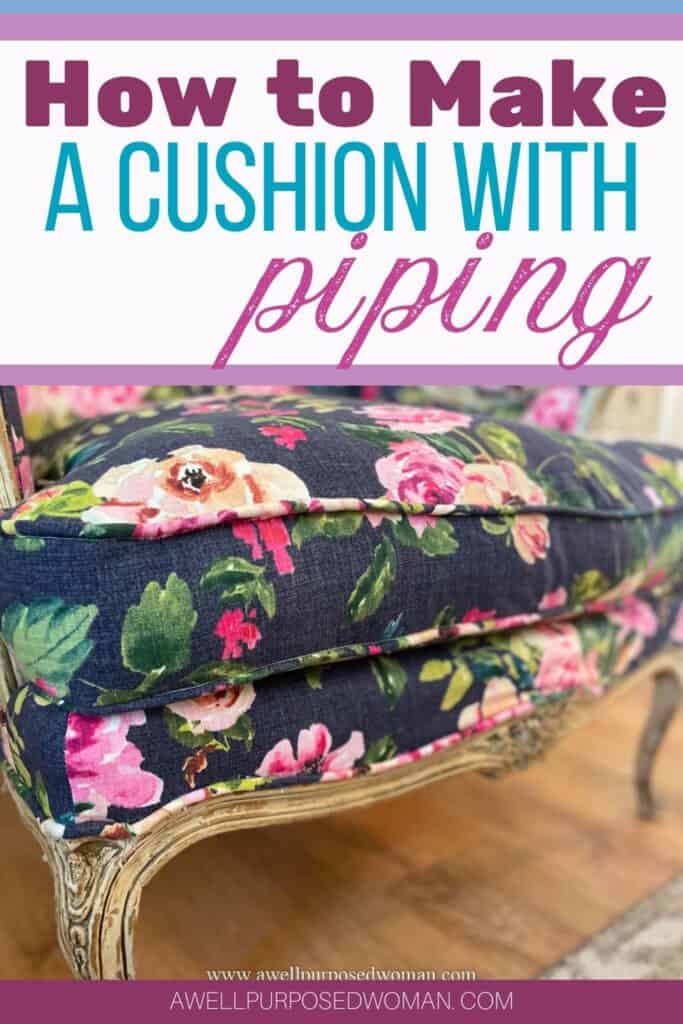
Learn how to sew a cushion with piping for DIY upholstery. Sewing a cushion with piping is an important skill for upholstery. And although sewing a cushion with piping can be intimidating it is possible for someone with no experience to do it.

Today we are going to talk about how to sew a cushion with piping. Sewing a cushion with piping can be quite an accomplishment for a new upholsterer. And for me it was one of the most intimidating parts of my French Chair Makeover.
I was so intimidated by sewing a cushion with piping and a zipper that I considered no- sew alternatives. There were some tutorials where the pillow was just attached to the chair rather than have it be a free standing cushion. But in the end I knew I wanted to try to re-create the chair just as it was when it was originally upholstered.
But let me offer you a little encouragement before we get started on our cushion with piping. If you are new to upholstery and possibly sewing as well I would say don’t let the fear of not knowing how to do something stop you. I have found the more I push myself to learn something new, the more empowering it is to keep on learning and growing.
So please keep in mind with this tutorial I am not a professional and the process I used was unique to me. I am just sharing with you what worked well for me and how I sewed my beautiful cushion with piping! So with that let’s get started on how to sew a cushion with piping.
Here’s the supplies needed to sew a cushion with piping:
- Old Fabric from the chair for your pattern
- New Fabric (2-3 yards but this depends on the size of your cushion)
- Zipper the length of your cushion (just measure the old one)
- Piping
- Sewing Machine
- Zipper Foot (optional but helpful)
- Sewing Pins
- Scissors or rotary cutter
- Clothespins
- Down Cushion or foam insert (my chair had a down cushion insert)
Here’s how to sew a cushion with piping:
Step 1: Sew the piping for your cushion
The first thing I did when sewing my cushion was to make the piping for my cushion. There are several different ways to make piping. You can make piping on the bias, or by cutting the fabric straight which is probably the most straightforward.
But the method I used for this chair was to cut the piping at a 60 degree angle. This uses less fabric and still gives you some of the stretchiness in the fabric like cutting it on the bias.
But whatever method you use start making the cushion for your chair by making your piping. You can measure the length around your cushion so you know how much piping you will need.
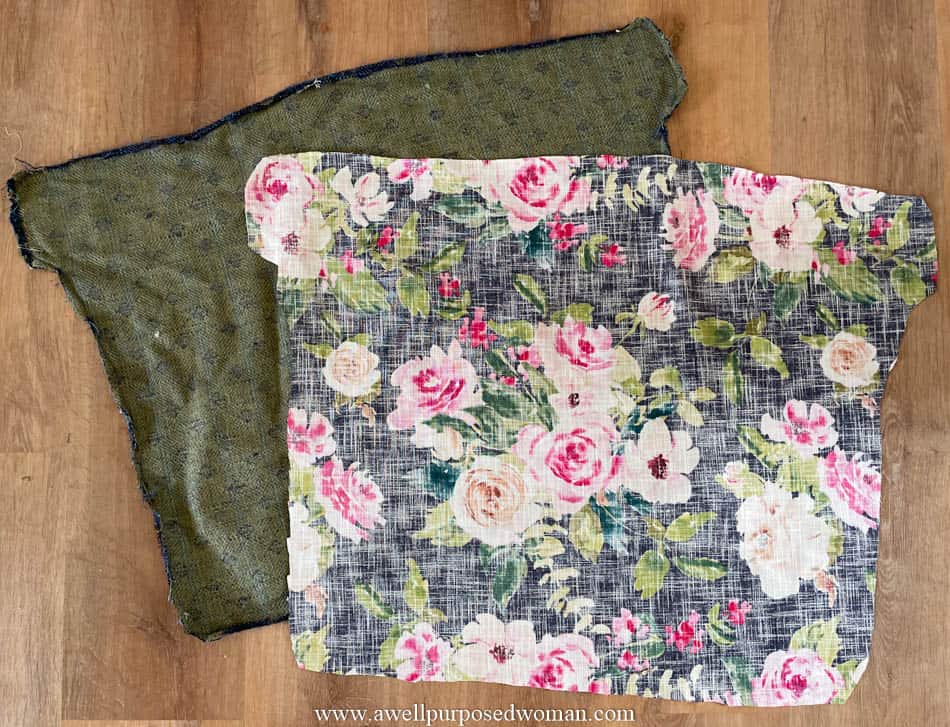
Step 2: Use the old fabric to make a pattern
After the piping for your cushion is made. Use the old cushion cover as a pattern for your new cushion. Start by seam ripping the cushion apart. You will want to use the top and bottom as your pattern.
Make sure to save the cushion cover as a sample until your new cushion is complete. You will probably want to reference it when putting it back together if you are new to upholstery.
Then measure the width in between the top and bottom of your cushion. The width of my cushion was 4.5″ by 58″ so I cut a strip that was 5.5″ wide by 60″ to allow some room for seam allowance. One of the sides of the cushion will have the zipper. So I eventually cut off part of the 60″ strip to to use for the side with the zipper.
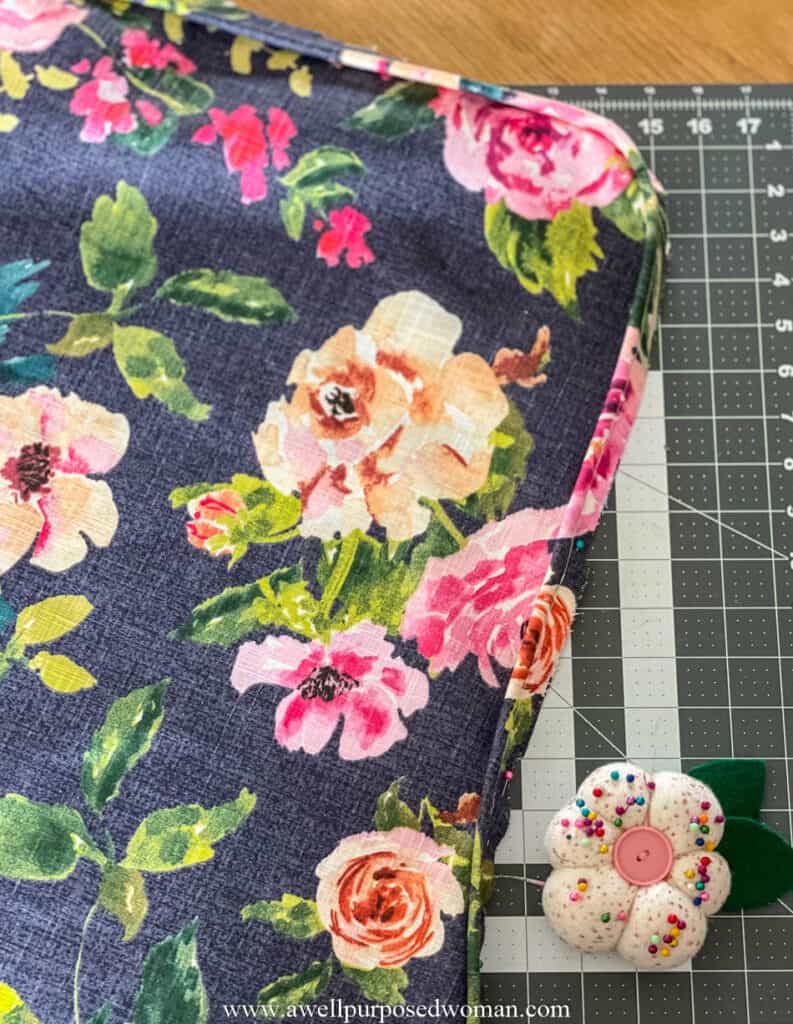
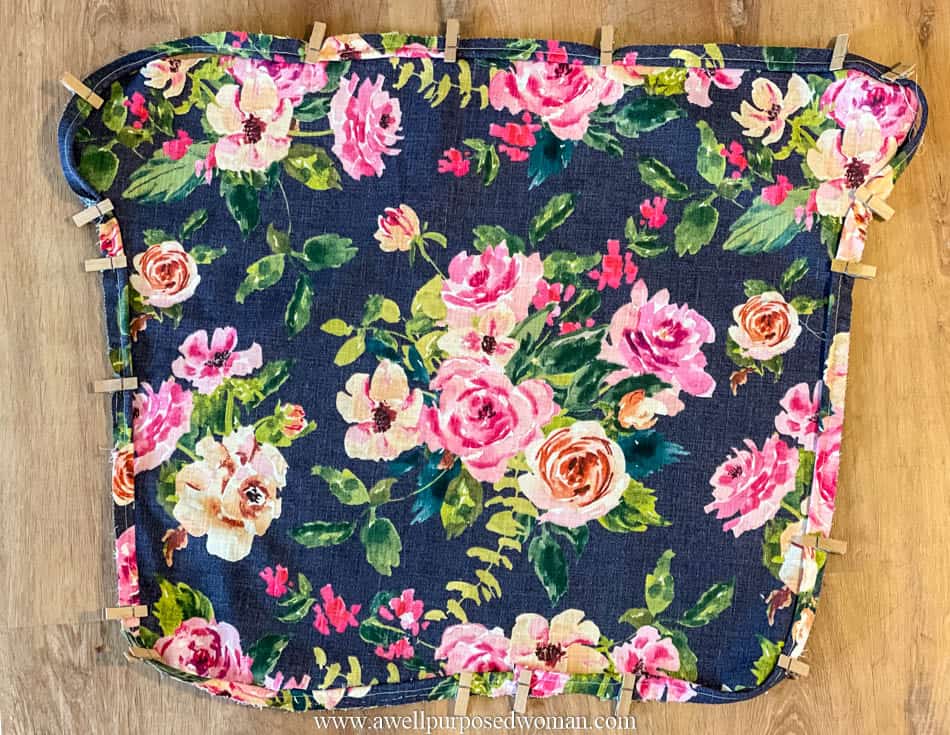
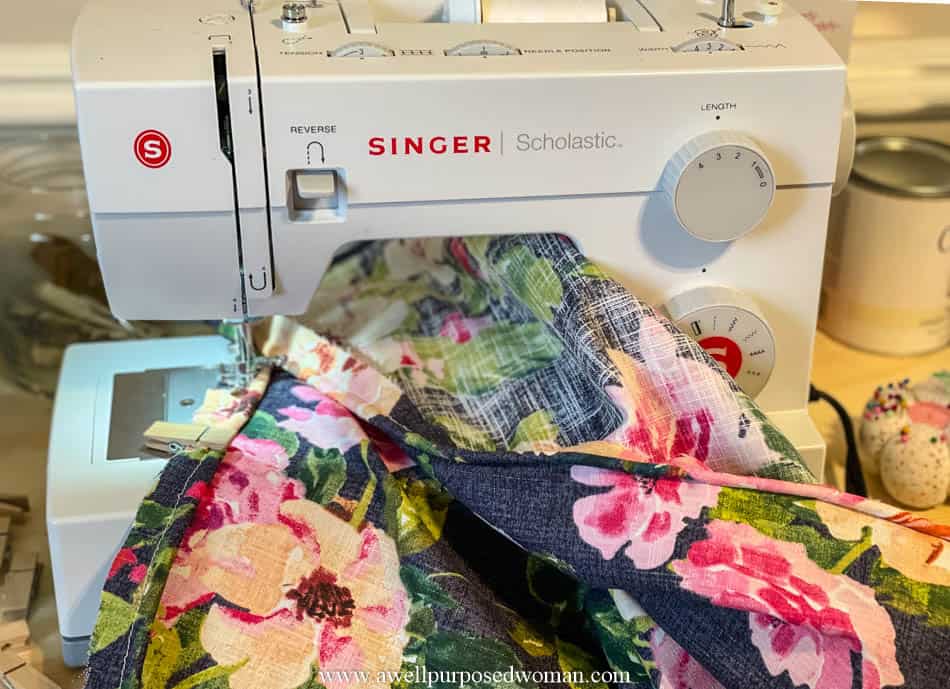
Step 3: Attach your piping to the top and bottom of the cushion
Now that you have the pattern for your new cushion, pin the piping around the edges of the top and bottom of your cushion. Since the cushion was so large I ended up using clothespins to hold the piping on the cushion.
Using the zipper foot on your machine. Sew around the top of your cushion to attach the piping. I found it easiest to sew along the top of the piping seam.
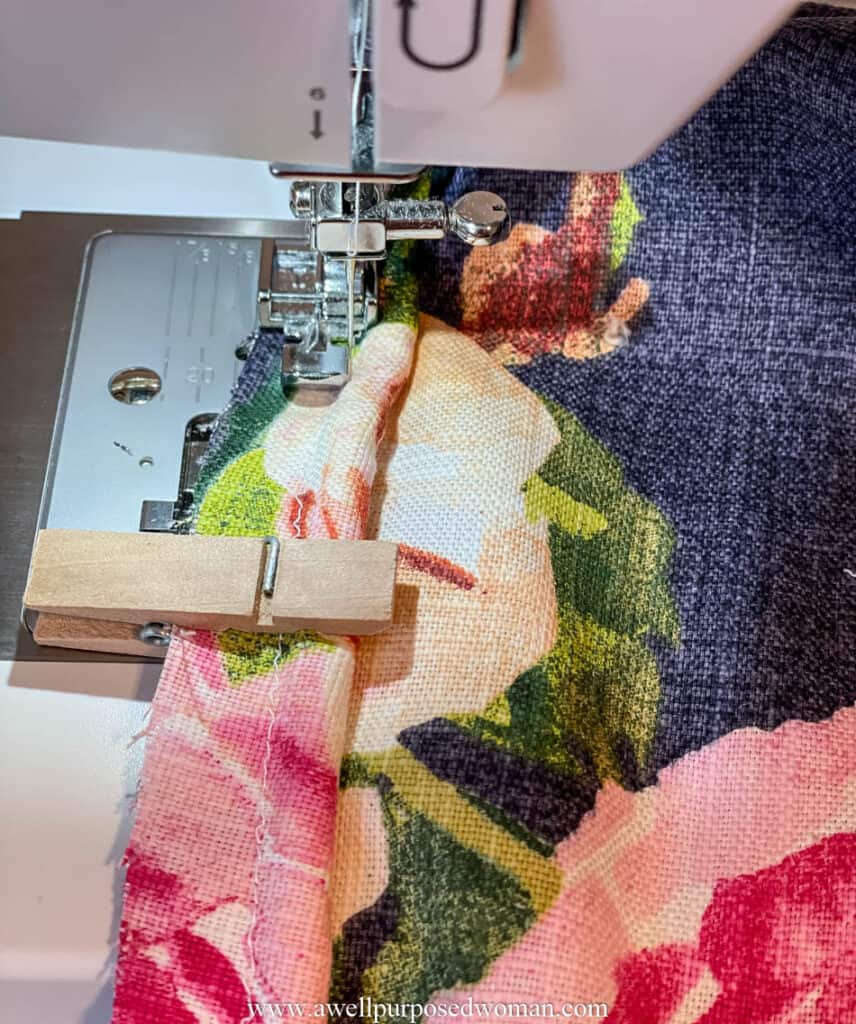
Sew around the entire top of your cushion piece and then do the same thing with the button piece of your cushion.
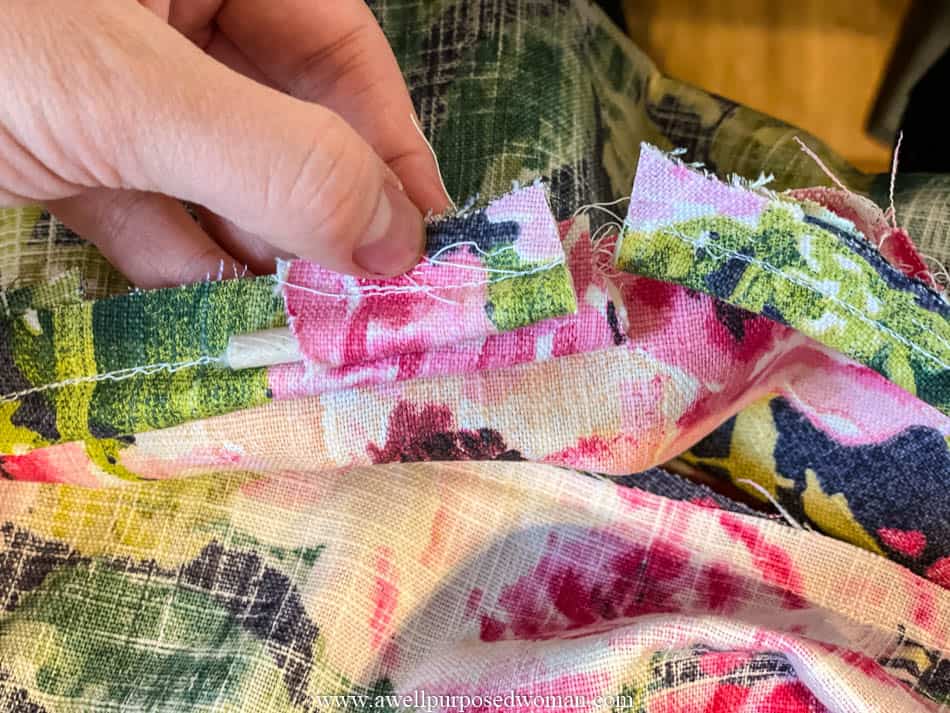
When you get to the place where the piping meets cut the piping off and attach the two ends together. I pulled back part of the fabric on one side and attached the piping cord to the other end.
Step 4: Attach the top and bottom of the cushion together

Now that the piping is attached to the top and bottom of your cushion, sew the strip in between the top and bottom of the cushion. Make sure to leave the side where the zipper will attach open.

Both of my sides ended up looking like this. This is where you will want to study your original cushion and see how the previous upholsterer assembled your cushion.

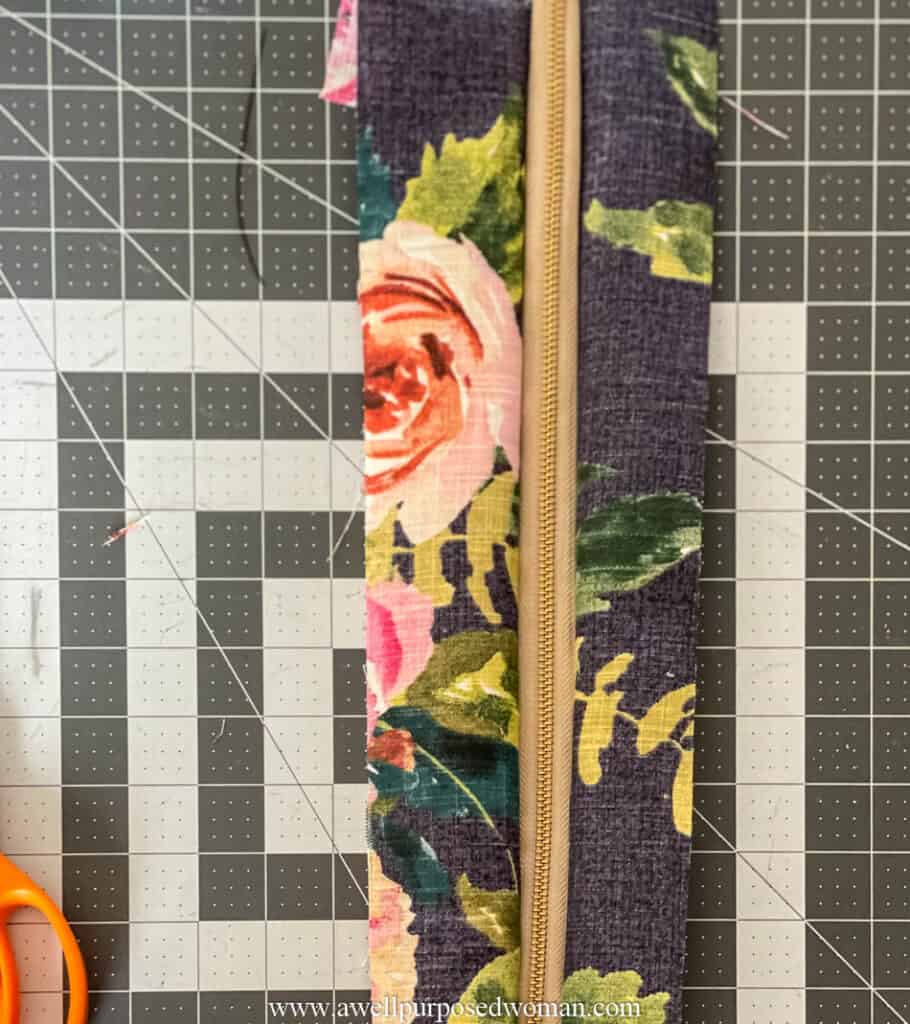
And the last step is to attach the zipper on the back open side of the cushion. To see how I attached the zipper closure to this cushion with piping check out this post on how to add a zipper closure to a cushion.
Until then,

P.S. If you liked this post remember to pin it for later.
Leave a Reply