Learn how to sew bias tape for piping for upholstery projects. This step by step tutorial will show you how to sew bias piping for your upholstery projects. You can make your own bias piping for your upholstery projects in no time.
Today I would like to show you how to make bias piping for all your upholstery projects. If you remember a few weeks back I mentioned making slip covers for my dining room chairs. So this week I started sewing the bias piping for the slip covers. I have made piping before but I did it the easy way, this time I decided to cut the fabric on the bias and sew bias piping for my upholstery project.
How do you sew bias piping for upholstery projects
I wanted to make a tutorial for you on how to make bias piping for upholstery projects. But if you are wanting to sew bias piping for pillows, cushions, bags or other upholstery than this tutorial will work for you.
If you feel at all intimidated to try sewing bias piping for upholstery projects, so did I. But I have to say in the end it is fairly simple. In order to sew bias piping for upholstery projects you need only a few supplies.
For your convenience I have listed affiliate links. Which means I receive a small commission if you purchase items from the links with no extra charge to you.
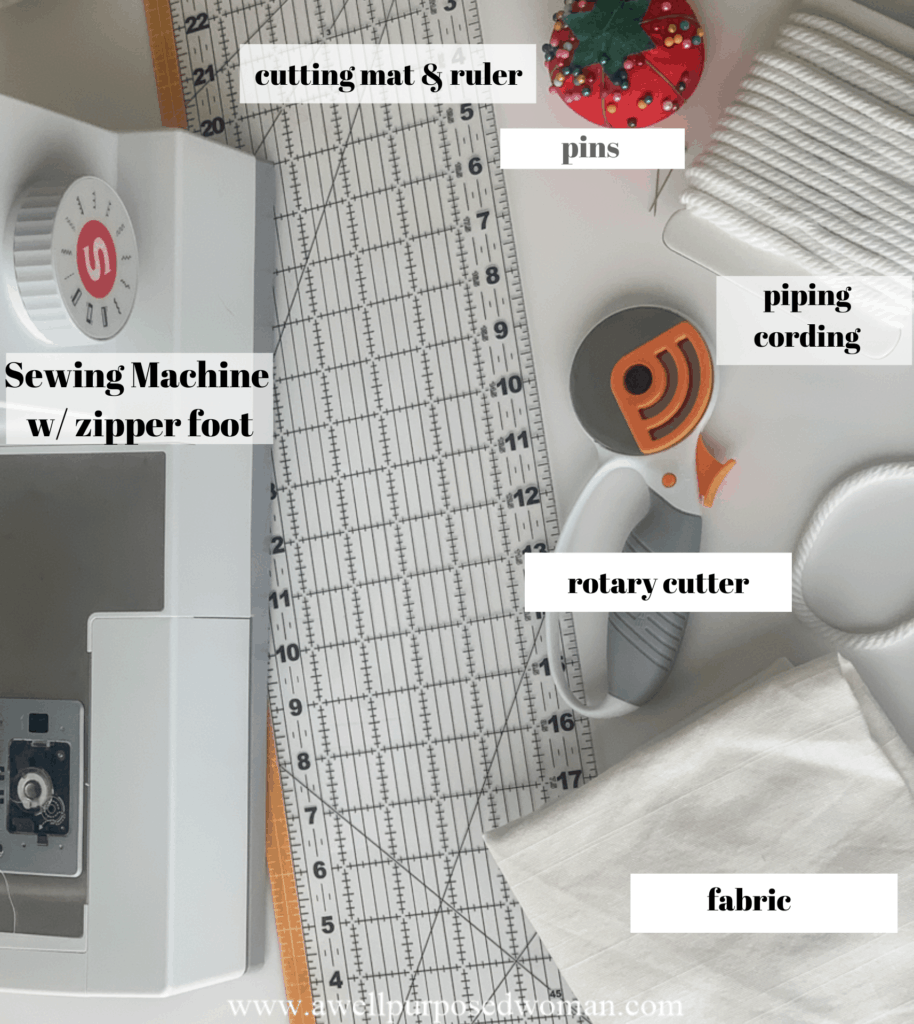
Here is what you need to sew bias piping for upholstery projects:
- Sewing Machine with a zipper foot
- Thread
- Fabric
- Piping Cording (I used 9/32″)
- Scissors or rotary cutter and cutting mat
- Pins
- Seam Ripper (helpful at times)
How do you cut bias for piping?
To cut bias tape for piping follow these steps.
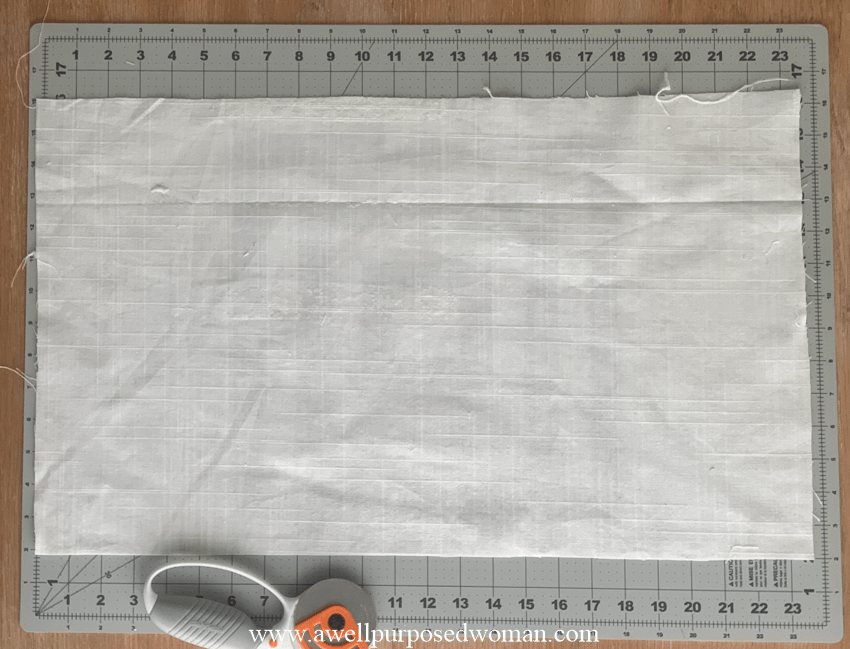
Step 1: Cut a rectangle shape of fabric
To cut bias for piping, start with a rectangle shape of fabric. Cut off any uneven edges.
I was unsure how much fabric I would need so I just used my cutting mat as a guide on how big to make my rectangle. It was easier this way to cut the fabric. I cut a rectangle that was 24″ x 18″ to start with.
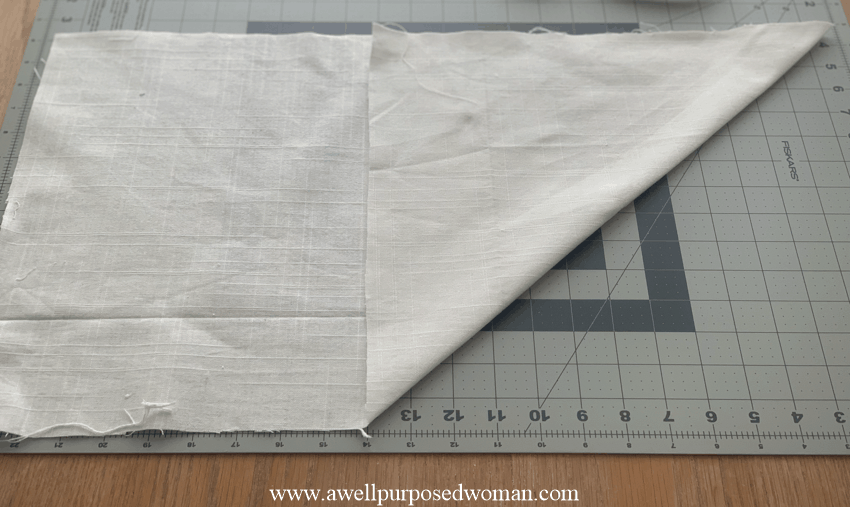
2. Fold one corner of your rectangle fabric making a right angle
Take one of the bottom corners of your rectangle and bring it to the top. Making a right angle triangle with an extra piece of rectangular fabric.
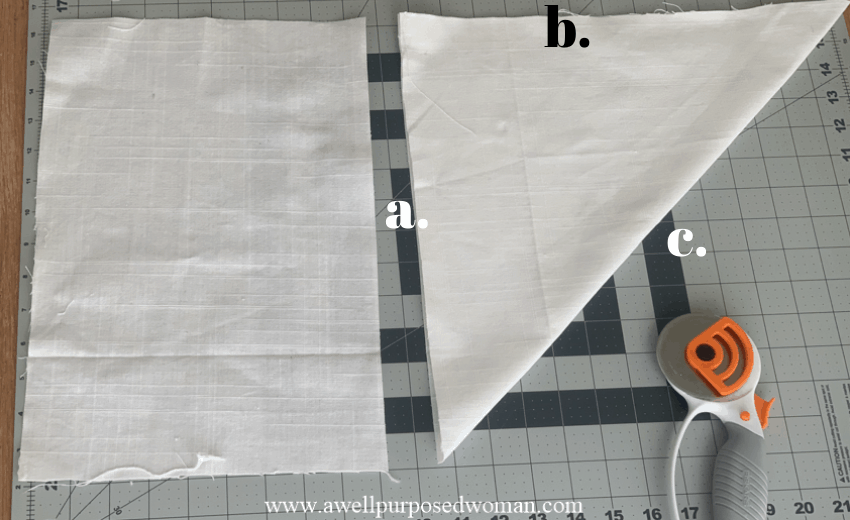
Cut the right triangle out. This is the piece you will be using. Set aside extra fabric we won’t need this.
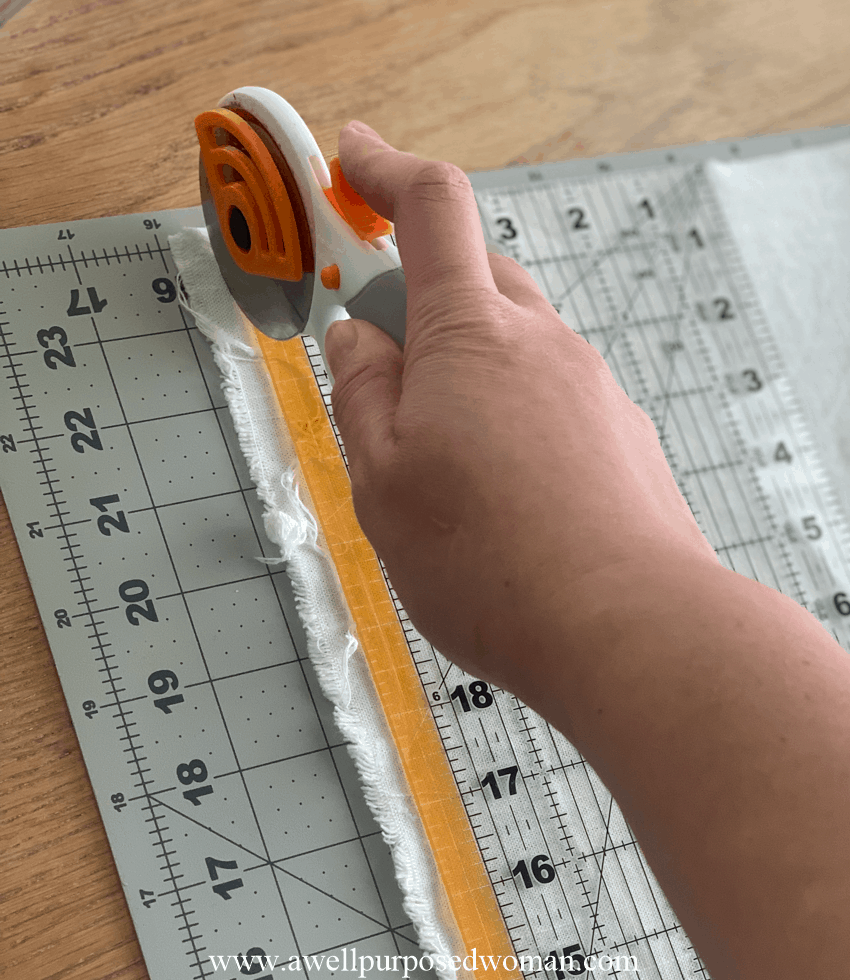
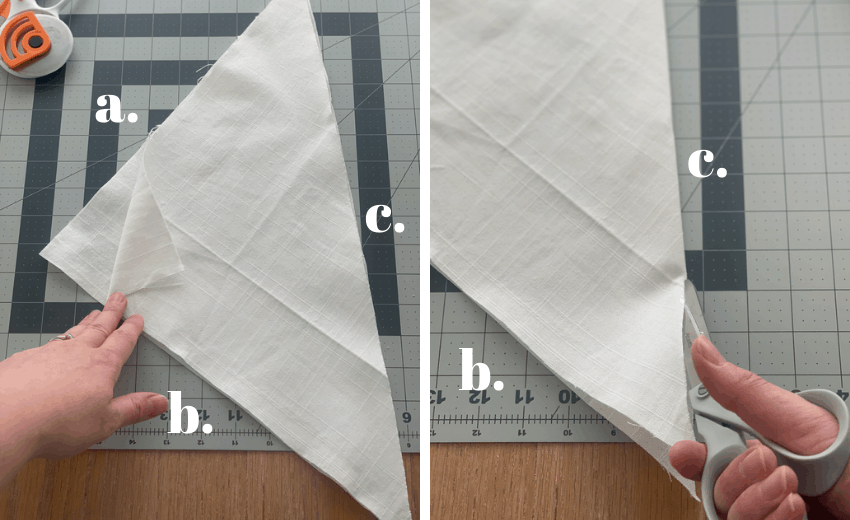
3. Cut down side C of the triangle with scissors or rotary cutter.
Since the triangle is really a piece of fabric folded in two. You will want to cut the longest side, side C with a pair of scissors or rotary cutter, separating the fabric into two triangles.
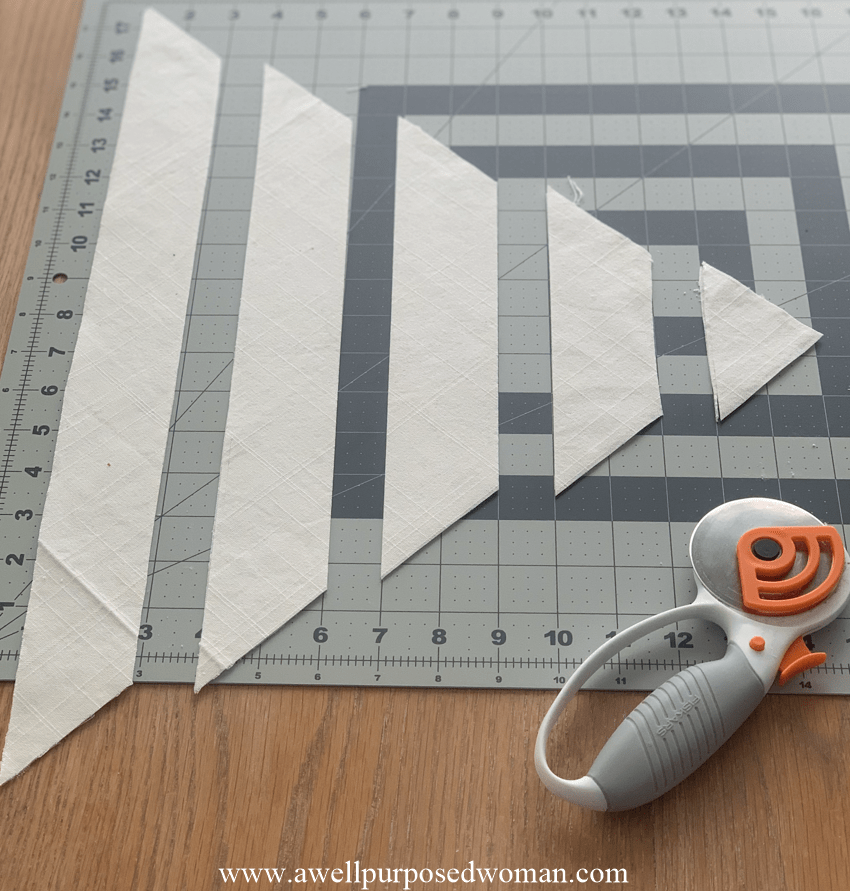
4. Cut 2″ strips out of the triangle
With your triangles on top of each other. Line side c up vertically on your cutting board. Measure 2″ strips with your ruler and cut strips 2″ strips across your triangle.
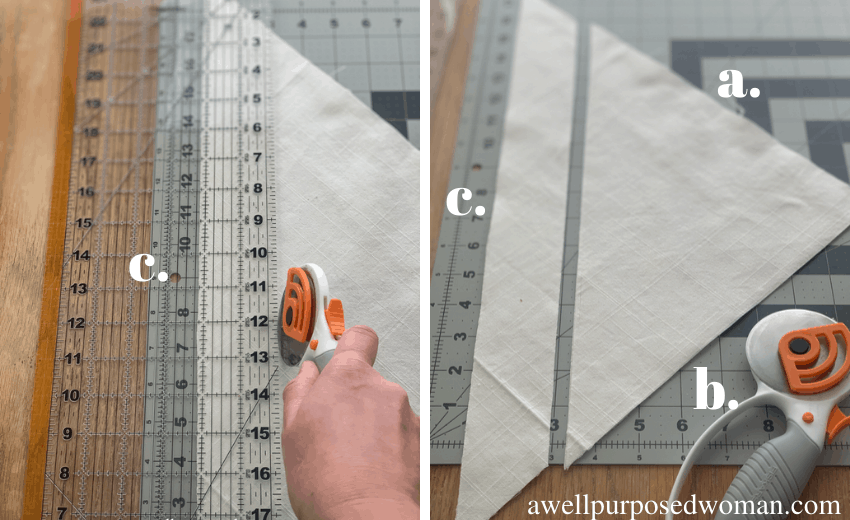
You can discard the very tip of the triangle, you will not use this.
5. Pin your strips together.
You now have two sets of strips since your fabric was folded over. Pin the right sides of the fabric together perpendicularly.
This was tricky for me since I was using fabric that looked the same on both sides. But when you pin your fabric together just make sure that all of your seams will be on one side when making your piping.
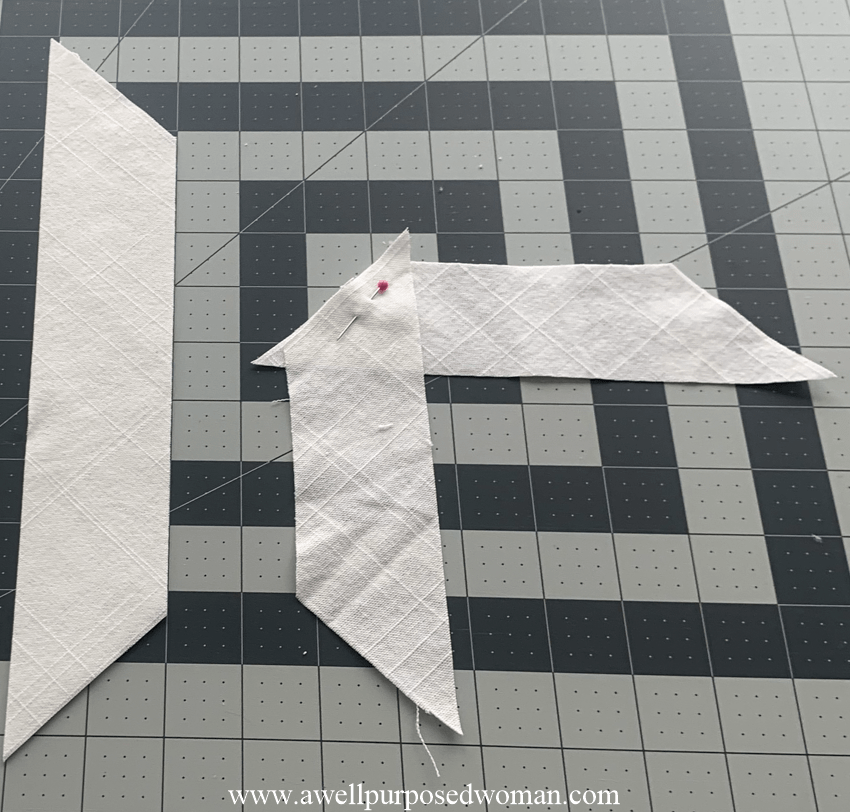
You can fold the seams you have pinned to see how the seam will lay when it is sewn. Now pin all of your pieces together, forming a long strip of fabric pieces pinned together.
6. Sew your bias tape together
Now sew all your pieces together. You will end up with a long strip of bias tape for your piping. Just make sure all the seams are on the same side. Check this every so often. Now you will have a long strip of bias tape. Next you will place your cording in your bias tape.
7. Pin your bias tape to your cording
Before filling my strip with piping cording I ironed my strip. There were a lot of wrinkles and it helped the seams to lay flat.
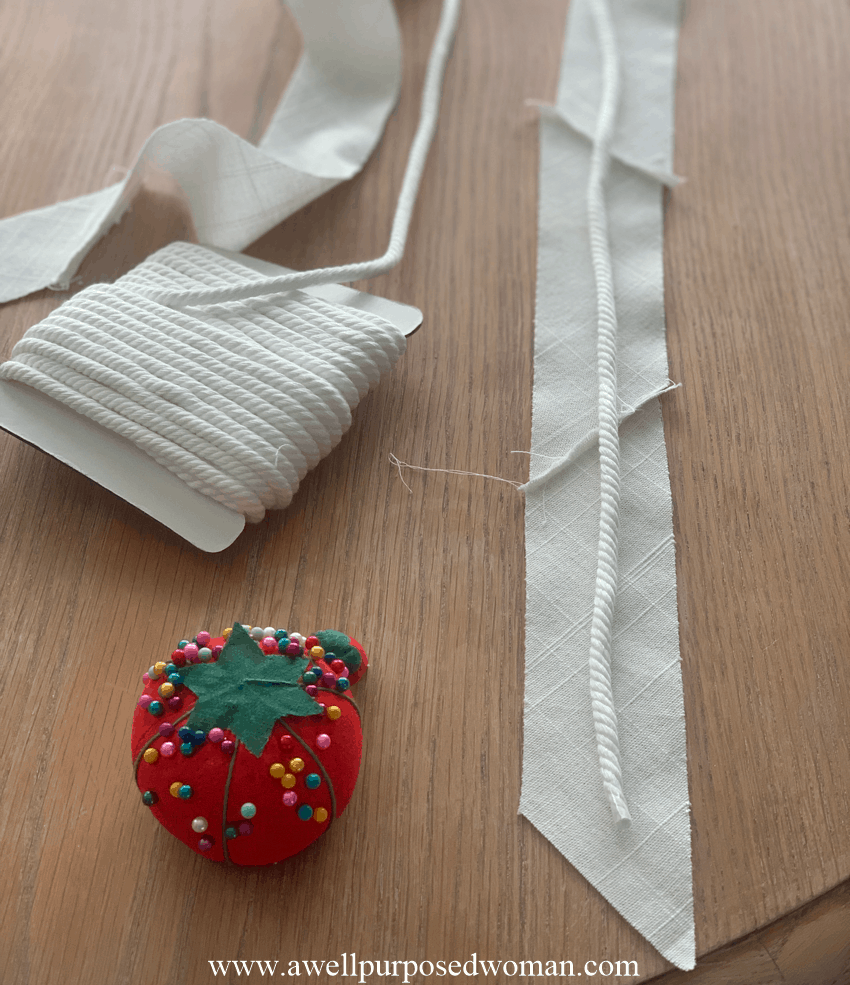
In most cases I would recommend ironing your strip and then filling with the piping cording. Once you have ironed your bias tape. Fill it with your cording.
Although I have seen some tutorials claim you should pin the entire length of the cording. It did not seem necessary for me to pin the whole length of the cording. I just placed a few pins at the start of the bias piping, and started sewing.
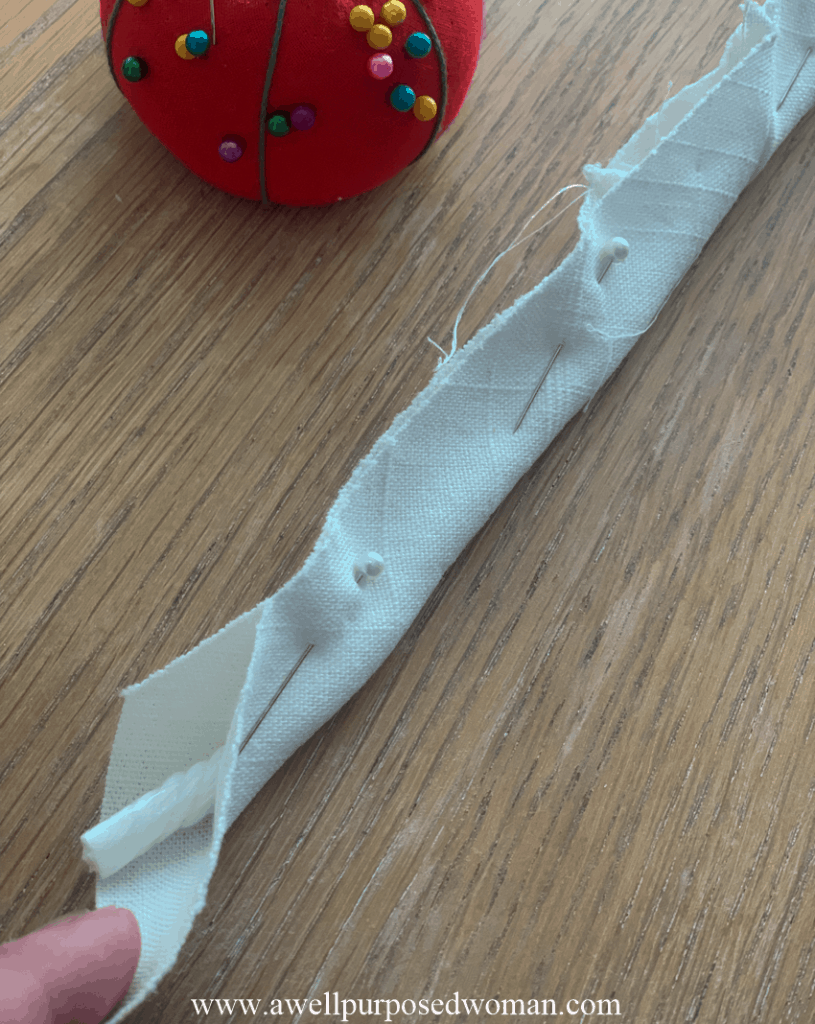
Tip: to save time you can just pin a few pins at the beginning of the piping and then sew as you go for the rest.
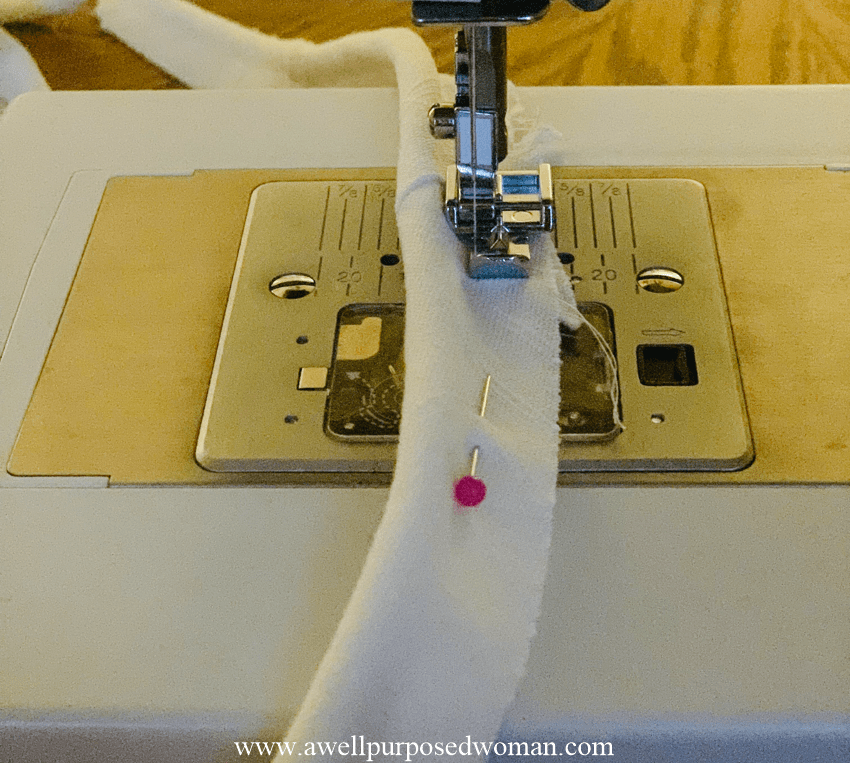
8. Sew the bias tape to secure the cording
Using a zipper foot sew along the length of your piping. Trying to get as close as you can to the cord. If you did not pin the entire length than just pay close attention as you sew. Making sure the seam is flat and not bunching up.
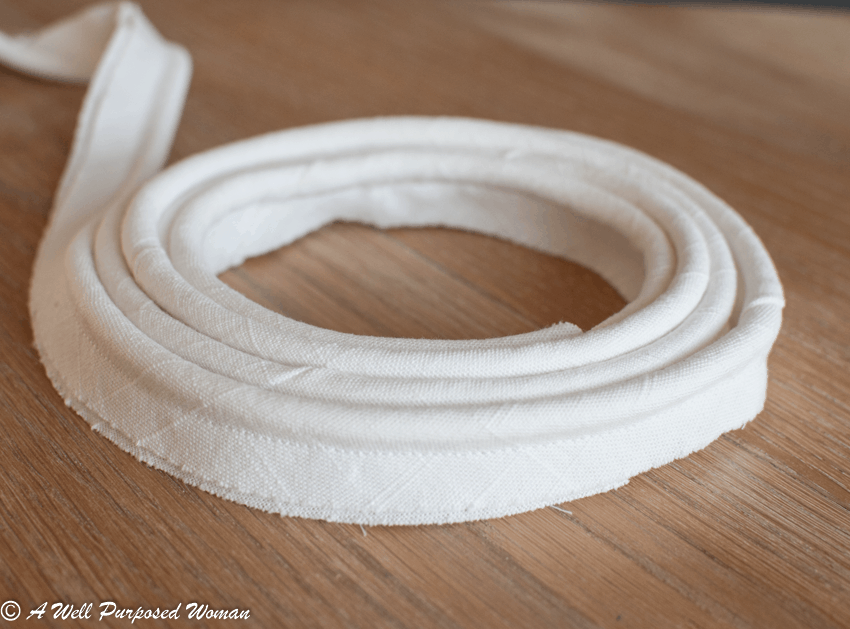
After sewing the length of your strip, that’s it! Now your piping is ready to use on your upholstery projects! Not to bad, right? And I think once you do it once, you will feel confident to do it on many other projects in the future.
Can you make piping not on the bias?
You can make piping without bias tape. I did a full tutorial on how to make piping without cutting on the bias.
So why does bias tape have to be cut on the bias?
The reason to go through the extra steps of cutting bias tape for your piping is because it makes the piping more flexible. When using bias piping in your upholstery projects it will allow for a better fit around curves in your upholstery.
If you are doing a very small project you may just want to follow the easy way, but I think if you are doing a more involved project it pays to take a little extra time and cut the fabric on the bias.
Let me know if you have any comments or suggestions in the comments below. I am excited to get started on the rest of my slip covers. I think this might be a project where I love the results a tad bit more than the process. Don’t forget to pin this tutorial for later!
Hope you have a good weekend and just a hint for upcoming posts… I am bursting at the seams to get started with some Christmas DIY projects!

P.S. I WILL ANNOUNCE THE FALL GIVEAWAY WINNER ON MONDAY..SO STAY TUNED!!

Thank you! I am so glad I found your well thought out instructions on making bias welt cording! So many pins leave vital steps out of thie proper technique! Thank you again for taking the time to teach this with clear instructions & photos..
Heidi
Yes of course! I am glad it was helpful! Happy Creating, Elizabeth
How long was the piece of piping from your 24” x 18” rectangle? Is there a formula?
Thank you for the instructions. For some reason I cannot get my head around piping – different length strips sewn together leaving 2” continuous strip except at the seams which stick out…..seeing step by step is helpful.
Hi Zelda, I am not sure how long the piece ends up being but it is a good length. And yes the strips are different lengths before they are sewn together but it ends up looking really nice. So the differences in strip lengths does not seem super troublesome. Hope you can make it work! Happy sewing, Elizabeth