
Hey friend!
Happy Good Friday today!
I have been trying to feature a freebie each Friday that I have re-purposed into something new and improved. Today’s Friday Freebie is an old screen window.
Not long ago I saw a woman on Facebook getting rid of 16 old window screens. I loved how they looked rustic, aged, and just perfect for a DIY.
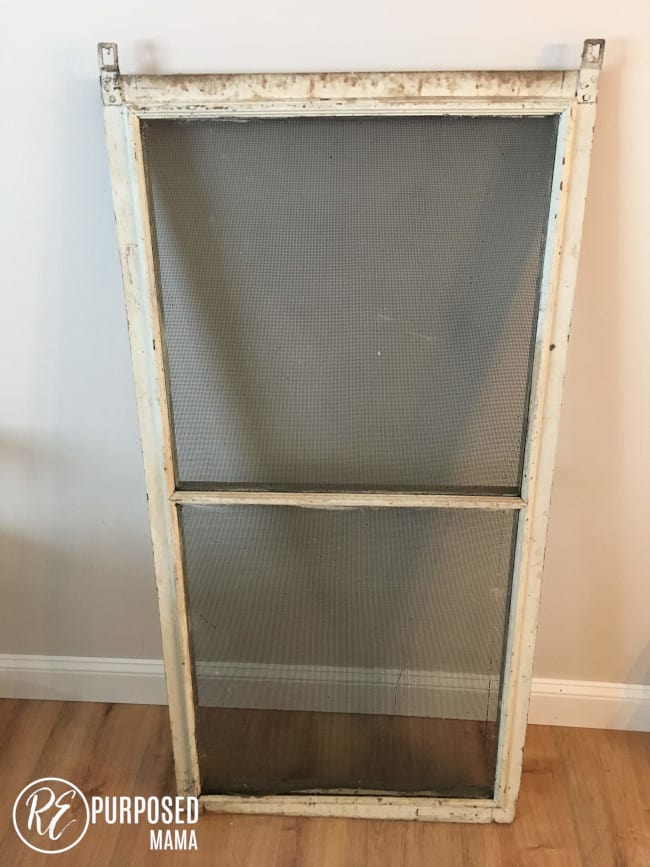
So I decided I should try to claim them. I borrowed my husband’s truck and went to go pick them up. The screen windows were just as they looked in the ad. I started brainstorming ways I would use them.
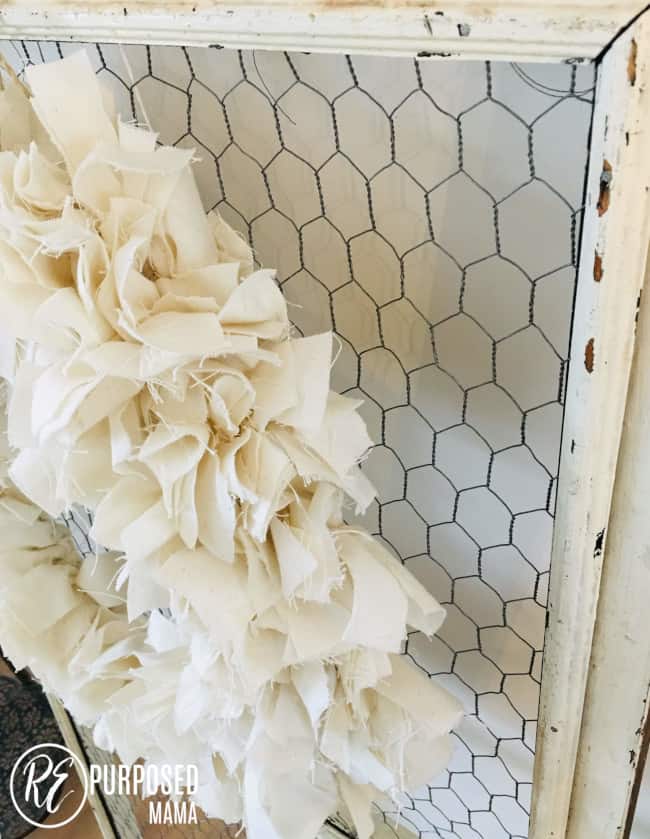
One of the ideas I had thought of was simply replacing the screen with chicken wire. Then using it as a photo display for several of them. I thought it would be perfect for a graduation party or a wedding.
Then my friend texted me saying she was looking for ideas for her son’s graduation party. Although I wasn’t sure what she already had planned. I did have the old window with chicken wire in mind. So I told her about using it for pictures, and she was excited about the idea.
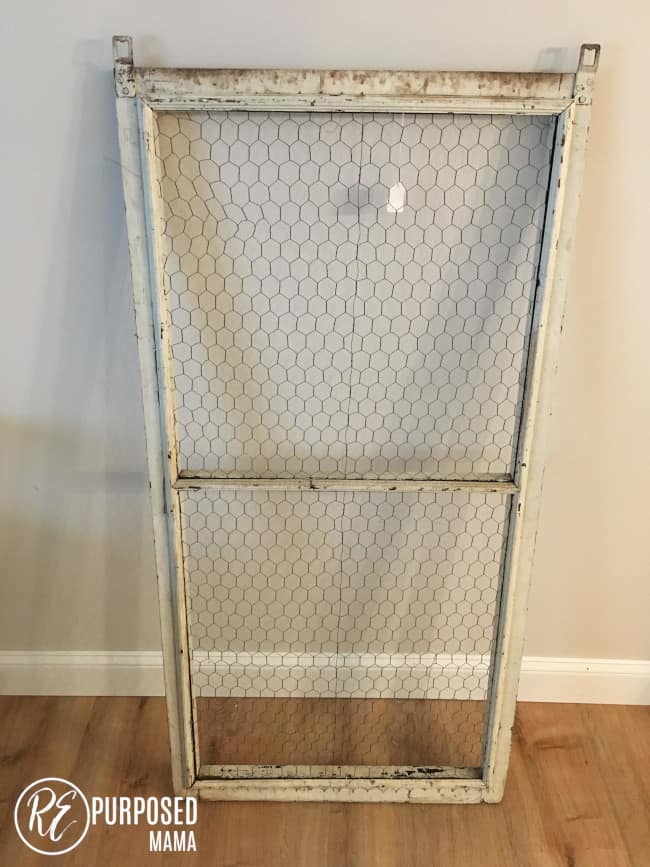
So I got to work. If you have an old window that has been sitting in your garage and you are looking for a way to update it. You can do it along with me.
Here’s what you need to get started:
- Old Window (you could use a small door too)
- Chicken wire
- Staple Gun
- Hammer
- Screwdriver
- Wire Cuter
Here’s what you do:
Step 1:
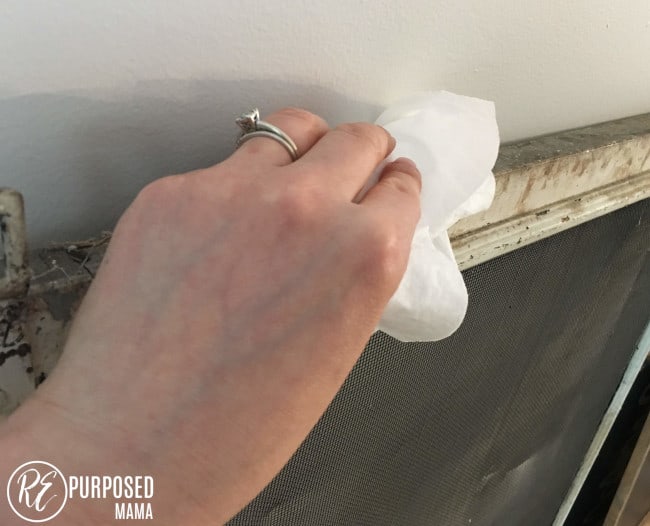
Wash down your old window. These windows were pretty dirty so I scrubbed them down first. You can also use sand paper to work out any spots you don’t like, etc.
Step 2:
Remove the screen from the window. This was an old window so part of the screen was coming off already. But on the parts of the screen that were still well attached, I found it easiest to remove the trim from the window.
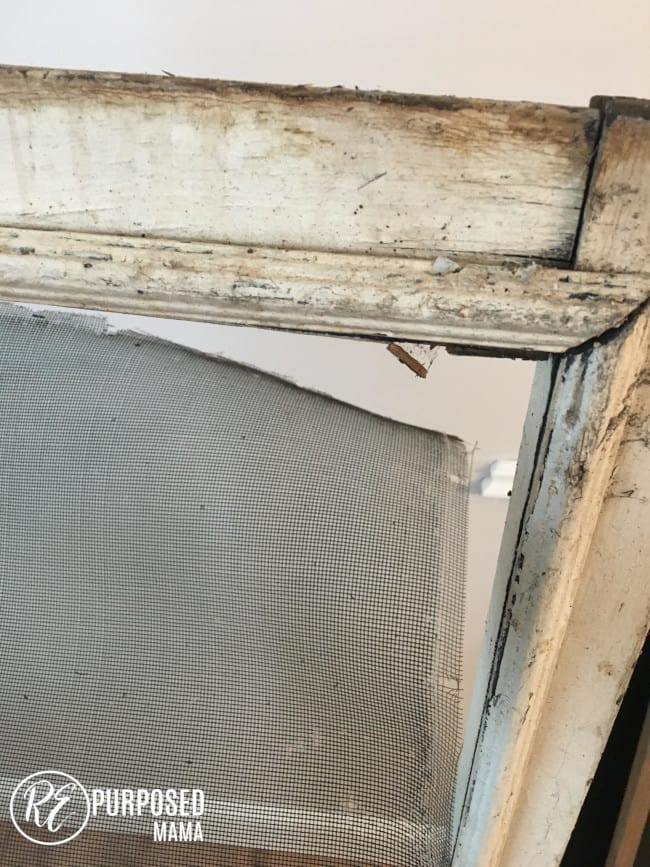
I took a screwdriver and pried off the trim around the edges of the window.
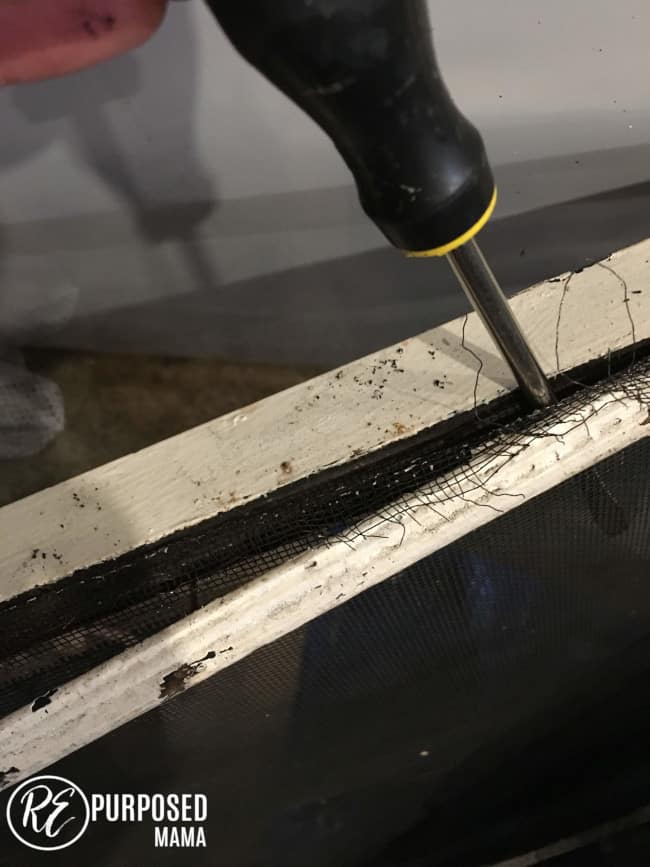
Once the trim was removed the screen lifted right off. You could also use a wire cutter if you are having a lot of difficulty with removing the screen.
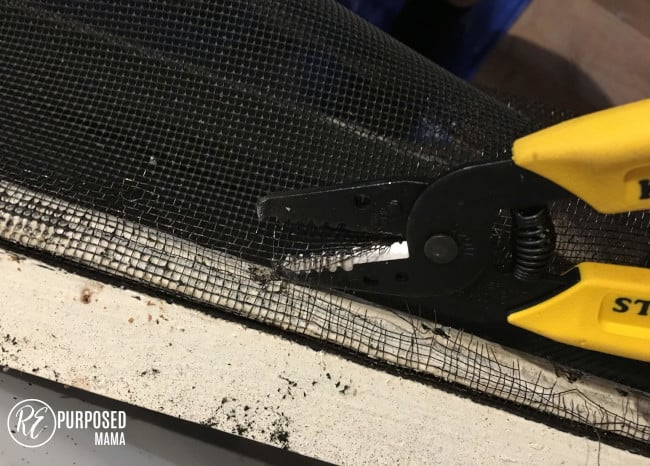
Tip: Removing the screen can be quite messy, especially if you are having to cut it. I would recommend doing this outside or in a space you don’t mind getting dirty.
Remove any extra parts of the screen door and wash down one more time if necessary.
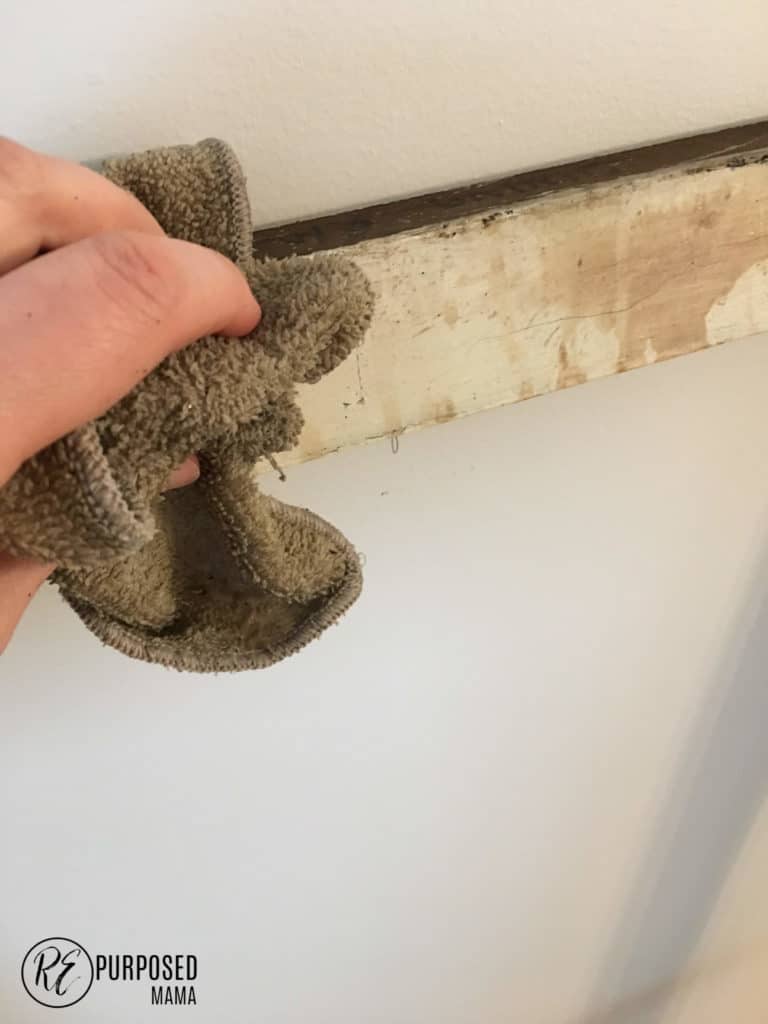
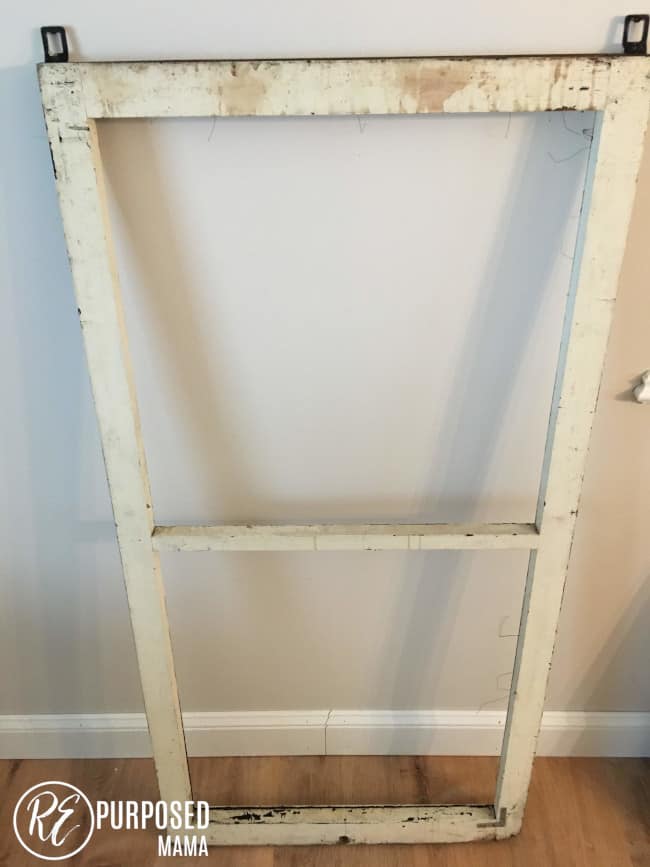
Here’s the window with the screen removed. You could also paint the window at this point if you wanted a different look. I left this window with the chippy-ness. Although my friend may still decide to paint it if she wants a different look.
Step 4:
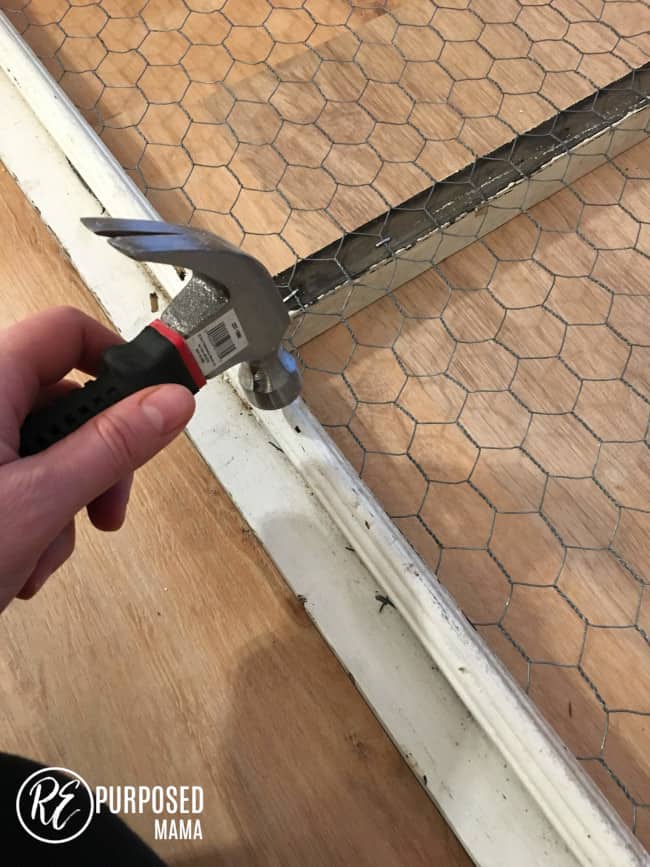
Roll the chicken wire over the window. Staple the chicken wire all around the window. I primarily stapled where the trim had been. This way it would be hidden when the trim is re-applied. Hammer down any staples that are sticking out.
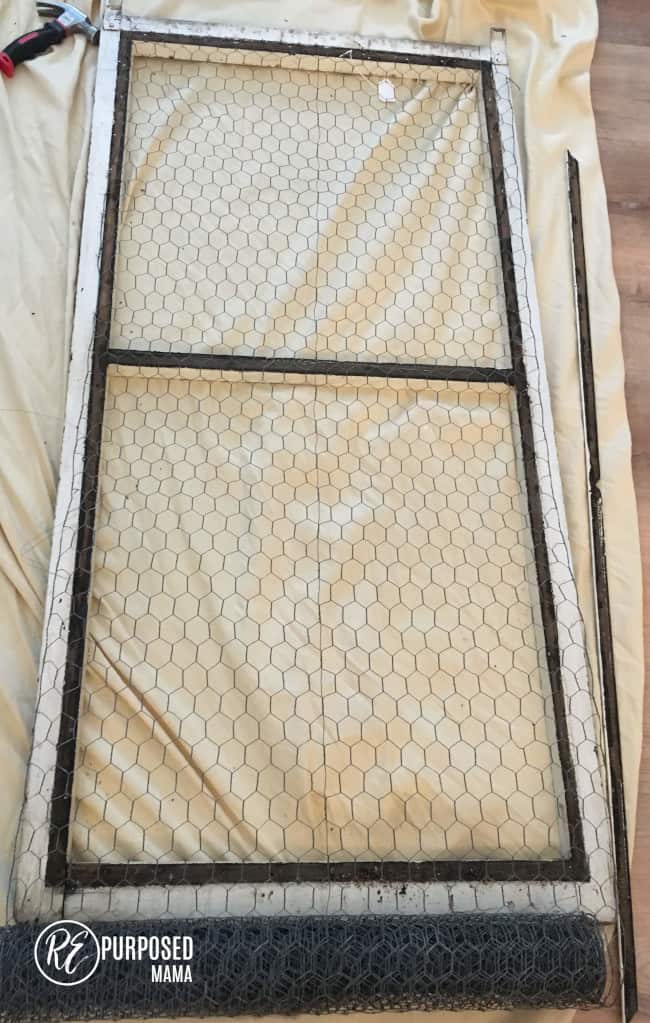
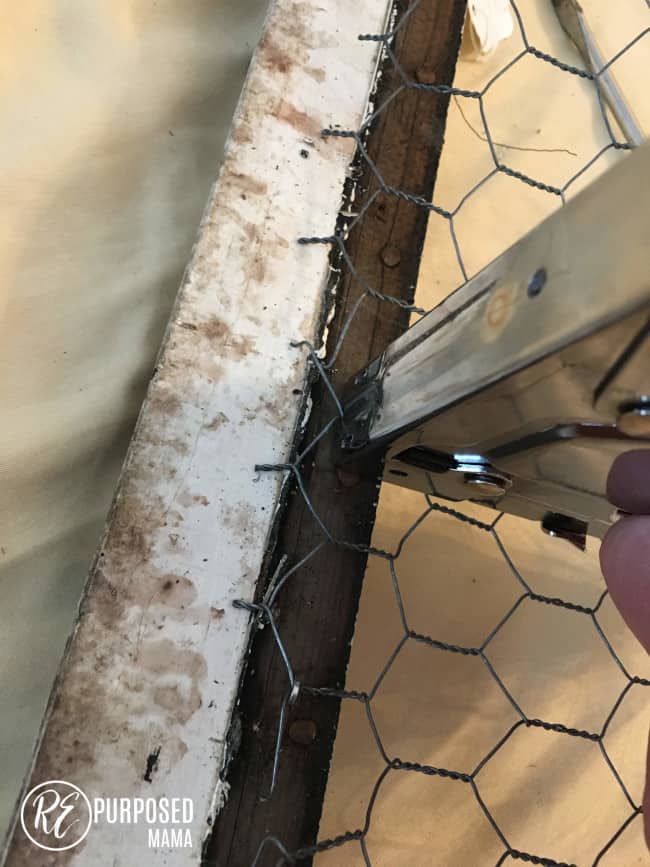
Tip: You may want to use gloves. Sometimes the chicken wire can be sharp.
Step 5:
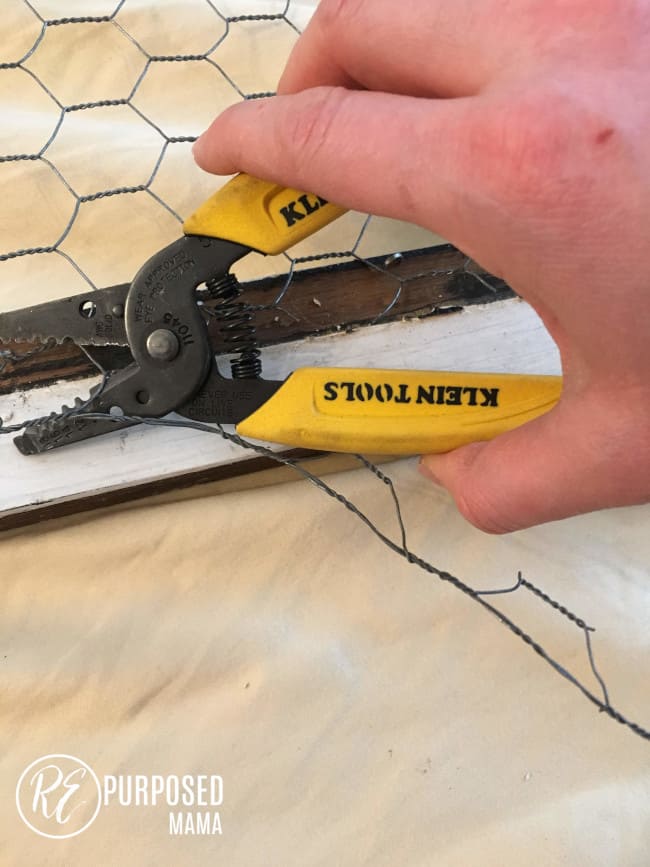
Cut off any extra chicken wire.
Step 6:
Re-Attach the trim around the window. You may be able to salvage the nails that were previously on the trim. But if you need to hammer down new nails along the trim that works too.
And that’s it! Now sit back and enjoy your beautiful updated window.
Since my friend’s graduation party isn’t until June. For now I used this beautiful wreath to adorn the old window. I think it really gives it that farmhouse charm!
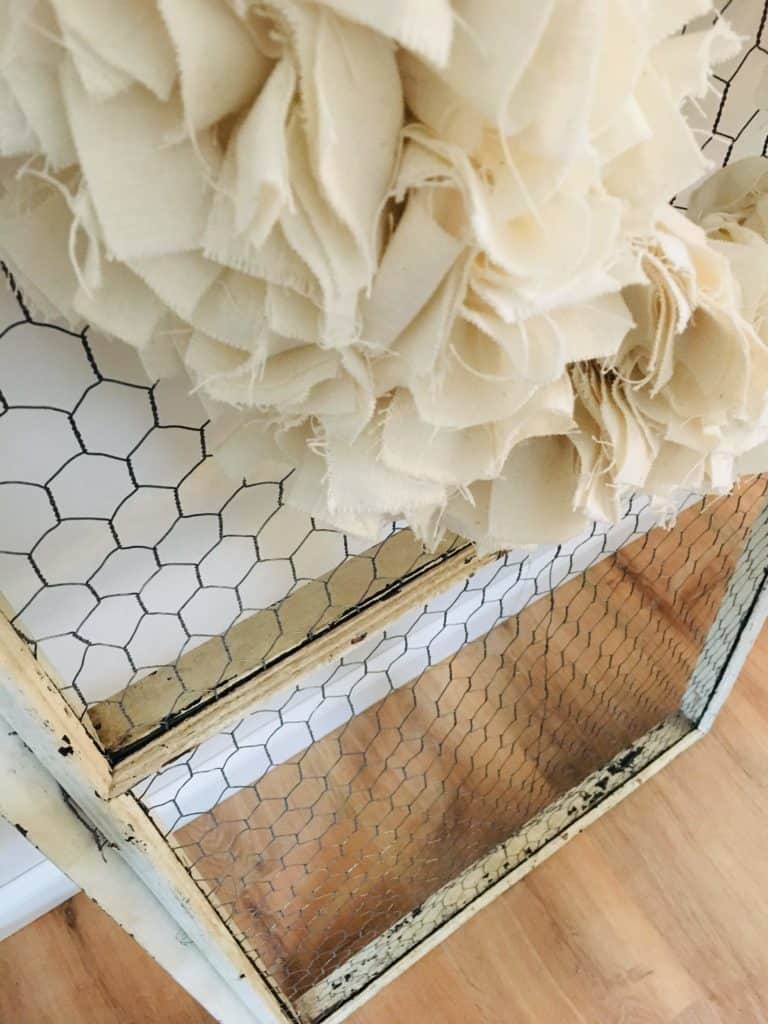
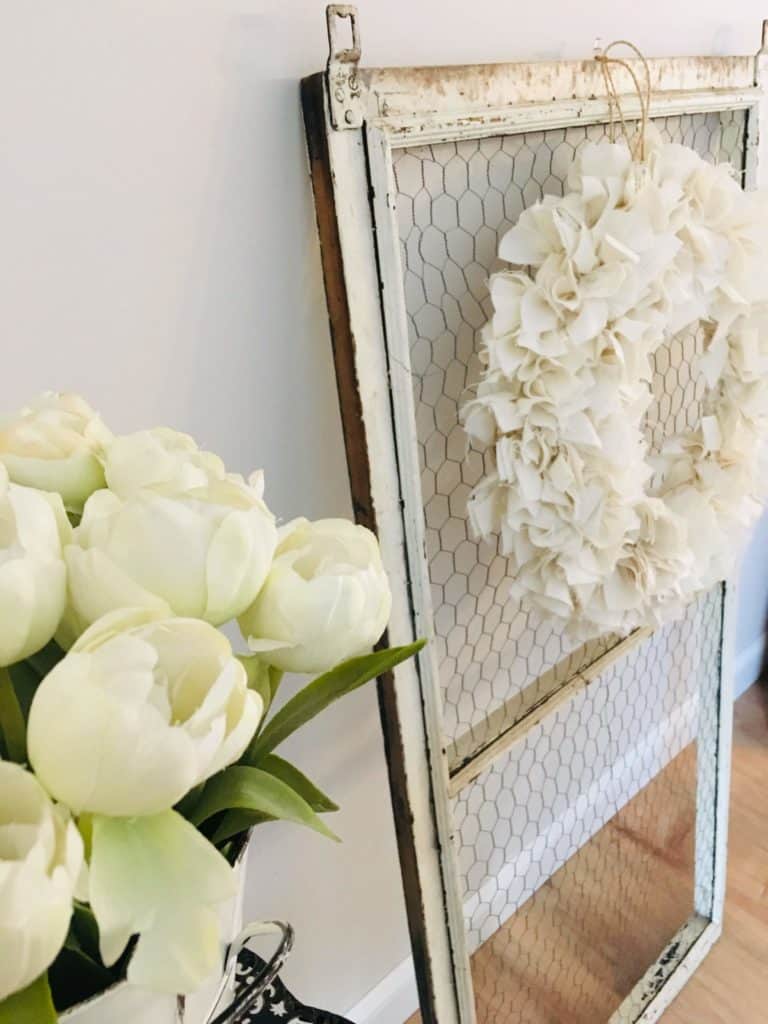
Let me know if you give it a try. I would love to hear if you have done any other projects with old screen windows. After giving two of the windows to my friend. I still have 14 left!
Again Happy Good Friday!
Elizabeth
Love this idea and it looks great. I guess I will check to find an old window and try this. Looks awesome.
Thank you.
Hi Conny, thank you! Glad it was helpful. Yes, it’s an easy project but ends up looking really pretty. Thanks for stopping by!