Learn how to update closet doors with a beautiful smooth white finish. Painting your closet doors white is not as easy as it seems. There are a few tips and tricks we learned along the way that helped us to achieve a nice finish on all of our interior doors. Today’s post will show you step by step how to update closet doors with a beautiful smooth finish.

A few years ago we decided to paint all of our trim white, which meant we would also need to update all of our doors including our closet doors!
We decided instead of re-doing the doors ourselves we would just buy new doors to replace the old ones. So we headed to our local home improvement store. But reality soon set in when we got the estimate..it would cost over $6000 and we still would have to make adjustments! It just wasn’t worth it to us. So we decided we would update our closet doors ourselves.
We were really not sure how to best paint our trim and closet doors white so we consulted with a professional painter. The painter instructed us on how to paint the doors and trim white. And thankfully my husband is also very handy and helped with a lot of the adjustments we made.
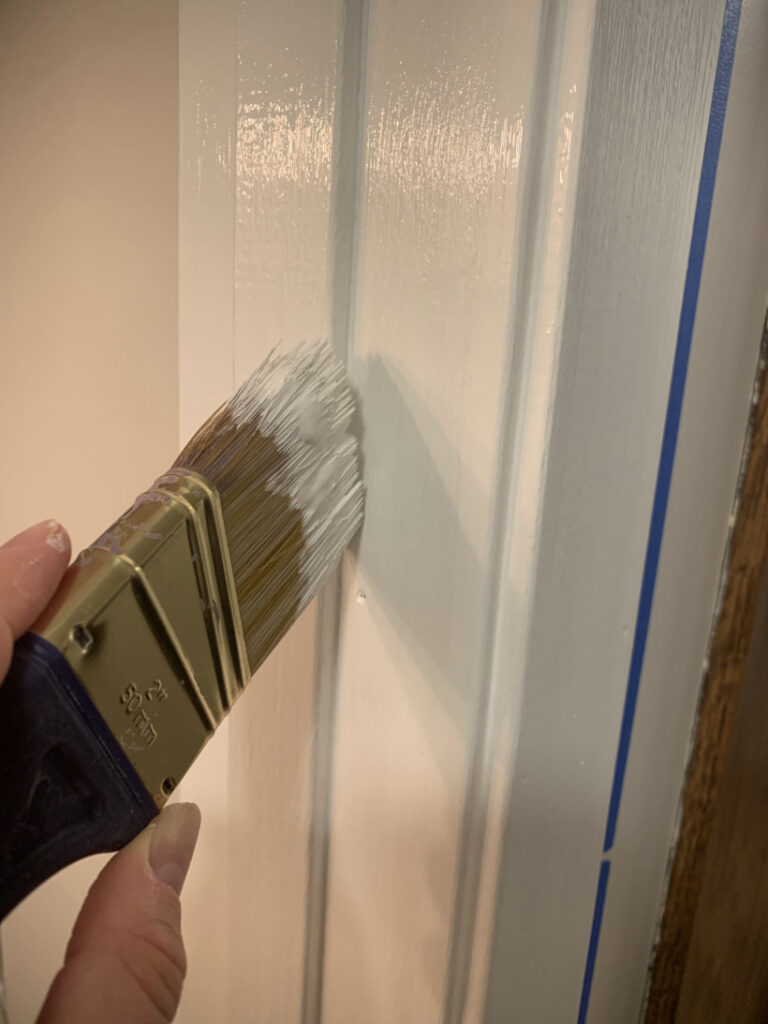
I wrote a post all about how to paint your trim white, but today I am going to focus on how to update your closet doors! First of all if you are not sure about updating your closet doors, I completely understand. Once you start it is very difficult to go backwards.
And updating our closet doors was a bigger project than I imagined but once we finished I was so happy with the final result! Updating our closet doors saved us a TON of money and added a ton of light, which our house so desperately needed. It also helped to give our home a more modern look.
So if you are ready to update your closet doors, let’s get started!
This post contains affiliate links to Amazon products, which means I receive a small commission at no extra charge to you if you purchase something through a link.
Here’s the supplies you need to update your closet doors:
- Joint Compound
- Hand Sander
- Oil based primer
- White trim paint
- Enough 1/4″ x 1-11/16″ boards to create trim on all of your doors
- Nail gun & Compressor
- New Knobs and Top Guide Hardware
Here’s how to update your closet doors with a beautiful smooth finish:
1. Prepare your closet doors
You may have heard it said before but a lot of times the most important part of most projects is the prep work. And updating closet doors is no exception. Start by removing all the hardware from your closet doors. Clean the closet doors with soap and water.
2. Apply joint compound to your closet doors.
Next I am going to share a craftsman secret for getting a beautiful finish on your closet doors…joint compound! Applying joint compound lightly on the surface of the closet doors fills in the wood grain on the surface so you can get a nice clean surface. This is the trick we used to achieve a smooth white finish.
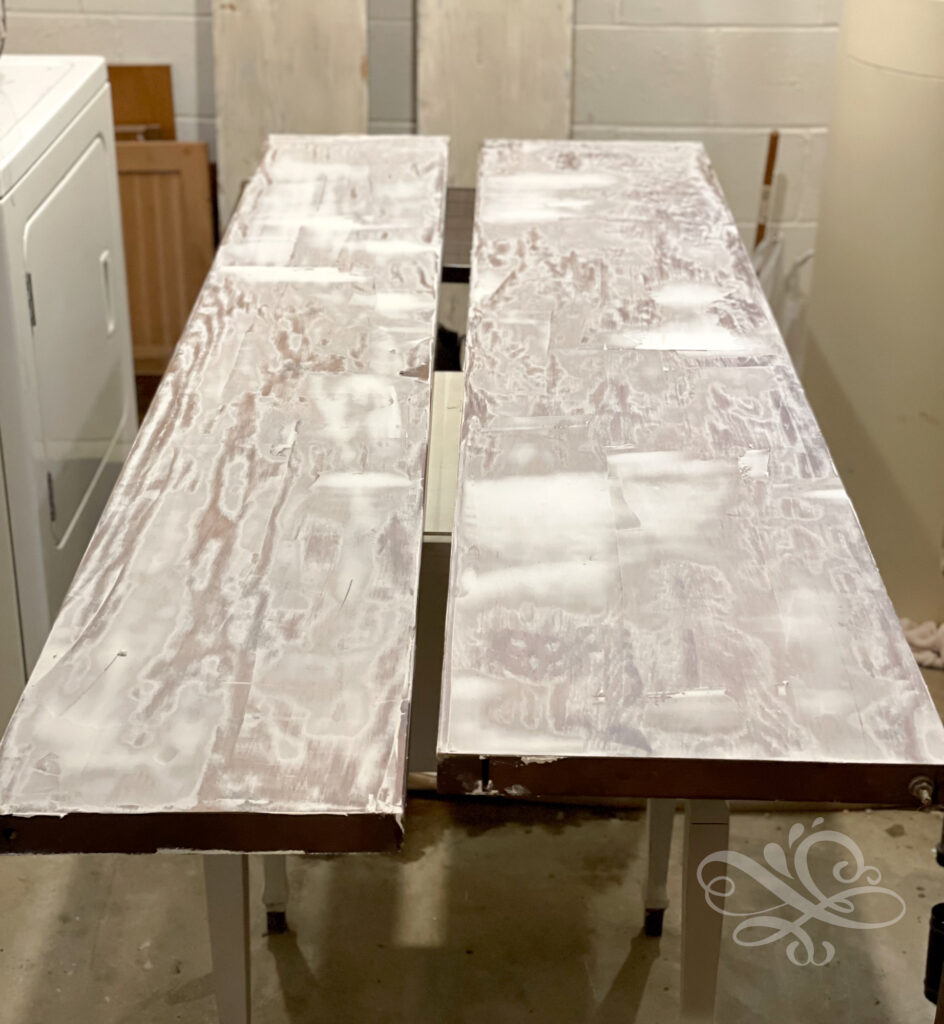
Allow the joint compound to dry completely and then sand it lightly with a 220 grit sandpaper. Once the surface is smooth you are ready to move on to the next step. At this point you should not see any or very little of the wood grain.
3. (Optional) Add trim to your closet doors
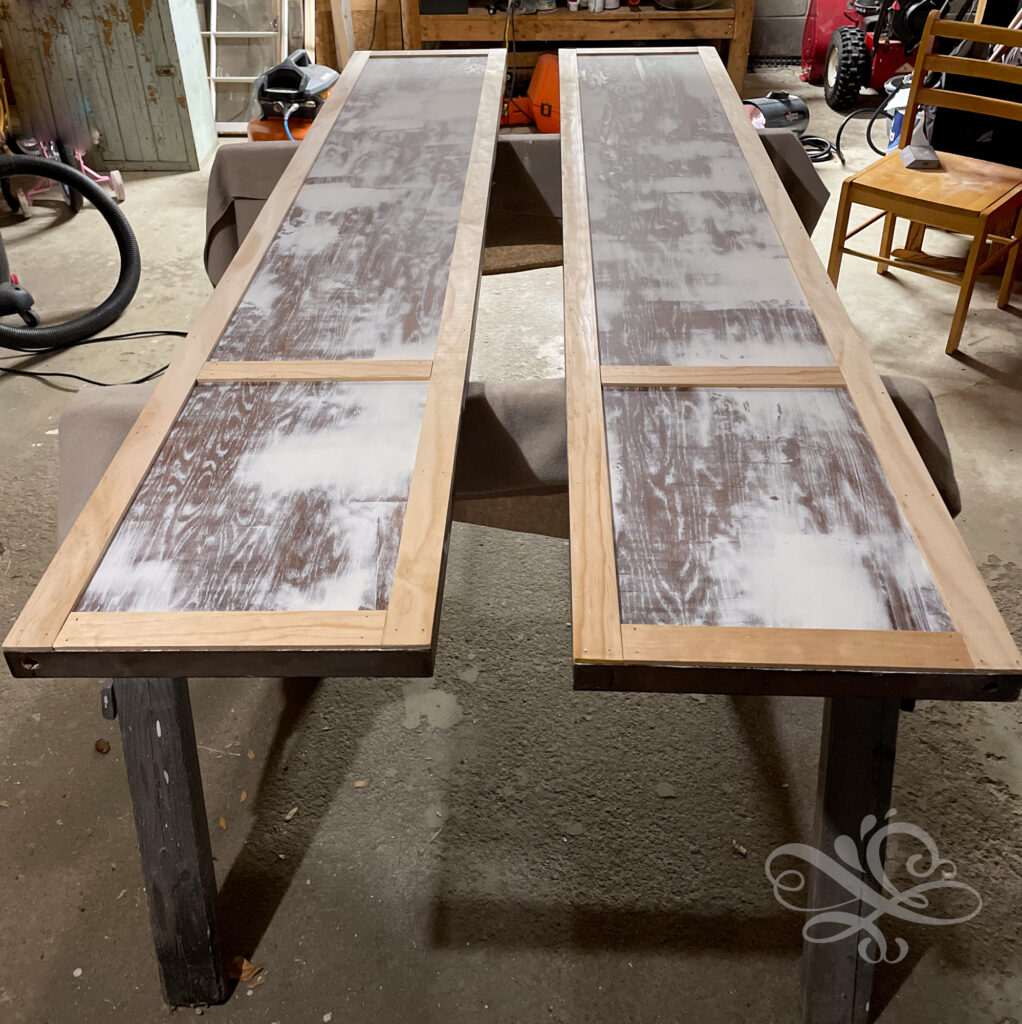
This next step is optional, so if you don’t plan to add additional trim to your closet doors you can skip to the next step. But if you want to add some detail to your closet doors then now is the time to do it. We added 1-11/16″x 1/4″ trim around the edges of our closet doors.
We also added one horizontal piece of trim to the top portion of our doors. My husband measured down the same distance from the top on all the closet doors.
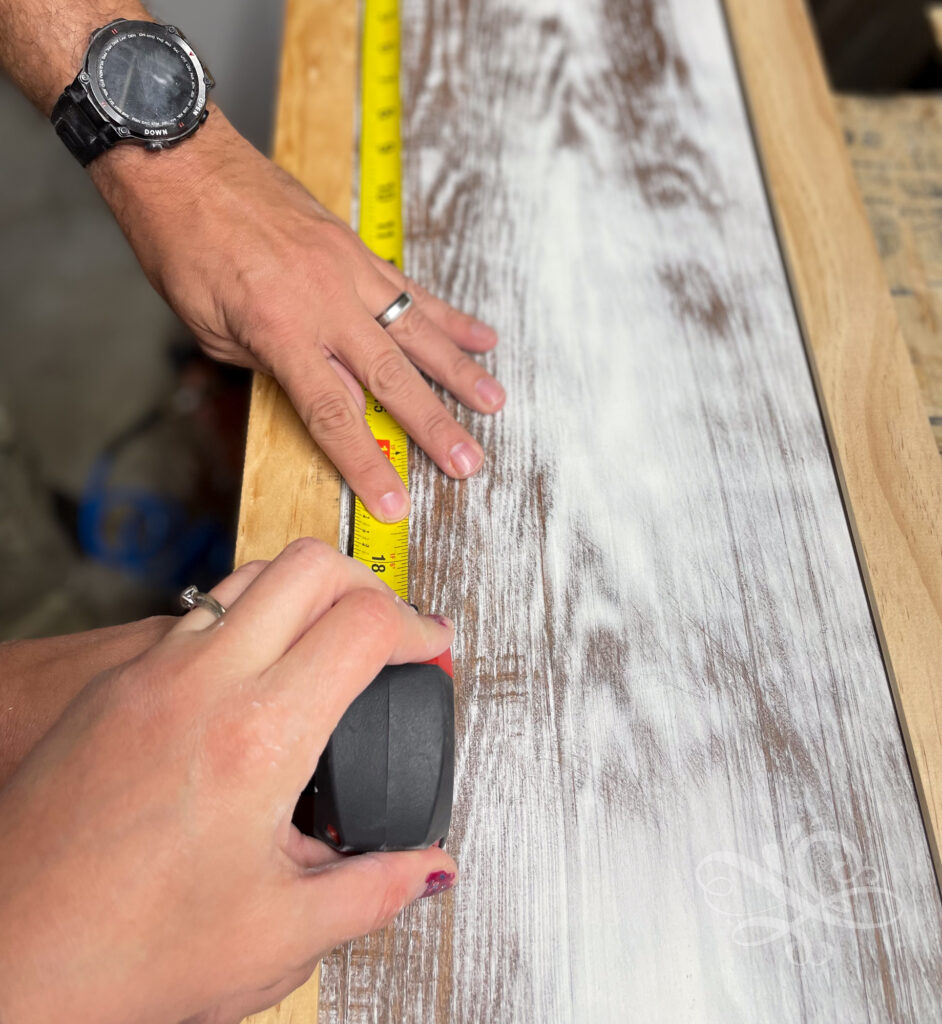
We used liquid nails on the back of the trim and attached it where we wanted it. Then we used a nail gun and compressor to nail it into place. Measuring and cutting the wood was a little more time but we liked how it added some detail and depth.
4. Prime your closet doors
After your trim is attached now it is finally time to paint your closet doors! Start with a white oil or water based primer. Both work but if you have dark wood I would stick to the oil based primer. Spray, roll or brush your primer on the closet doors. If you are able to spray the doors that would work best.
I just used what we had on hand and I rolled the primer on the doors, and brushed around the trim. Use nice even strokes and pay attention to any areas where the paint is pooled and brush it out smooth. Wait for the primer to dry completely (overnight is best).
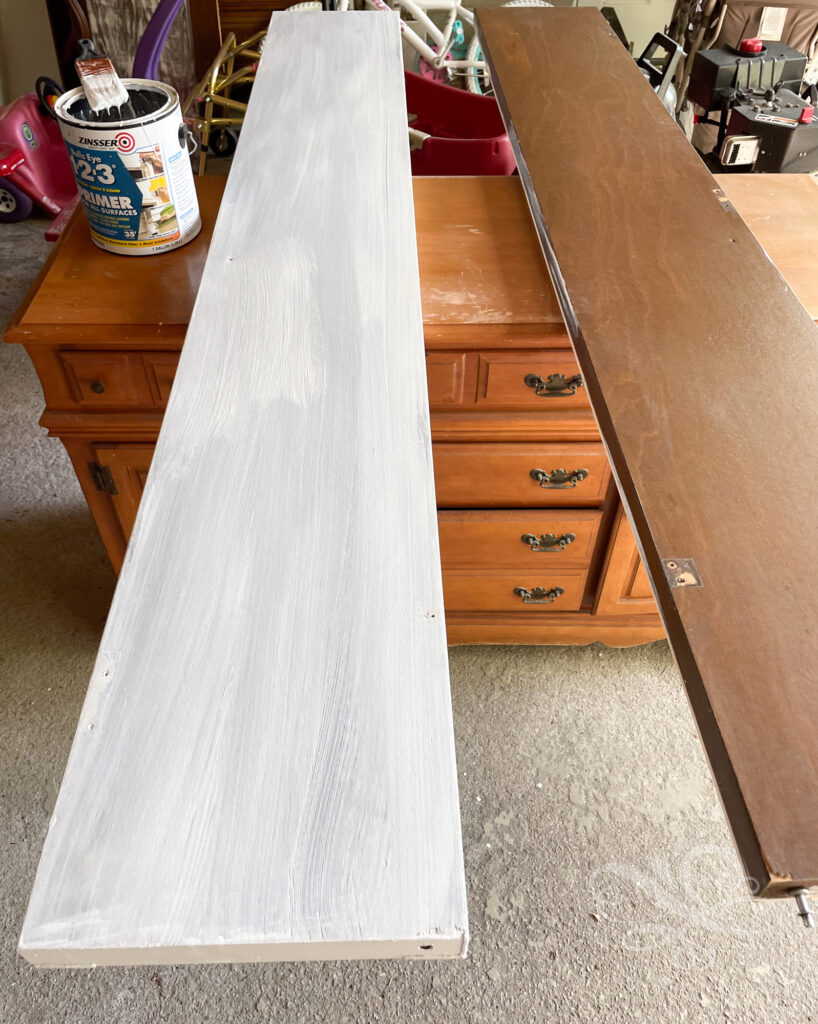
Flip your doors around and prime the other sides of your doors. As you can see we used different saw horses and tables to set up all the doors. Although we did not have enough space to do them all at once so we did as many as we could.
5. Paint your closet doors
Next we used trim paint to cover the doors. I used the same trim paint for the closet doors that I had used with our white trim. Paint one side of the doors, wait for it to dry completely and then flip the door over and paint the other side of the door.
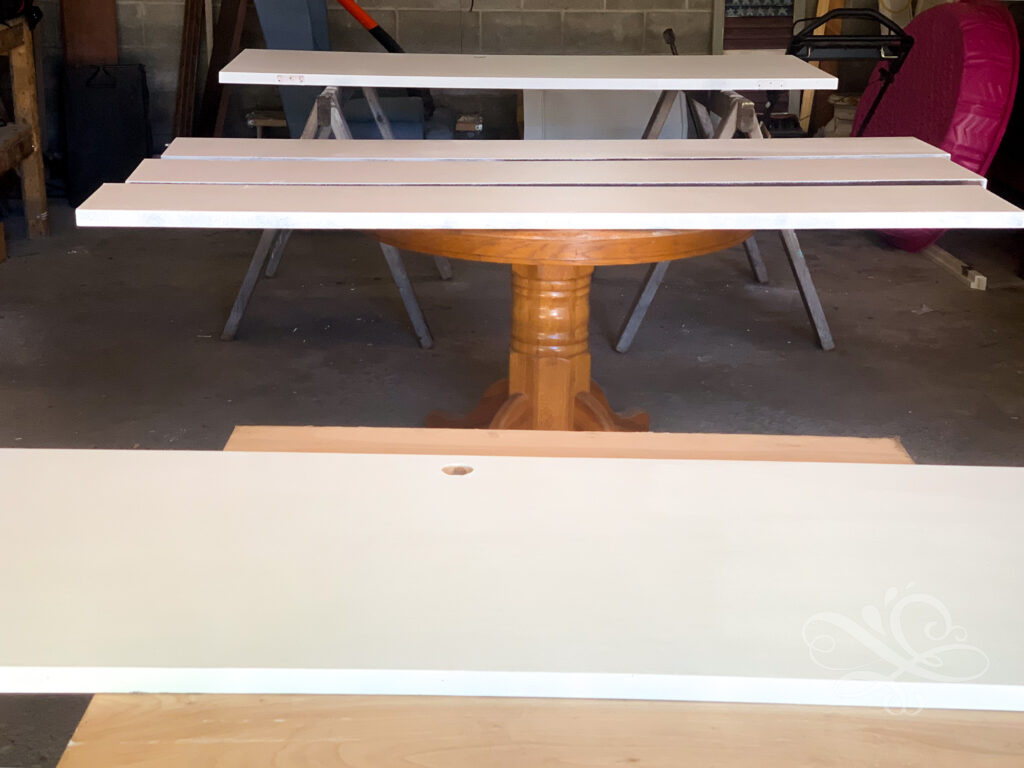
Add a second coat of paint if needed. I wanted our doors to have really good coverage so I applied a second coat of paint to all the doors.
6. Re-attach hardware and re-install your closet doors
This last step was completed primarily by my husband. Because we had added trim to the doors some of the top hardware in the bi-fold doors also needed to be adjusted.
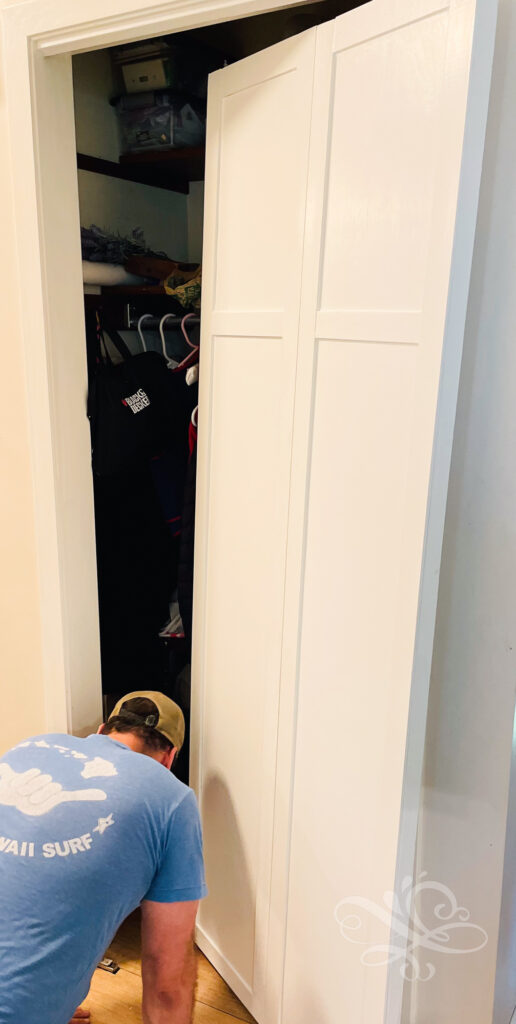
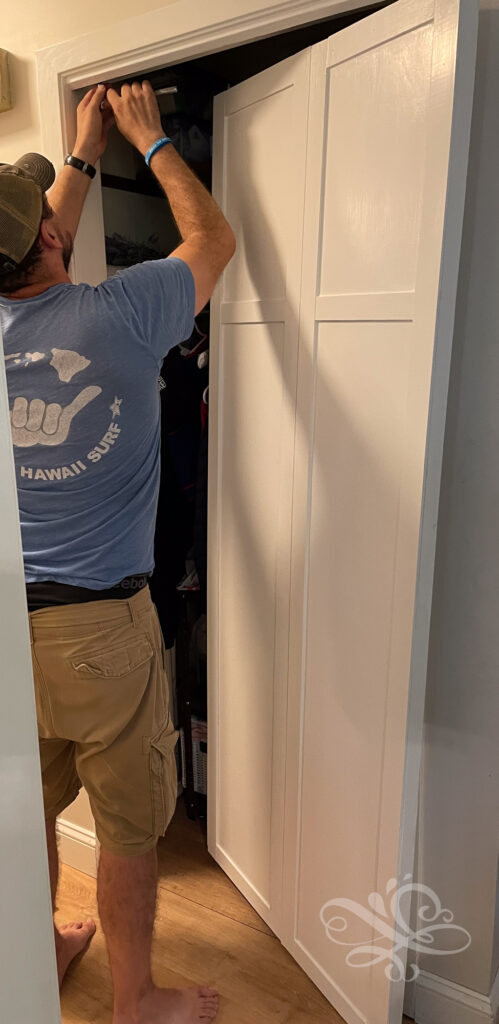
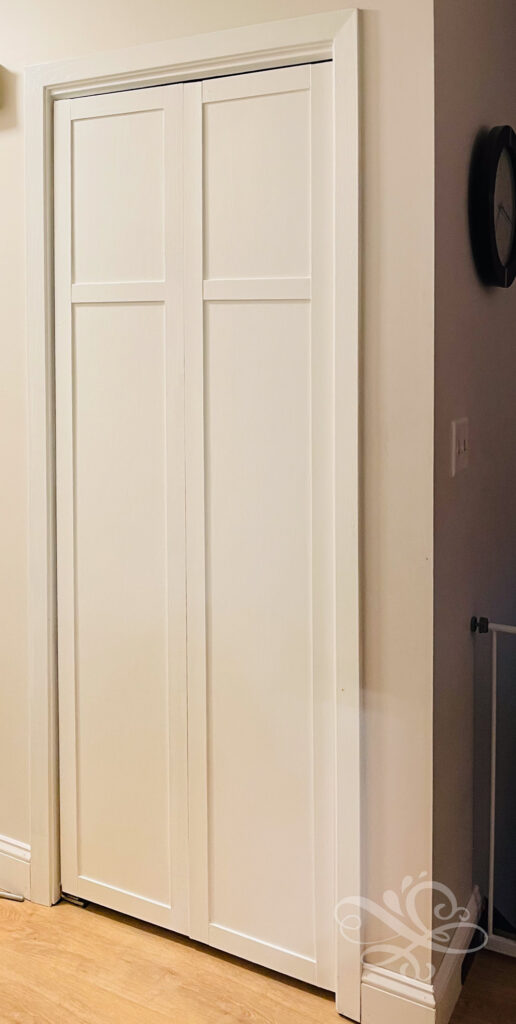
Thankfully some of the top guide rollers fit back in nicely but others had to be re-measured and adjusted. It was a bit more of a process than we had anticipated but Damon figured it out and finished it up for me.
He measured 36″ off of the ground and installed the door knobs back onto the closet doors by drilling new holes and added new door knobs.
Closet Door Modern Makeover
And that’s how we turned our very drab closet doors into fabulous closet doors that look much more modern! We saved nearly $5000 and we added a TON more light to our hallways so I am just thrilled with how these doors turned out!
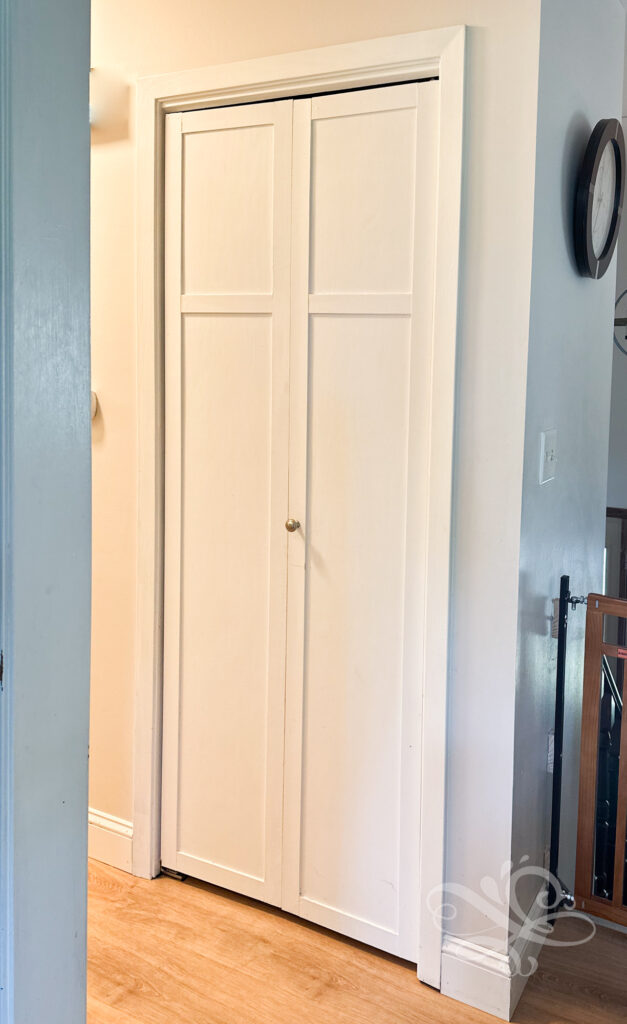
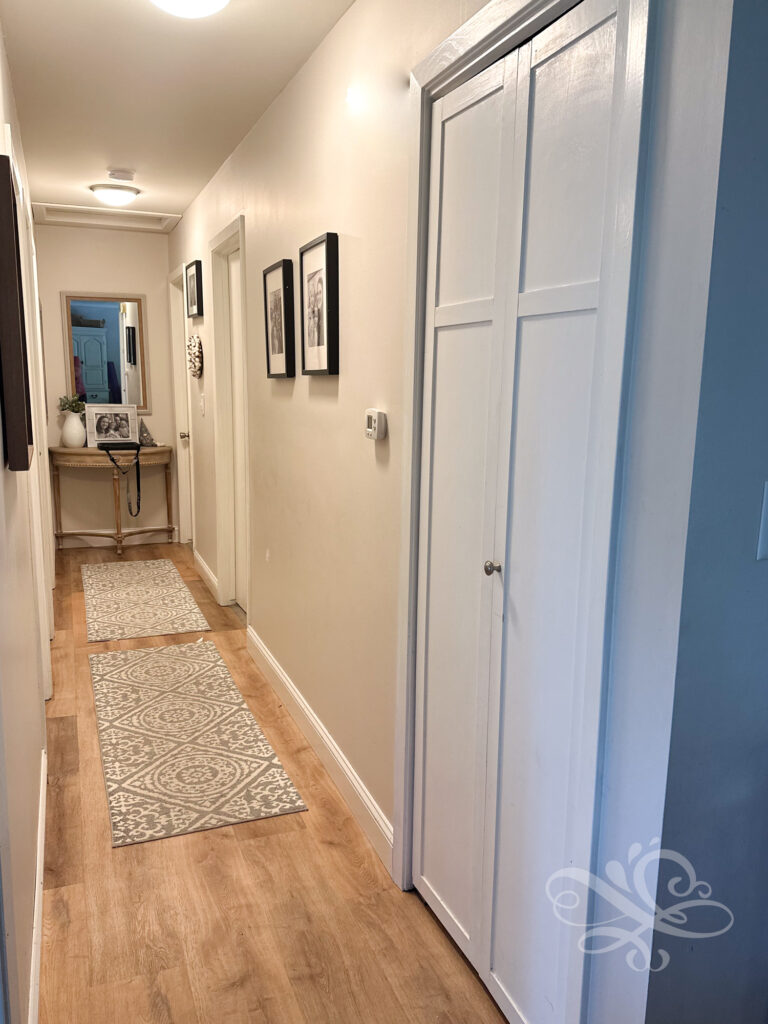
Let me know if you have any questions in the comments below. Or let me know if you have updated your old closet doors or plan to in the near future!

Leave a Reply