Learn how to make a fall hoop wreath that is quick and super easy! This tutorial will walk you step by setp in making a fall hoop wreath. Add a unique and modern fall accent to your home with a fall hoop wreath.
I am excited today to show you how to make a fall hoop wreath that literally takes 15 minutes to make! I wasn’t feeling great this week so making a 15 minute fall hoop wreath was the perfect project. I got the idea for these fall hoop wreaths from my sister- in- law Alesha. She is always scoping out new projects and after seeing these hoops with quite an expensive price tag. She decided to DIY her own fall hoop wreaths.
This project is very similar wreath to this modern hoop wreath. And even if you are a beginner wreath maker, it will take you less than 30 minutes to make and you can easily make one for a friend.
While my sister-in-law and I were making these hoop wreaths we were talking about a lot of times when starting a project it’s impossible to picture the final project. But it just seems once you start touching your supplies, positioning them around, and putting things together then your mind starts to kick in. And all of a sudden you have some creative idea you wouldn’t have thought of before you got started.
Sometimes there seems to be something missing, or something that you don’t like as much as you thought you would. Or sometimes you happen upon something that just works. I love that about creativity…it’s creative!
But anyway let’s get to making these fall hoop wreaths!
Here are the supplies needed for a fall hoop wreath:
- 10″ Metal Hoop
- Floral Wire
- Floral Tape
- Floral Greens
- Pinecones, mini pumpkins are other embellishments
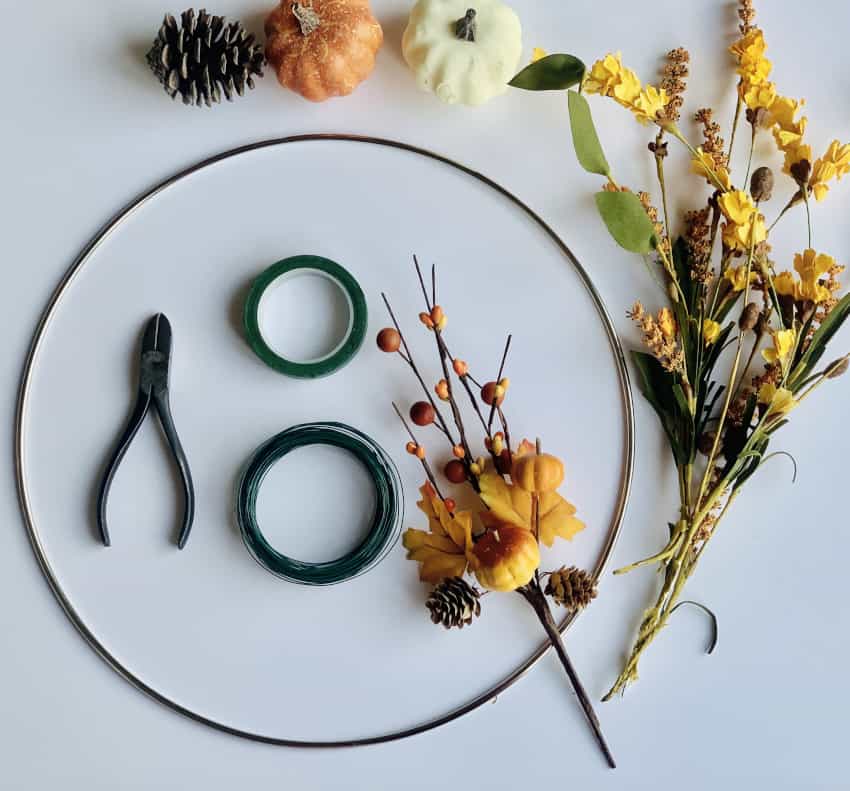
Here’s how to make a fall hoop wreath:
Step 1: Plan and design your fall wreath
The first step to making a cute fall hoop wreath is to design your wreath. Choose what types of floral greens and embellishments you will use for your hoop wreath and lay them on the hoop. Pick an arrangment of items that you like, and play with them until you get the look you want.
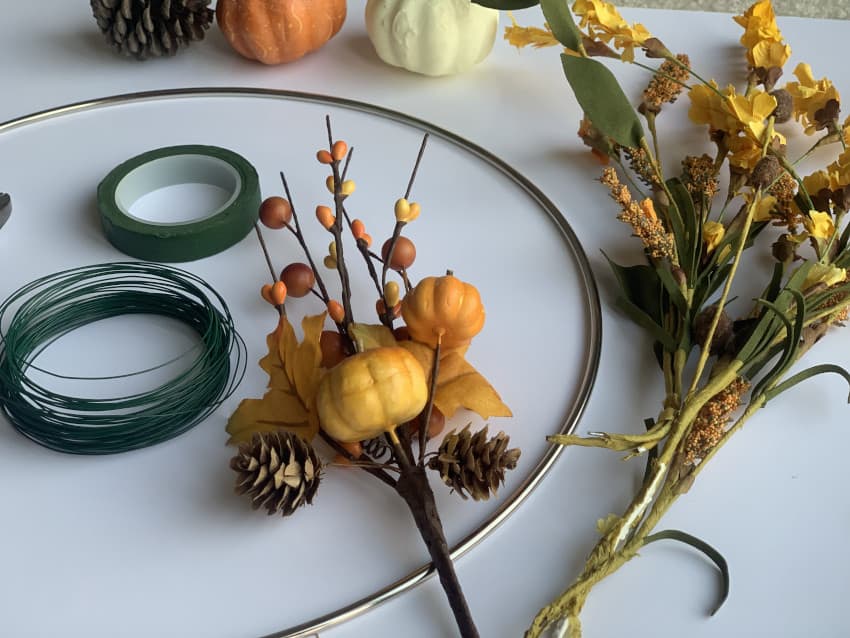
Step 2: Attach the greens with floral wire and tape
We started on this hoop wreath by playing around with the fall floral. Trying out different arragements of greens and embellishment. Then Alesha settled on the items of her choice and attached them with the floral wire. Just put the greens in bundles and wrap the wire around the bundle. Then attach the bundle to the hoop wreath.
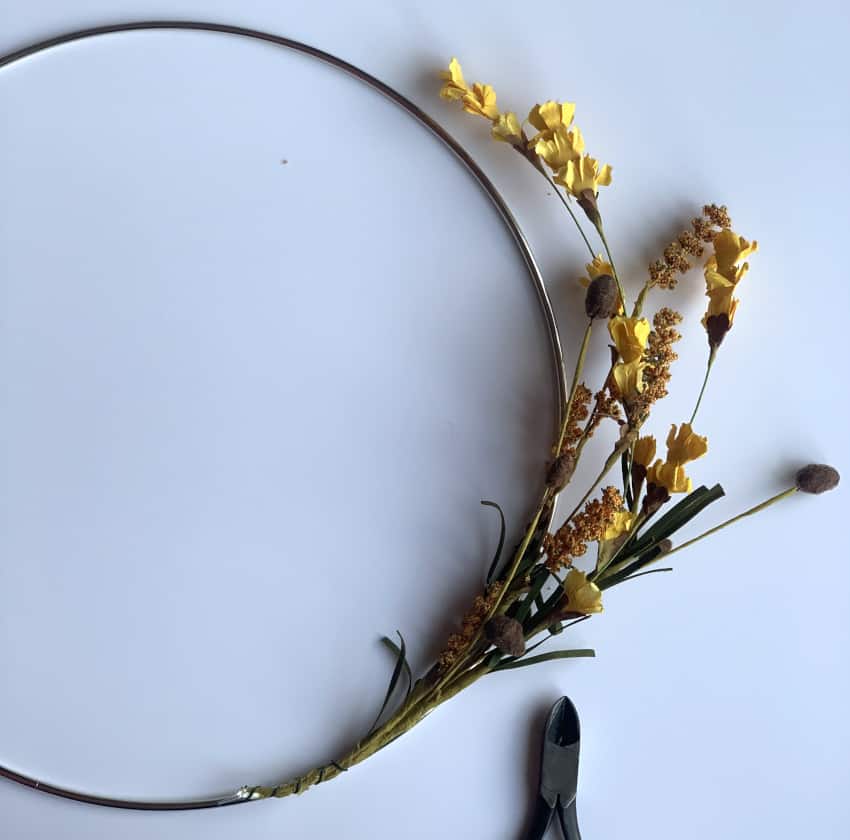
You can check out a full tutorial for a modern hoop wreath here. But this is a just a quick version. Cut 8-10″ of the floral wire and just wrap it around the floral bundle and your hoop wreath. Attach it with wire on the top and bottom of the hoop wreath.
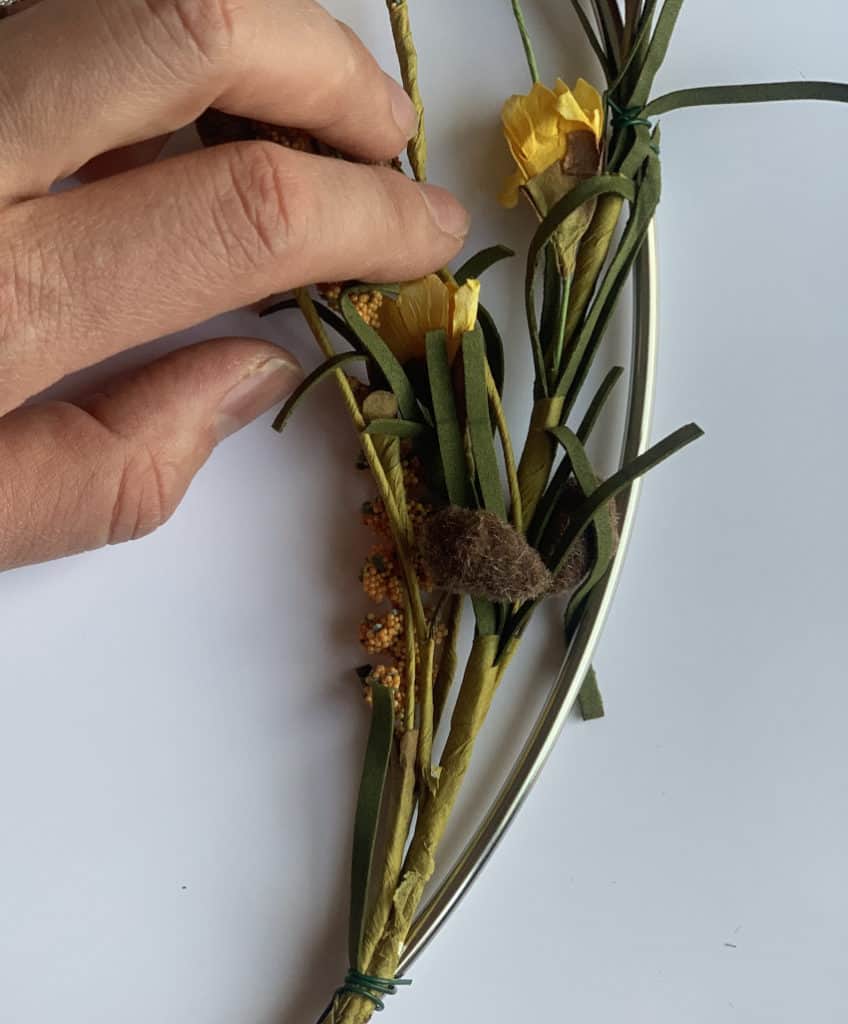
Then just fill in the other side of the hoop with your fall floral arrangement. You can use floral tape in addition to the wire to keep it in place better.
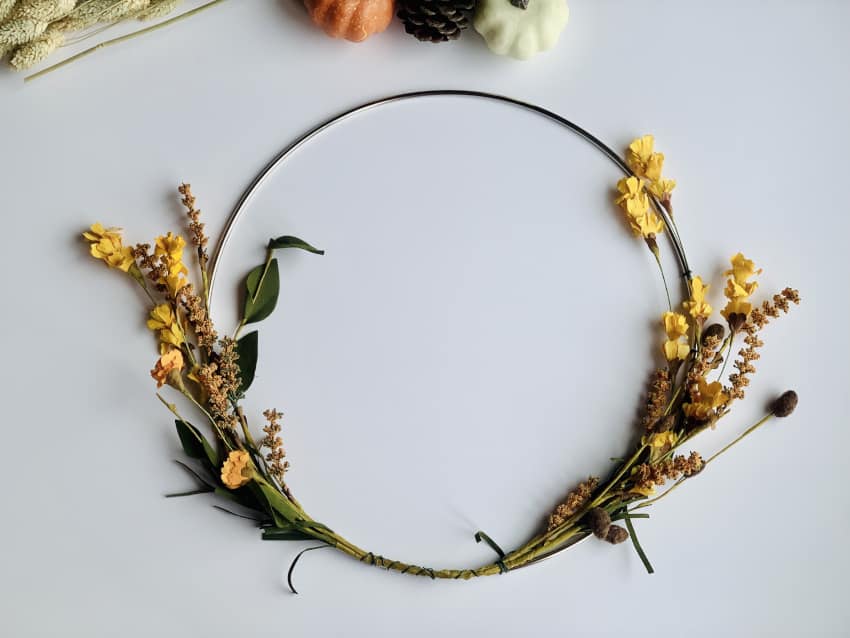
Step 3: Hot glue any extra embellishments on your hoop wreath
Then we hot glued some of these precious little mustard fuzz balls on the wreath to add another dimension to the floral arrangement. We found these at Hobby Lobby.
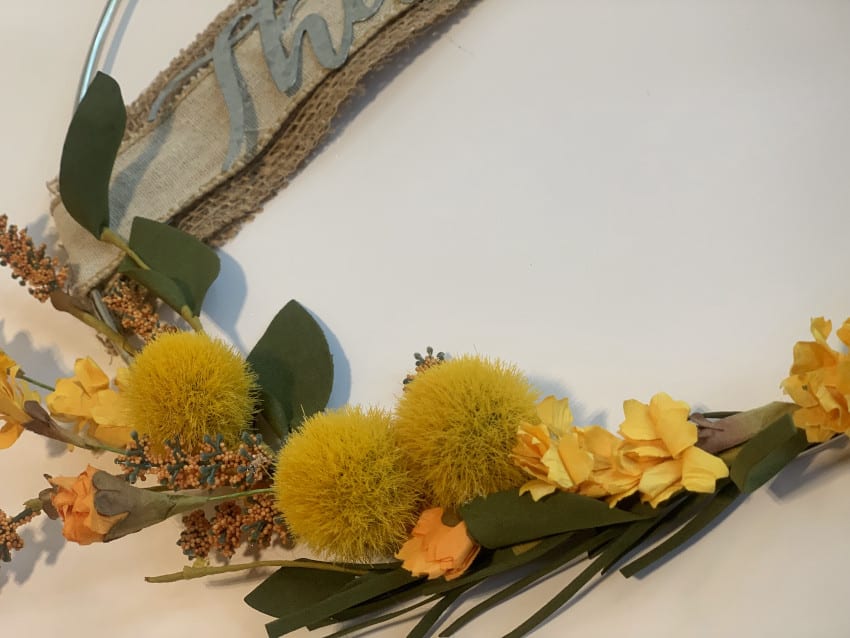
Originally we were not intending to put the burlap with the word on this wreath. But as we played around with them a little bit we thought the burlap with the word Thankful added some warmth and a nice touch for fall.
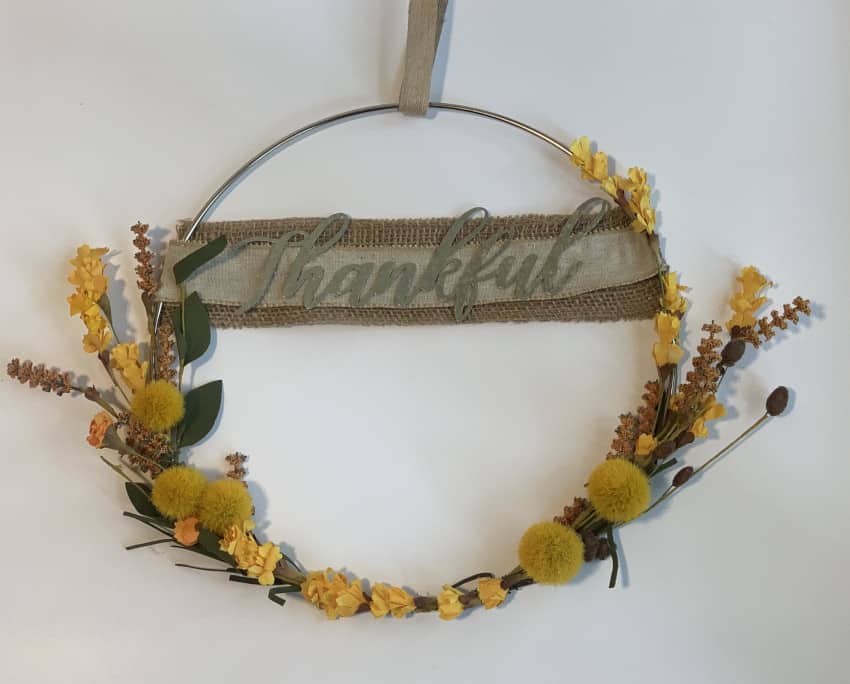
You could do the wreath with or without the burlap ribbon and word. But I think it looks nice when it is hanging up on the wall. What do you think? Do you ever have a project turn out better or different than you thought?
If you would like other ideas for fall decor you could make these fall coasters or pumpkins from old socks or sweaters.
Hope you have a wonderful weekend!
God bless,

What a cute project for fall! Just found your site for the first time and it’s beautiful.
Hi Robyn! Thanks for stopping by and thanks for the kind words! Will have to check out your site now too 🙂