Earlier in the week I started making over this coffee table. It was a high quality coffee table and very sturdy. Perfect for a modern farmhouse makeover! I had planned to make it over similar to this one.
But like I mentioned earlier in the week my plans changed when I saw how beautiful the light wood was once I sanded it down. I couldn’t imagine covering the beautiful lighter wood with a dark stain. So I considered leaving the wood bare. But since my plan was to paint the sides and legs gray. I couldn’t imagine the cool color of the bare wood with gray.
So I worked out a happy medium to warm up the colors of the table. Earlier in the week I posted about sanding the top of the table. I removed any stain and varnish that was on the top of the coffee table. Here’s a tutorial of what I did to finish the table.
Here’s the supplies I used on the farmhouse coffee table makeover:
- Miniwax Poly Stain in 1- Pecan
- Gray chalk paint (I made a custom color with gray, purple and a little black)
- Clear and Dark Wax
Here’s what I did for the farmhouse coffee table makeover:
1. Stained & sealed the top of the table with PolyShades
For some reason the bare wood seemed too cool for me with the gray sides and legs I had planned. So although I wanted to keep the wood on top light. I decided to warm up the wood tones just a very little bit with PolyShades in Pecan satin finish.
I had never used a product that has both the stain and polyurethane together so I thought I would give it a try. Unfortunately I didn’t have the best experience with it. I am gonna blame it on the high heat and humidity because it took more than 24 hours for the product to dry. Even after 24 hours the wood was still somewhat tacky.
But after 4 hours I wiped the table down with some denatured alcohol and sand lightly and I was able to remove the tackiness from the table. I was frustrated with it but in the end it did save me quite a lot of time and effort. So I think I would try it again but this time pick a day that’s less humid.
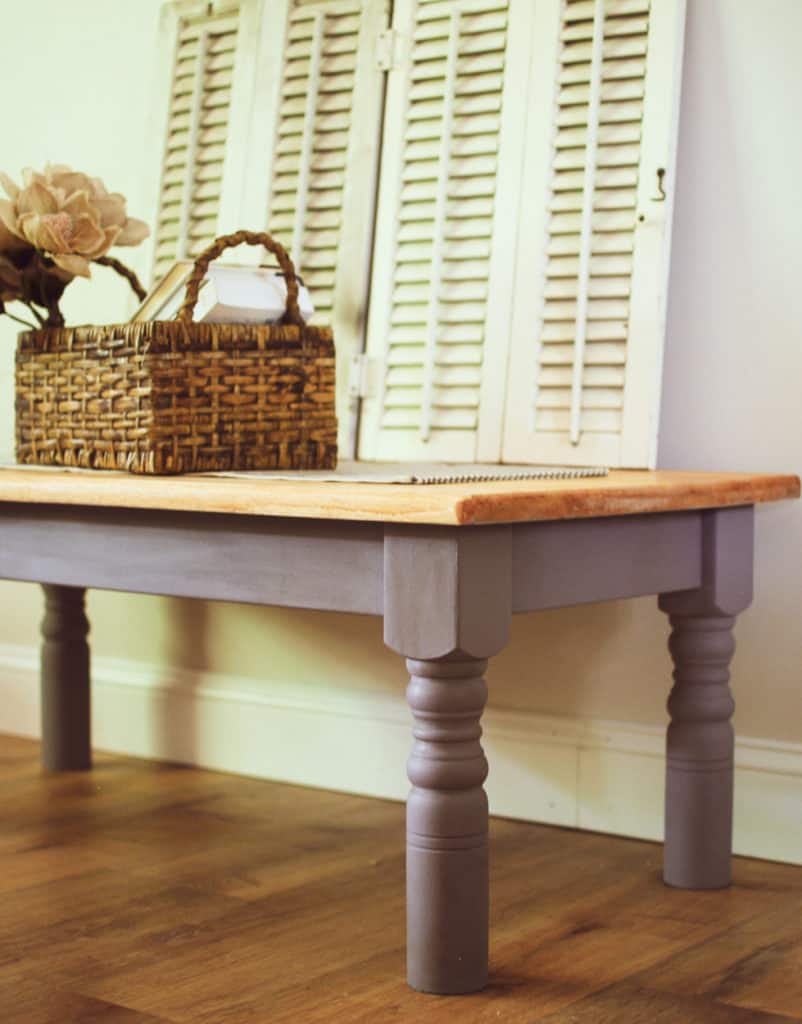
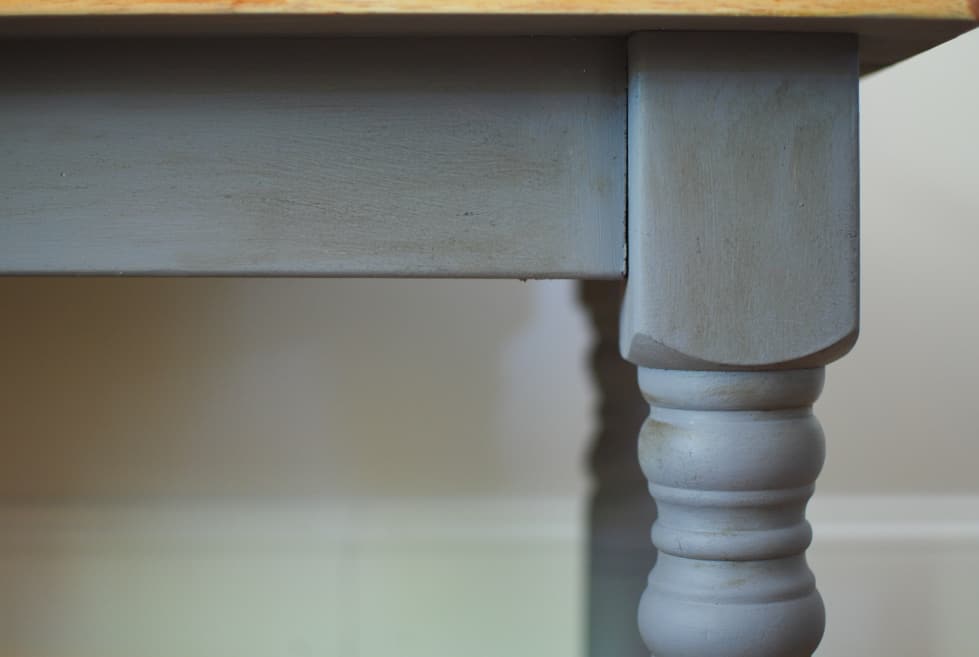
2. Paint the sides and legs of the coffee table
After the top was finished I moved onto the sides and legs of the table. I used two coats of a custom gray chalk paint. I mixed grays, purple and black to get the color I was looking for. I have discovered that a great way to save money on chalk paint is to use more expensive brands of chalk paint with less expensive brands in combination. This saves money on chalk paint and still gives me a high quality result.
3. Clear Wax the chalk painted areas of the coffee table
After painting the sides and legs I used a clear wax to seal the coffee table.
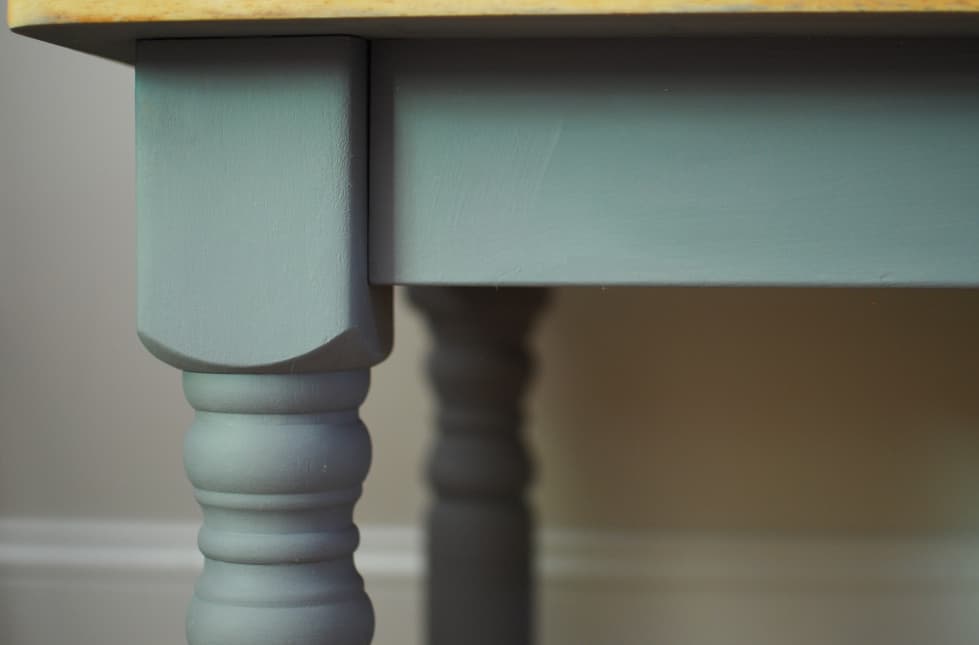
Then I put dark wax over the clear wax to give the painted parts of the coffee table some warmer hues as well.
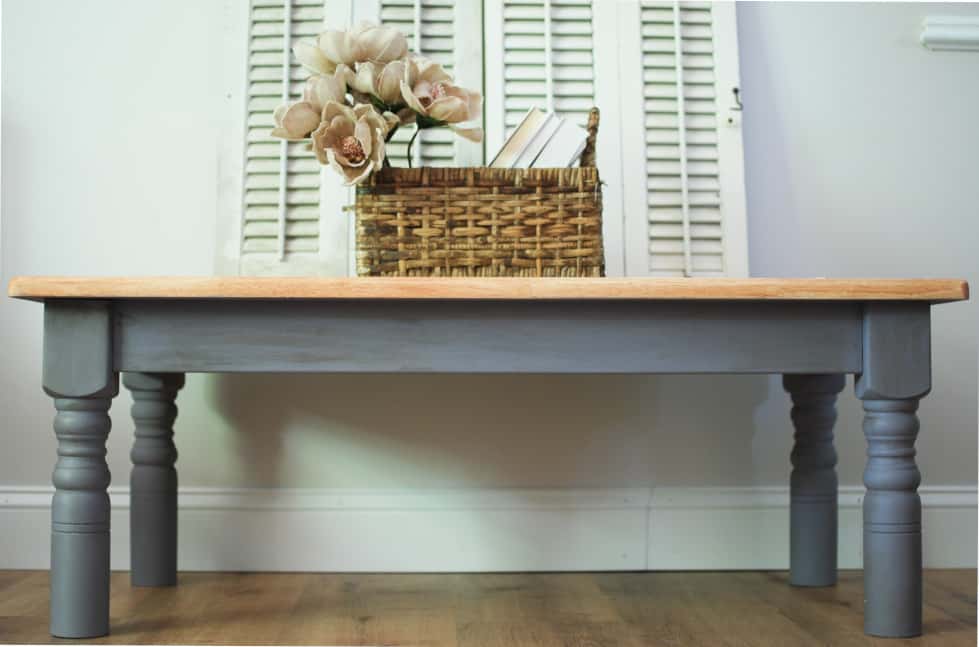
I think warming up the coffee table was the right move. I like how the gray and the warmer top compliment each other. And it was fun to experiment with a new product and color scheme. What do you think do you like the lighter wood?
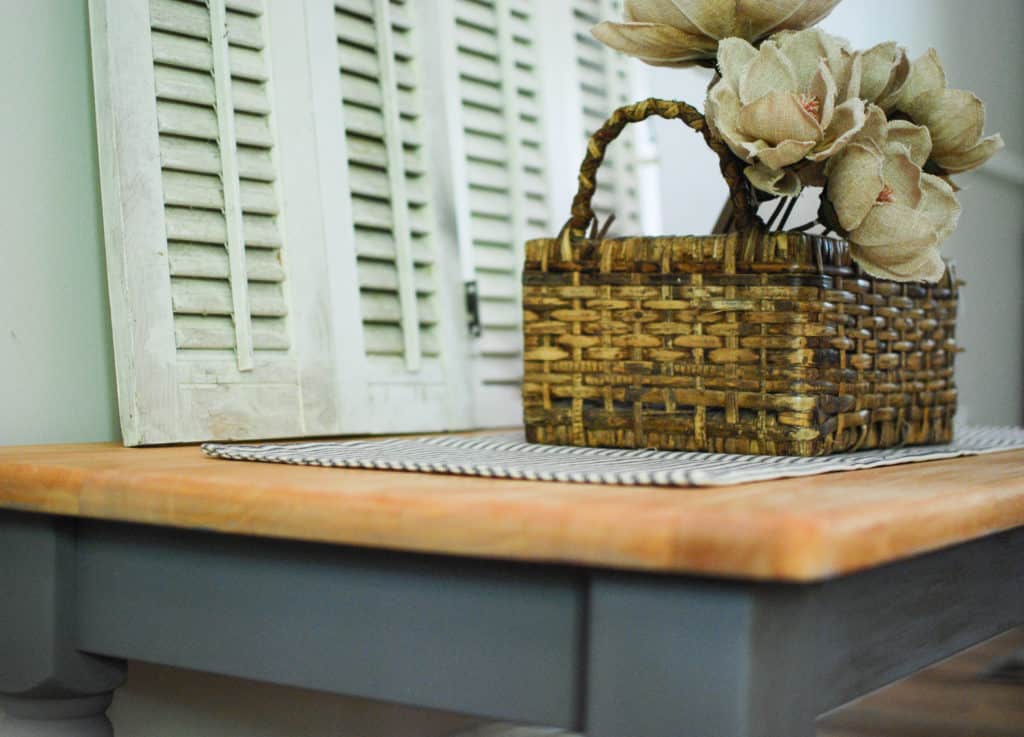
I am planning to sell this table because I don’t need an extra coffee table right now, but the lighter wood really stole my heart. Next time I will try completely bare wood and then just find the right paint to match. Before you leave today would love to hear what paint colors you think would go well with bare wood in the comment below.
Tomorrow my oldest daughter is turning five. I have been emotional all week. Not sure where the time is going! We will be celebrating this weekend. Hope you have have some fun plans in store too!
God Bless,

Leave a Reply