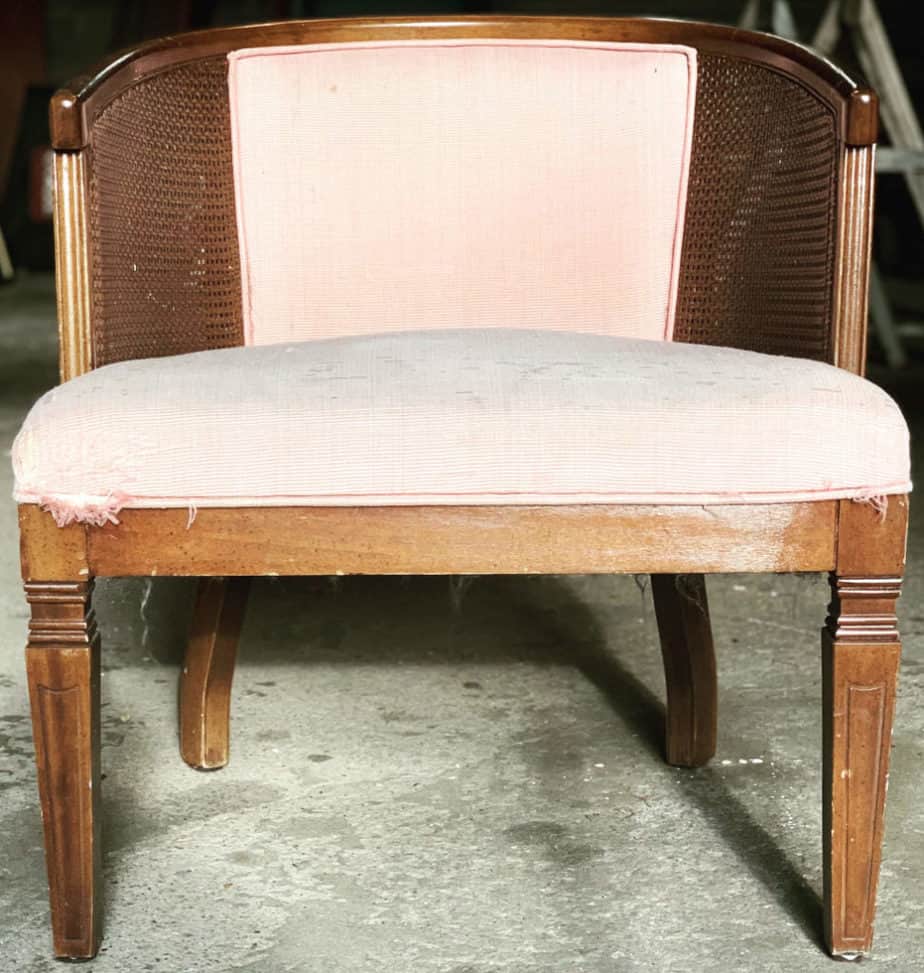
I was really itching to do another re-upholstery project after I finished my dining room chairs. So I picked up this free barrel chair off of Marketplace a few months ago. The woman who posted it lived within 5 minutes of my home! And she said the chair was in excellent condition structurally. Today I removed all the old fabric from the chair and got to work re-upholstering it.
Removing old fabric from furniture can be done by anyone with really simple tools. Although I am sure there are some tools that are designed specifically for this. It’s possible to use simple tools, I prefer to use items I already have on hand.
Here’s what I used:
- Phillips Screwdriver
- Flathead Screwdriver
- Pliers or similar tool
- A little bit of arm strength 🙂
Here’s what you do:
1. Remove the seat cushion and staples
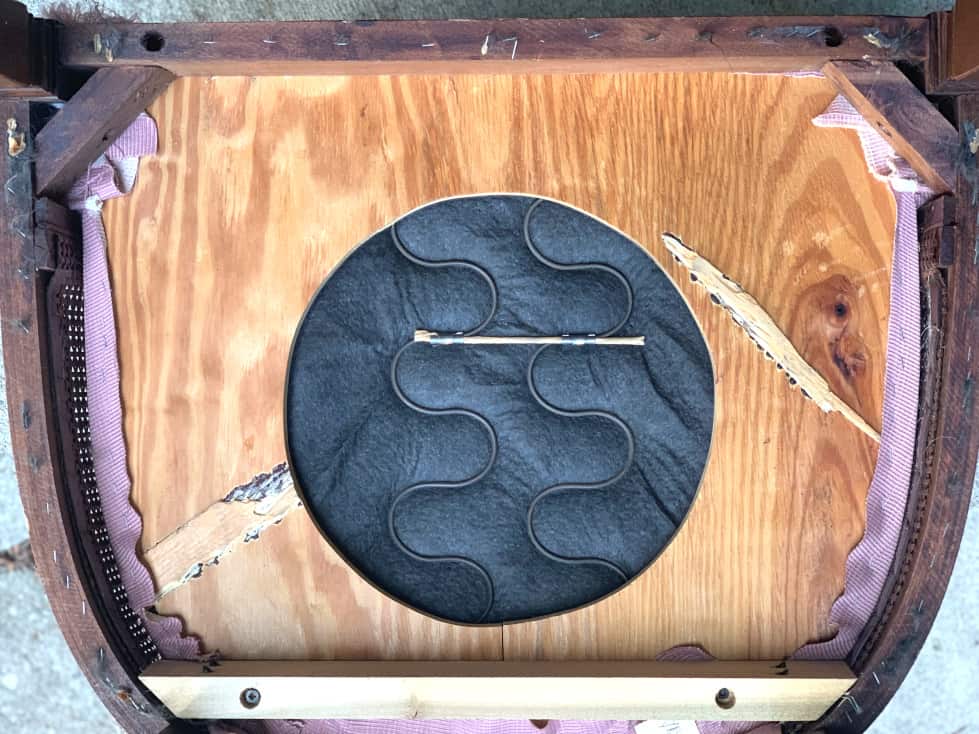
When re-upholstering you want to remove the fabric in the order it was added to the chair. Usually the seat was the last thing added. I started by taking the seat cushion off the chair with a Phillips screwdriver. I flipped the chair upside down and removed the four screws holding it in place on the chair.
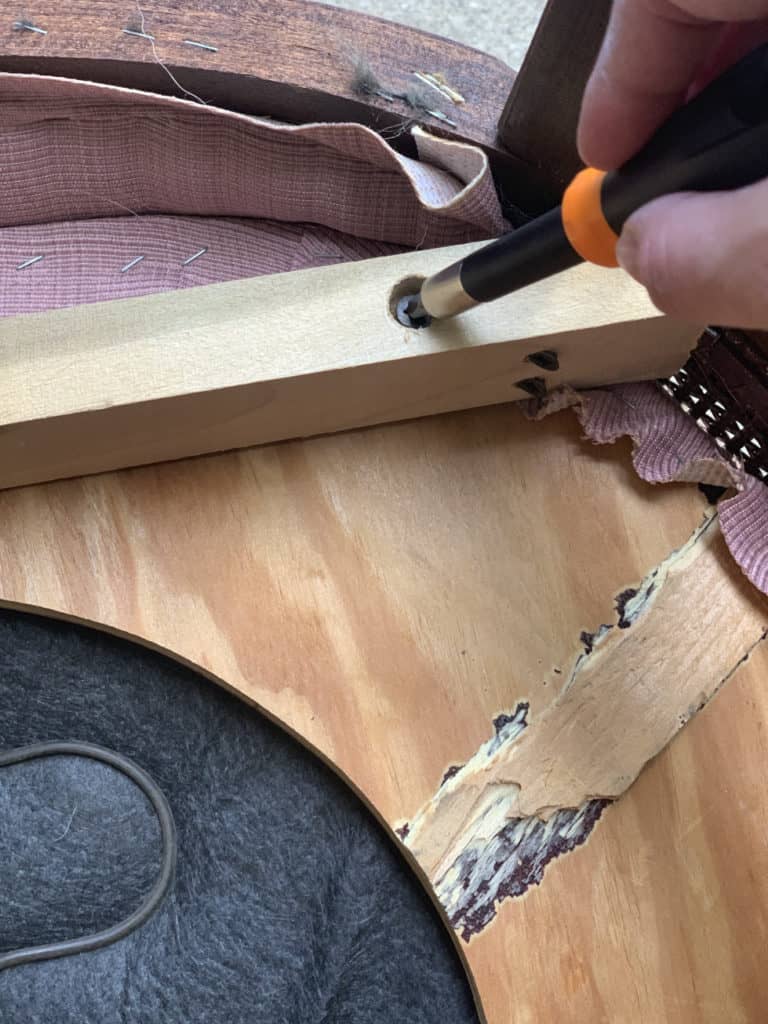
Once the seat is removed. Used a Flathead screw driver and pliers to remove all the staples.
Tip: Take a ton of pictures when dis-assembling your chair. This will help you remember the order it goes together when you are re-assembling.
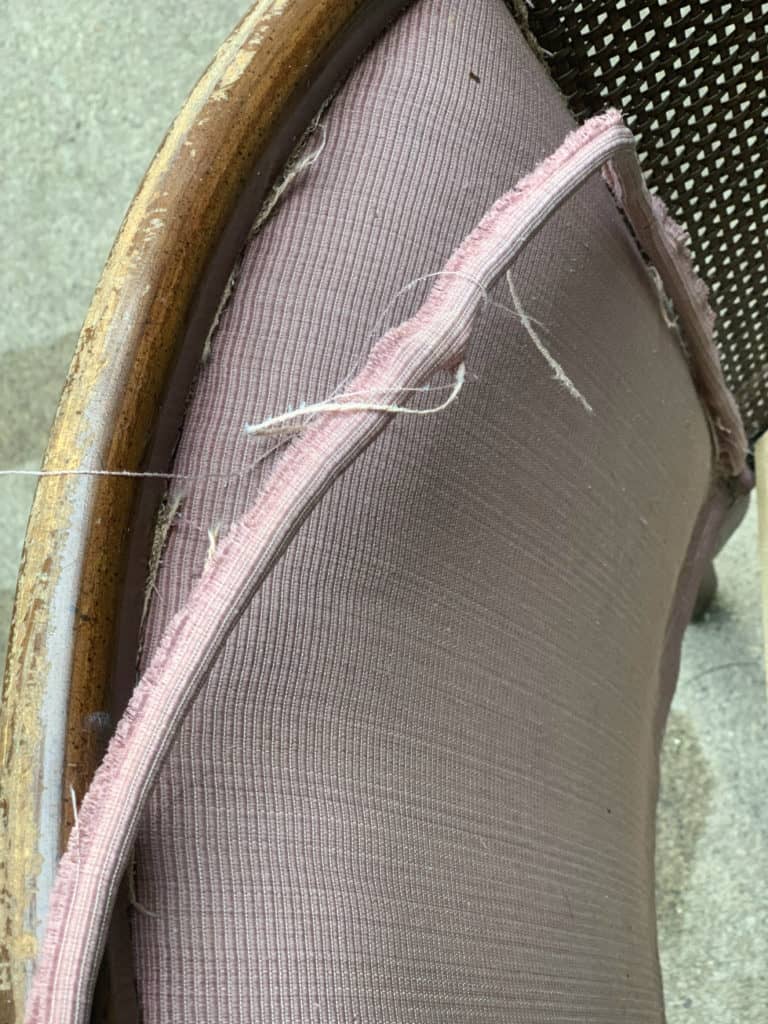
2. Remove the next piece of visible fabric
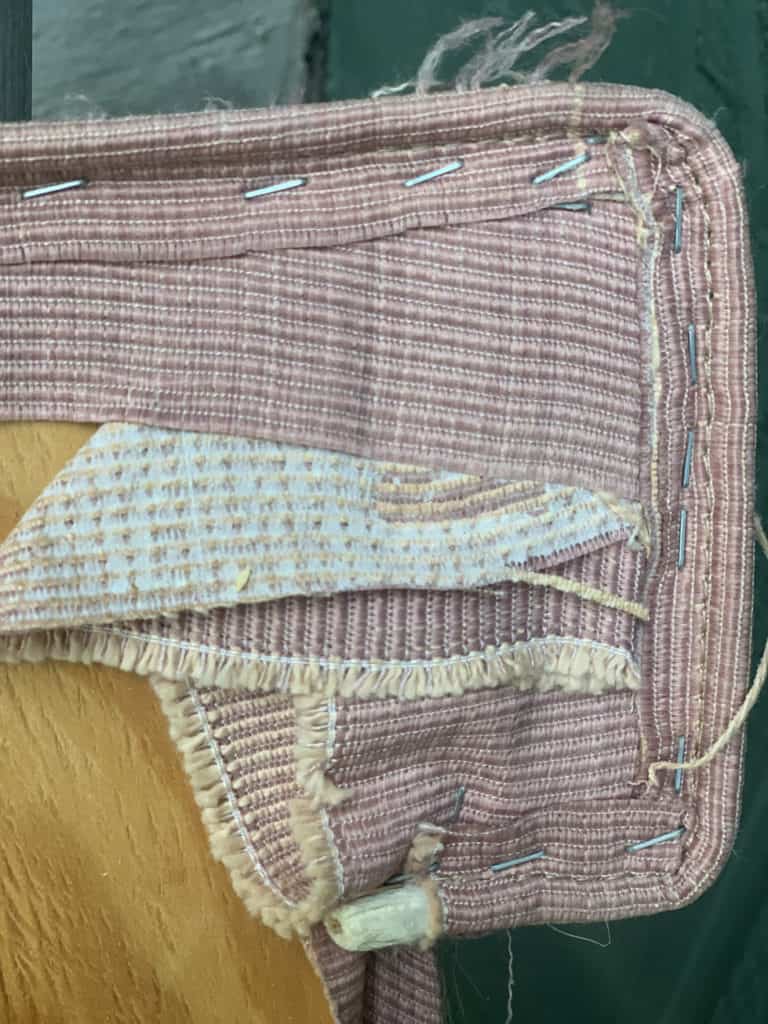
On this barrel chair the next area of visible fabric was the front of the seat back. The first thing I did was remove the piping around the seat back. I used the screwdriver and pliers to pull the piping off.
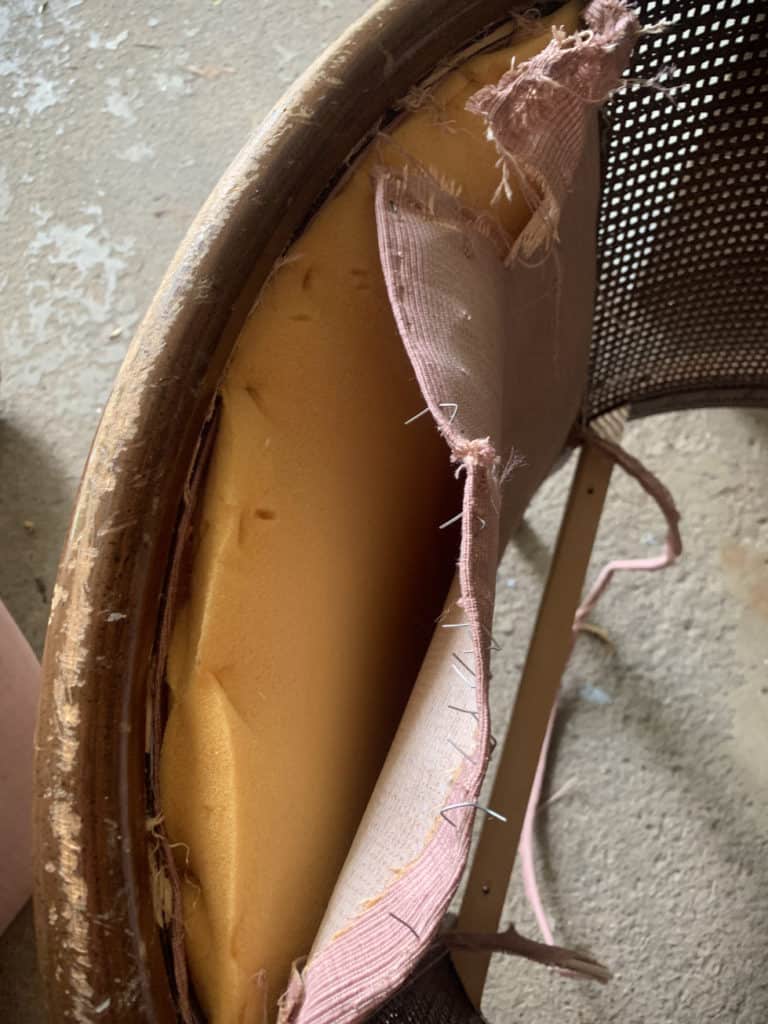
Then I removed the staples from the seat back with the Flathead and pliers again. After this fabric was removed from the seat back. I removed the padding from the seat back.
Tip: If you have staples that are really difficult to remove. Pull the fabric around it to dislodge the staple a bit. Then use the screwdriver to get underneath it.
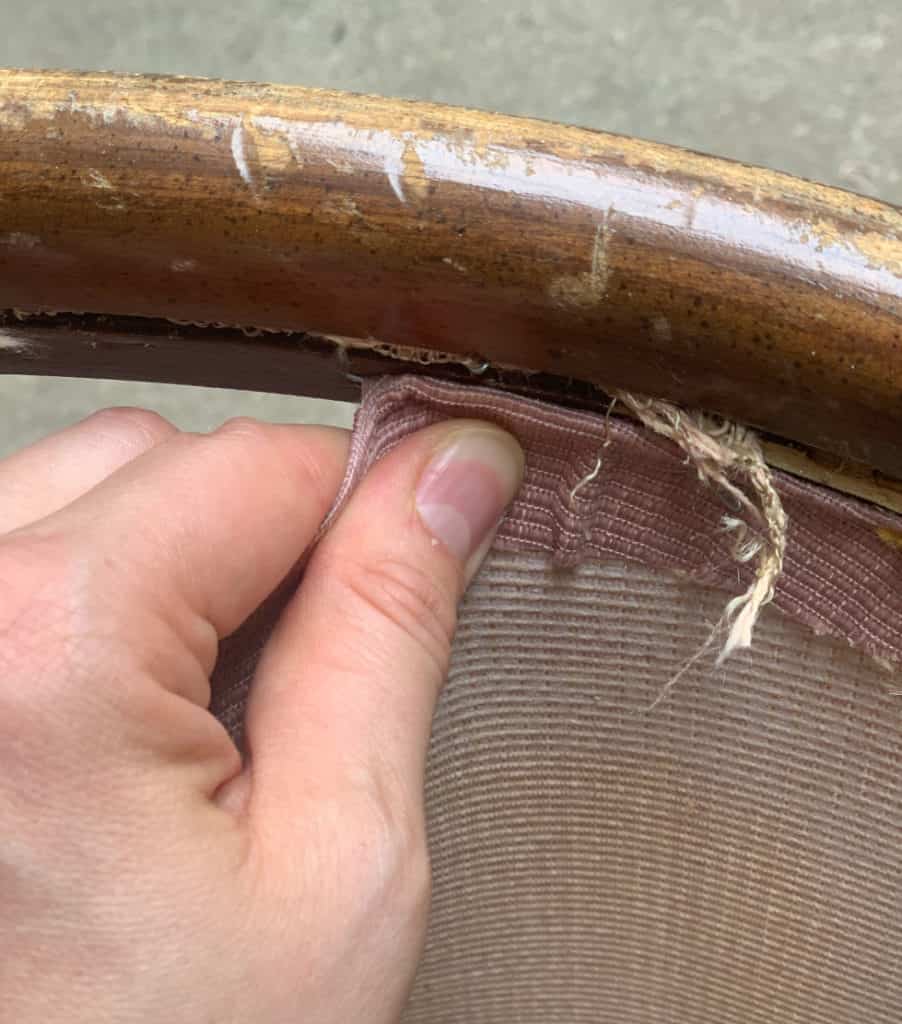
3. Remove the rear of seat back fabric
Once the front of the seat and the padding were removed. I removed the rear side of the seat back. This part was a breeze, much easier than removing the front. I used the same technique with the screwdriver and pliers.
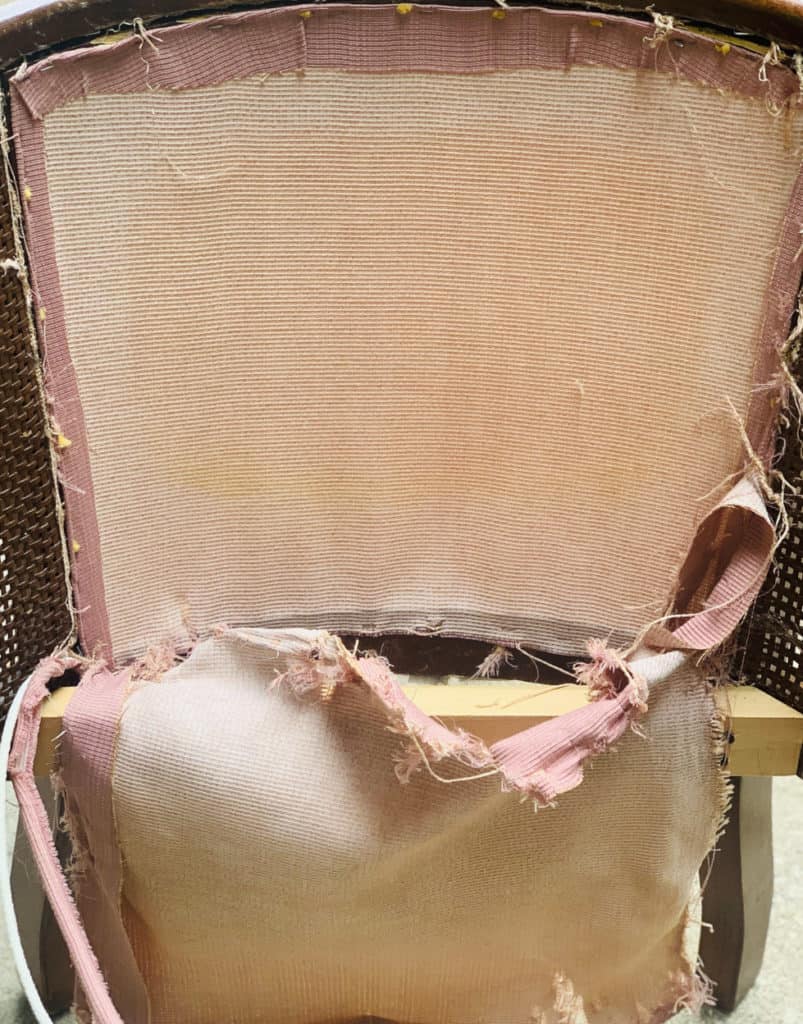
And here’s the frame. Ready to be re-finished. Now I am just trying to decide if I will paint the frame and what color of fabric I will use. What do you think? Any thoughts on what will look best?

I have been trying to decide if I will white wash the wood or just paint it. What do you think? Excited to get started on this project.
Updated: read about the next steps below.
Part 2: Barrel Cane Chair Makeover
Take Care,

Leave a Reply