Beautify your home with real Easter grass
I don’t know of too many projects that are easy enough for a toddler but can also add beauty to your home! Well this happens to be one of those little gems.
Now let me be honest, even though this is one of the easiest gardening type projects out there. I was still a little intimidated. Let’s just say every plant I have ever had hasn’t lasted long. So when I was handed a bag of grass seed last week at my Bible study I wasn’t sure how it would go. Will these seeds really grow?
Anyway you can believe me when I say this is easy peasy! Some projects claim they are easy but can still be stressful with young hands. Think paint all over clothes and counters. While there definitely is a time and place for those type of projects. This is not one of them, it is simple.
So let’s get started! Here’s what you need:
- Grass Seed (we used about 1/4 cup total for both containers)
- Potting Soil (enough to fill the containers you choose)
- Containers to plant seed
- Water

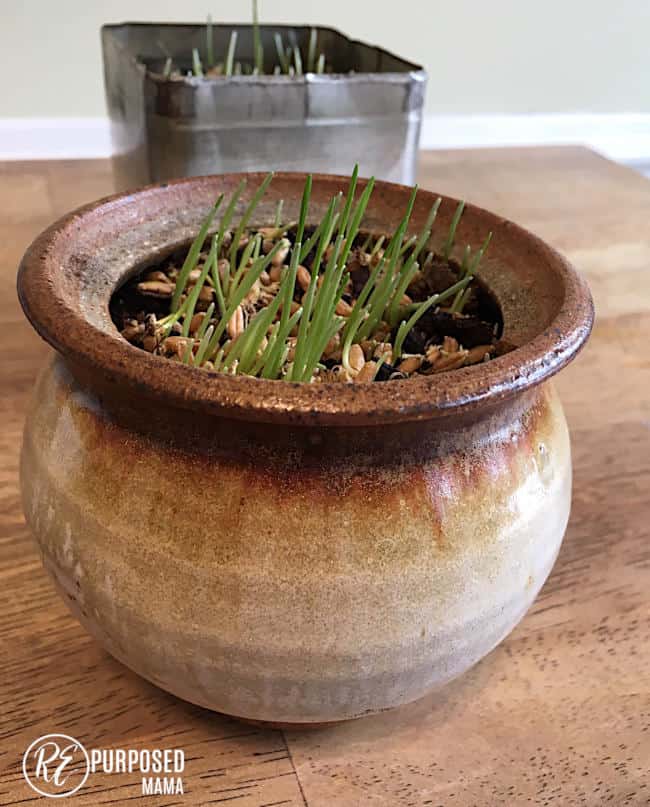
1.The first step is to put the grass seed into a container. This doesn’t need to be the one you will plant the grass seed in but any old container.
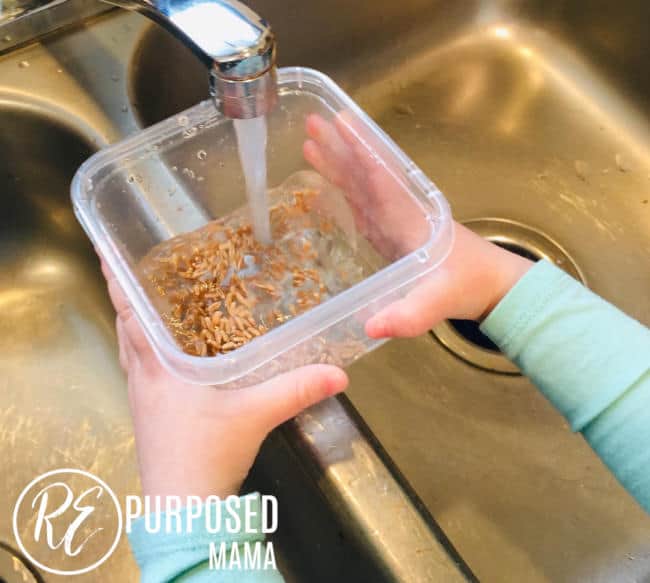
2. Pour water into the container to cover the seeds. You will let them set in the water overnight.
(Note: since I was slow about getting the potting soil for our grass. Our seeds ended up staying in the water for more like 24 hours. I just kept the seeds moist and they still turned out fine when we planted them.)
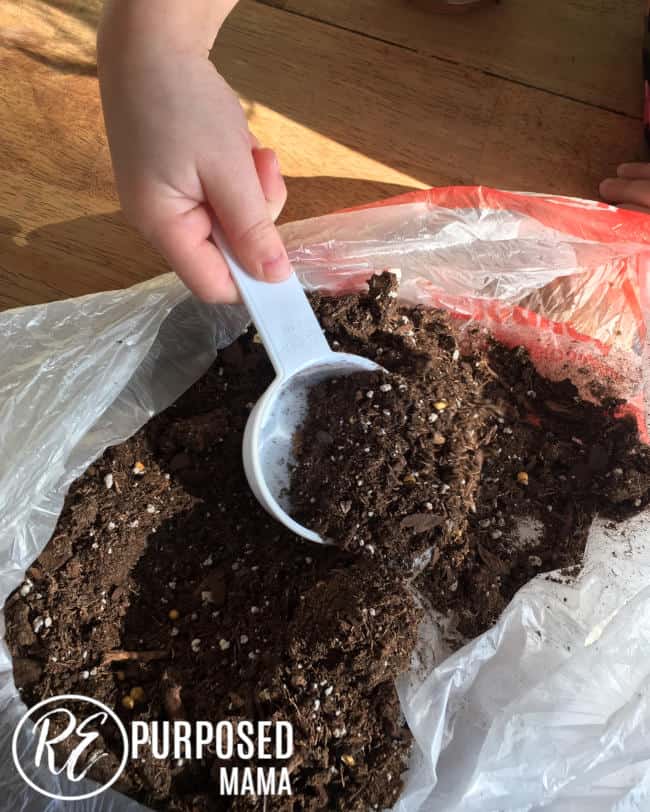
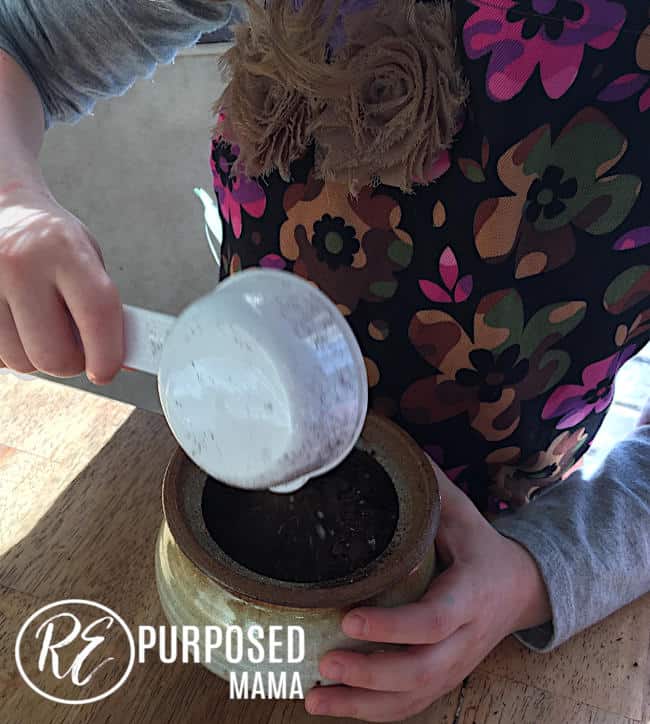
3. The next morning take the potting soil and fill the containers you are using to grow your grass seed. My daughters used an old measuring cup to fill their containers.

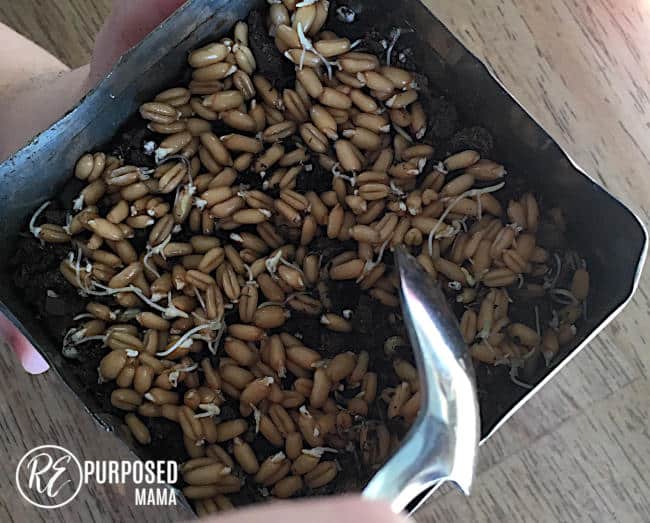
4. Next put the seed on top of the potting soil and water. You do not need to push the seeds down. My daughters just used a spoon to place the seeds on top of the potting soil. Then water the seeds.
5. Water and put in direct sunlight daily. Sometimes I did water the seeds more than once a day if the soil was dry to touch.
6. Since I felt it would truly be a miracle if this grass grew our final step was to ask for God’s help. While we planted we talked about how although we plant, and care for the grass God is the one who makes it grow. So we prayed for our little grass to grow.
And a really cool thing about this project was that the grass grew very quickly! I was really kind of amazed.
I felt like every couple of hours the grass looked longer. Every night we went to bed we could see the grass had grown the next morning. This was also a small way to help teach responsibility to my little ones. Because it’s pretty motivating when they could so visibly see how their watering helped make the grass grow.
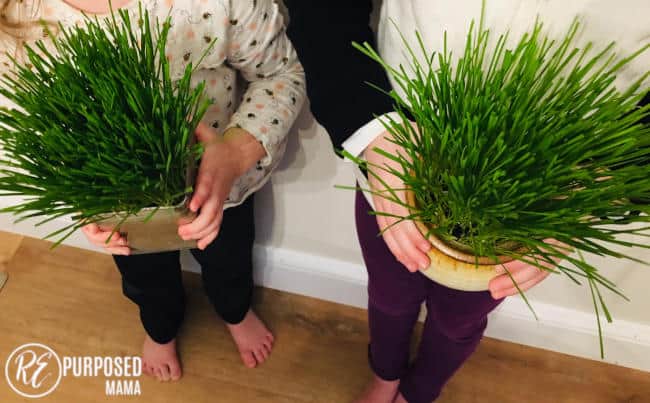
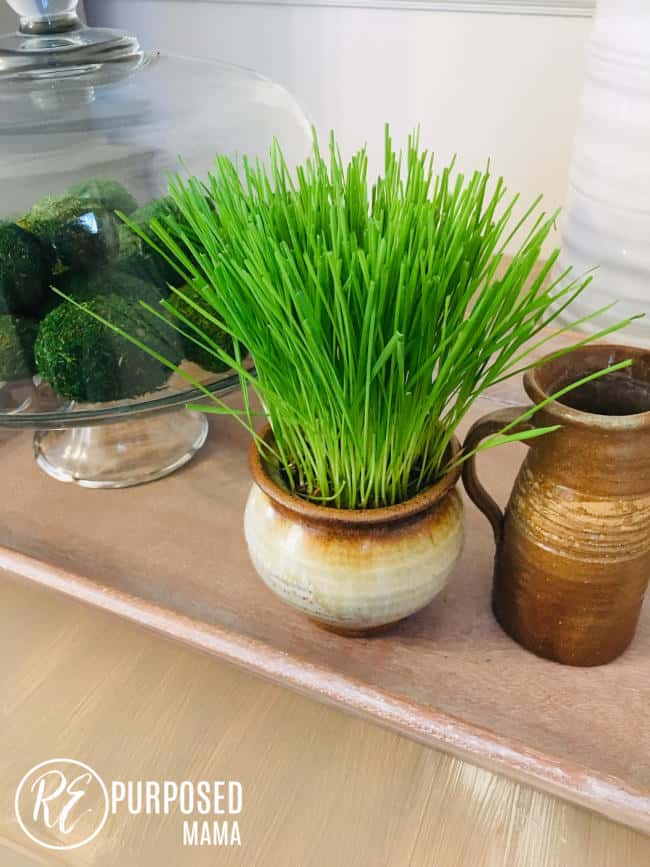
We were so pleased with our results and enjoyed doing it together!
So if you have some cute little containers hanging out around the house and you aren’t sure what to put in them. Consider planting some Easter grass with your kiddos. It’s one of those projects that kills two birds with one stone. Because your children can enjoy it and it adds a pop of life to your home decor!
Let me know if you try it and post a picture below!
Hope you are having a good week! And happy happy Spring!! 🙂
Elizabeth
Leave a Reply