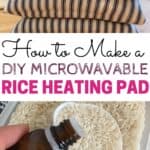
Here’s how to make an easy DIY microwavable rice heating pad. Rice heating pads are good for nursing aches and pains. This DIY rice heating pad can be made in 30 minutes. It is attractive and makes a nice gift for friends and family alike. This step by step tutorial will show you how to make a microwavable heating pad.
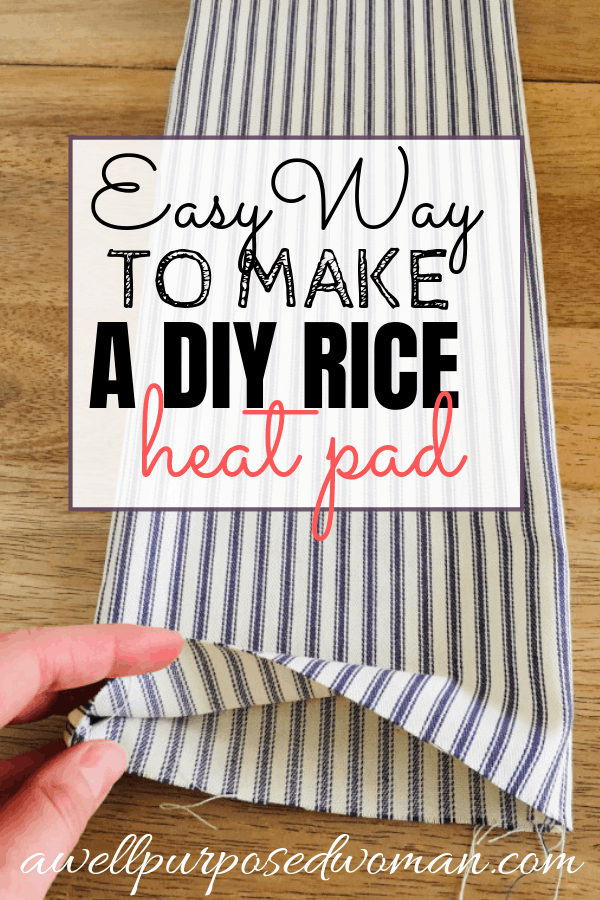
Today I want to share with you a wonderful tutorial for a microwavable rice heating pad! This very practical item that has come in handy many times in our house. And really this is the easiest way to make microwavable rice heating pads!
When my oldest daughter was little she was really sick for a few day stretch with stomach aches. I so badly wanted to comfort her but nothing seemed to work. Finally I remembered our rice heating pad. I decided to give it a try and it was the one thing that worked to calm her. She liked it so much she started requesting the rice heating pad every night before bed.
Since then we have used the diy microwavable rice heating pad for backaches, neck aches, cramps and anywhere else you can have aches and pains. It has been such a lifesaver! The good news is it pretty simple to make.
The only challenge in making diy rice heating pads is getting the rice to stay in place. After making diy rice heating pads several different ways I have found what I am sharing with you today to be the easiest way to do it. Plus the entire project takes a little under 30 minutes!
So let’s get started!
This post contains affiliate links for your convenience. If you click on a link to make a purchase I receive a small commission with no extra charge to you.
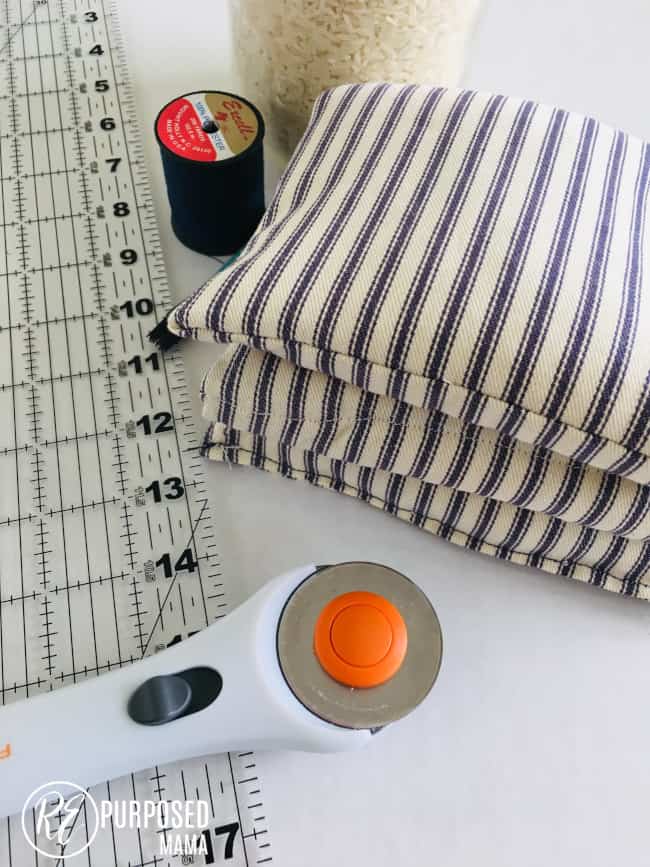
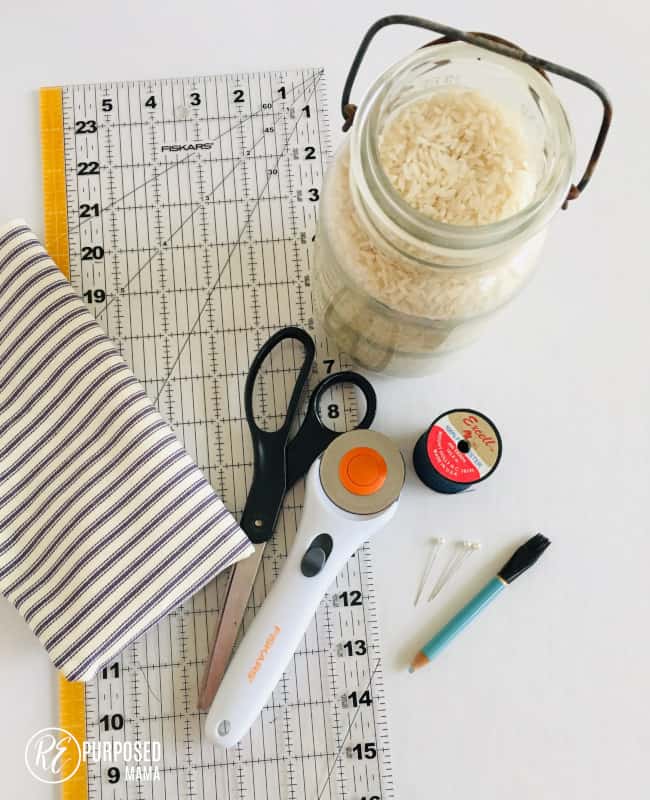
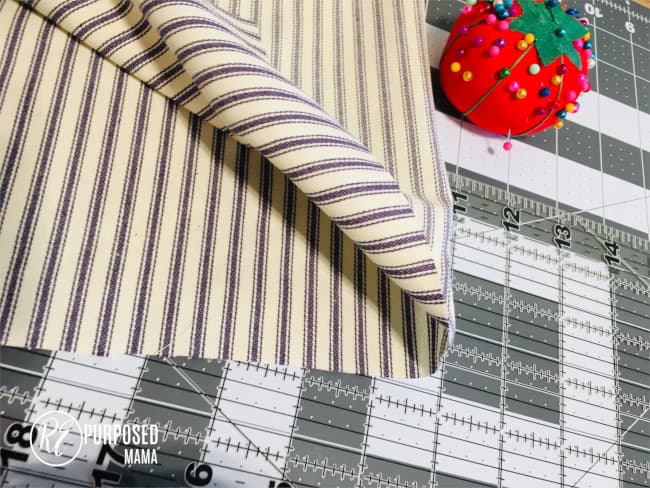
Here’s what you need to make DIY rice heating pads:
- Printable Instructions and pattern
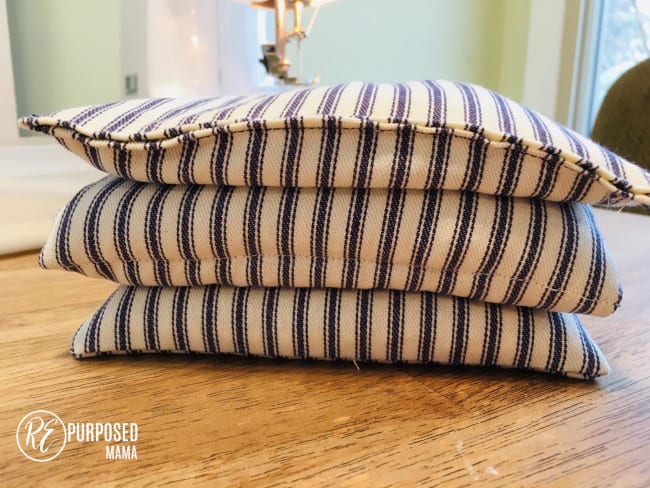
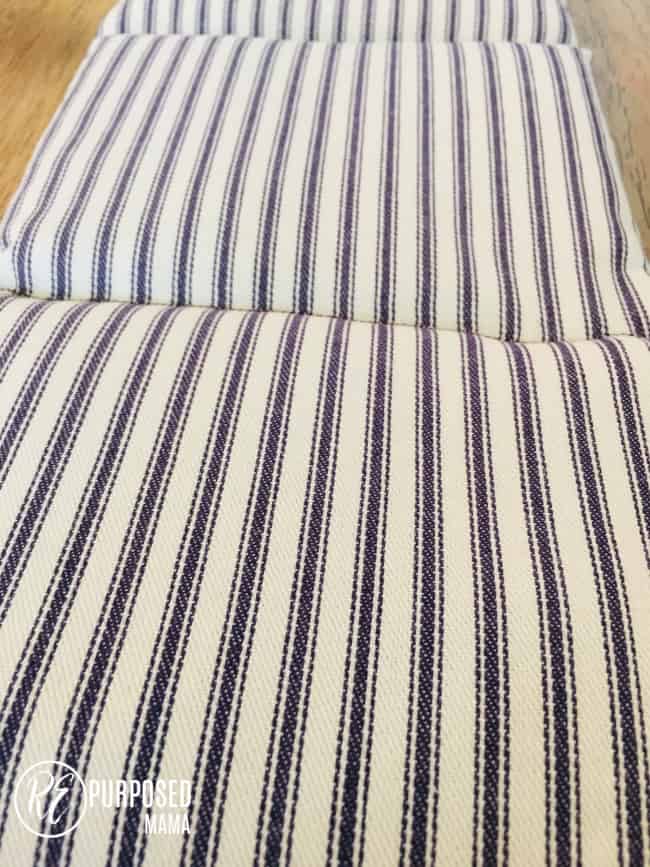
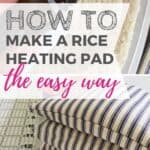
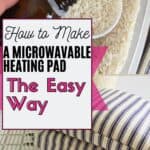
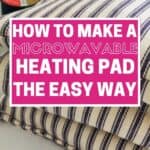
- Fabric piece (at least 27″ (long) x 15″ (w) I like to use ticking fabric.)
- 5 cups of rice
- Sewing Machine
- Pins & Thread
- Dressmaker’s pencil or chalk
- Essential Oils (optional)
Here’s how to make a DIY rice heating pad:
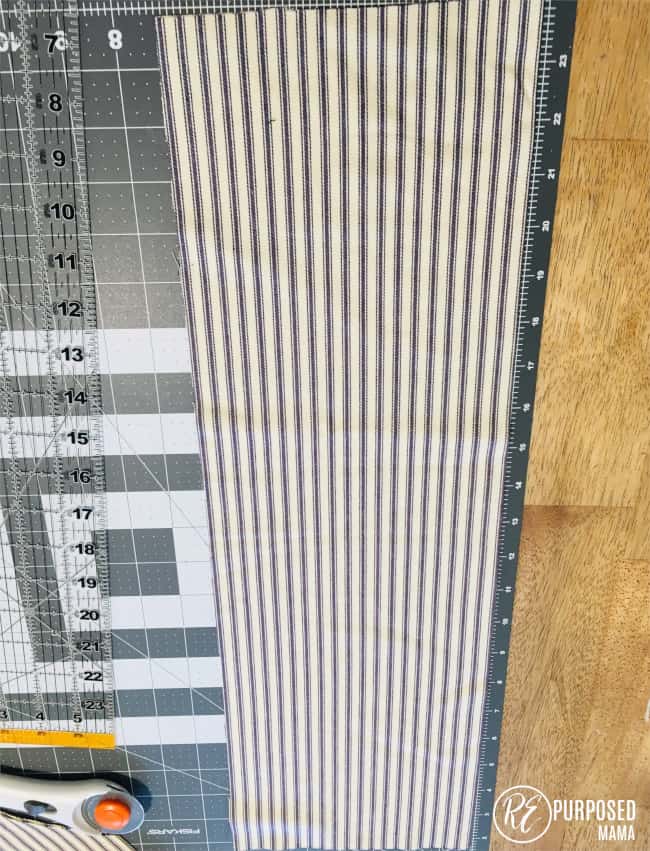
Step 1: Cut the fabric for your DIY Rice Heating Pad
Cut your fabric into a piece that is 27″ (long) x 14″ (wide). Then fold the fabric in half right sides together. So you have a piece that is 27″x 7″.
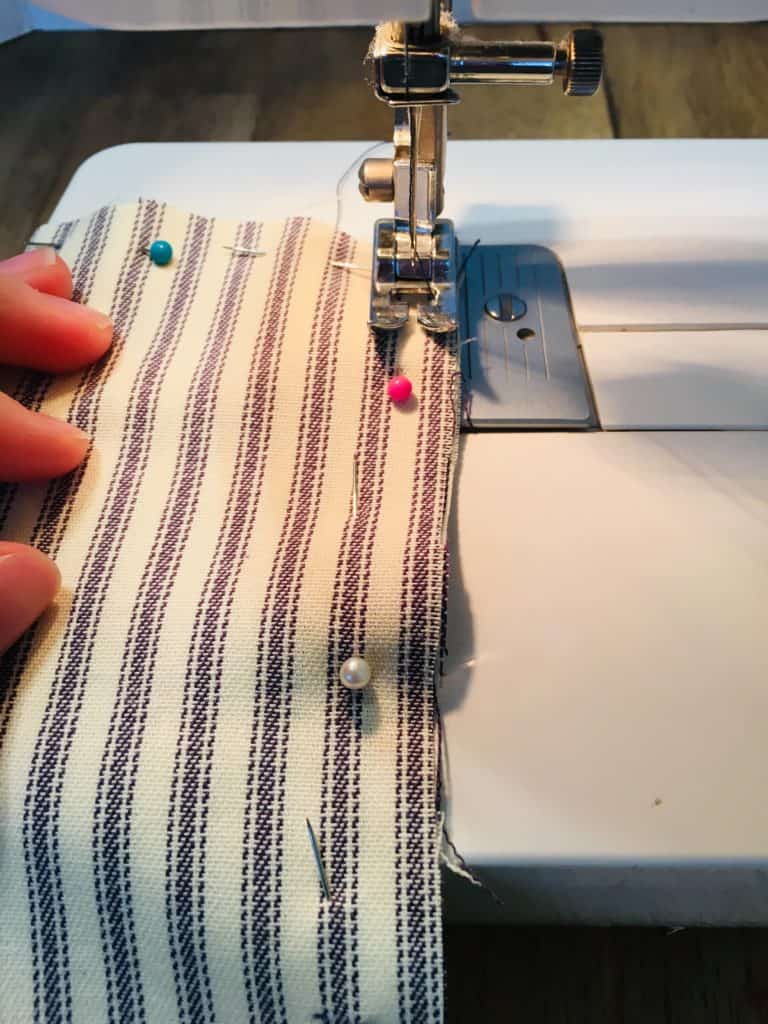
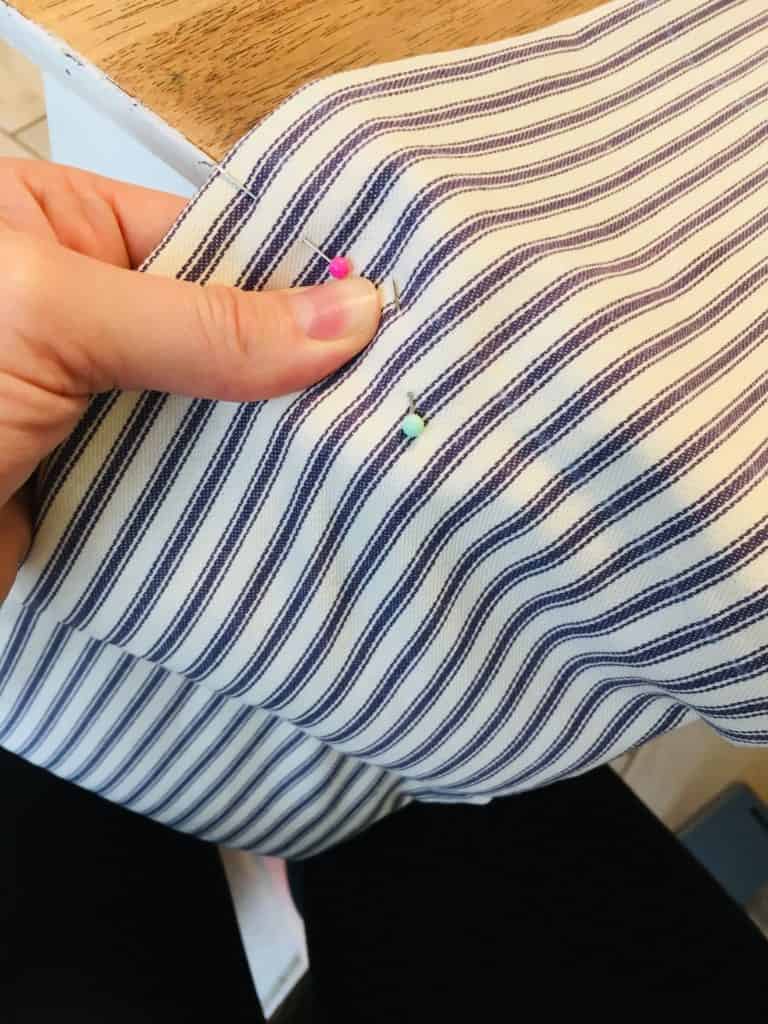
Step 2: Pin your fabric for your DIY rice heating pad
Pin the fabric on three sides, leaving one of the shorter sides unpinned. This will be your opening where you will fill the pad with rice.

Step 3: Sew your DIY Rice Heating Pad together
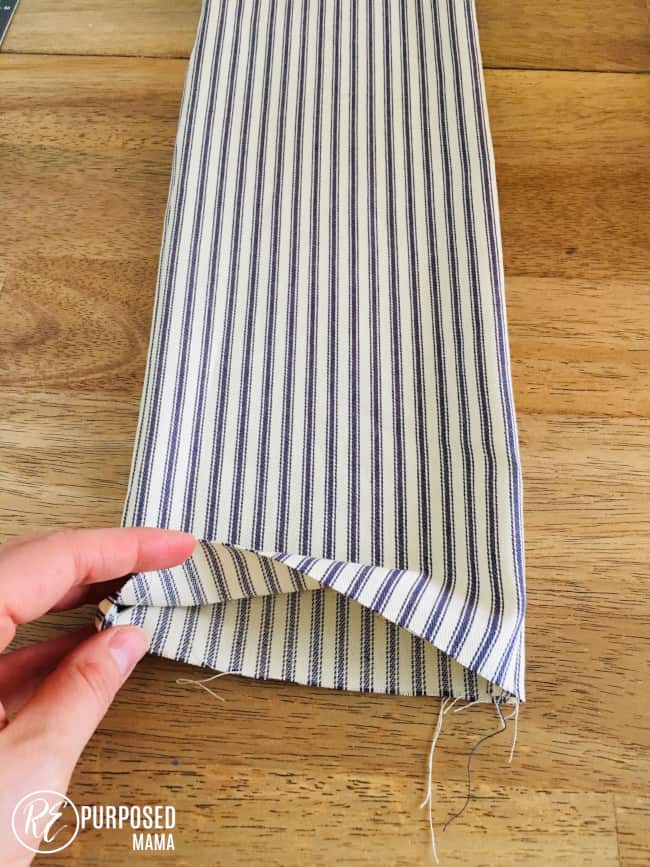
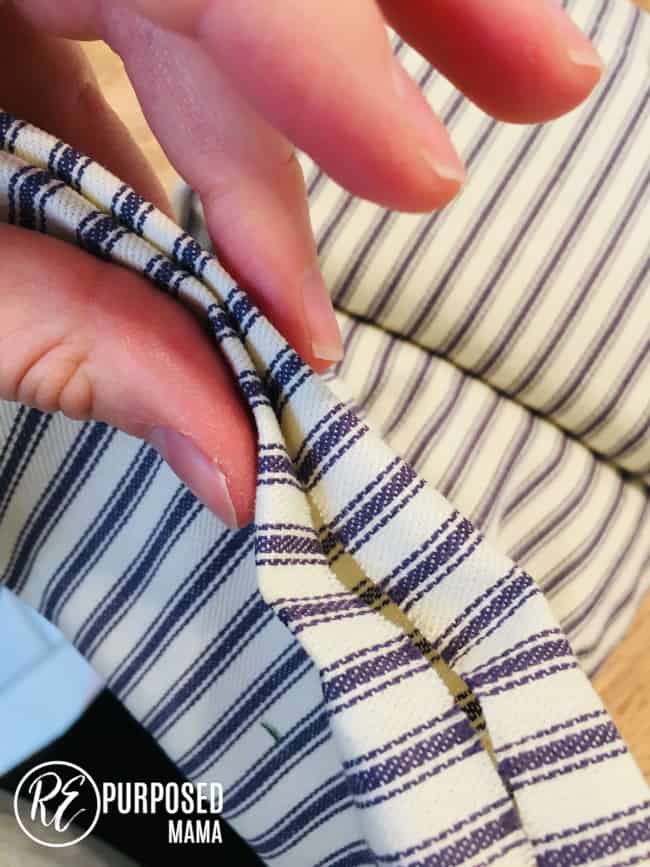
Sew 1/2″ seam on the three sides that are pinned.
Turn the fabric inside out. Now you should have a long sac like piece that is ready to be filled with rice!
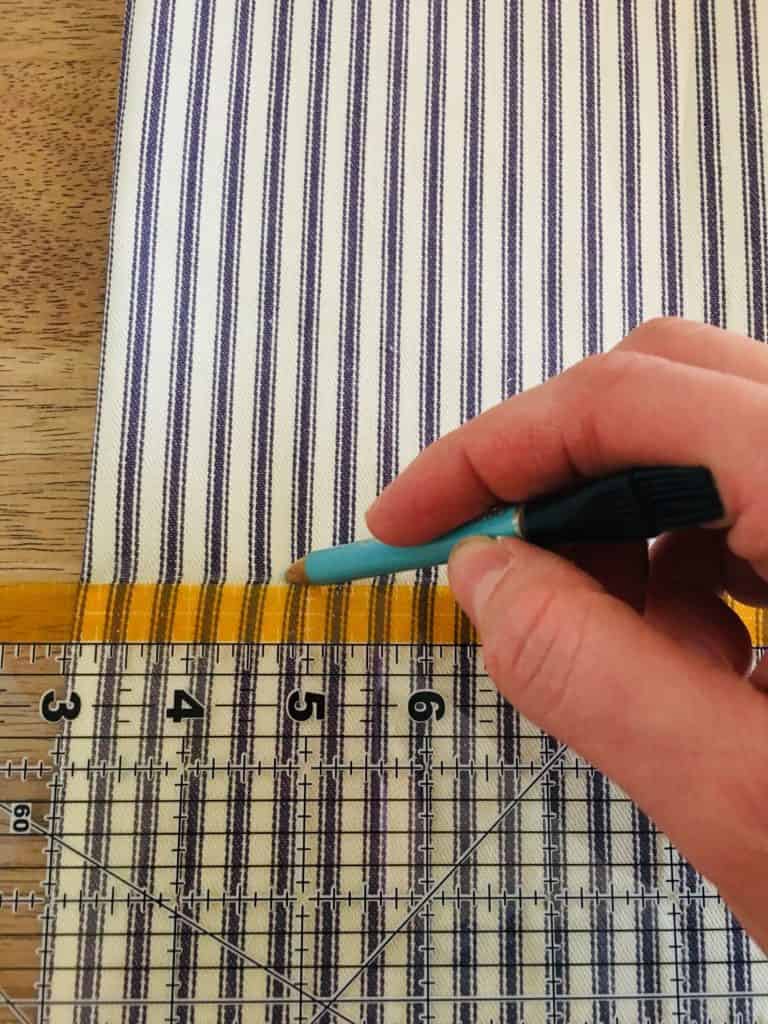
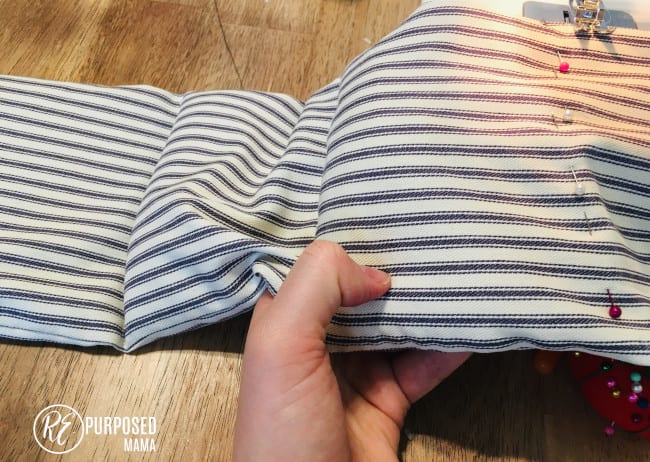
Step 4: Divide your rice heating pad into sections
The next step is to mark the pad into 4 different sections. You will sew the different sections so that the rice is proportional through the pad. Otherwise all the rice would settle to the bottom of the pad.
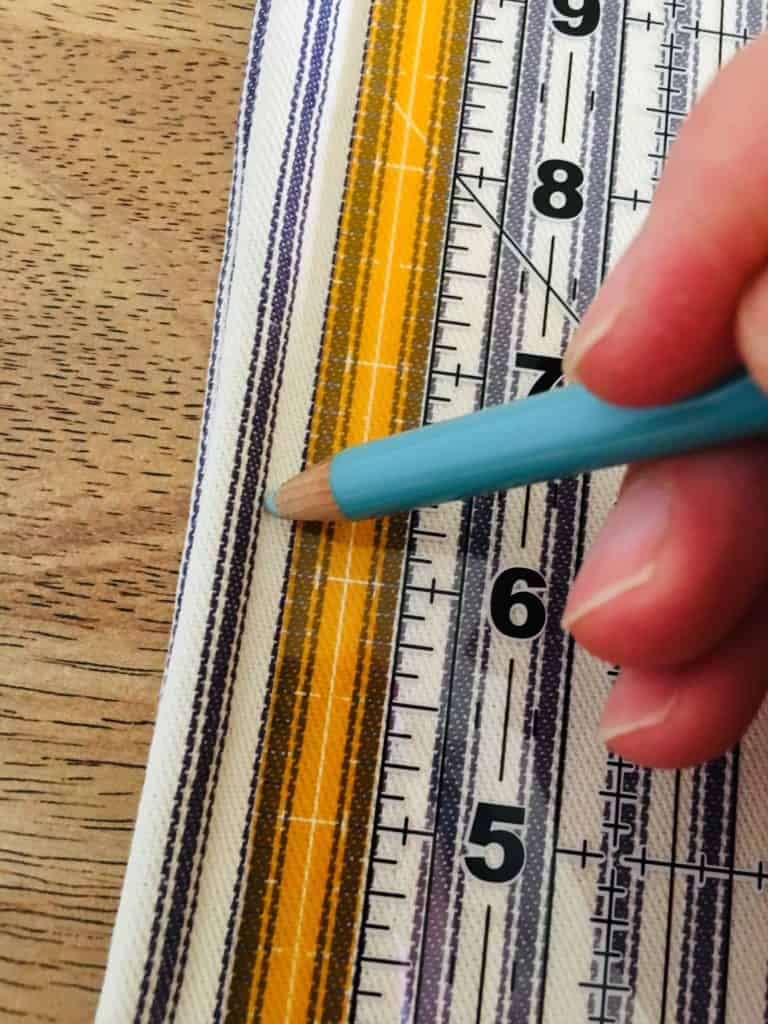
Start at the bottom of your piece and mark 6.5″ up until you reach the top of the pad. You should have three marks because the top will be the fourth marking. I drew a line across the pad at each of the 6.5″ markings with a dressmakers pencil. You could also just use chalk; anything that will brush off easily.
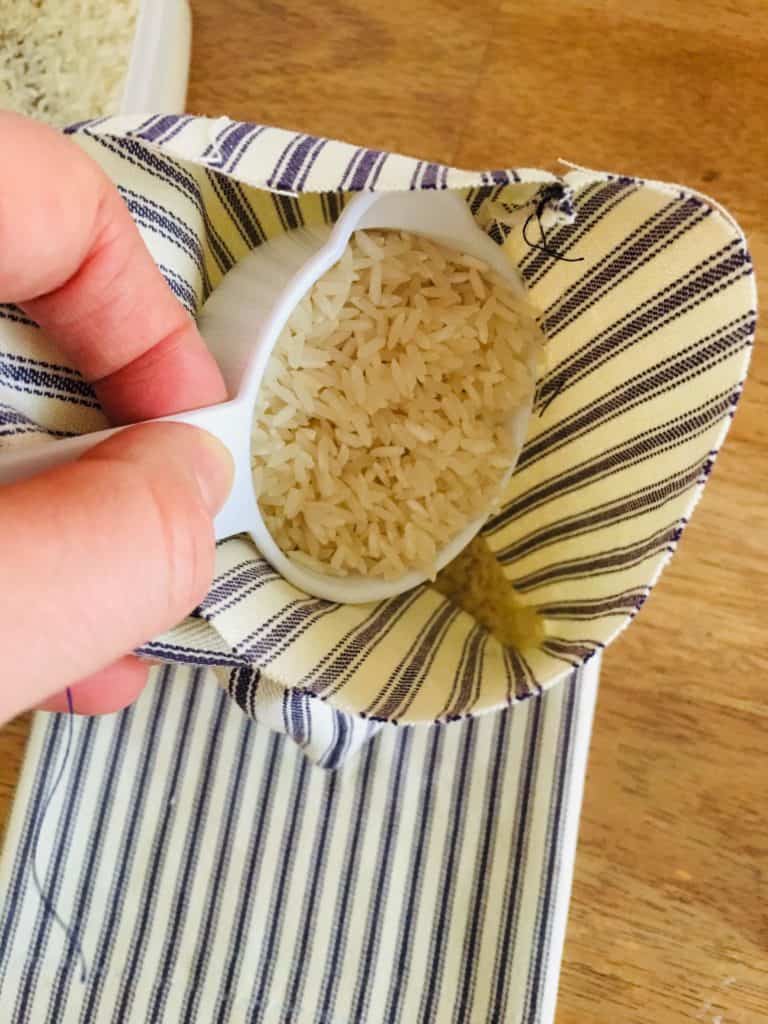
Step 5: Fill your DIY rice heating pad
Now start filling the diy rice heating pad with rice. Use 1 1/4- 1 3/4 cup of rice and pour it into the bottom of your pad. (The more rice you add the heavier the pad will be. I like mine pretty full and heavy. But for use with small children you may want to add less rice.) You want the pad to feel nice and full but you don’t want so much rice that it crowds your needle. Then pin along your first marking.
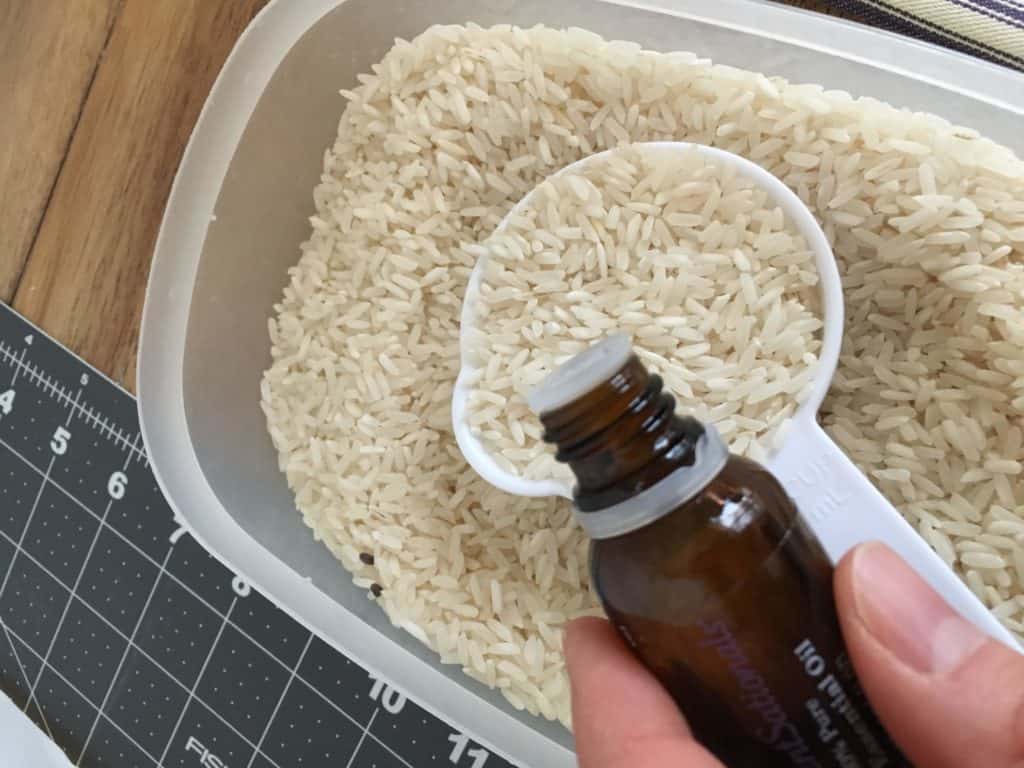
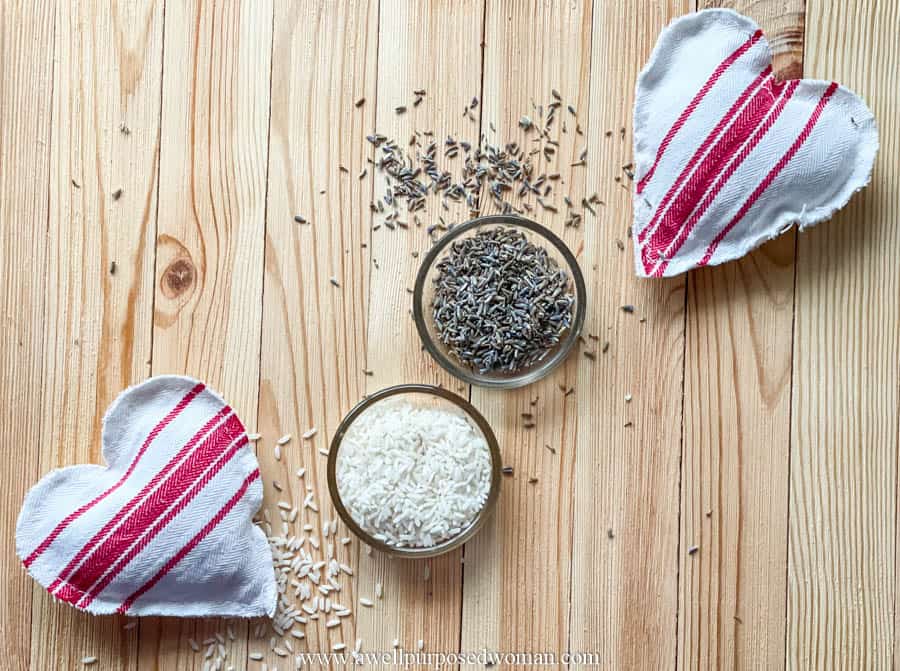
Tip: I like to add 3-4 drops of essential oils to the rice before adding to the pad. It adds a nice smell and has a calming effect.
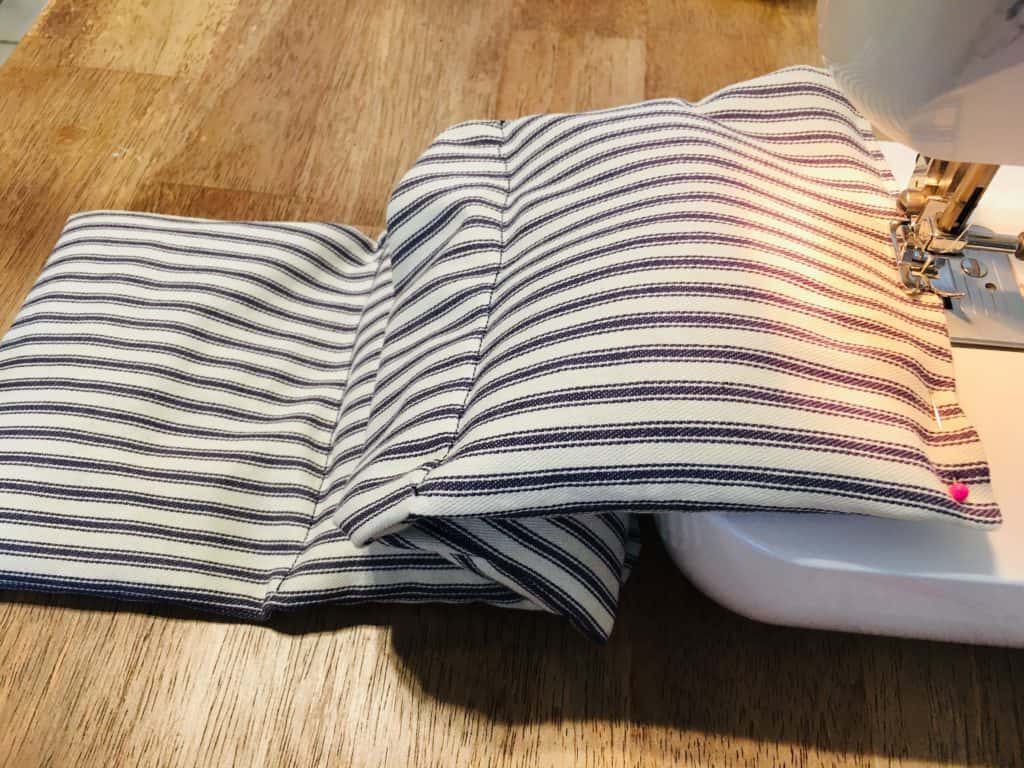
Step 6: Pin the sections of your DIY rice heating pad and sew them
Pin along the first marking. Sew the first section closed.
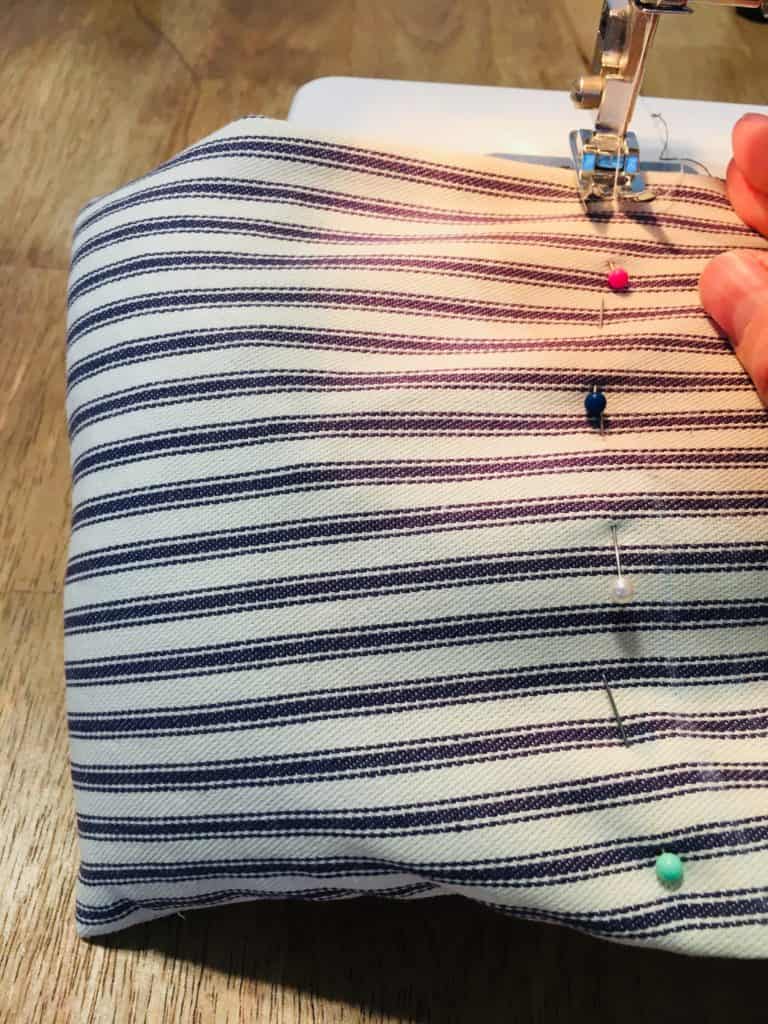
Tip: I find sewing the sections once the pad is filled with rice to be the trickiest part. So let gravity help you out. Let the end of the bag hang off the end of your machine. And shift the rice around if it gets too close to your needle.
Repeat Step 6 to fill the other sections of your pad. When pinning the other sections, let the pad hang off the side of your working surface so gravity assists you. Sew the remaining sections.
Step 7: Close your diy rice heating pad
The final step is to close the top of your pad. Fold 1/2″ from the top on all sides and pin it together. Sew the top closed. Often times I also do a top-stitch on all side of the entire pad for extra durability.
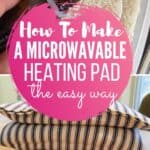
And that’s it! Now your diy rice heating pad is complete and ready to use!
I usually microwave mine for 1.5 minutes before using. But feel the pad yourself and see if it is the right temperature for you. It will depend on the strength of your microwave and how hot you want the pad, but generally 1-2 minutes should do it.
This really is the easiest way I have found to make a high quality rice heating pad with nice sections to keep the rice in place. And the wonderful part is it usually takes a little under 30 minutes to finish it!
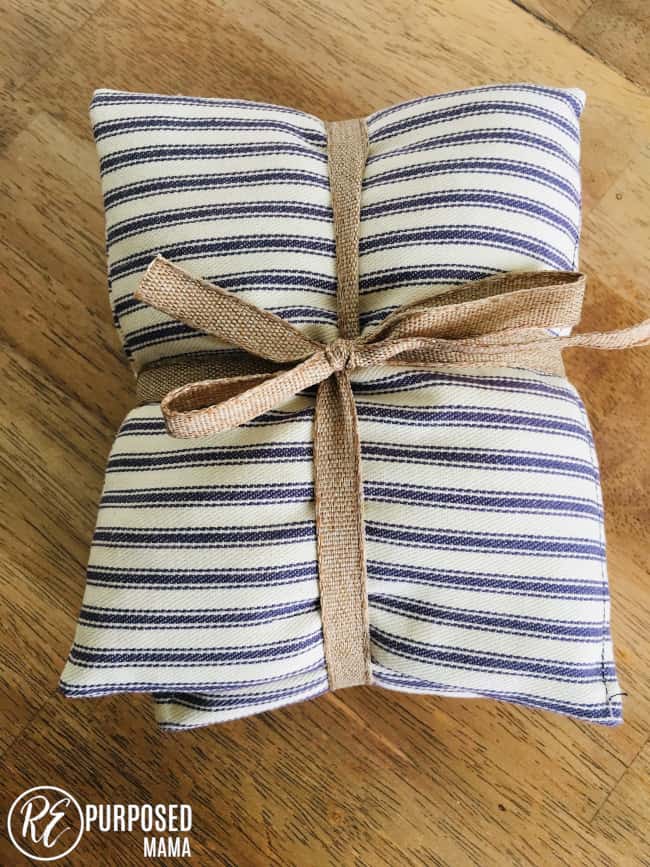
You could also make a diy rice heating pad as a present for friends and family. Just tie a nice ribbon on top and Viola!
Let me know if you make one or if you have any questions. Have a wonderful week!

P.S. If you liked this post you may also want to check out this easy tutorial for DIY Long Lasting Hand Warmers!


HAVE YOU USED LAVENDER OILS IN RICE?
Yes! That’s a great idea. Elizabeth
Does it matter what kind of fabric I use?
Yes you just want to make sure its microwave safe if you will be warming it up in the microwave. 100 % coton should work well. Elizabeth
Just want you to know I have made several of these rice bags for my grand kids…they keep them in the freezer and use them for cold compresses for headahes and for extra hot nights…they work equally well cold as they do hot….
Hi Judi! Thanks for letting me know. I love hearing this! 💕 Elizabeth
Love the tutorial, but how do you wash it?
That’s a good question! Mine don’t get washed. I just make a pillow case or cover it with one when using it. 💕Elizabeth
Thank you! Going to try the rice heating pads!
Great! Hope it goes well. Elizabeth
Love the idea my mom who is 94 years young always complains about her back. Thanks for the tutorial
What kind of rice works best
Hmm..that’s a good question. I usually use Jasmine but most types of white rice would probably work fine. Elizabeth
Hi Elizabeth, would you consider selling these? I am not a sewer and do not own a sewn machine but would love to replace my old rice heating pad. I would be more than happy to pay for shipping as well if you were able to make one for me. 🙂
Hi Brittanee! Oh my! I really need to keep up with comments. Yes, I would but this comment is almost a year old so I apologize for the delay. If still interested: elizabeth@awellpurposedwoman.com 💕 Elizabeth
1 3/4 cups rice × 4 sections equals a total of seven cups not five that you have stated at the beginning sections of materials needed.
Hi Star! Thank you for that. Good call! 💕Elizabeth
Many of the ones you can buy have both Rice & Lavender in them but not the ratio of rice to Lavender. I have bought both for the next one I’m making so anyone know the ratio of rice to Lavender i was thinking 10%-25% lavender to 90-75% rice?? As far as the fleece side the benefit is that it clings better to the clothing so they stay in the right place even if you move! Duck just slides off even if sitting stil and you have it on your upper back.
I usually add a few rounded tablespoons of dried lavender buds per rice bag. I love making the bags from flannel. They don’t slide as much.
Hi Cristina! I love those ideas. Thank you for sharing them. Elizabeth
Did you use 1 3/4 cups of rice for each section or the entire pad?
Hi Carla, yes I did. Elizabeth
I’m confused on your answer. Did you use a total of 1 3/4 cups for the entire pad? Or for each section?
Each section, but feel free to play around with the amount if it seems to heavy or full for your own preference. Elizabeth
I think the rice measurements are off. 1.75 cups for four sections equals 7 cups, not 5.
Good call! Thanks for pointing that out.💕 Elizabeth
I make a cover for mine. It is open on one end with a little Velcro to keep it closed. The cover can washed. Keeps the rice bag clean.
I just made one for my future son in Law! I am not very experienced with sewing and was able to complete this because of your awesome instructions! Thank you!
Hi Jen! I love hearing that! Thanks for letting me know! Happy Crafting! 💕 Elizabeth
When I’ve made rice heating pads in the past, I’ve always made 2 bags, one out of muslim for the rice & a terry cloth hand towel for the outside, I sew some ribbon on the end of the towel so that it can be tied in a bow to keep the rice bag inside. I have done it that way so that the rice bag can be removed and the hand towel can be washed with your towels when it gets dirty. This is just a suggestion on how I’ve done them. Thanks for your directions.
Hi Carol! I love this idea! Thank you so much for sharing that! 💕 Elizabeth
I have made many of these and make a cover of minkie to slip over the rice bag. The cover can be washed easily
Great idea Georgia! Thanks for sharing! 💕 Elizabeth
This is the best pattern and instructions I’ve found yet! Thank you so much!
Aww thanks Debbie! You’re welcome. Please let me know how it turns out. Elizabeth
Love the simple directions. Planning on making this for gifts. Do you know how long this keep hot? Thank you.
Hi Nonna, That is a great idea! They do make excellent gifts. I would say a good 15-20 minutes. If you have them underneath blankets when laying down maybe a little longer. Hope it goes well. Elizabeth
I was thinking about layering some wrap n zap cotton batting and a durable cotton with the rice to make it stay hot longer? Do you think it would?
Hi Jessica, I am not familiar with the wrap and zap batting. I would just make sure whatever you add is ok to put in microwave. But otherwise I think it would be fine.
Would flannel work? I have some scraps and a friends daughter just got her friend and is having a rough time 🙁
Hi Samantha, Yes flannel would work as well. I hope your friend’s daughter is feeling better soon. Elizabeth
What a nice rice pad! I would suggest making separate rice pillows with a thinner fabric and insert these in each compartment before sewing in between. That would be some extra work but maybe it would make it easier to avoid rice getting in the way (specially to avoid breaking needles)
Great tutorial! Thanks for sharing!
What a great idea! Thanks for sharing. Have you tried this? Would love to hear how it turned out. Elizabeth
Hi 👋 Does it have to be cotton? I have some fleece.
Hi Lisa Janie, cotton work wells. The masks can get quite warm and it has to be breathable material. I don’t think I would use fleece. Elizabeth
Hi Lisa Janie, I have never used fleece. But I would think it should work fine too. As long as it can be safely microwaved. Elizabeth
Would it be easier to sew one long side and the ends; sew the seam between the sections; sew the other long side leaving openings within the sections; fill each section with rice; and then finish off the long side closing the openings? Seems like this would lessen all of the maneuvering, as well as the possibility of the needle hitting rice grains and breaking (which I can guarantee would happen to me).
Hi Marion, I have thought of that but I still had difficulty with the rice filling in where I didn’t want it to be. For me this is the best method I have tried. But if you try that and it works awesome. Please let us know! Elizabeth
Here is how I made my rice bag and it answers the questions asked:
Made separate bags to insert
Used flannel
Sewed the seams between and then filled
Hi Mel! Thanks for sharing.💕 Elizabeth
Love this. Do you use 100% cotton or something thicker.
Great tutorial.😊
Hi Wanda, I use 100% cotton ticking fabric on these. The fabric is more like a duck cotton, so it is pretty sturdy! Elizabeth
Thank you for the awesome ideas ! I am really enjoyinng your emails. So many great ideas !
Thanks Shannon! Thanks so much for reading! 🙂 Elizabeth
Do have printable instructions without pictures
Hi Karen,
I don’t yet but that’s a great idea!
Elizabeth
That is exactly what I was going to ask, thank you!