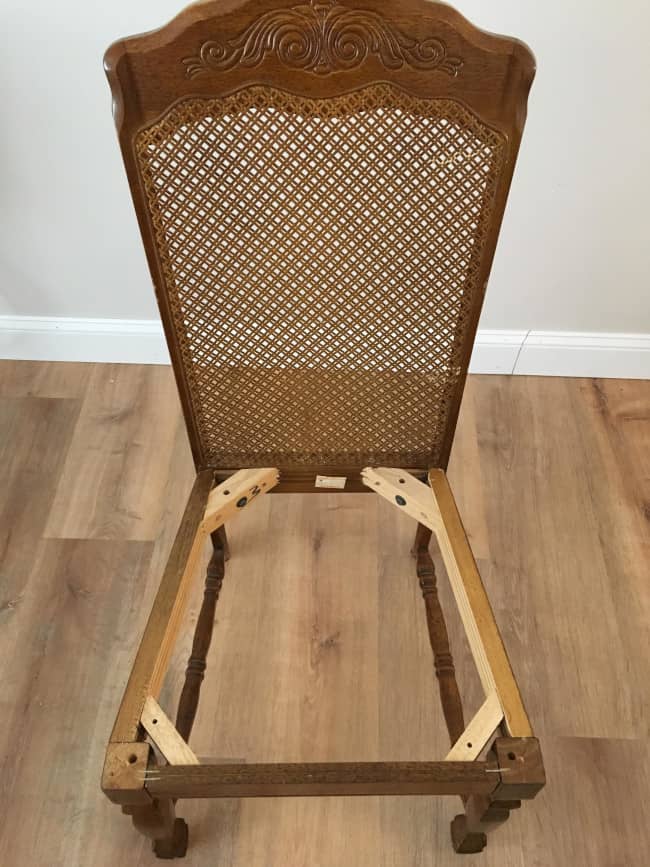
Last week I posted my dining room chairs makeover. If you missed it I had some vintage cane back dining room chairs like the one below that I re-did to match my dining room table. I was so pleased with my final result especially since it was my first re-upholstery project!

This project, like most, took a little longer than I expected. But mostly because I didn’t want to rush the process. I experimented with several different paints, stains and supplies to get just the look I wanted. It will probably go a lot quicker for you because the tutorial will cover what worked to get this farmhouse look on the chairs.
The chair makeover is going to be in two different posts so that it doesn’t become a terribly long post. You can skip to whatever step you are most interested in reading.
Post 1: 8 Easy Steps to Painting Beautiful Farmhouse Dining Room Chairs
Post 2: How to re-upholster the seat of a dining room chair.
So let’s get started!!
Step 1: Preparing, Painting and Sealing your dining room chairs.
Here’s what you will need to get this look:
- Dining Room Chairs (haha that’s a given)
- Wash cloth and soap
- Sandpaper 100 grit or finer
- Paint Brush
- Annie Sloan Cream, Coco and Old White Chalk Paint
- Annie Sloan Clear Wax
- Cloth or Wax Brush
- Polyurethane Spray
Here’s how to do it:
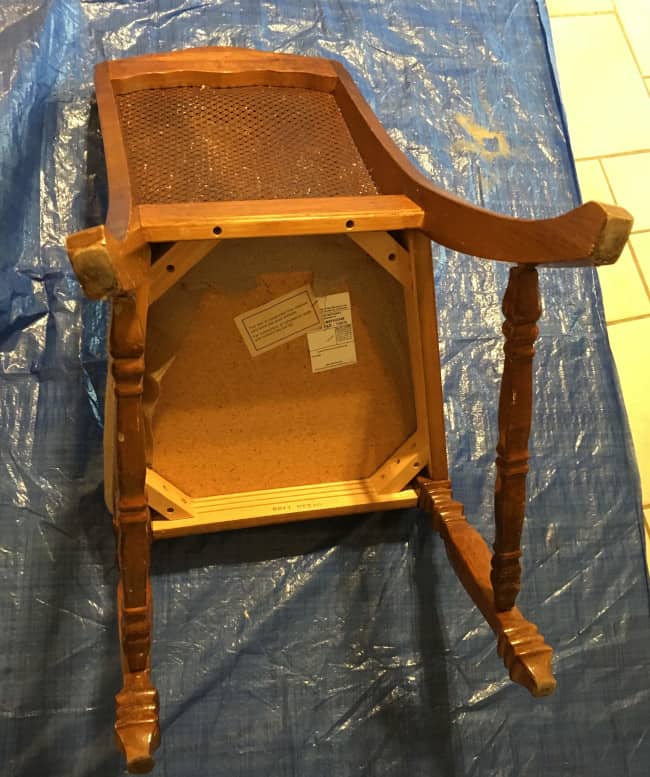
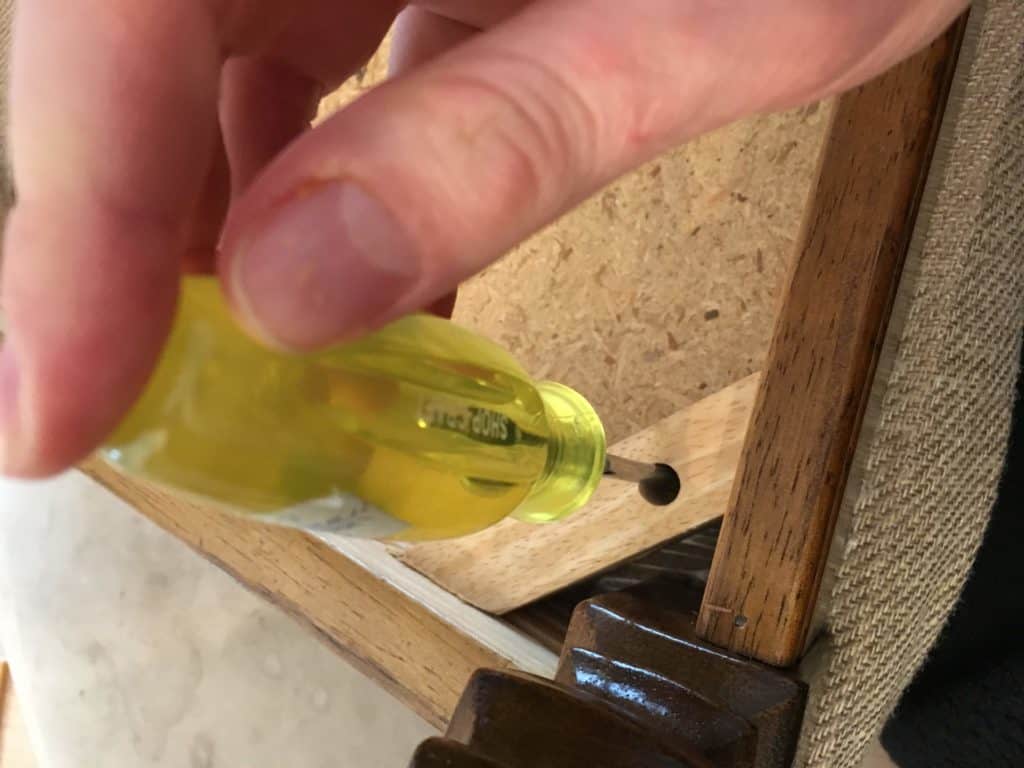
1. Remove the chair seat:
The first step was to remove the seat of the chair. Since the seat was going to be reupholstered. I started by flipping the chair upside down and removing the screws holding the seat to the frame of the chair.
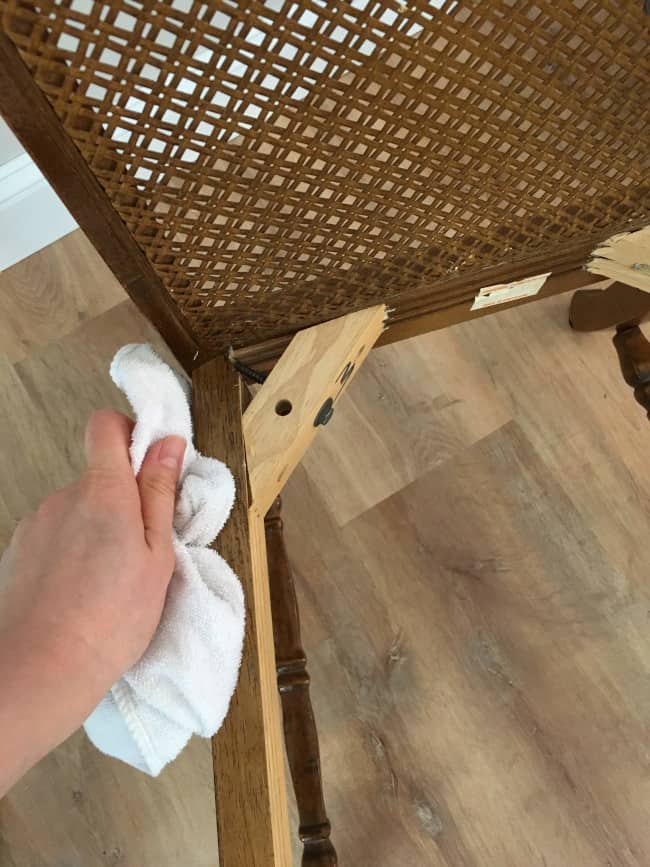
2. Clean the chair:
These chairs had been well used in someone’s kitchen for 30 years. They needed a good cleaning. After the seat was removed I took a washcloth and wiped these babies down!
3. Enjoyed not sanding 🙂
The main reason I used chalk paint on these chairs was I did not want to spend time sanding. That’s the true beauty of chalk paint! Sanding is not necessary!
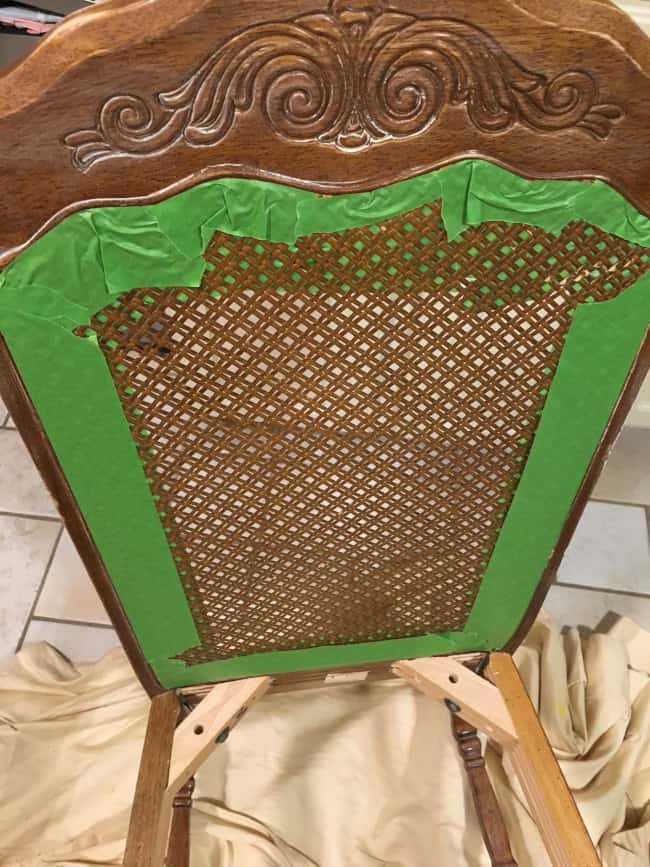
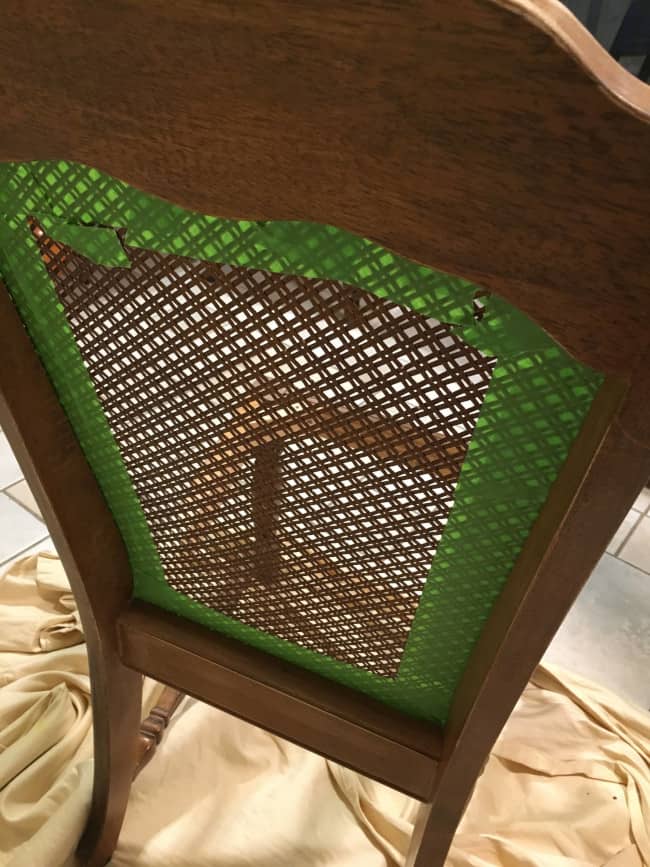
4. Tape the cane part of the chair:
Originally I was planning to keep the brown color on the cane part of the chairs. So I taped on both sides before painting.
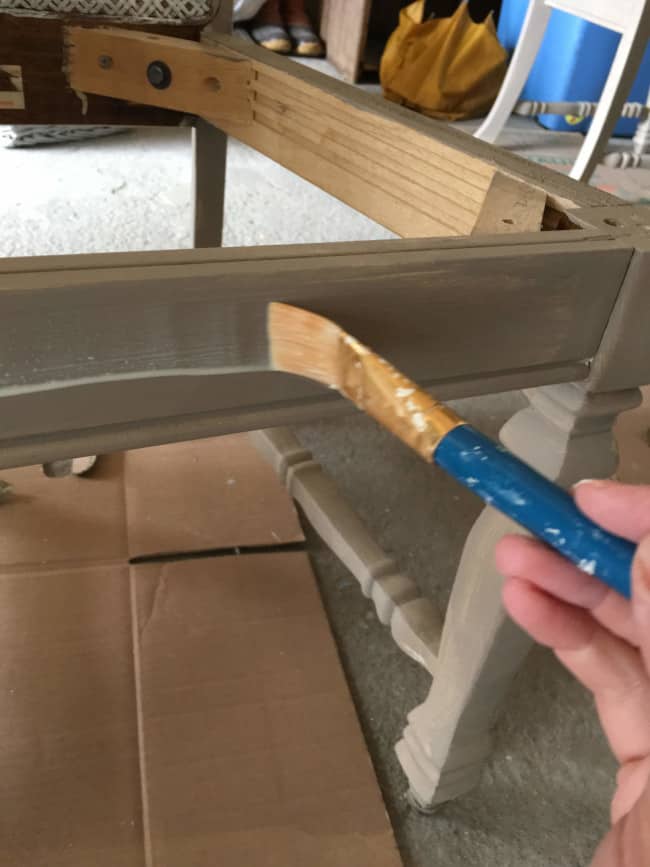
5. Paint, Paint, Paint:
This was by far the most time consuming part of re-doing the chairs. If you have ever re-done a dining room set you know just how time consuming this can be, but definitely worth it in the end. I actually added three layers of paint to the frame of six chairs.
The first coat was Annie Sloan Cream paint.

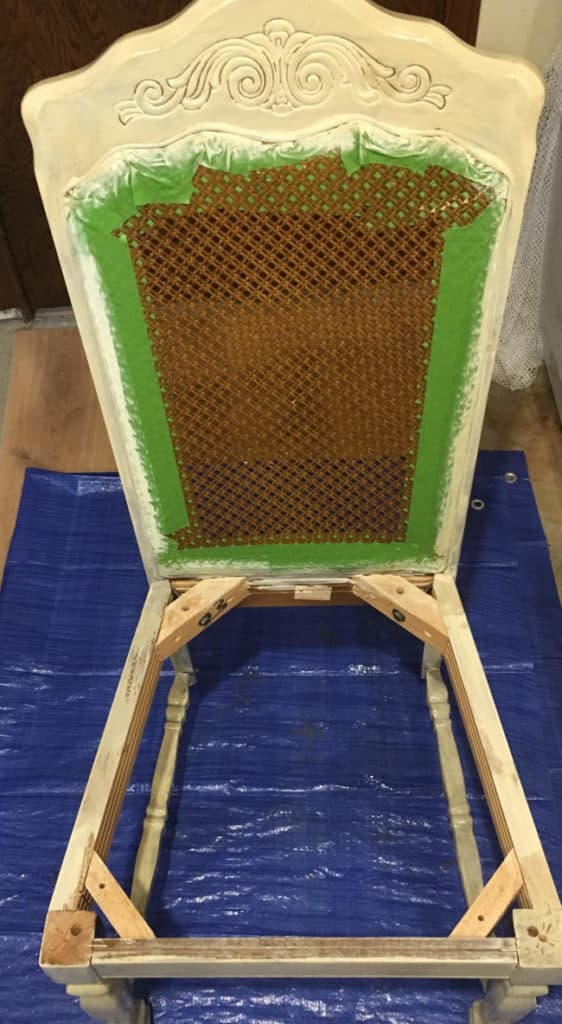
The second coat was Annie Sloan Coco paint.


And the third coat was a wash of 50/50 mixture of AS Cream and water.
I used a 50/50 ratio of paint to water. Even with the thinner paint I used a dry brush when applying the paint. I would brush the paint on. Wait a few seconds and then brush the paint off. It ended up being a subtle look but created the layers I was looking for.
6. Paint the Cane:
After the frame of the chair was painted. I decided that I no longer liked the color of the cane. So I decided to paint the cane with Annie Sloan’s Old White. Then I did a wash on top of it with Annie Sloan Cream.

At this point I was getting a little tired of working on these chairs. I was very thankful for Colleen, my husband’s aunt, who came to visit and help me out. Before removing the tape we painted the cane in AS Old White.
We used a smaller brush around the edges instead of taping again. (You certainly could tape again before you paint if you aren’t comfortable with doing it this way.)

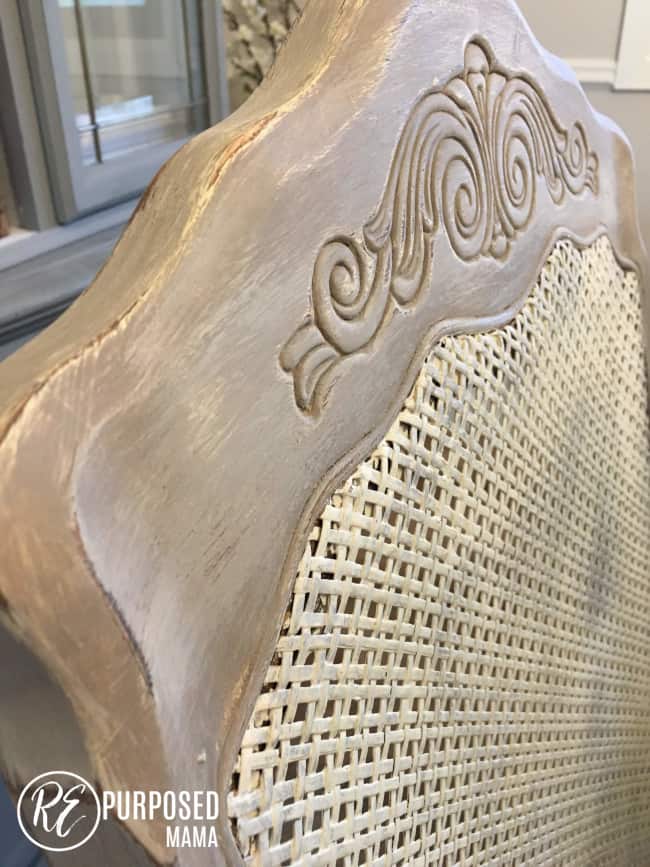
7. Distress the chairs:
Once all the areas of the chair were painted I took 100 grit sandpaper and lightly distressed the chairs. I distressed the decorated area in the center and the edges of the chair more.
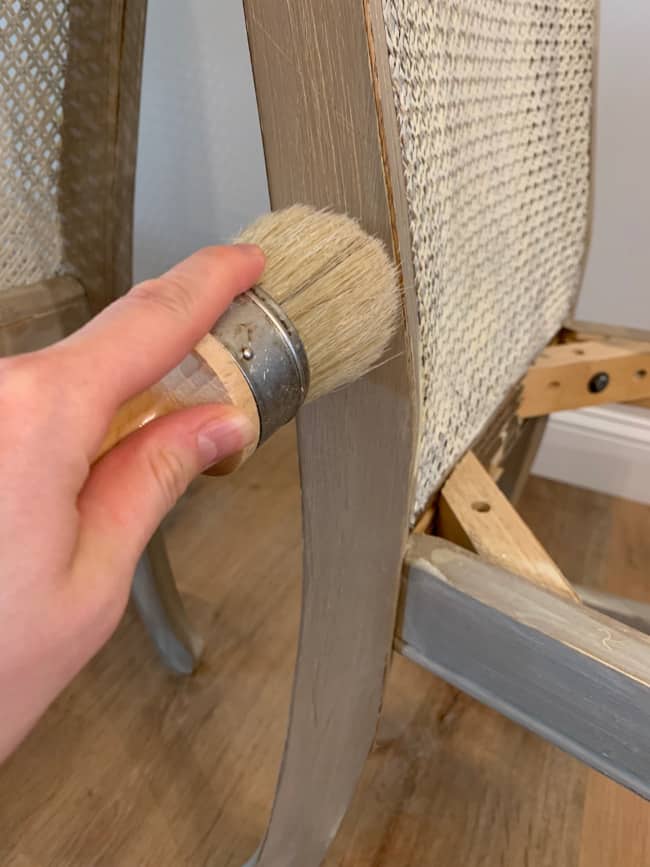
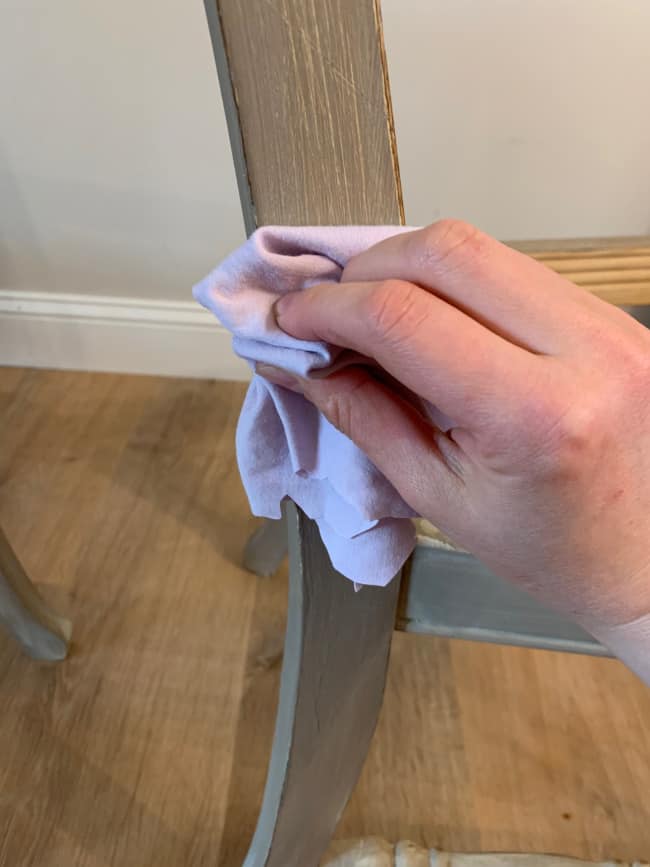
8. Wax the Chairs:
The last step in painting was to wax all of the chairs. I used Annie Sloan’s Clear wax. Usually I use a wax brush to apply the wax. Then a rag to rub the wax in. When applying wax work in small sections at a time. Rub the wax in until the surface is no longer sticky or tacky. The surface should be smooth and soft.
And that’s how I transformed the frame of these old dining room chairs to farmhouse beauties….. Stay tuned because tomorrow’s post will be Part 2: how to re-upholster the seat to complete the chairs!!
Good nigh for now.
Elizabeth
Leave a Reply