Don’t you just love the farmhouse style? How rustic and modern meet. It’s just such a beautiful mix of past and present. Something I have been wanting for quite awhile was a farmhouse style table.
Before we moved into our first home, I found a free dining room set on Craigslist. A couple of weeks ago I posted how I re-did the dining room hutch that came with the set. So this week I want to show you how I re-did the table that went along with the hutch.
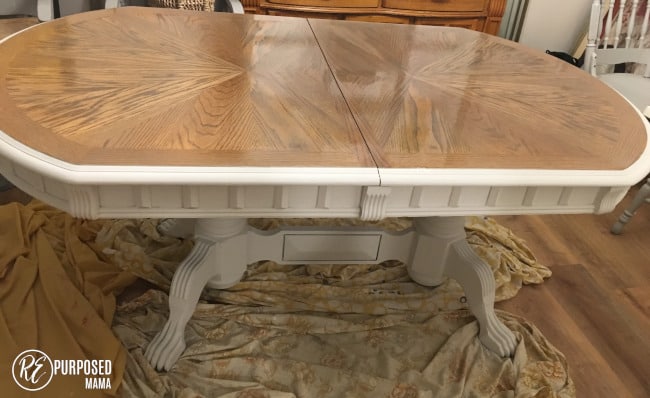
Like the rest of this set, the table was extremely sturdy and really in excellent condition. It was a solid piece that would last a lifetime. These are the pieces that make me hesitate as to whether I really want to re-do them or to let them live out a few more days in their original coat of stain.
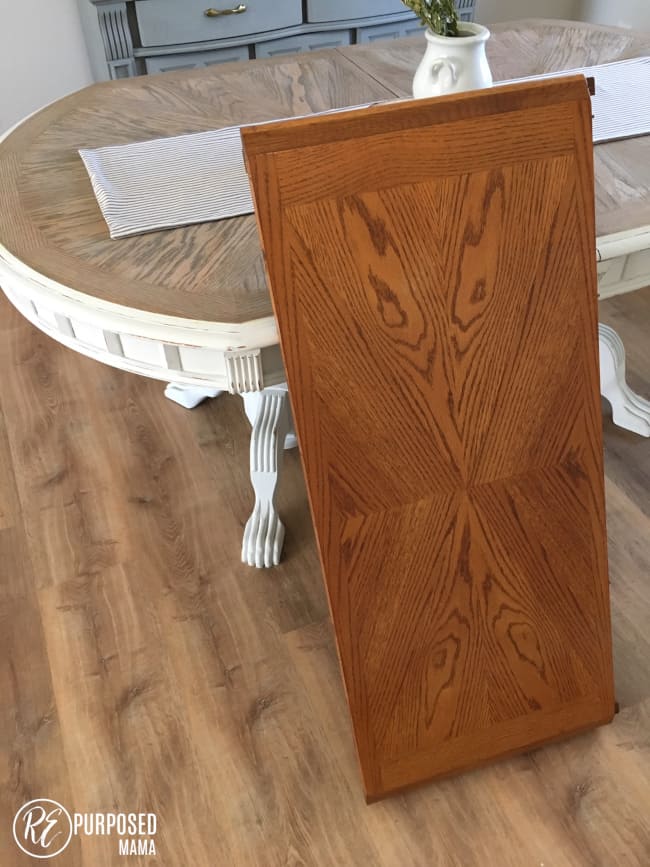
The only problem with this table was the color. It was a really orangey brown color that just screamed 1995. Plus there were small sections on the top of the table where the stain was showing some wear and tear. So it was time to move forward with re-doing it.
Since I was going for the farmhouse look. I decided to stain the top with a weathered Restoration Hardware type finish and paint the bottom in a distressed white chalk paint.
Here’s what I used to re-do the table:
- Hand sander and 120 grit sand paper
- Miniwax’s Weathered Oak Stain
- Fast-acting Polyurethane Spray with a Matte Finish
- Rustolem’s White Linen Chalk Paint
- Annie Sloan’s Clear Wax
- Paint brush
- Cloths
Here’s a quick summary of what I did:
Stage 1 :
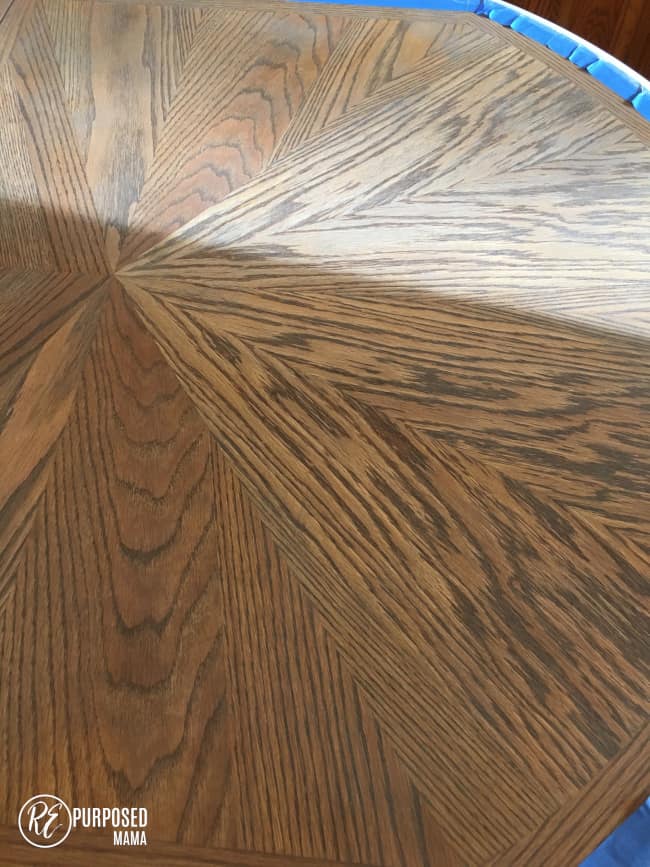
The first task was sanding the top of the table. I used a hand sander and sanded off the original finish and stain. Because the stain was so well in tact, this was by far the most time consuming part of re-doing the table. After hours of sanding I finally reached the raw wood of the table.
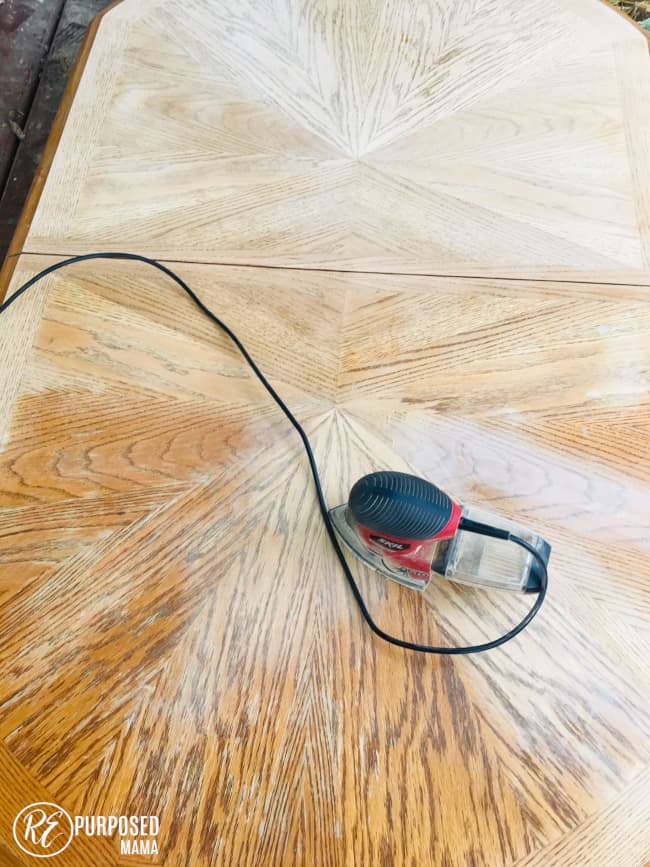
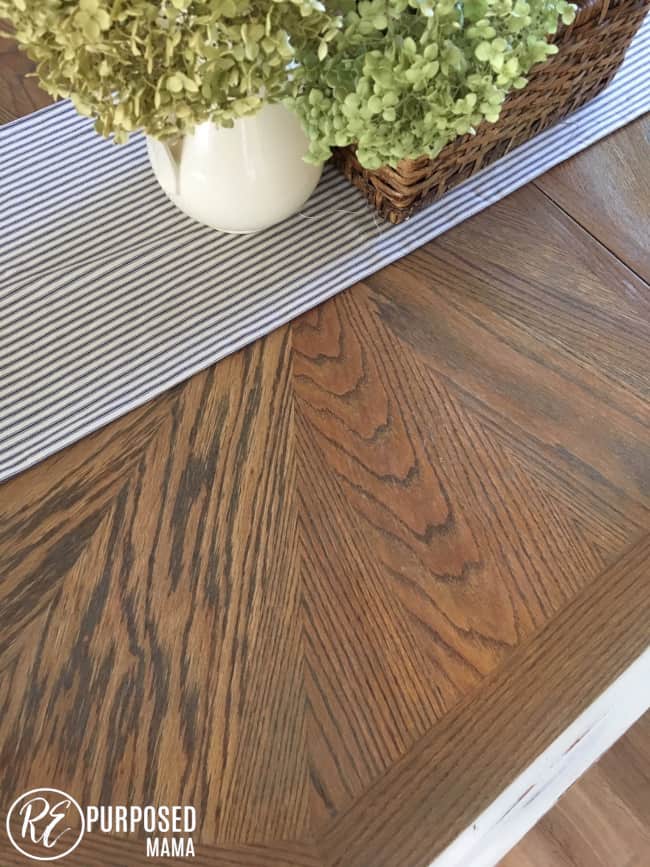
One of the reasons I did not want to paint the top of the table was because I really liked the wood design. The wood grain goes in many different directions with the center of the table being the meeting point for all the grains.
Stage 2:
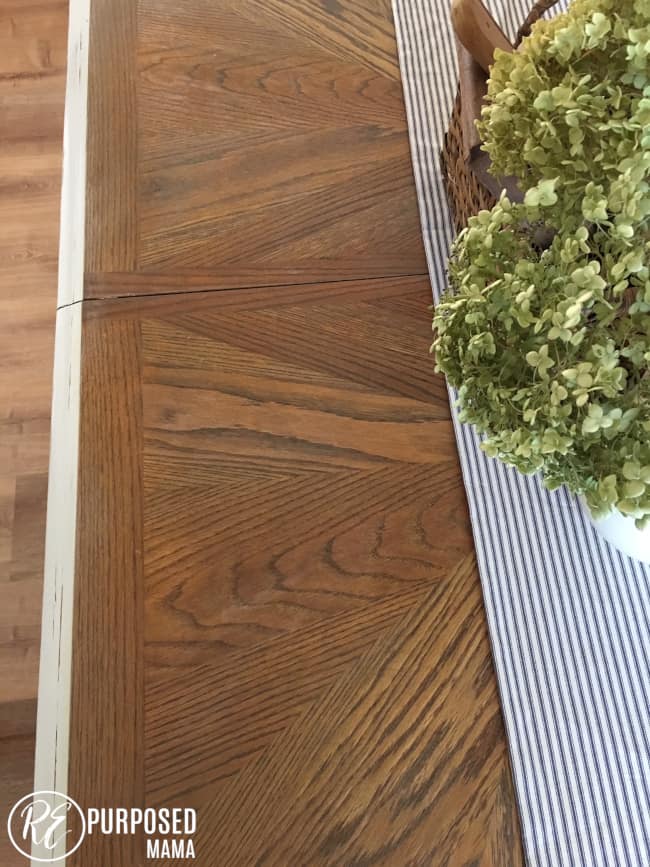
Next I stained the table with two coats of Mini-Wax Weathered Oak stain. I then sealed the table with two coats of fast-acting polyurethane. The stain and polyurethane took a lot longer than the directions had said but I was not too surprised since I had learned that earlier about stain.
Stage 3:
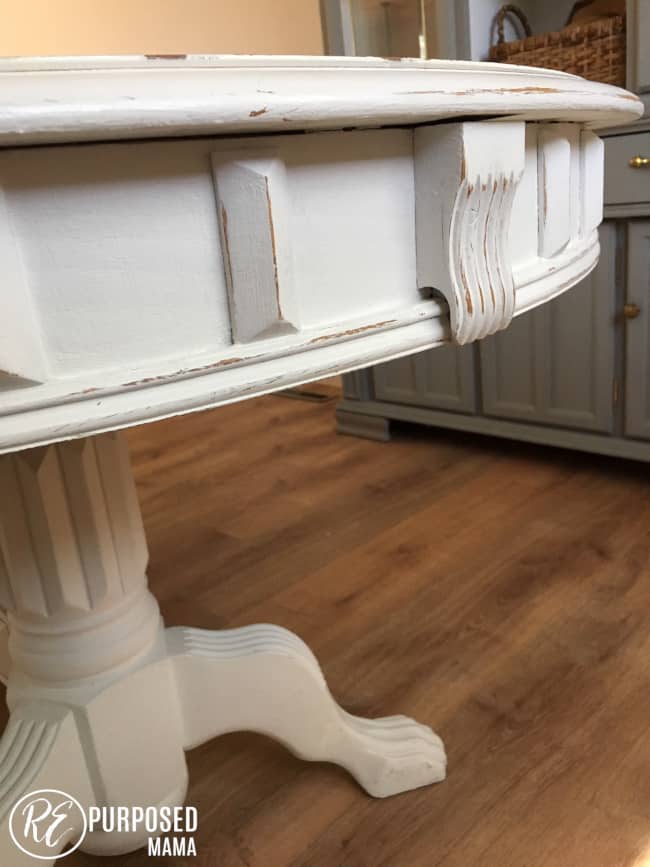
After my table top was dry. I taped off the top and painted the bottom of the table. I did the sides and legs as well as I could with the table in its normal position. Then I flipped it over and did any areas that I had missed. I did about three coats of the chalk paint on the bottom half of the table.
I used some sand paper and distressed the table along the edges and corners. Afterwards I sealed the painted part of the table with clear wax. I finished by spraying the entire table with Polyurethane. Unfortunately I did not get any pictures of painting or distressing the table.
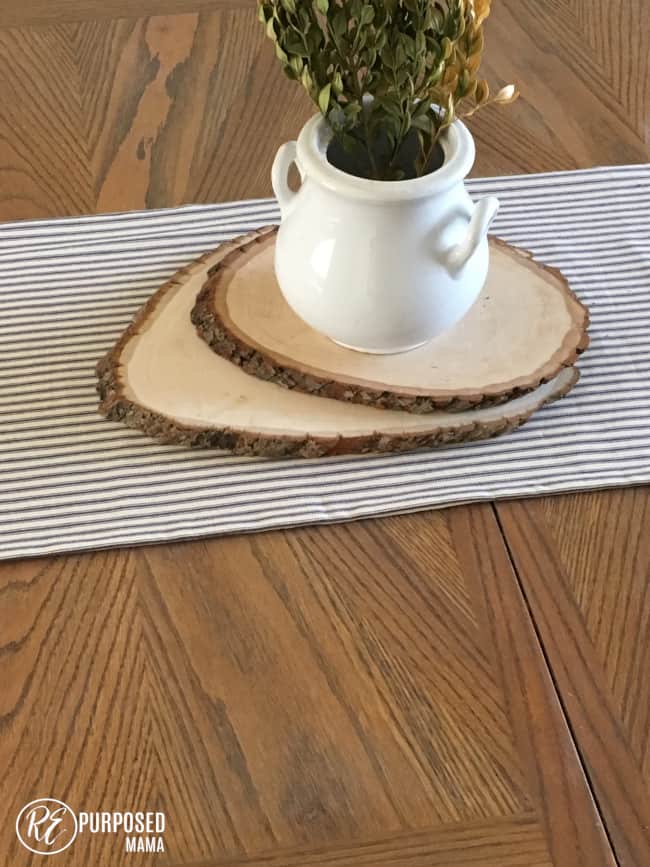
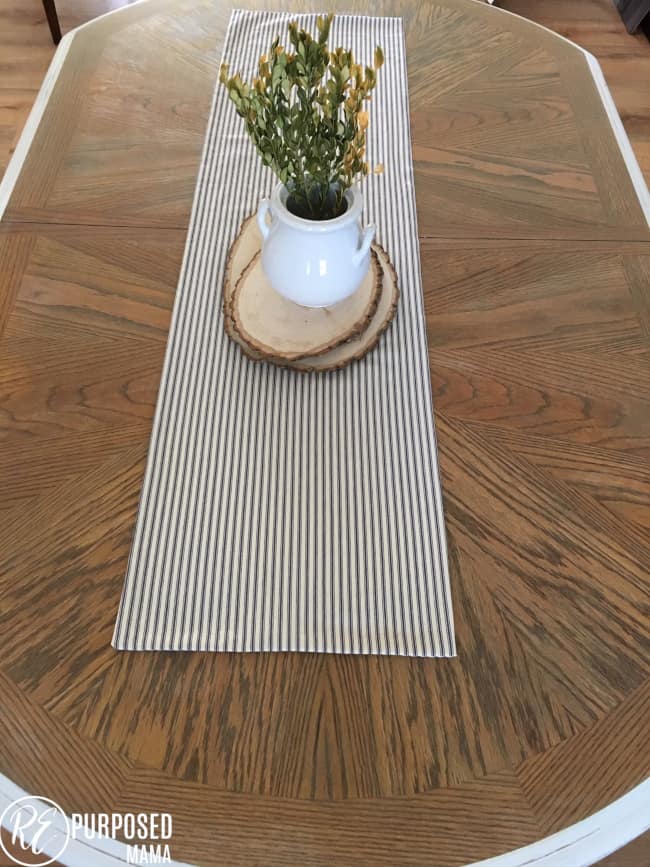
Now that I have a farmhouse table I am so pleased. I really look forward to using it when friends and family come to visit us. I love how it turned out and how it looks in our new dining room!
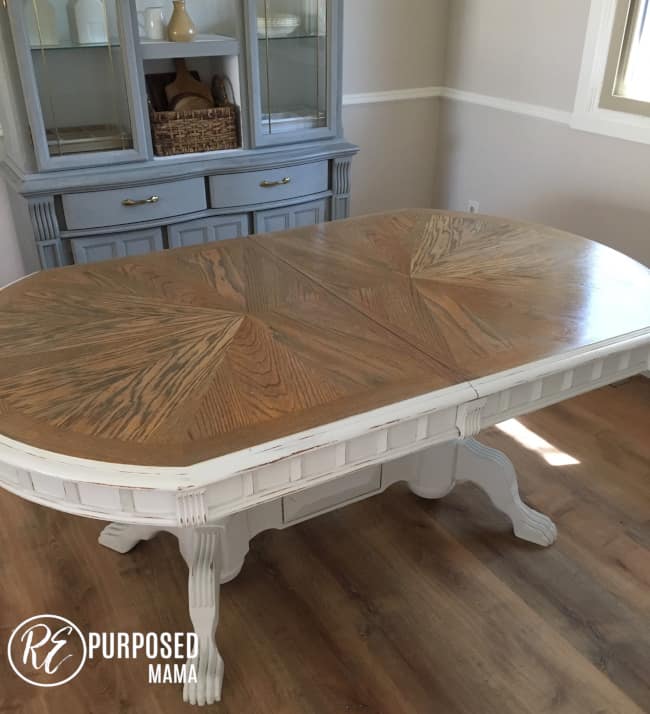
And that is how I transformed my 1995ish dining table into a relevant farmhouse style beauty!
Also maybe you noticed there are no chairs at the table! I ended up getting rid of the ones that came with this table. Although they had some unique features they didn’t fit as well in our new dining room.
Stay tuned because I am working on updating a new set of dining room chairs to go with the table. I will hopefully finish those by next week and I can post them for you to see.
If you liked this transformation you might also find this farmhouse coffee table transformation inspiring as well!
I have this same table! Thanks for the inspiration!
Hi Lisa, sure it was a fun makeover! Elizabeth