Don’t you love a good makeover? When something really old and worn out is re-vitalized for a new purpose! Well I do too and I especially enjoy working on furniture projects for kid’s bedrooms. Today’s dresser makeover was a project for a little boy’s room.
My sister called me and asked if I could find a dresser for my nephew’s bedroom. They were moving into a new home and my sister was expecting her second little one. Since he would soon be learning how to share everything in his life with his little sister. She wanted his room to be special just for him.
I searched around for different ideas. I knew she liked the farmhouse style. So when I saw this dresser I thought it was just perfect. My sister happened to agreed.
So I started looking for a dresser that would was similar. Since we are living in a new city I didn’t have my go-to places to look. It took me a little longer than normal. Some were too big, or too small, too modern, or too expensive.
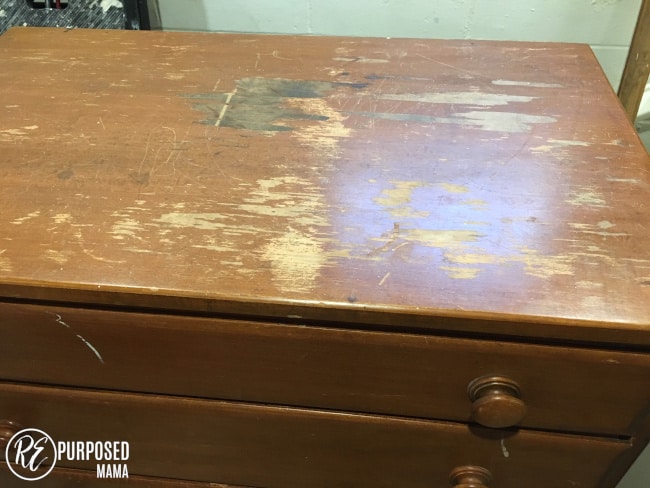
Finally while I was on FB marketplace one evening I saw a dresser that would work. The price was right as well. $1!! I quickly messaged the seller. And within 20 minutes my amazingly supportive husband 🙂 was off in his truck to get the dresser.

Ok so by the looks of it you are probably wondering. It took you a long time to find that?
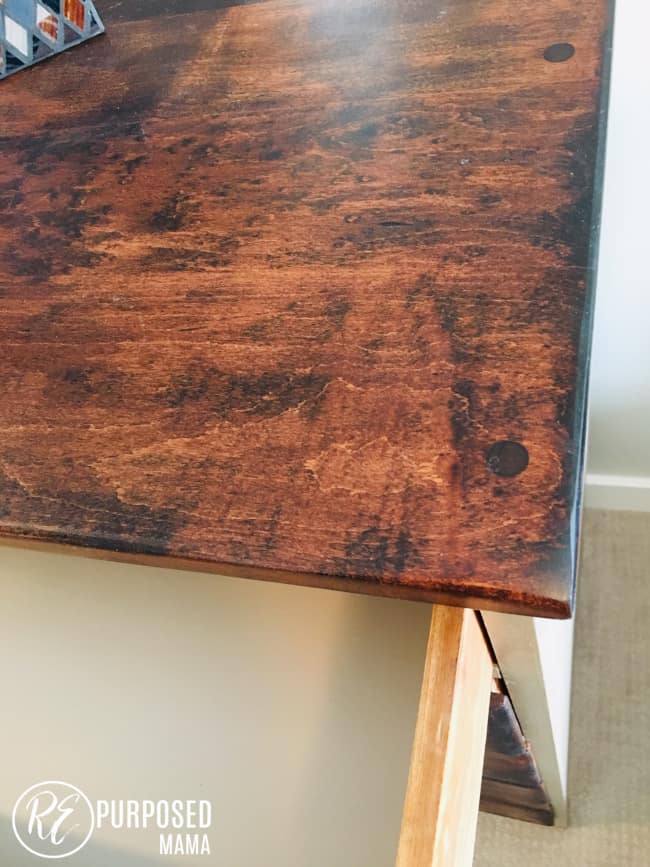
Overall it did need quite a bit of work. The top was in the worst condition. But it was the right size and style so I got to work!
The drawers on this dresser were a little rickety. So my husband and I reinforced the drawers with wood glue. He even added some screws in various places to make the frame of the dresser more sturdy.
But once the piece was fixed. I got to work on the fun stuff!
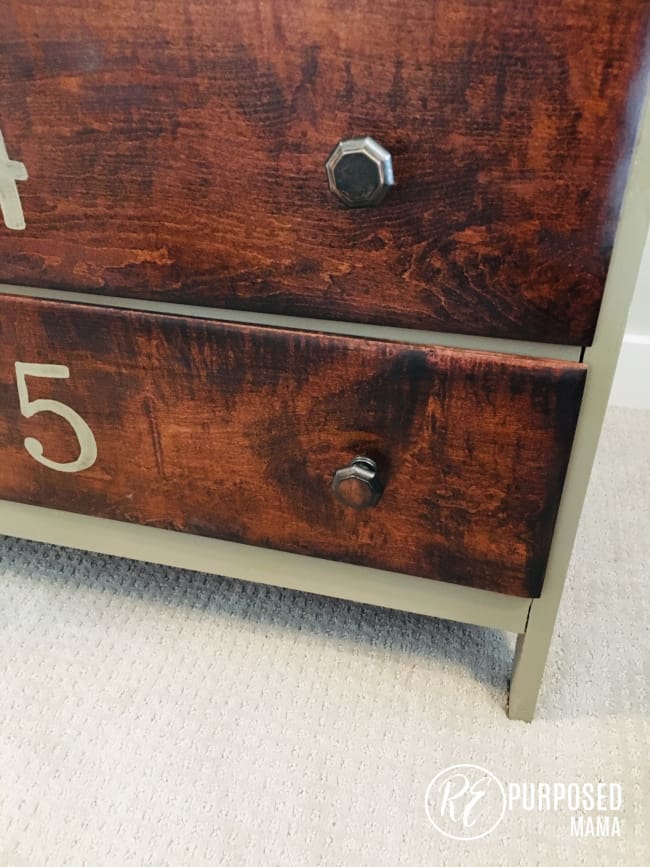
On the top of the dresser and the drawers I used Miniwax Red Oak. I had some left over from my coffee table project. So I decided to use it again on this dresser.
I used Annie Sloan’s Coco chalk paint with a clear wax on the rest of the dresser.
I really like how the neutral paint color plays with the dark stain. It has a masculine feel that is perfect for a little boy’s room.
Although it isn’t clear from the before picture because it had already come off. But this piece had a curvy decorated piece on the bottom when my husband picked it up.
Fortunately it seemed to have a sense that it didn’t belong. Because it actually fell off when we took it out of the truck.

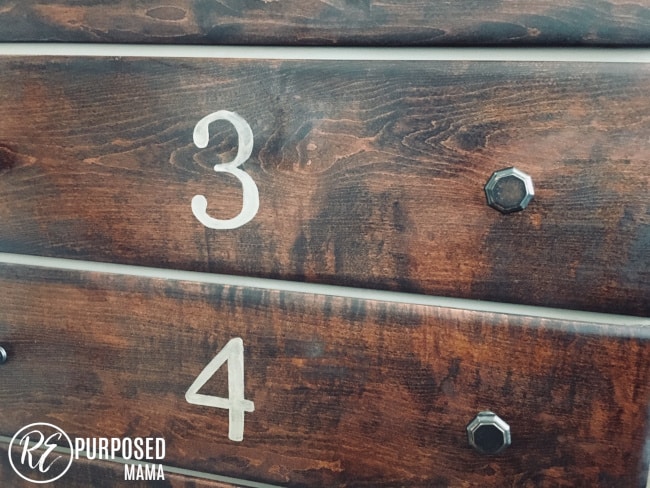
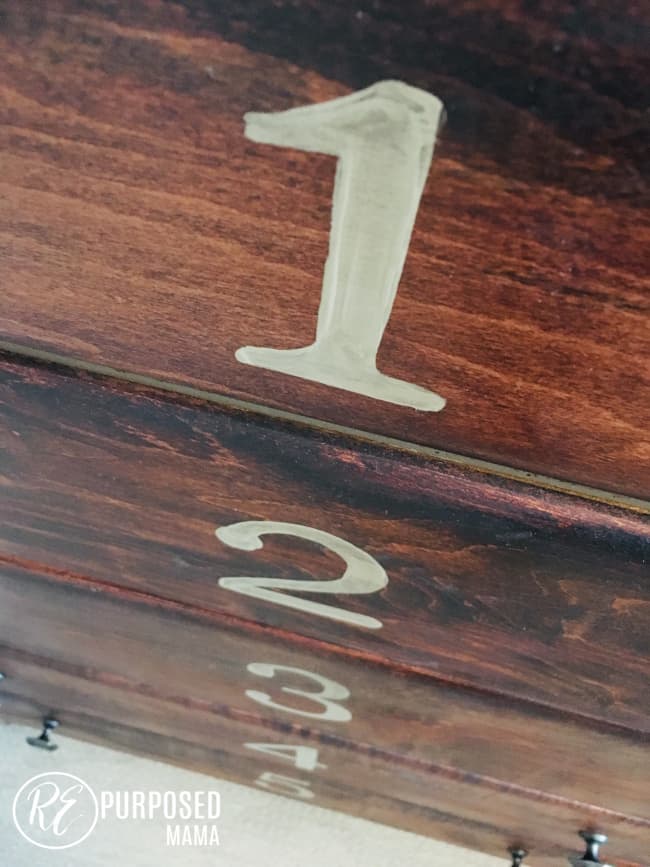
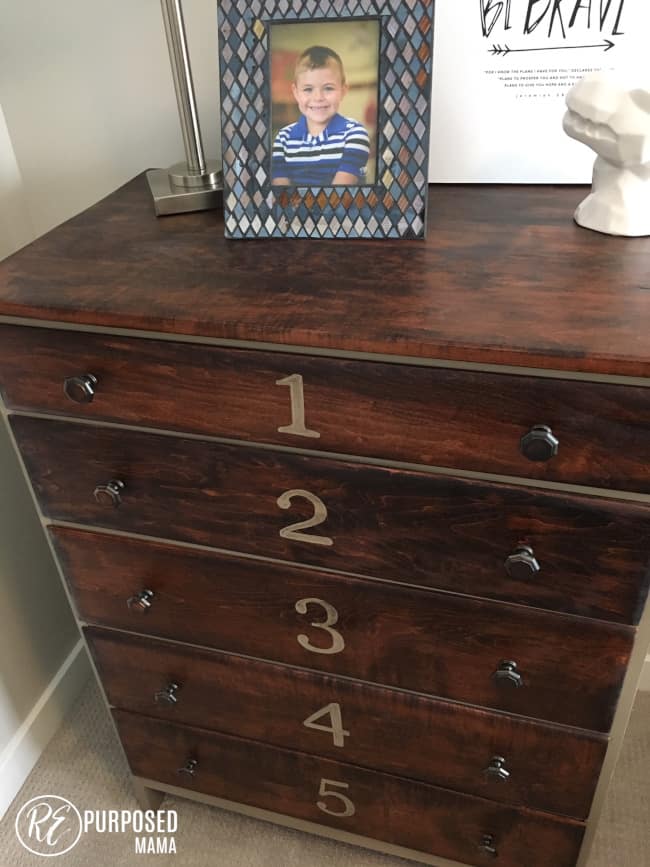
One of the best parts of this dresser of course are the numbered drawers. I thought this was a fun way to encourage responsibility with my nephew.

My sister could say, “look in drawer #3 for pants, or put your pajamas in drawer #5.” It could be like a game. Plus it added a special bit of uniqueness to his dresser.
The knobs on the dresser were black originally. Although I wanted dark knobs I didn’t think the black was as warm as the rest of the dresser. So I used some bronzing rub and warmed them up a bit. I think it added just the touch they needed.


I found some contact paper to line the drawers that matched the coco chalk paint and brought it to my sisters.
Overall I was pleased with the dresser, and the best part, my sister loved it!
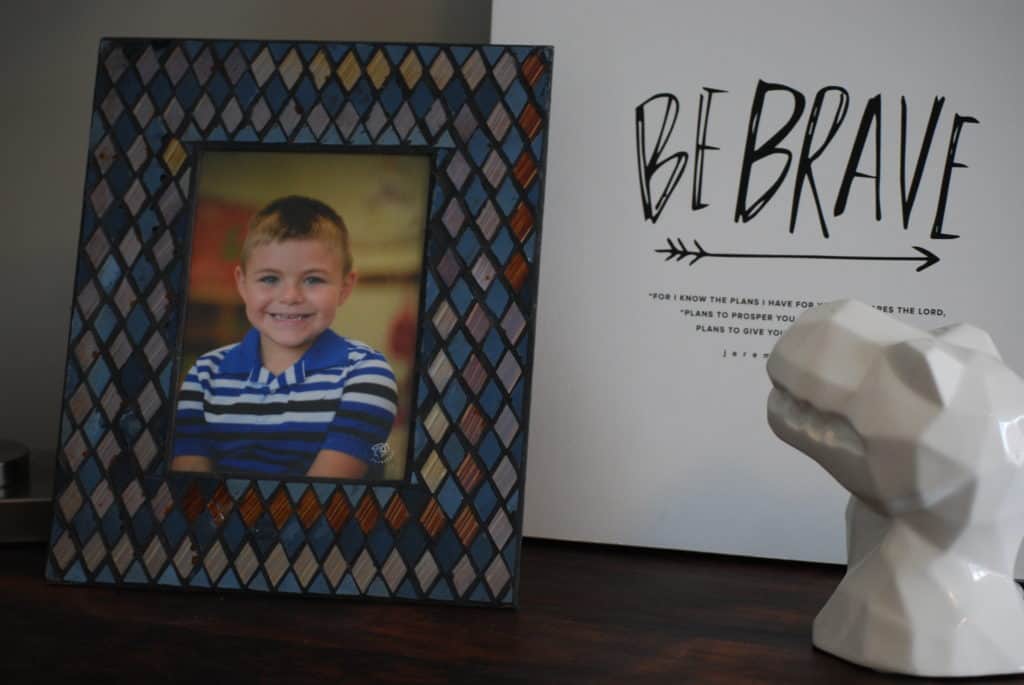
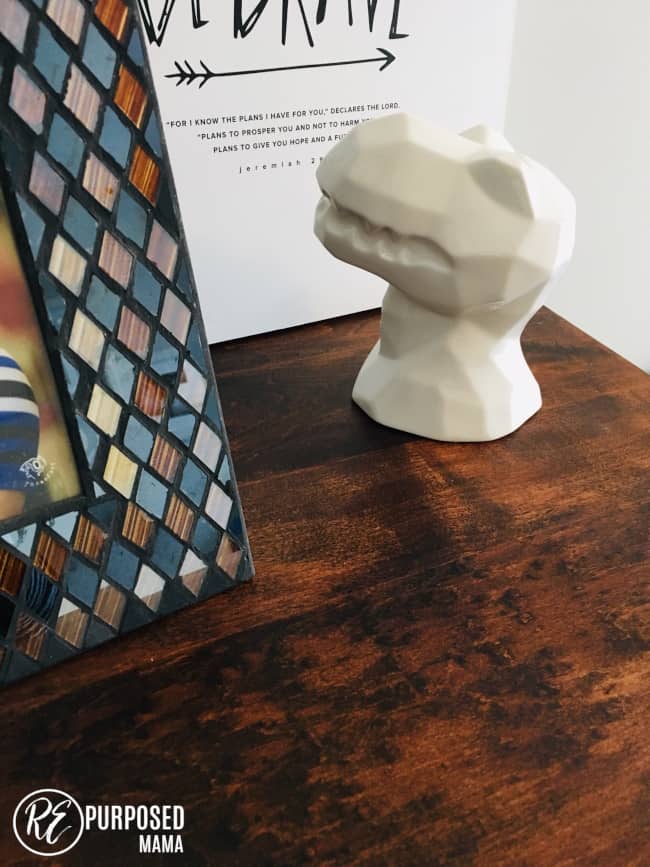
She had it all set up in my nephew’s room when he came home from school. She added some fun things on top to remind my nephew just how big a place he has in her heart. 💗
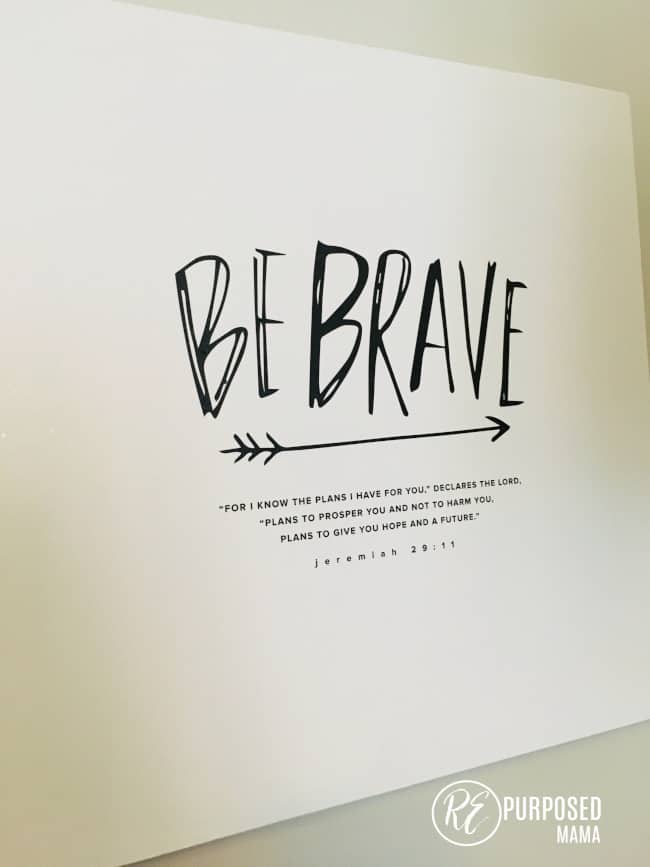
Re-doing this dresser for my nephew was a good reminder for me to pray over my little nephew’s life. Be brave little fella. You got a BIG God and He has big plans for you!
Happy Friday!

Love the knobs. The bronze addition is perfect.
Thanks so much! I was really pleased with the color of the knobs once the bronze was added.
Love how the dresser turned out!!! Great job!
Thanks Alesha! Thanks for stopping by 🙂
Great tips on repurposing furniture. Will try it out soon.
I have nominated you for The Sunshine Blogger Award. You can get all the information here: https://colorfuldesigner.com/sunshine-blogger-award/
Have a great weekend.
Thank you Conny! Let me know when you do…would be great to see a picture too! Glad to have you visit.