I can’t think of a better way to end the 12 Days of Christmas series than with a little bit of J-O-Y! Today’s gift to you for our last day is a free printable for a JOY sign! This is a simple and visible to welcome the season of Christmas into your home. This sign is perfect for a front door or entryway, but you can use the letters to create all kinds of signs. The tutorial below is how you can easily make an easy diy Joy sign!
One of the many gifts that Christ brings into our lives through giving His life for us is lasting joy. In Psalms 16:11 it says “in His presence is the fullness of joy, and eternal pleasures at His right hand.” I want that! I want to be in His presence more often, so I can experience more of His joy.
I think of the song Joy to the World which so beautifully portrays Christ’s entry into the world, and how the world received the gift of unending joy in Christ!
And since I think most of us feel like we can use more of that joy in our lives. I thought our front doors are a wonderful and visible way to share the Joy of Christ(mas) with our family, neighbors, visitors and passerby’s. This fall I felt encouraged to spend more time decorating my front steps as an invitation to guests. Hopefully in a similar way this sign is a small symbol of the Joy we have received in Christ.
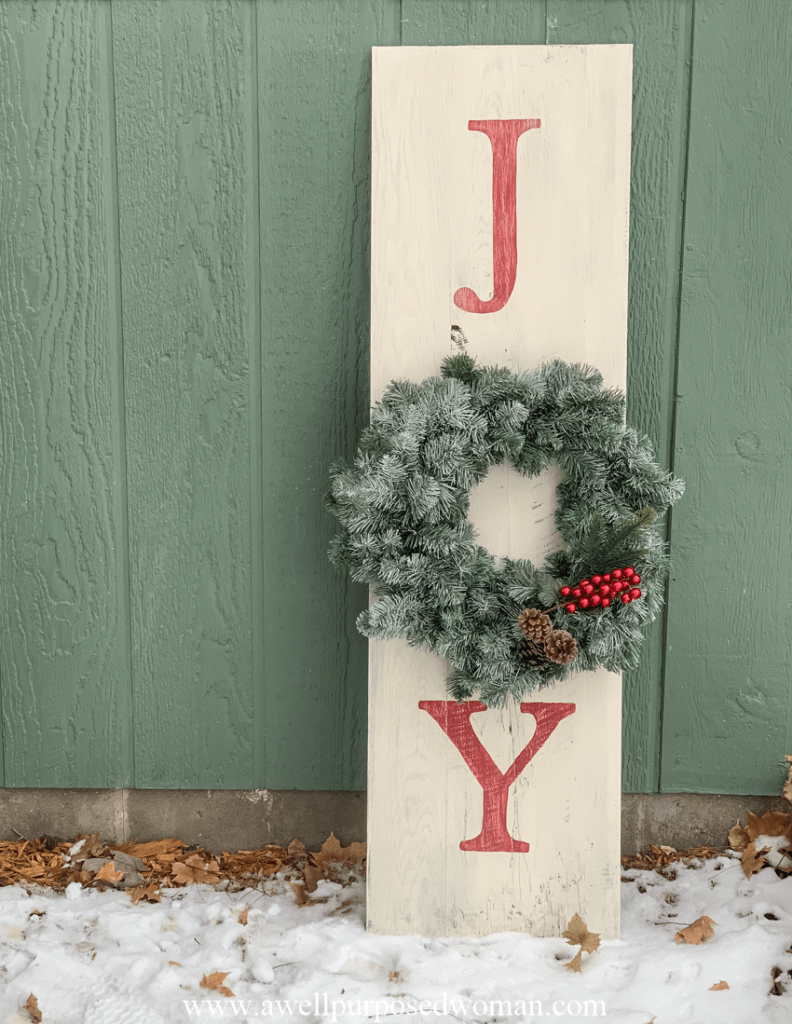
The nice thing about this sign, like most of my projects is that it is super simple and is less expensive if you DIY.
This post contains some affiliate links for your convenience (which means if you make a purchase after clicking a link I will earn a small comission but there is no cost to you).
Here’s what you need to make a DIY Joy Sign (with Free Printable)
- Board (14″x 4′- of course you can use any size)
- Chalk Paint or Stain
- Natural Bristle Brush
- Acrylic Paint (Flamenco Red)
- Small Paint Brush
- Free JOY printable
- scotch tape
- Wreath and nail (Optional- I used a 22″)
- Sandpaper (Optional)
Here’s how you make a DIY Joy Sign (with Free Printable)
Step 1: Prepare your board
Depending on if you are using a reclaimed piece of wood or a new one you will want to stain or paint your wood the color you want your sign. I was using a reclaimed piece of wood that was already dark. I wanted a distressed white color so my daughter Emmie and I painted my board with cream chalk paint.
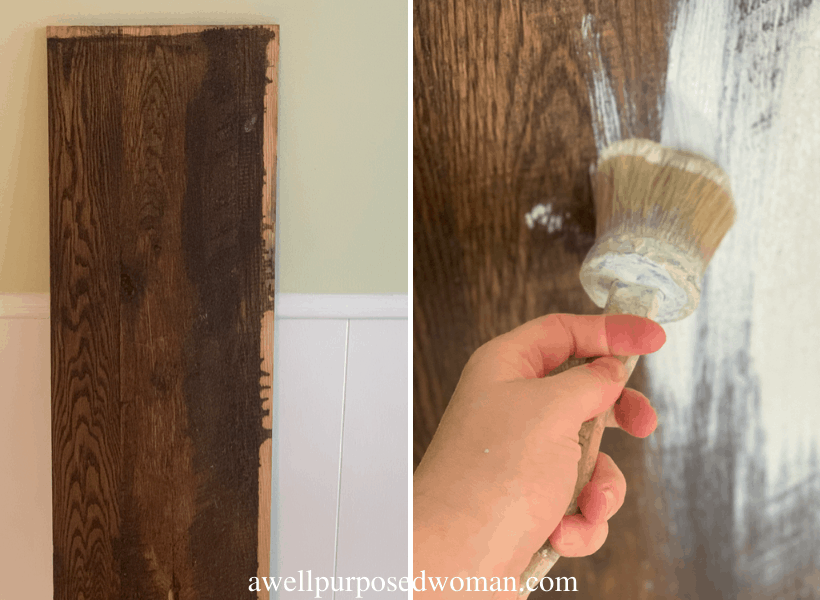
Tip: If you want a distressed wood color with a new piece of wood. Use dark stain on your new board as the first layer. Than paint with another color on top. When you distress your wood with sandpaper your wood will look distressed.
Step 2: Print and Cut out free printable
Download your free JOY sign printable and cut out the letters.
Step 3: Align your letters on your sign
Measure where you will place your letters on your sign. I measured 5″ below the top for the top of my “J.” And 5″ above the bottom for the bottom of my “Y” letter. Measure and place your letters on with scotch tape. Decide if you like the placements otherwise make adjustments.
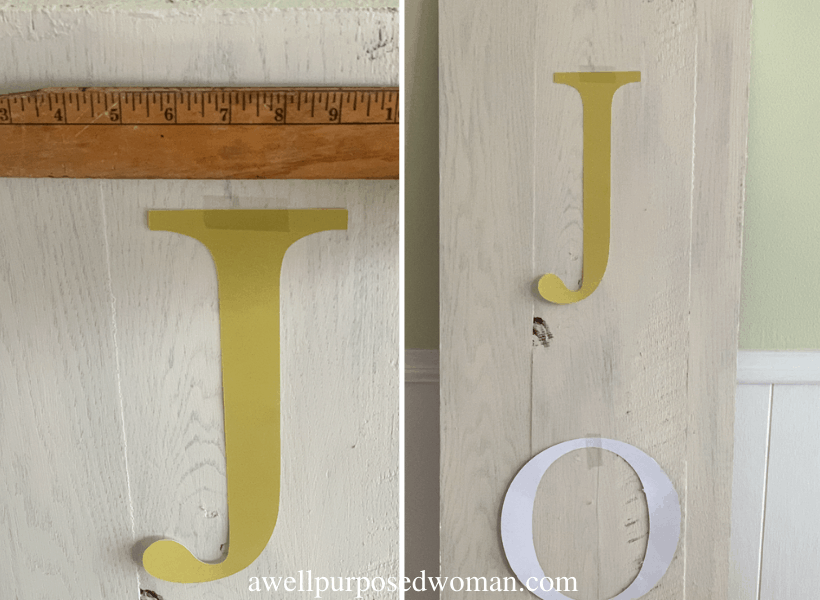
A fun addition to a joy sign is to add a wreath in place of the “O.” I knew I was planning to use a wreath so I measured accordingly. I laid the sign on the ground to see what it would look like with the wreath in place.
Step 4: Trace & paint letters on your board
Now that you know how you want your letters. Trace them on your board like a stencil. Use your acrylic paint and small stiff brush and paint your letters on your board.
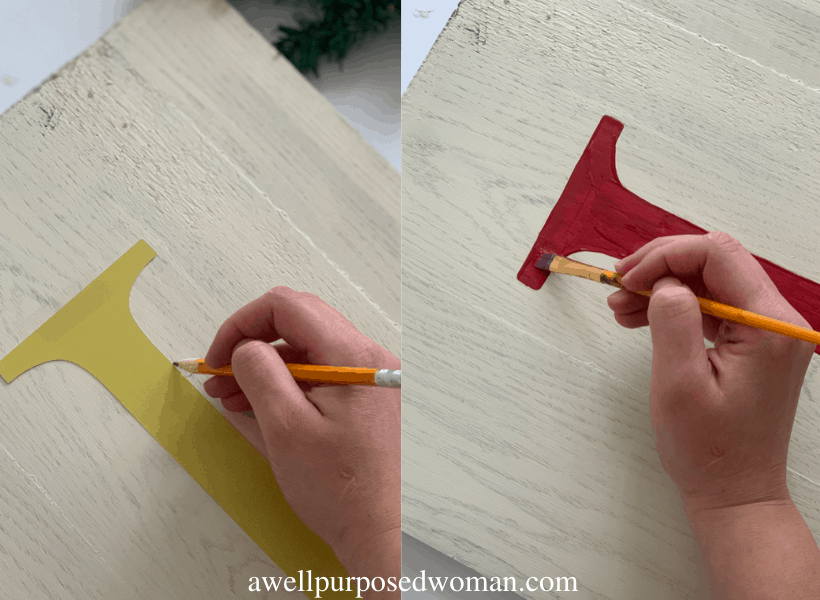
Tip: Use sandpaper to distress painted letters after they dry if you want them to look more distressed.
Step 5: Hang your wreath (optional)
If you are planning to hang a wreath in place of your “O.” Use a nail and place it where you would like it to hang. I just hammered a nail in place and adjusted how I wanted to hang the wreath.
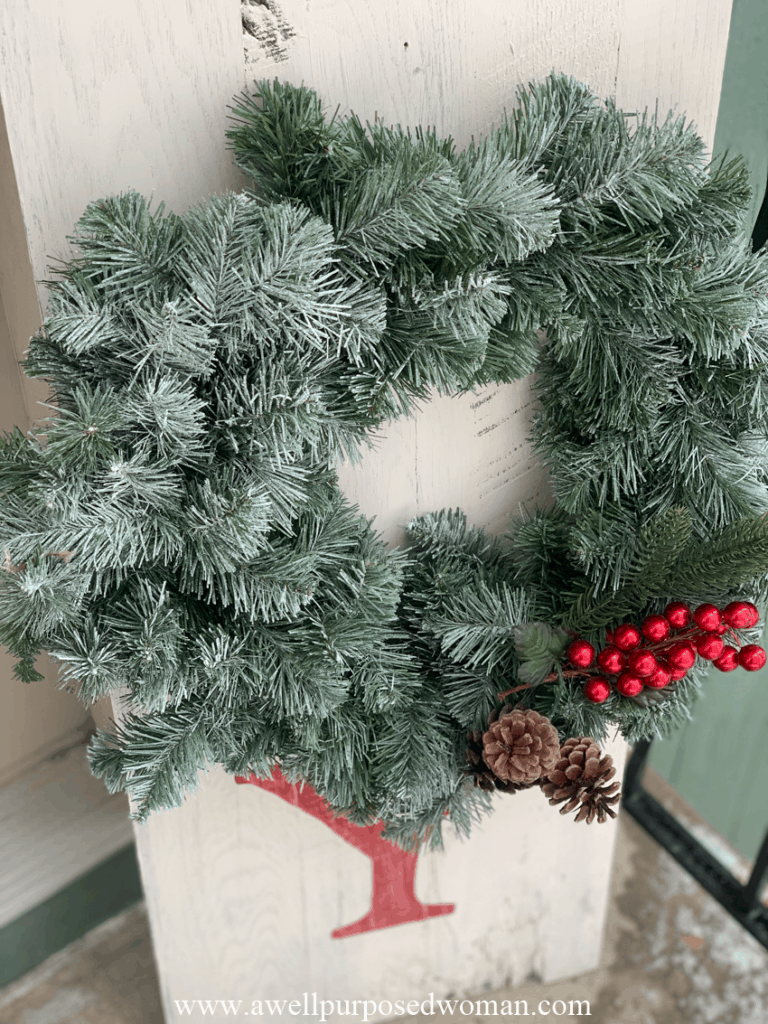
And that’s it!
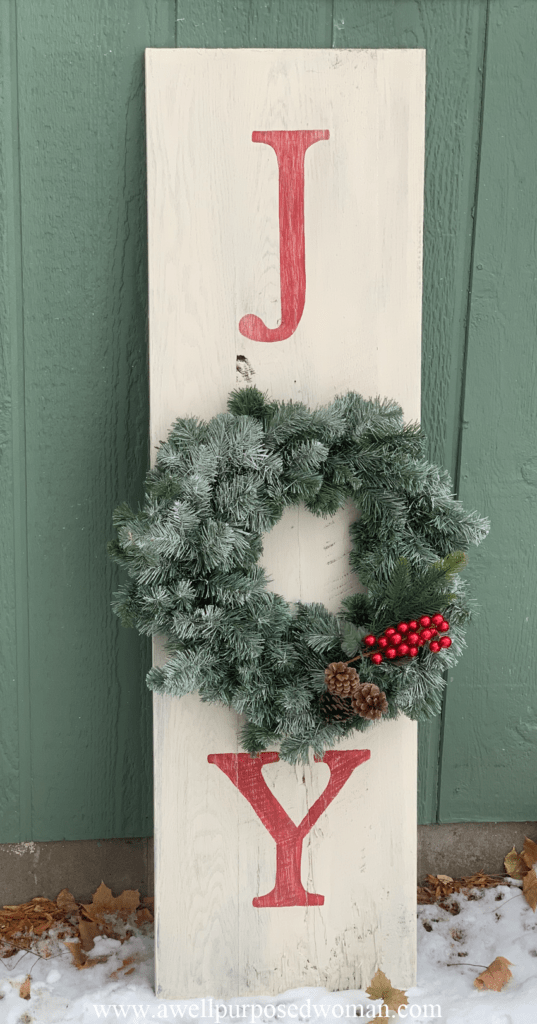
Now you have a beautiful way to spread Christ’s JOY this Christmas! Of course you can adjust the colors of the board or letters to be what you would like. I do like how the wreath stands out on the sign. This is probably the easiest way to make a DIY JOY sign without buying wood letters or having a cricuit machine.
I would love to see if you make a sign in the comments below or on our Facebook page.
Thanks so much for joining along these 12 days of Christmas! It was really fun to start Christmas crafting early this year. And even if you haven’t started yet. Now you have a nice collection of tutorials, patterns, and printables to hopefully help you make gift making and decorating a lot easier this year!
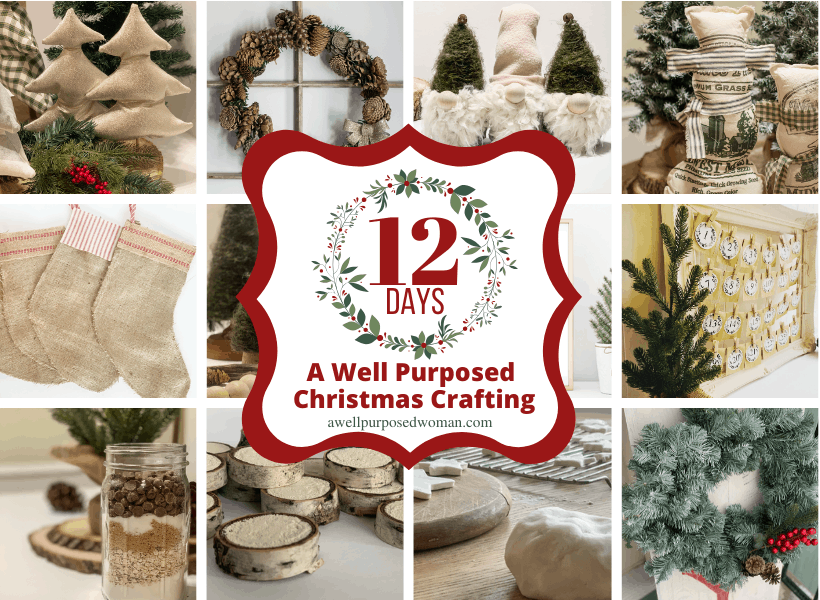
If you missed any of the other 12 days of Christmas check them out by going back to the 12 days of Christmas post. I uploaded all of the links to that post. Thanks again for joining me for the 12 days of Christmas. Remember to save these posts so you can access them again when you start working on your projects!
See all of the tutorials and free designs in the 12 days of A Well Purposed Christmas Crafting!

Have sure enjoyed the 12 days of crafting with you. thank you so much for sharing your patterns with us.
Merry Christmas to you and your lovely family.
Hi Lois, Thanks for following along! It was fun for me to do this. Merry Christmas to you and your family too! 🙂 Elizabeth
It looks great!!! Very festive!
Thanks Alesha! Thanks for following along 😉