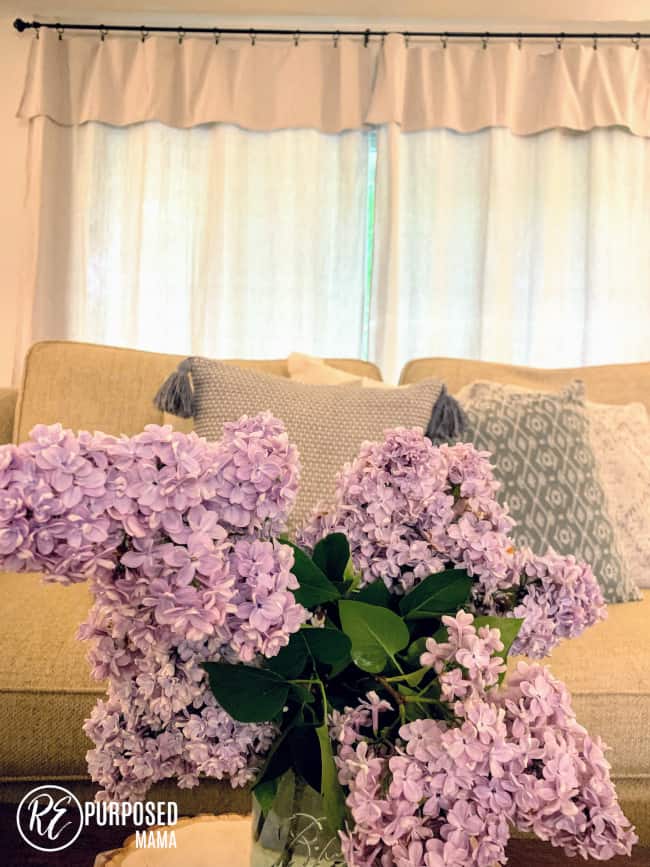
Did you know that you can use ordinary drop cloths for curtains? I am in awe of how something so practical can be so beautiful?!?!?! And the best part they are sooooo easy, no sewing involved and super inexpensive. I actually got mine for $10.98!
Since we moved into our new house I have been on the hunt for some curtains that were longer than the the typical 84″ ones you find all over. Have you noticed that very few stores actually carry any other sizes? And if they do they can be very expensive. This is so odd to me since most interior designers suggest hanging curtains closer to the ceiling which in a standard home is typically 96″. Since this helps to visually elongate a room.

Another alternative is to sew your own curtains. But that can be even more expensive. And add on the time involved to sew them. It seemed like that might be a project for a different time.
Finally I found a perfect option! Drop cloth curtains.
Drop cloths are typically used for painting projects. To protect floors, furniture or anything else when you are painting. They are sold in hardware and paint stores. They are typically about 9 ft long which is just perfect for hanging curtains closer to the ceiling! And two of them cover about a 12′ span which was also needed in our big picture window upstairs.
Another benefit is that these are super easy! Can you tell I love them?
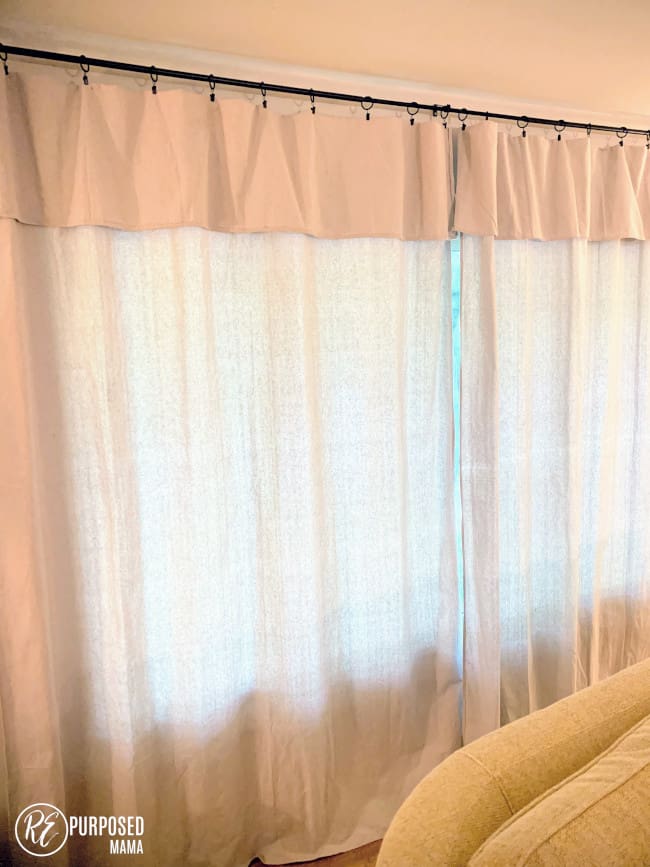
You do not need to sew these curtains. You simply fold them over and hang them up with drapery clips. Which I think adds a sharp look to them.
So if I have done enough to convince you and you are liking the way they look. Let me show you how to hang them!
Here’s what you need to get started:
- 6′ x 9′ Medium Weight Drop Cloths
- Drapery hooks to hang the cloths
- Sturdy curtain rod
Step 1:
Wash, dry and fold your drop cloths. These babies are super sturdy! The creases from packaging tend to stay in them until they are washed and pressed. Take time to do this especially if you can’t stand wrinkles! if ironing bothers you more than a few wrinkles, you can probably skip this step. Just smooth them out with your hands and wait for gravity to work out some of the wrinkles. I skipped this step for the tutorial so you can see what they look like
Step 2:
Measure the distance from the curtain rod to the floor. This is how long you will want your curtains to be. Measure this distance along the drop cloth. Whatever distance is remaining from your measurement to the top of the drop cloth will be the amount you fold over. For me this was about 11″.
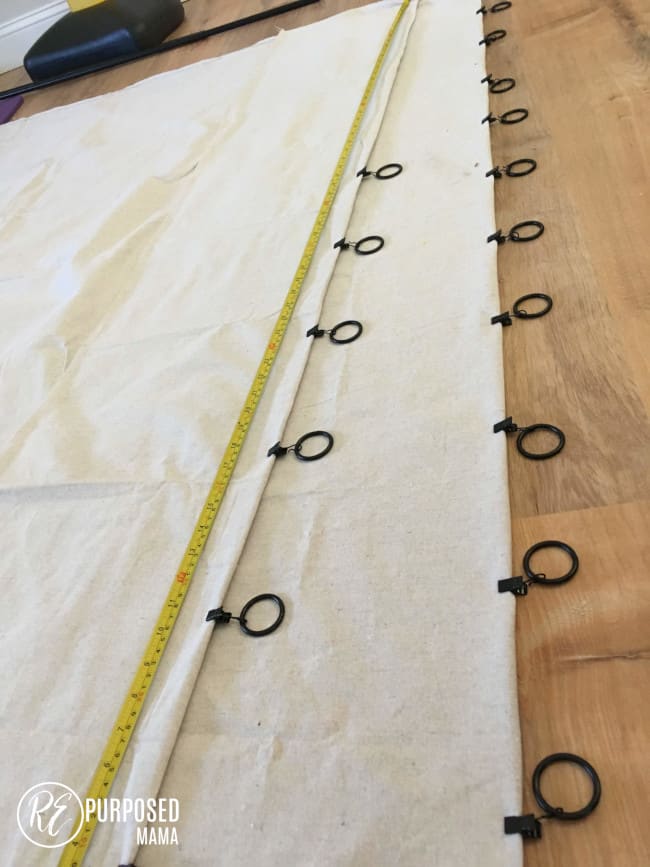
Step 3:
Lay your curtains flat on the floor. Fold over the amount you measured in step 2 along the entire drop cloth. (Try to ignore the clips in this picture. That will be the next step).
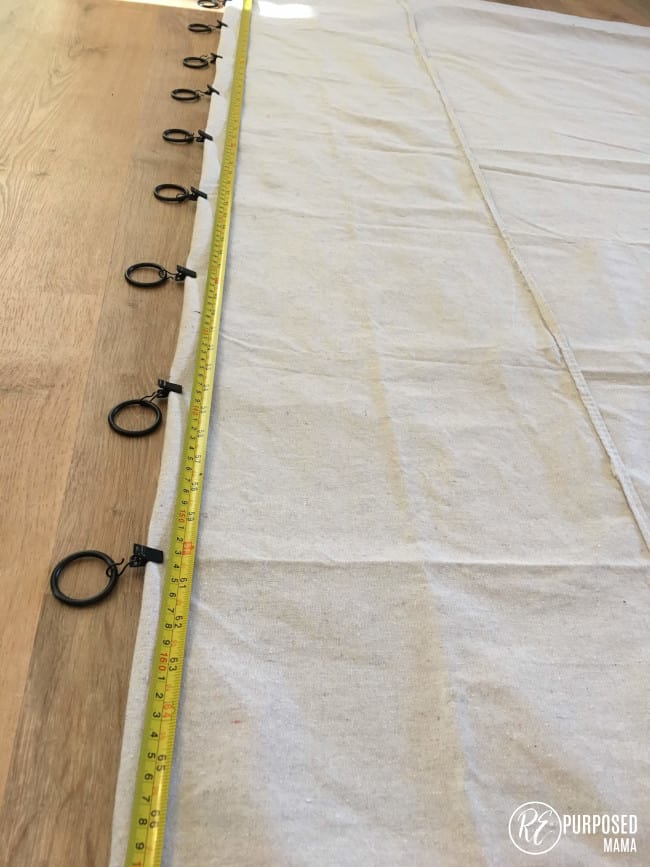
Step 4:
Use your tape measure again and place your hooks. I locked the tape measure along the distance of the drop cloth. I had 10 hooks so I placed a hook about every 7 inches. Do this for both of your drop cloths.
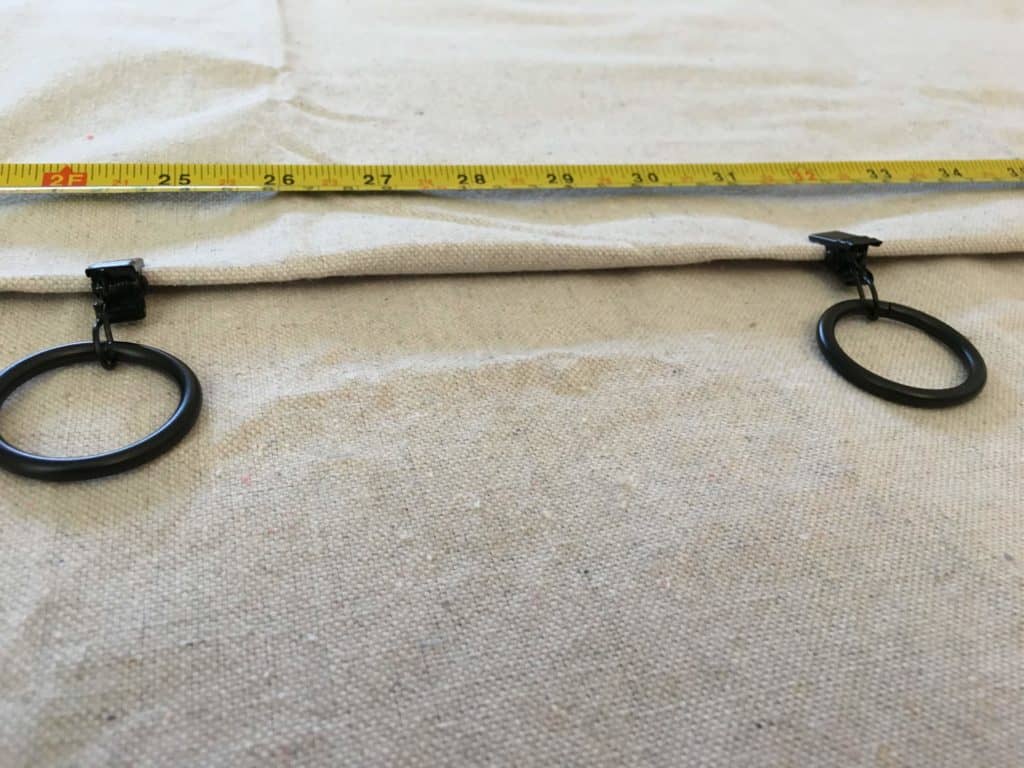
Tip: Make sure you are placing your clips on the front side of the drop cloth. Otherwise you will have to re-do it.
Step 5:
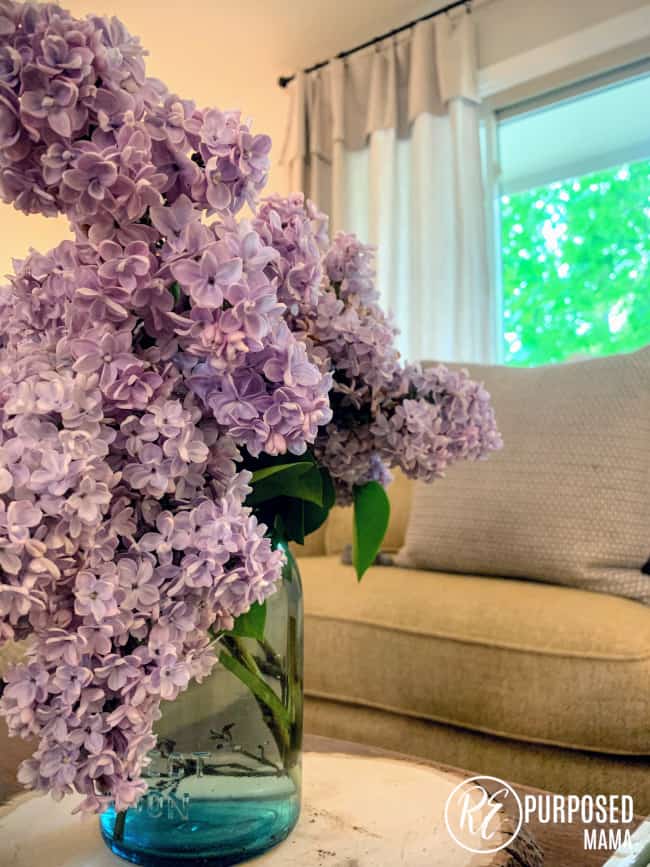
Put your hooks on your curtain rod and hang those beauties up!!! Now stand back and admire your work!

If you are looking for a curtain that is super easy to make and very affordable consider using drop cloths in your home. They can be hung at a height that will be visually appealing and their neutral colors will compliment a variety of colors and styles. Once again I am thrilled that something so ordinary can be used for a new extraordinary purpose!
Also check out these 5 tips to save money and time on your drop cloth curtains! I hope you have a wonderful week! Let me know if you try these and pictures of what you come up with are always fun!!

This is a brilliant idea!! Love it!
Yes! They work great! Let me know if you try it. Elizabeth
WONDERFUL! I have some tab curtains that are probably close to dropcloth fabric and can’t find replacements. I’m going to be shopping the dropcloth resource. I bought natural color and dyed them. I dyed two pairs, three curtains came out great, the other was lovely, but different. Found a way to use it all, but they are almost 15 years old.
Hi JudyAnn! That’s great! So happy that the drop cloth curtains will be a nice alternative so you can update the ones you have. Thanks for stopping by. Let me know how they turn out. Elizabeth
Once again you amaze me with your talent! What a great, affordable idea! Plus, they look amazing!
Thanks Alesha! They were the best solution for our big living room window! I couldn’t find curtains that were the right size…and these were only $10.98! Let me know if you want any they are still on sale!