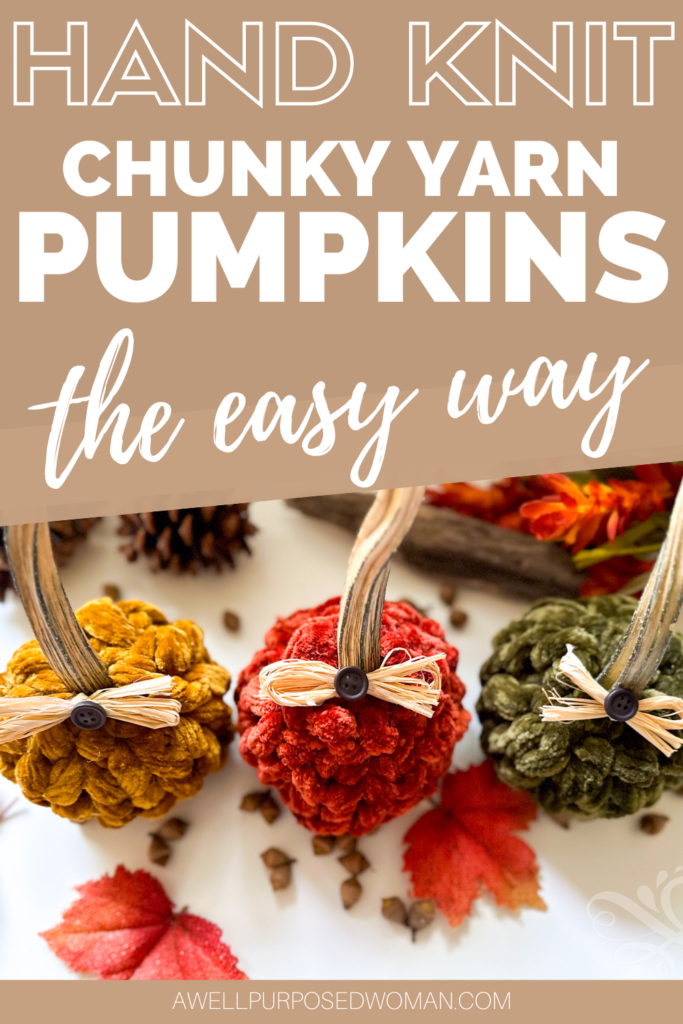
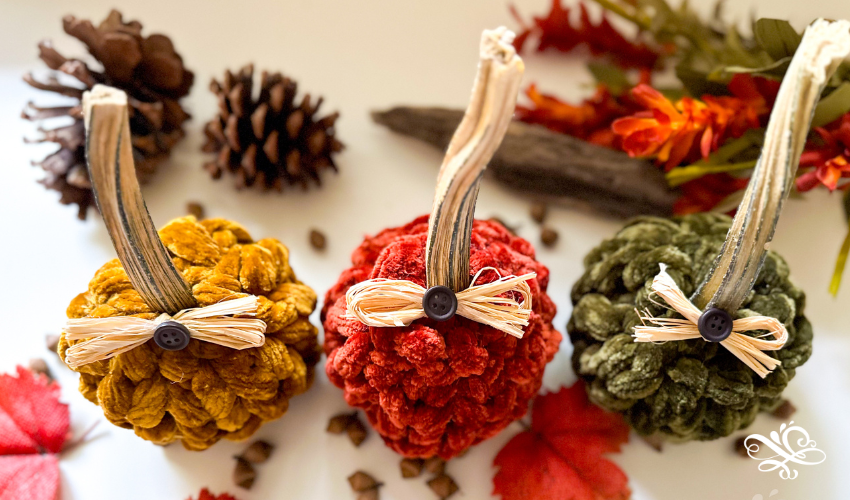
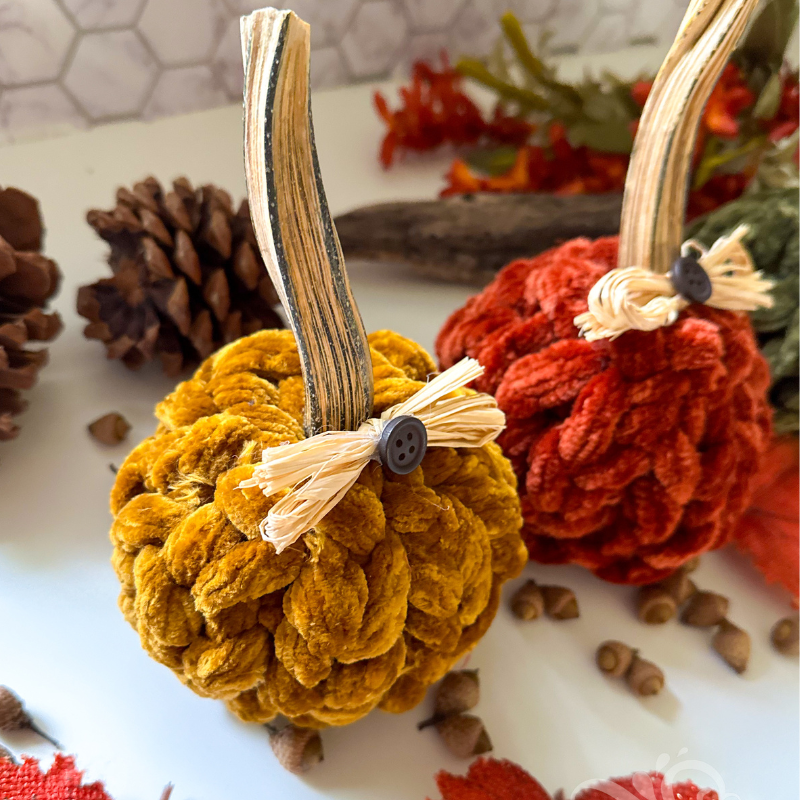
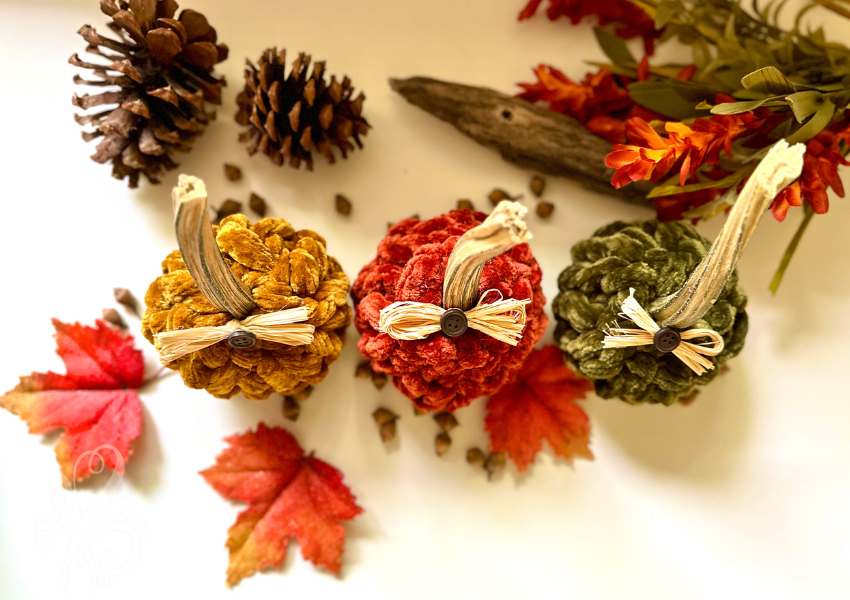
Learn how to hand knit a chunky yarn pumpkin for fall. This tutorial will show you exactly how to hand knit your own chunky yarn pumpkin step by step. And even if you have no experience with knitting you will be able to make beautiful chunky yarn pumpkins for fall.

Last year I made beautiful chunky yarn pumpkins for fall without any knitting, and I shared an easy tutorial on making chunky yarn pumpkins with Dollar Tree pumpkins, but this year I wanted to share how to hand knit chunky yarn pumpkins! Chunky yarn is so fun to work with and these chunky yarn pumpkins are easy enough for anyone to make.
Chunky yarn is beautiful and so fun to craft with! You can also use part of the chunky yarn to make beautiful Christmas trees or ornaments. So just a few skeins will give you several beautiful projects for both fall and Christmas!

So let’s get started on hand knitting these chunky yarn pumpkins!
Here are the supplies needed for hand knitting chunky yarn pumpkins:
- Chunky velvet yarn
- Hot Glue Gun and Gluesticks
- Stems
- Raffia Bows
- Or purchase a chunky yarn velvet kit.
Here’s a video on how to hand knit a chunky yarn pumpkin:
Below I have written out the instructions to make these gorgeous pumpkins for fall but I also recommend watching the video so you can see the full step by step tutorial on making these pumpkins.
Here are the steps to hand knit chunky yarn pumpkins:
Steps 1: Make a slipknot with the chunky yarn
The first step in making these chunky yarn pumpkins is to make a slipknot. Pull 12″-15″ of yarn off of your skein and make a slip knot. Take your tail end and make a cursive “L” shape, then pull through the yarn. Now you have a slip knot!
Step 2: Make a chain of loops in the chunky yarn
Take your slipknot, and push through the chunky yarn to make a loop that is 2 finger widths. Continue to make loops until you have a chain that is 11 loops long. Make the chain into a circular shape and then push the 11th loop through the first loop next to the slip knot. You will now have a circular flower like shape with ten petals.
Step 3: Continue to 6-7 rows of loops of chunky yarn
Take your flower shaped pumpkin, now you will have 10 petals around the circle, and continue to push the chunky yarn through each loop. You will be pulling yarn from the longer end of your skein. Making a loop that is about two fingers wide. Continue adding loops 5-6 times around the circle. This will be the base of your pumpkin.

Step 4: Cinch your pumpkin closed on the bottom
Once you have a pumpkin that is 6-7 rows high you will cinch the bottom of your pumpkin closed. Take the longer end of the yarn and pull it through each of the loops. You can pull the yarn tight as you go. Once you are all the way around the pumpkin pull your yarn tight to close the bottom of your pumpkin. Tie a knot. Poke the remaining yarn through the center of the bottom of the pumpkin.
Step 5: Stuff the pumpkin with poly-fil
Fill your pumpkin with poly-fil or other filler. Sometimes it works better to find scrap of a fabric that matches the yarn as the poly-fil can peak through.
Step 6: Cinch the top of your chunky yarn pumpkin closed
Now taking the other end of your yarn, go through all of the loops on the top of your pumpkin. Pulling the end through each of the loops and then pulling it tight. Pull the yarn tight until the pumpkin is completely closed. Tie a knot and poke the yarn through the middle of the pumpkin.
Step 7: Add a stem or other embellishment
The last step is to add a pumpkin stem and any other embellishments. I used a real pumpkin stem and you can see how to dry out pumpkin stems in this post. And I also used a raffia bow. (If you like these exact same supplies you can get a chunky yarn pumpkin kit here.) Just hot glue the stem and raffia in place.

And that’s it! These are such beautiful pumpkins and so easy to make. I hope that you enjoyed this tutorial on hand knitting chunky yarn pumpkins!

Let me know if you give it a try or if you have any other tips or suggestions on making these pumpkins!
Happy Crafting!
Take care and God bless,

No time to craft now? No worries, just pin it for later!

Leave a Reply